To make the headset we will need:
- pieces of leather or substitute;
- pellets (we also call them pebbles);
- beads;
- cardboard;
- black cord;
- cardboard base for towels;
- pearlescent paints (I used a budget option - nail polish);
- silicone glue;
- double sided tape;
- acrylic varnish.
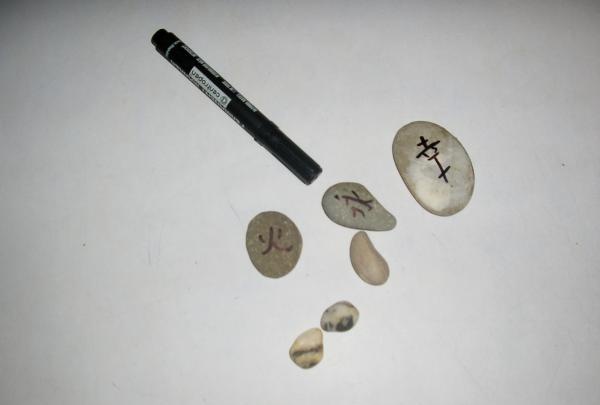
The first step is to prepare the stones - clean, rinse under running water and degrease.

If desired, you can use a marker to apply hieroglyphs to large stones. The photo shows how to do this, but I didn’t really like the final result, so at the end of the work I painted over them.
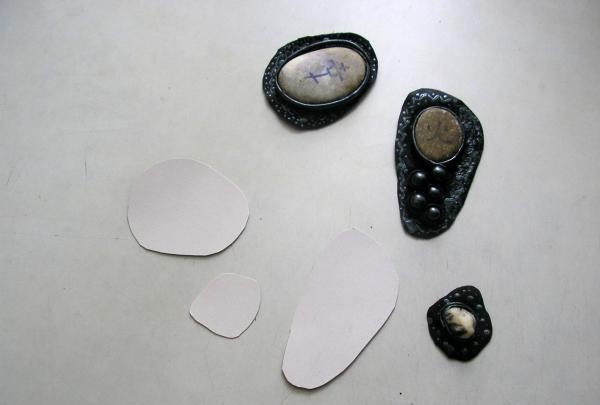
According to the shape of the pellet, cut out a piece of leather 1 - 1.5 cm larger. You can glue the pebbles to the skin with silicone glue and then cut them out.

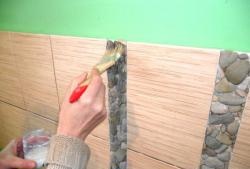
We cut strips of leather 1 cm wide, fold them in half lengthwise and glue them.As a result, we get a leather cord that needs to be glued around the stone, making a side. If you have very flat pellets, then the lace needs to be made thinner. The side should not be higher than the stone. Do not rush to cut the end of the lace.

We glue beads next to the pebbles.

Draw a “snake” around the beads around the free tip of the cord (extension from the circumference of the stone). Using silver nail polish and toothpicks (or a thin brush), apply chaotic designs to the skin.

Cut cardboard according to the shape of the leather blanks.
We glue the cardboard onto the lining.

We wrap the edges of the lining onto cardboard and glue it too - this is our base. We cut the black cord into 4 pieces 60 cm long. Then we apply the cord to the base coated with glue.

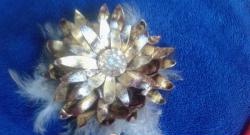
And we glue our beautiful leather blanks on top.

This is what we got.

Cut a strip of leather 30 cm long and 4 cm wide. Cut along the entire length (from the upper left corner to the lower right corner) and get two long triangles. Place a knitting needle on the edge of the wide edge and tighten. You should get a bead like this.
We tie knots on both sides of the beads. A little further (approximately at a distance of 5 - 7 cm) there is another knot and at the ends there is another knot. We tie the loose ends together with a flat macrame knot. We coat the top of the finished product with varnish and let it dry.

Now let's start making the bracelet. I took the base for kitchen towels, cut two rings 5cm high and cut them on one side.

Using double-sided tape, adjust the size of the bracelet.
We cover the bracelet with leather on the outside and inside. We glue the stones and design them like a necklace. We coat it with varnish, let it dry, and we get a set like this.

I hope you liked my work.This product will help you look fashionable and unique.