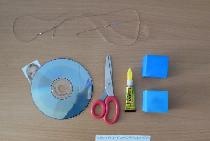
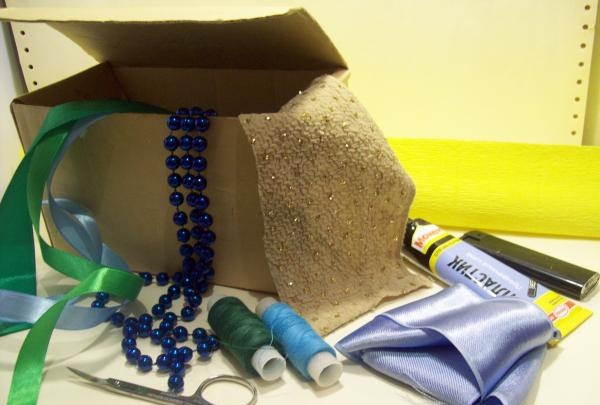
To work we will need:
- scissors.
- empty box.
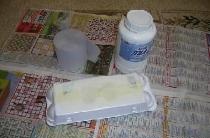
- textile.
- ribbons of different widths, blue shades and a little green.
- a garland of blue beads.
- needle with thread.
- “Moment” glue.
- corrugated paper.
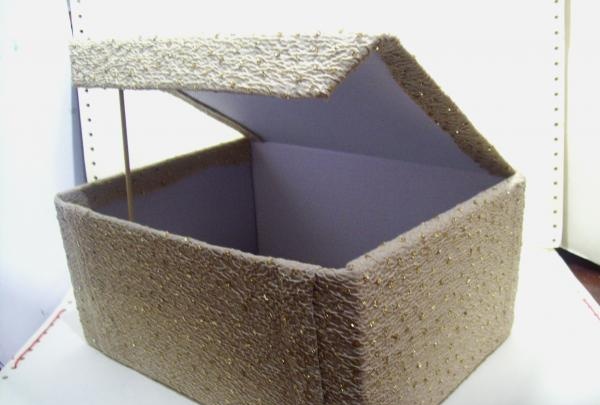
We take a cardboard box and carefully cover the entire outer surface with fabric using Moment glue. And give it time to dry.
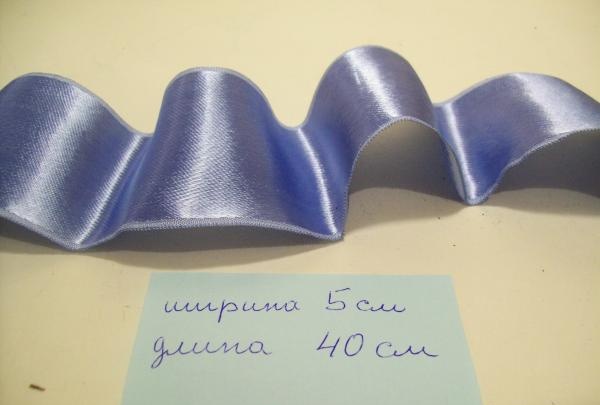
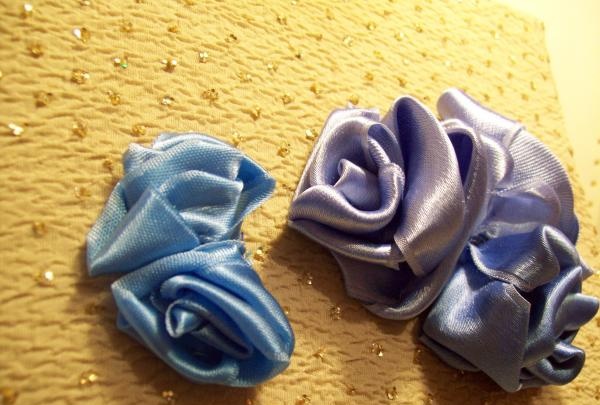
In the meantime, let's start making flowers from ribbons. Take a blue ribbon 5 cm wide and 40 cm long.
Take and bend the corner 90 degrees and secure it with a needle.

We twist the folded corner along the length of the ribbon and secure it with a needle.

Holding the bottom of the future flower, turn the ribbon up and immediately scroll the flower clockwise, securing each curl with a needle and thread.

How many turns we make, the flower will have so many petals.
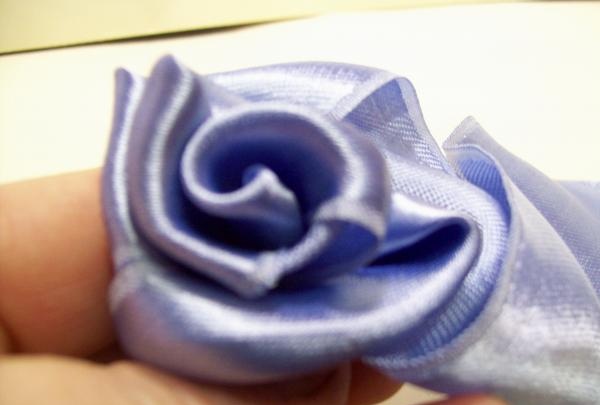
Having made several petals, we fix the finished flower.


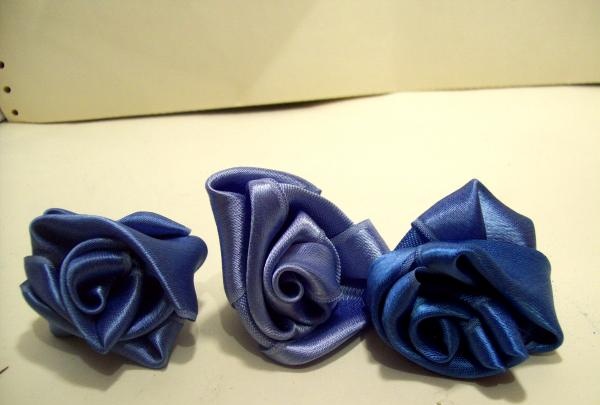
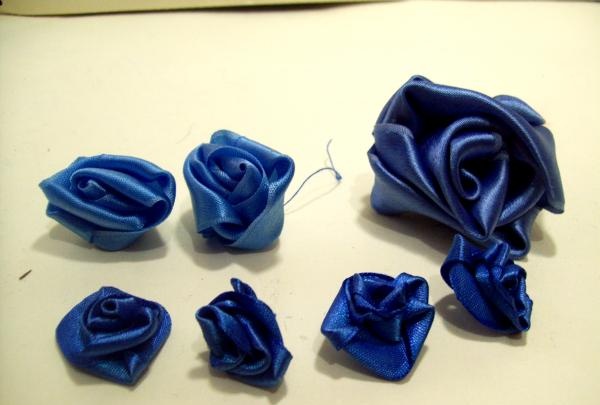
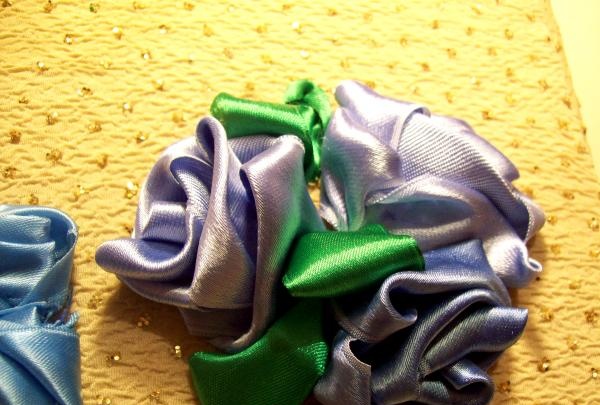
In the same way we make three large flowers. Available in different shades of blue.
Now we take ribbons 2.5 cm wide and 30 cm long. And we make four flowers. These flowers are smaller in size.
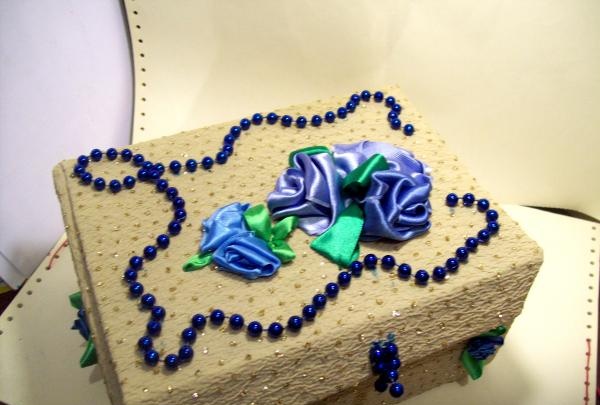
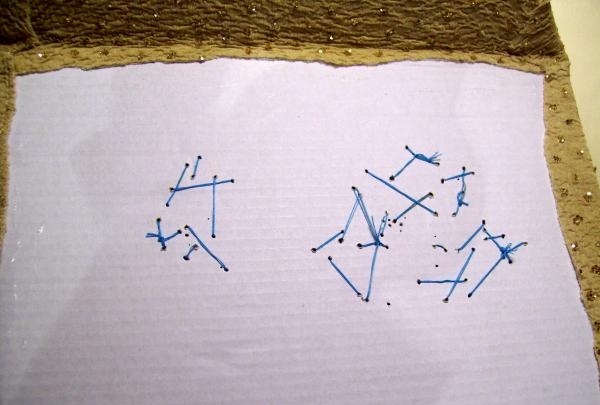
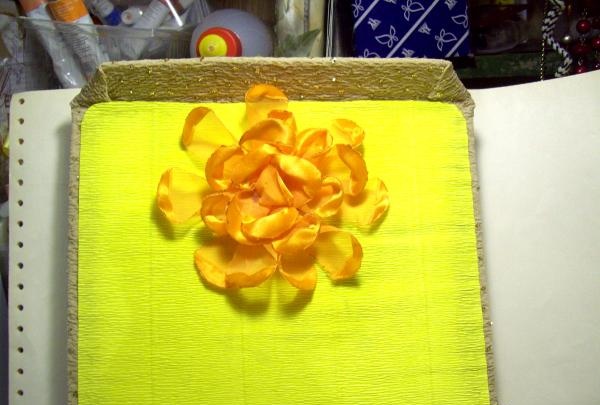
Now we sew these flowers one by one to the lid of our box.


We fix three large roses next to each other in the lower right corner.
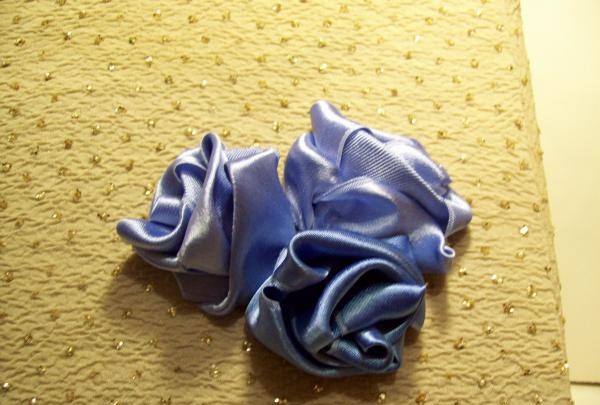

We attach two small roses nearby.
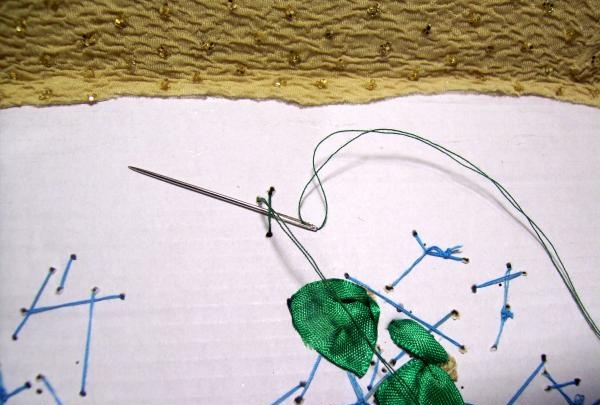
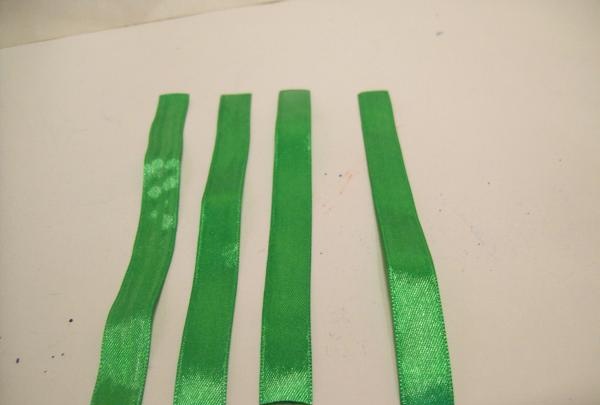
Now take a green ribbon 1 cm wide.
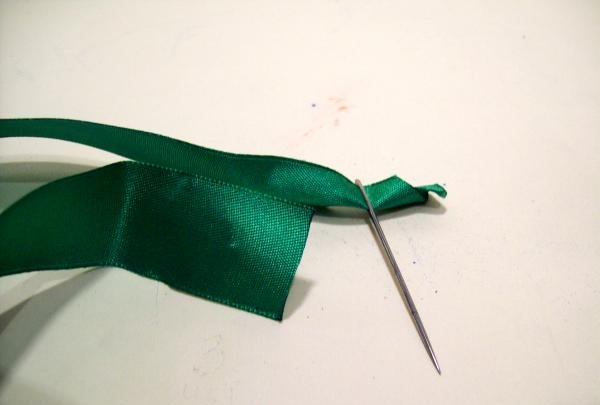
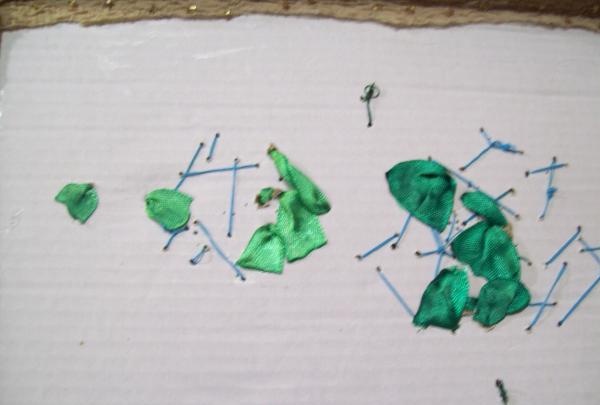
We make a curl that resembles a petal. We insert the needle from the inside out and out, cut it off and leave small tails.


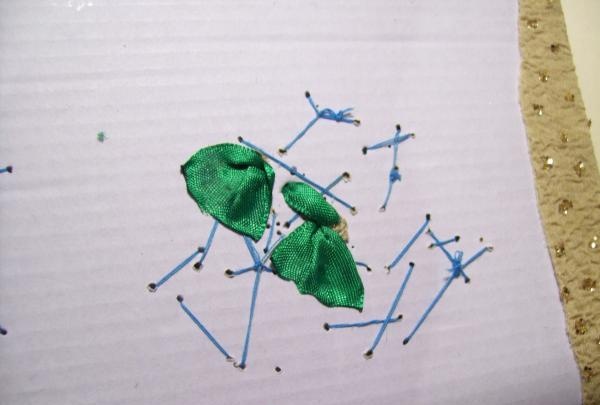
Using a needle, we secure the green petals on top in the desired direction.

And we secure everything with a needle from the inside out.
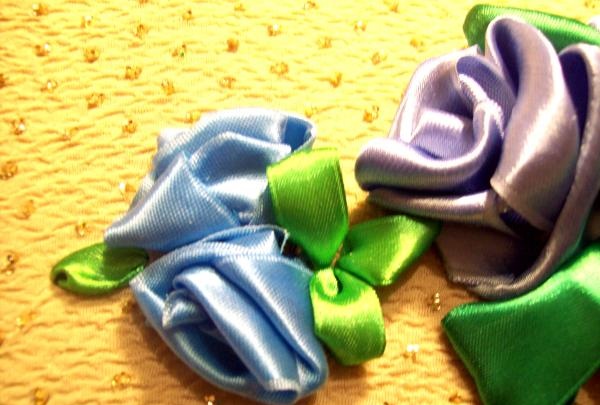
On the front side you get roses and green petals between them.
We also attach petals to small roses, but with ribbons of a smaller width.
When all the flowers and leaves are secured, the green tails need to be carefully glued on the reverse side.
It's time for the blue bead garland. We place them on the lid of the box and glue them with Moment glue.

But so that the inside of the box is also beautiful and neat, we cover the entire inner surface with yellow corrugated paper.
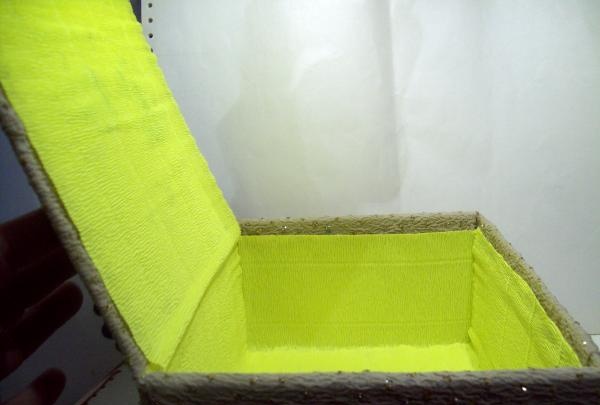
Thus, we close all the threads and ribbons on the lid. You can also use a mirror or flower to decorate the inside of the lid.
To decorate the side walls we also use blue and green ribbons. We cut four green ribbons of 14 cm each and fasten them in the shape of a figure eight.
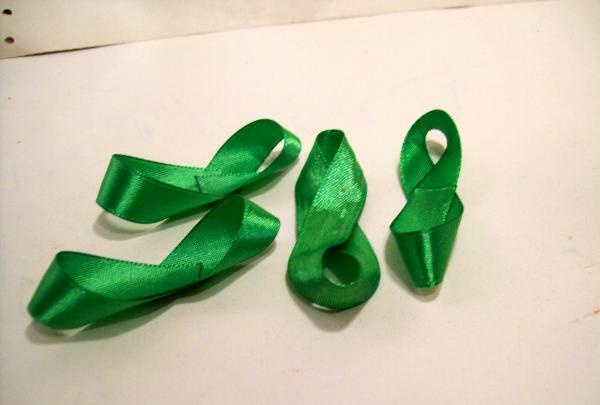
We make 4 very small flowers from a thin blue ribbon. On the front side we attach two green eights in the corners in a vertical position and glue a blue flower in the middle. And we glue the remaining two green blanks on both sides, but in a horizontal position.
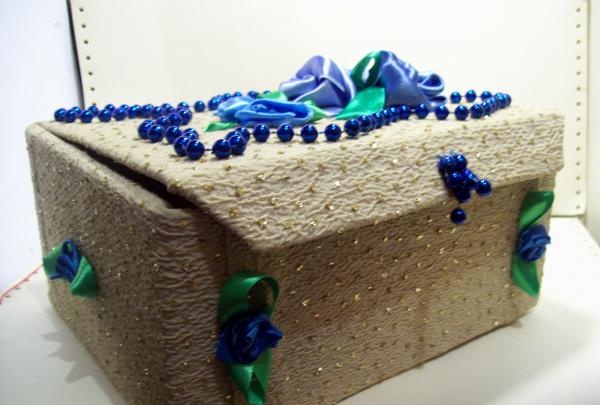
At this point the box is ready. Good luck to all.