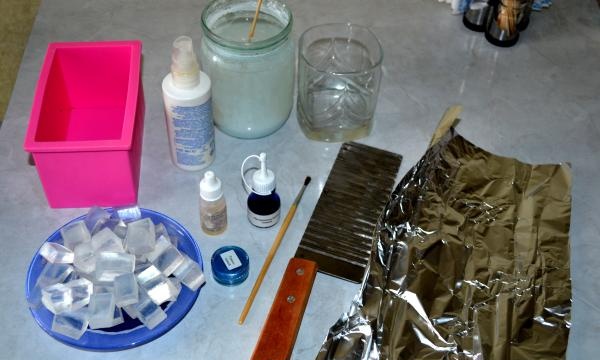
-0.5 kg of transparent soap base (I prefer English, it works very well).
-Blue dye (make sure that the dye is non-migrating, i.e. it does not dissolve in the base, and clearly maintains its color and border).
-Ordinary food foil (we need to crush it slightly).
-Flavor (your choice and taste, I chose tropical fruits).
-Blue mother-of-pearl.
-Brush (regular watercolor).
-Titanium dioxide (this is a powder that colors the base white, first diluted in water. If this is difficult or inconvenient for you, use a white soap base for work).
-Alcohol (it is impossible to work without it).
-Curved knife (beautifully cuts the edge of the finished soap; if you don’t have it in stock, it doesn’t matter, it will just be a smooth edge).
-Containers and stirring sticks.
Important: before pouring the base and after everything, spray with alcohol. In the first case, to remove bubbles, and in the second, to adhere layers.
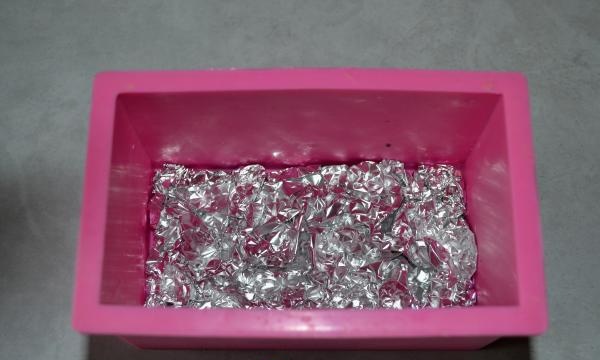
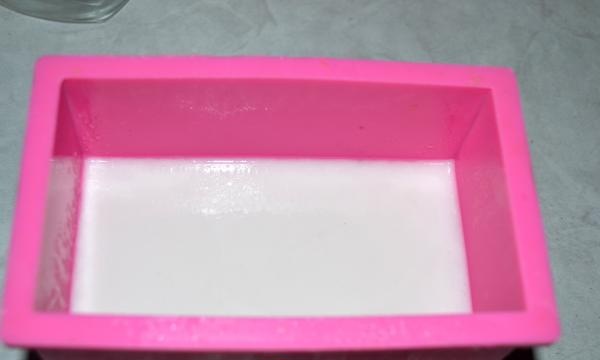
2. We take a rectangular mold for our future soap, it can be plastic, but I preferred silicone.It is easy to get a piece of base out of it, the disadvantage of this form is that it is opaque, the result is invisible after each stage of work. Place crumpled foil on the bottom and spray everything with alcohol.
3. Cut the base into cubes, divide into 3 parts: 2 small and one large for the middle of our soap, heat part of it in the microwave at medium power. You can use a water bath for melting, whichever is more convenient for you. You can’t bring the base to a boil, it’s better to go slower and longer.
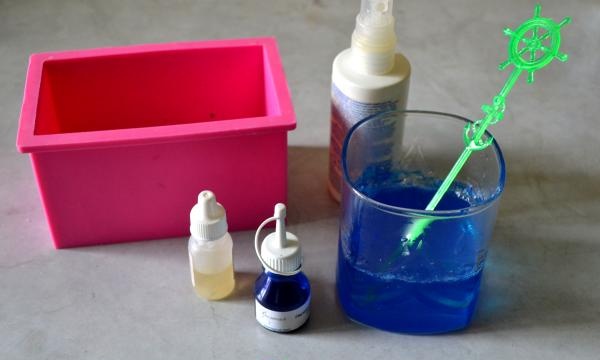
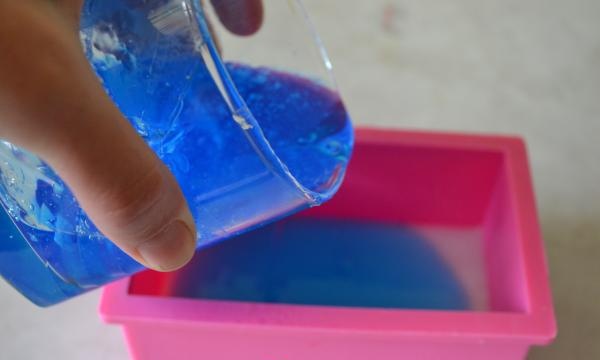
4. Add 5-6 drops of blue dye and 3-4 drops of flavoring, mix lightly, trying not to create unnecessary unnecessary bubbles; Look at the color intensity; if you want it brighter, add a few more drops of paint.

5. Fill the foil with a layer of base about 1 cm, wait for a dense cooled layer to appear. It is important to wait until the layer hardens, do not pour the base too hot, it can melt the bottom layer and then there will be no clear color boundaries.

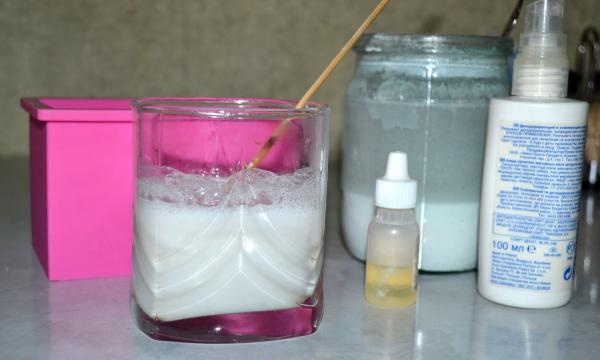
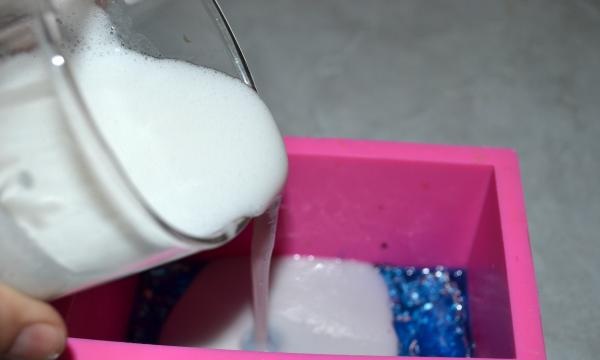
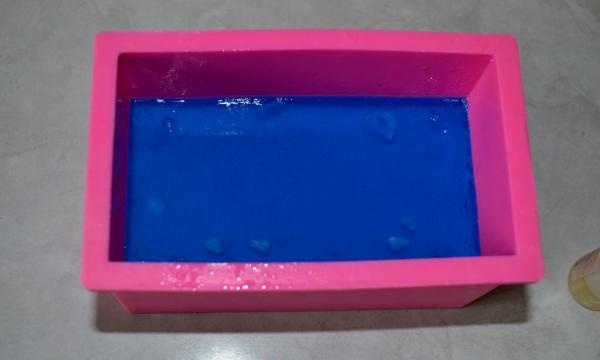
6. Heat most of the base, add 1-2 teaspoons of titanium dioxide diluted in water, 6-7 drops of flavoring, mix and pour into the mold, wait for a thick layer.
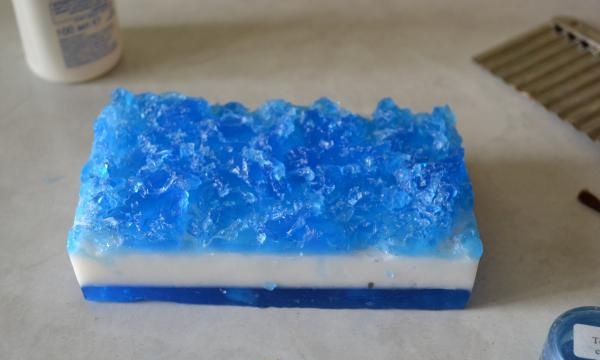
7. Melt the remaining small part of the base, add 3-4 drops of blue dye, 2-3 drops of flavoring and pour into the mold.

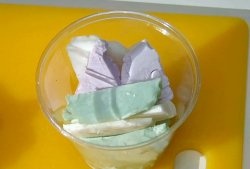
8. Leave the mold with soap to harden thoroughly for 2-3 hours. The piece turned out to be quite thick, we need to let it dry. Then we carefully remove it from the mold and even more carefully remove the foil from the top; the process is slow and quite painstaking.
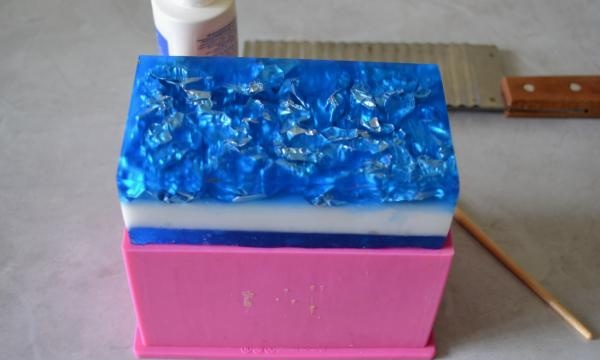
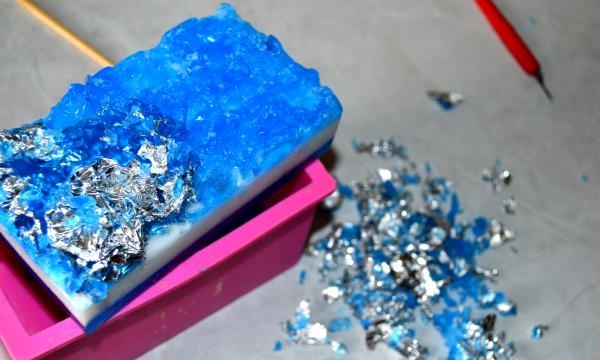
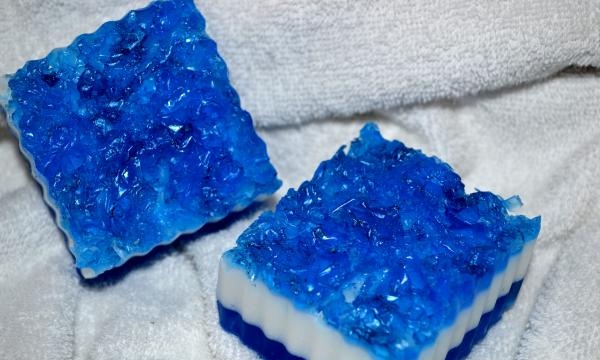
9. Take a brush, wet it a little and dip it in mother-of-pearl, then carefully (so as not to overdo it) apply mother-of-pearl to the very tips of the peaks.
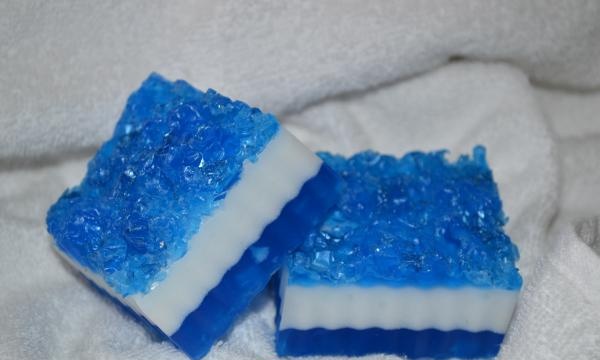
We have a large bar of soap, you can cut out several smaller pieces from it, smooth out the edges with a curly knife, and our mountain peak sparkles in all its glory! Let the finished soap sit in the air for another day, and then you can pack it.