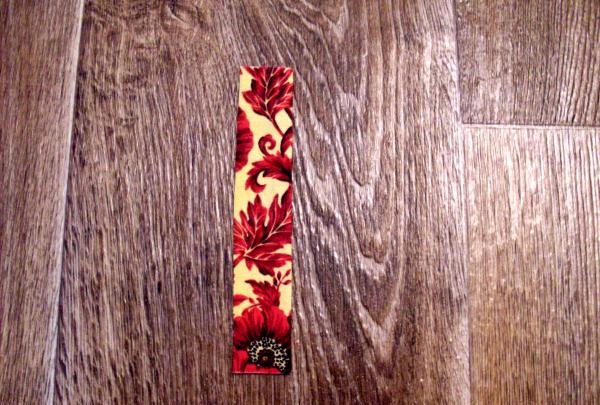
For the convenience of cutting out the parts of the bag, it is advisable to make a cardboard pattern - a rectangle of thick cardboard with dimensions of 15 * 3.5 cm. Using it, you should cut out 12 parts of each of the three colors of the main fabric. Tip: before cutting fabrics, they must be thoroughly ironed with steam so that they immediately shrink.

Further assembly of the bag is done on a sewing machine. First, parts of dark and floral colors are sewn together. They should be folded in pairs facing each other and stitched along one side with a seam 5-7 mm wide. If the fabric is characterized by very high fraying, the machine stitch can be replaced with an overlock stitch, and the tails of such a stitch should be secured and tied.
Then the pairs of stitched parts are ironed so that the seam allowance is on the inside and the right sides of the parts are on the outside.

The next step is to sew strips of light colors between pairs of parts, similar to a 7 mm wide seam.

After this, using small hand stitches, you should secure the folds on the omiyage part - along the upper edge in one direction, along the lower edge in the other.

You need to cut out a lining for the bag from cotton fabric - a rectangle with dimensions of 15*27 cm - the size is indicated with allowances for processing.
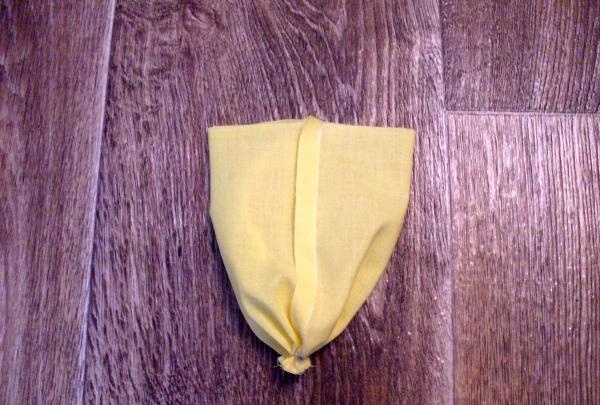
This rectangle needs to be sewn along the short end sides with a seam 1 cm wide. Iron the seam allowance in any direction. After this, use hand stitches 7 mm long to stitch the bottom edge of the bag at a distance of 1 cm from the cut. Pull the stitch tightly and secure the ends of the threads carefully.
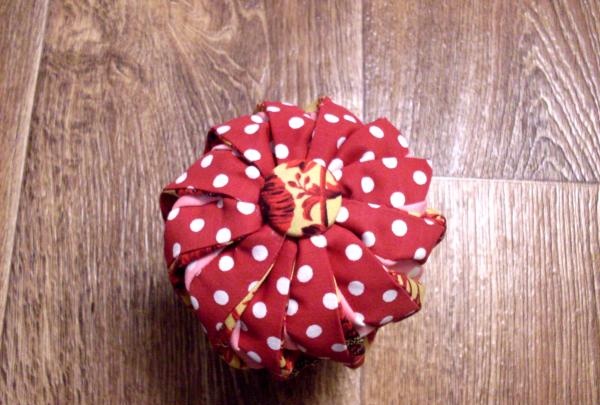
In the same way, but with longer stitches, you need to gather and tighten the bottom of the bag. The resulting assembly should be decorated by sewing or gluing a fabric-covered button on the leg. The diameter of the button must be at least 3.5 cm.

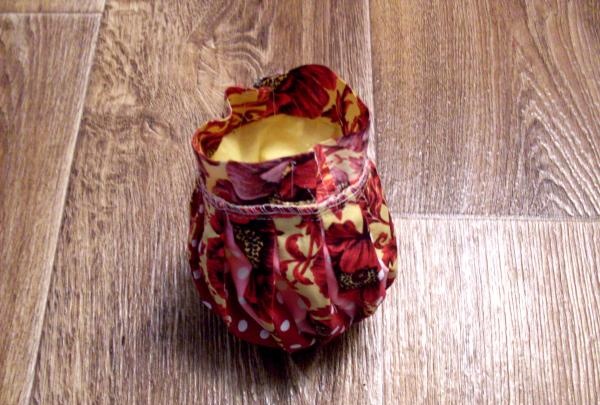
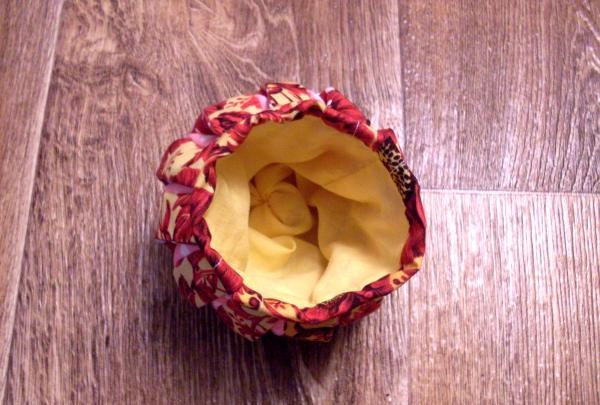
Then the lining needs to be inserted into the omiyage base - back to back, and both bags must be fastened first with a hand basting stitch, and then with an overlocker.

From the top fabric, you should cut out 2 drawstring parts for processing the top of the bag - rectangles with a size of 15 * 5 cm. The transverse sides of these parts need to be stitched, turned inside out, so that their finished length is 12.5 cm.
Then the prepared drawstrings need to be sewn to the bag from the wrong side with a seam 1 cm wide.
Then the drawstrings are folded over to the front side of the product, folded 1 cm and sewn with a seam 1-2 m wide from the edge. If necessary, the drawstrings can be slightly ironed.

Immediately under the seam of the drawstring, you can sew decorative braid or lace that is in harmony with the appearance of the bag.You need to insert narrow satin ribbons or waxed cord into the drawstrings. Omiyage is ready!