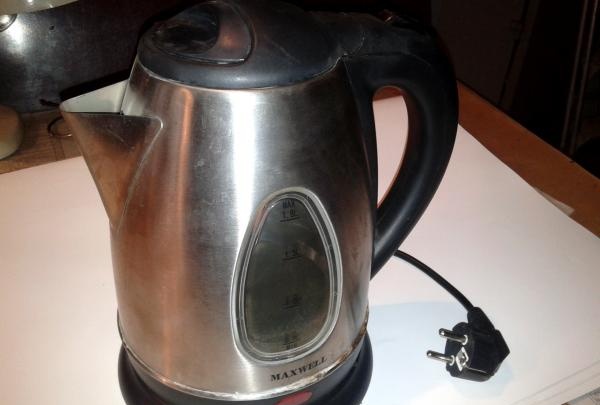
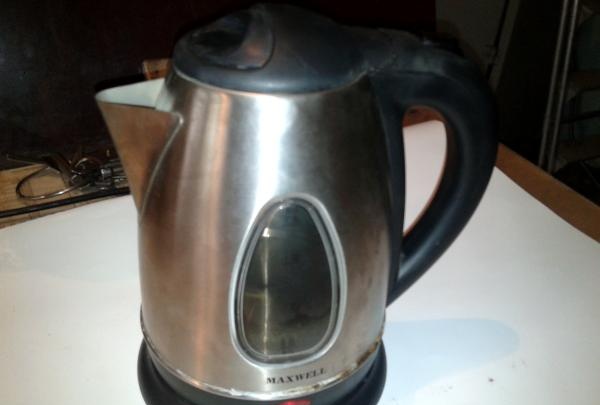
But no kettle can work forever, so there comes a time when they break, which can be very upsetting. Sometimes there is no need to buy a new expensive device; it is enough to make a little effort and perhaps the breakdown can be fixed.
This article will discuss one of the main breakdowns of an electric kettle and how to fix it.
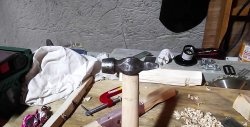
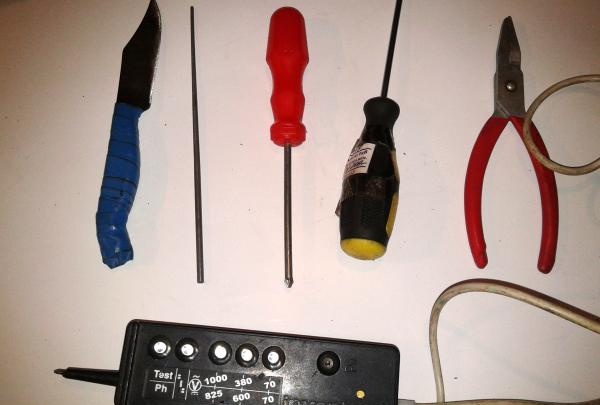
First you need to be patient and have the tools shown in the photo.
As practice shows, most often the heater or the device's power button fails. Therefore, the search for breakdowns will be aimed specifically at these nodes.
So, let's start by disassembling the case. To do this, you need to unscrew the fastening screws at the bottom of the kettle.

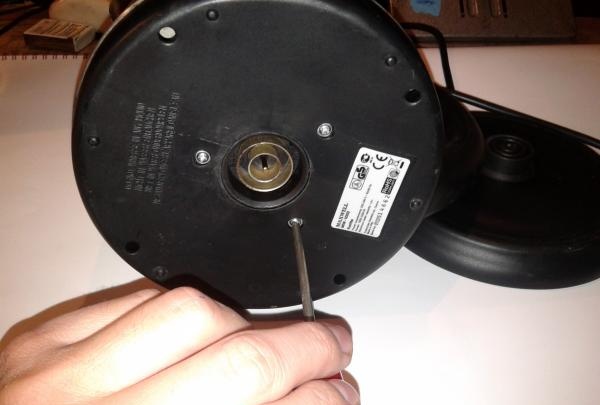
As you can see in the photo, we unscrew the three screws closer to the center, the outer holes - where the finger points - do not have screws, they are intended for ventilation.
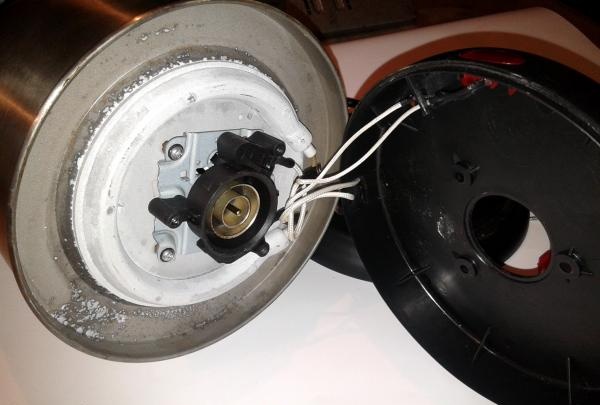
We put the screws in one place so as not to lose them, and remove the pallet. Here you will see the heater, indicator lamp and wires going through the handle to the switch.


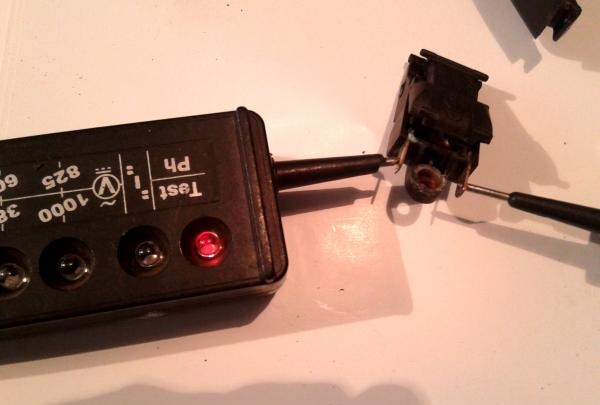
First, we check the integrity of the heating element (heater) for a break. To do this, we connect a voltage indicator, or any other testing device, to the heater terminals.

If it shows a chain, then it is intact and you can continue searching for the breakdown further.
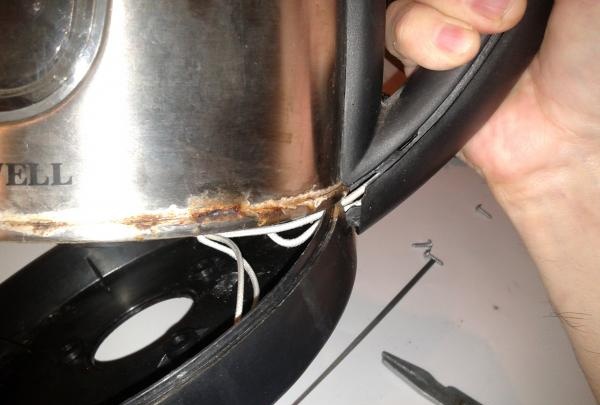
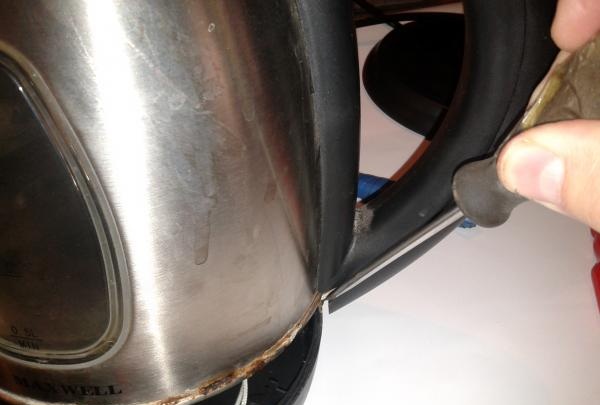
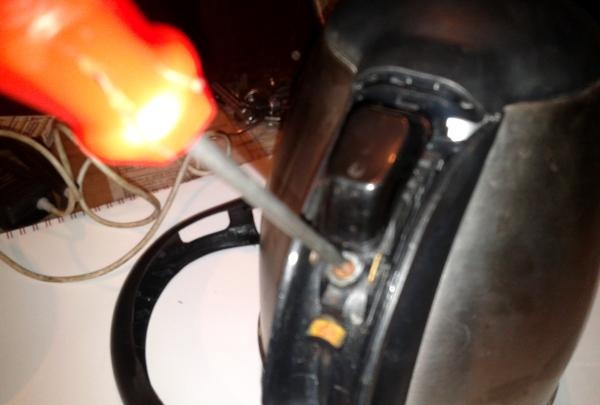
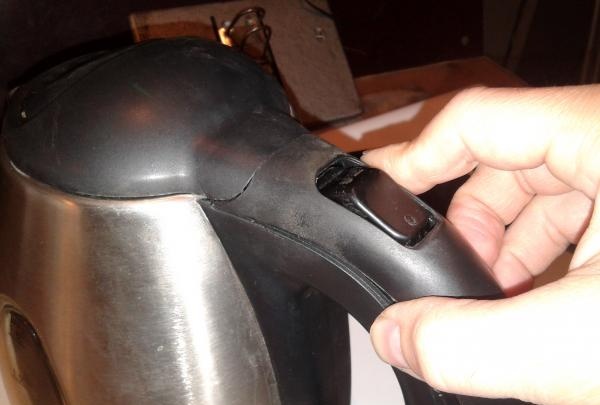
Now you need to get to the switch on the handle. To do this, remove the upper handle casing. This can be done by prying a screwdriver at the junction of the two parts of the handle.
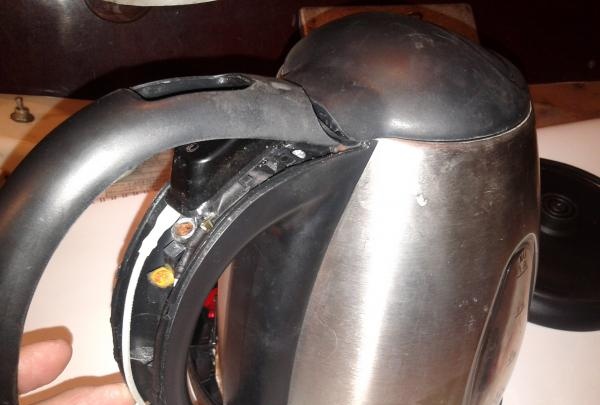
You can also hold the kettle vertically and tilt the tray down and remove the handle latch from the lower socket.
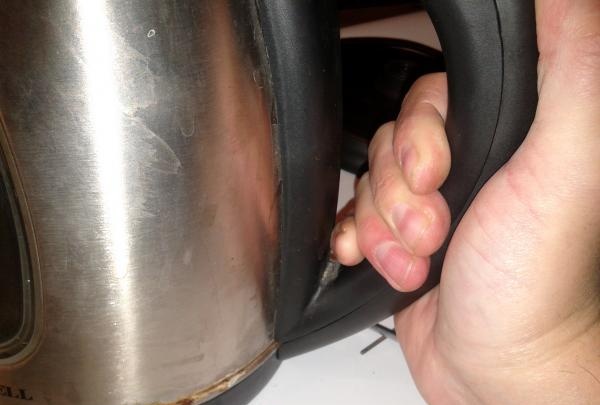
Now, pulling the casing with your hands, we release it from the latches.
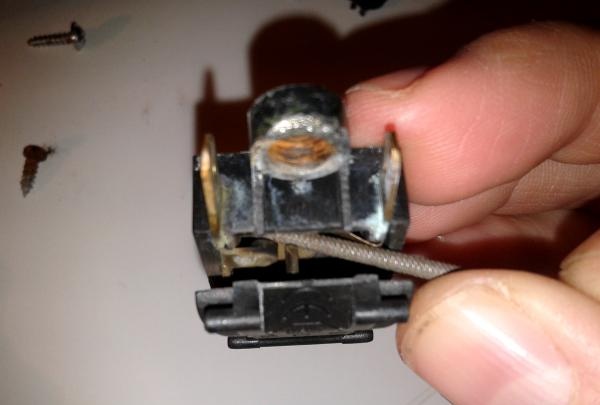
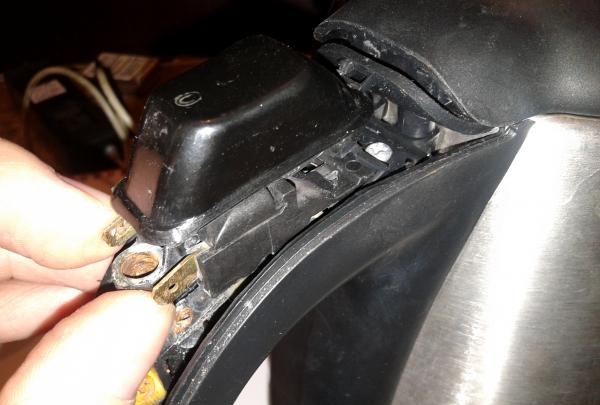
When it is completely removed, you will see two wires going to the power button.

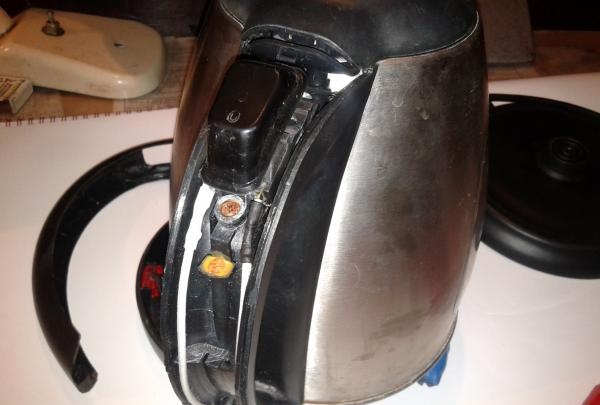
Unscrew the screw securing the button and remove it.
Here you see a bimetallic plate that is responsible for turning off the kettle during boiling. There is no need to touch her.
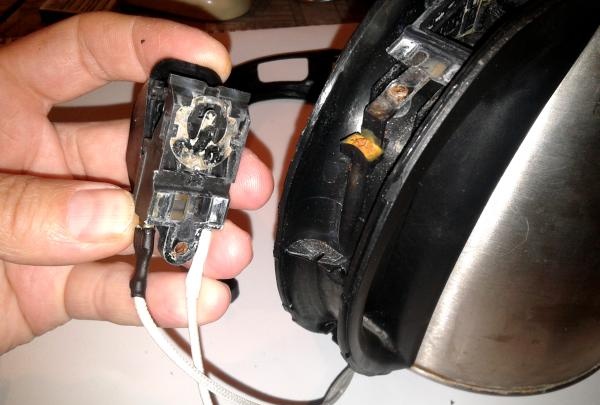
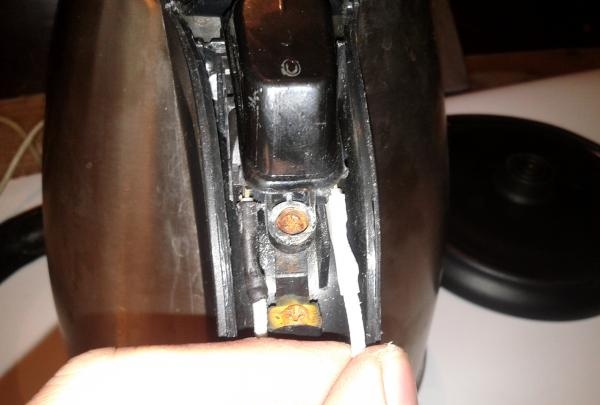
Next, disconnect the wires from the button so that they do not interfere with you. The connection is made on connectors, so it is not difficult to disconnect them by pulling them towards you.

Now we look at the contacts of the button and we can see that they are pretty burnt.
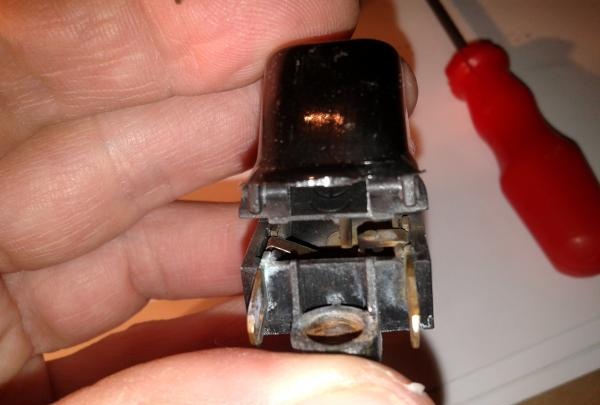
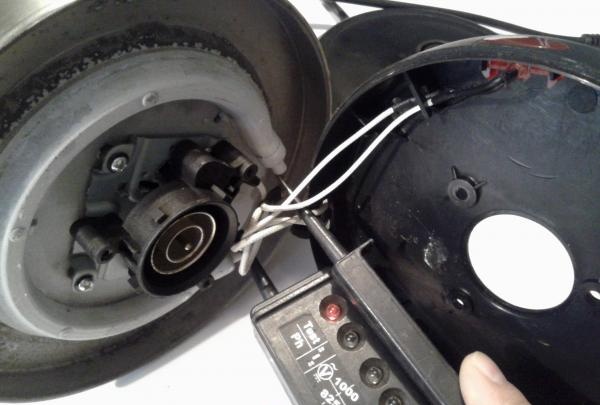
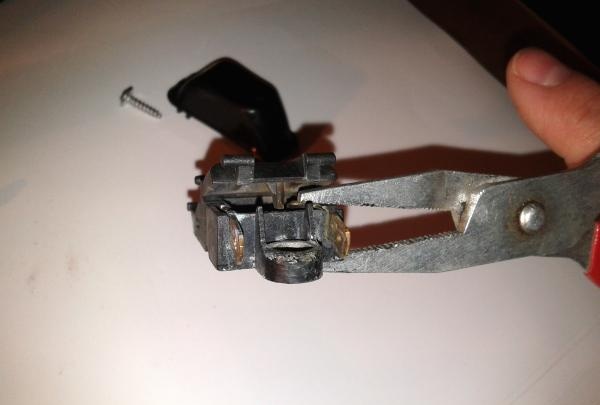
This makes contact and, accordingly, the operation of the kettle itself difficult. To make it easier to work with contacts, you can remove the top part of the button.

Using a knife or a thin file, we clean the upper and lower contacts. This must be done carefully so as not to bend or break one of them. This is especially true for the lower one, since it has a springy structure that cannot be disturbed.
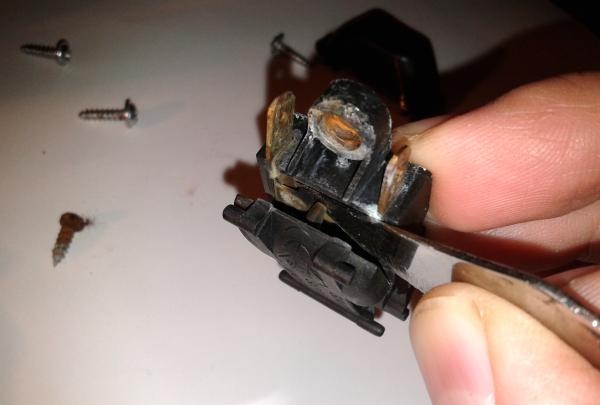
When the grinding is done, use pliers to slightly press the upper fixed contact. Be careful not to bend it too much. Otherwise it will not open. The displacement should be approximately 1mm.
We're done with that, now let's clean the terminals on the button.
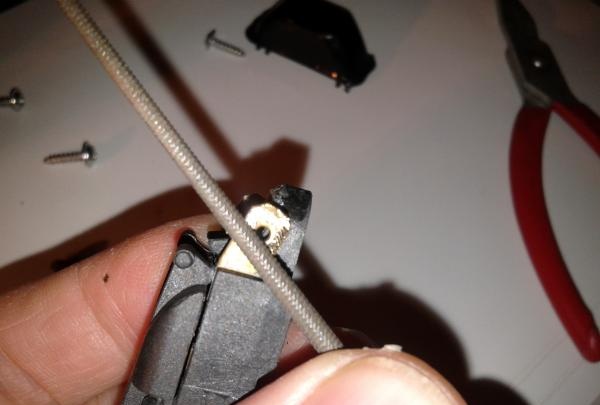
For better contact, you should also slightly bend the connectors on the wires with pliers.
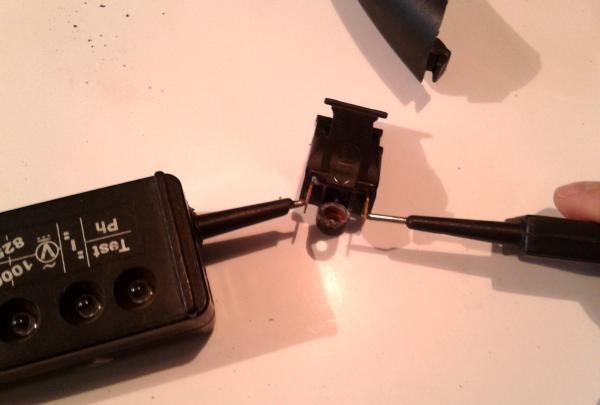
We check the result of the button's operation by dialing. In the on state there should be reliable contact, and in the off state there should be no contact.
We put the button back and tighten it with the fastening screw.
We connect the wires and close the handle casing.
This needs to be done from top to bottom.
Next, we do everything the same as during disassembly, but in reverse order.
Place the kettle on the stand and plug it in.
You can see the water boiling and the kettle turning itself off.
We can assume that the repair was successful and the device will serve for a long time.
That's all, successful repairs to you.