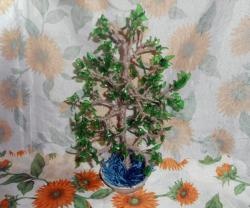
The tree will perfectly decorate the interior, or be suitable as an unusual and exclusive gift. They are made from various materials: paper, beads, cardboard, etc.
But, unfortunately, not everyone has the necessary materials. You can make a tree from simple and affordable things that many people have or are inexpensive.
This master class is based on 2 materials: wire and nail polish to create a tree with your own hands.

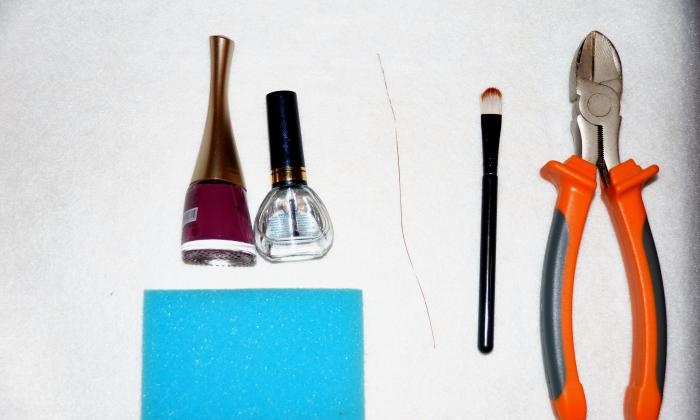
To work we will need:
- Nail polish.
- Thin wire.
- Thick wire.
- Side cutters (for cutting wire).
- A round, straight object (for example, a pen, pencil, etc.). In my case, this is a makeup brush.
- Dish mat or sponge.
- Plasticine.
- Vase.
- Alabaster.
To begin with, we will need wire, side cutters, a makeup brush, nail polish and a sponge (or a backing pad, the kind you usually use in a grocery store).
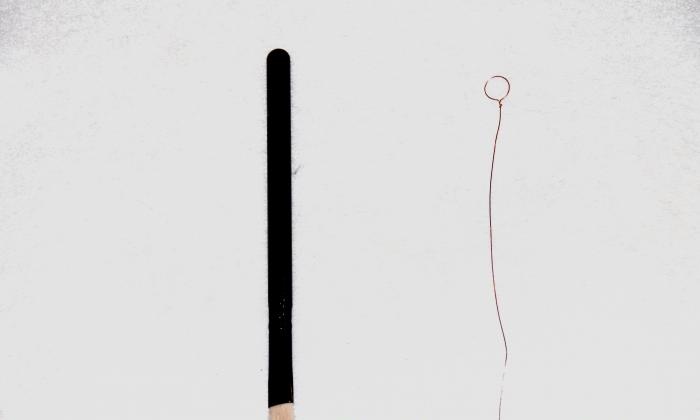
1. A wire is wound onto the other end of the brush.At the base of the brush, the wire is compressed with your fingers; it must be twisted 3-4 times (depending on the diameter of the brush).
It turns out one circle (future leaf).
2. You need to twist one more circle.

3. Twist the last circle to make 3 circles.
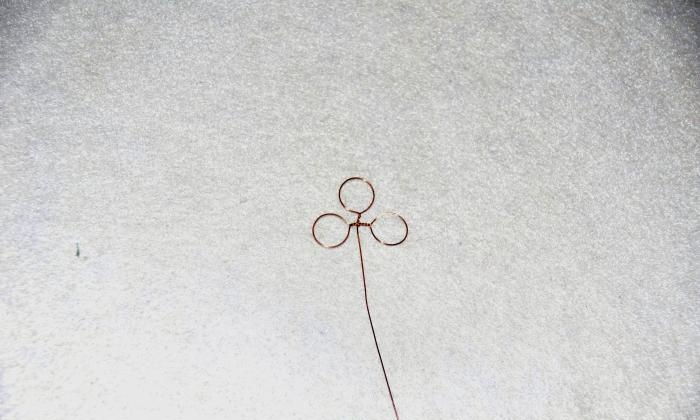
4. You need to place the circles on the brush one by one, and gently pull the edge of the circle with your finger (or fingernail). The result should be an elongated leaf.

5. We do the same with the rest of the circles. It turns out to be a trefoil. Brush diameter – 8 mm. You need to leave a leg 5 cm long. One trefoil takes approximately 14.1 cm of wire.

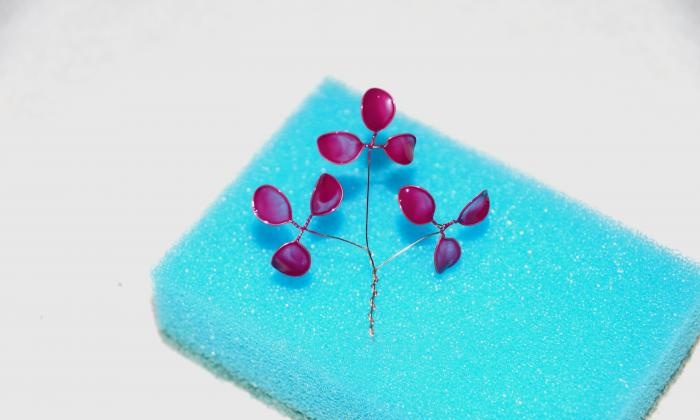
6. In a similar way, we make 2 more of these trefoils. But for 1 out of 3 shamrocks, you need to leave the stem a little longer, about 7 cm (instead of 5 cm).

7. On the trefoil with a longer leg, we alternately wind the remaining 2. Now we will call this element, which consists of 3 trefoils, the BASE.

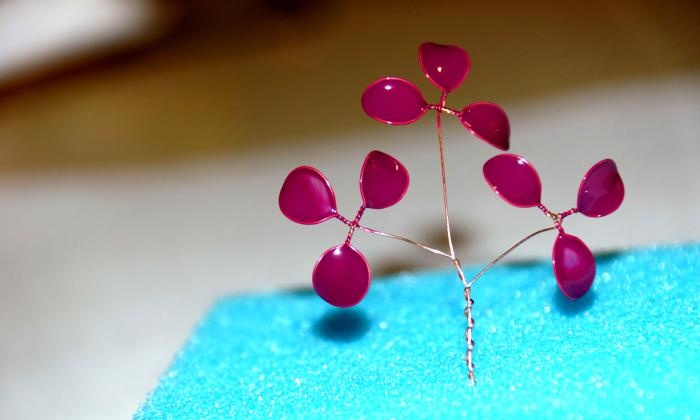
8. We start with the first leaf (you can choose the color yourself). At the beginning of the work, it is very important to adapt to the unusual process.
Having collected more varnish on the brush, we begin to move it along the wire from the middle to the edge (this is easiest than doing the opposite).

The main thing in the process: press the brush so that no voids form between the brush and the wire (otherwise the varnish will not go further and will peel off); and move from one edge to the other at a time. Only in this case will it be possible to make a film of varnish that will cover the wire.
We do the same with the rest of the leaves.
9. When 1 layer of varnish dries (about 2 minutes, depending on its composition), you need to apply another layer of colored varnish. The color will become more saturated, and missing areas (which stand out from the general background because they shine through) will not be visible.
10. The second layer takes longer to dry than the first. Approximately 20 minutes.Then apply the 3rd layer of varnish. Where the leaves are well painted - transparent. And in places where there are defects, you need to paint over with another colored layer of varnish. You can do it in the reverse order: first apply a layer of clear varnish, and paint the other 2 with colored varnish.
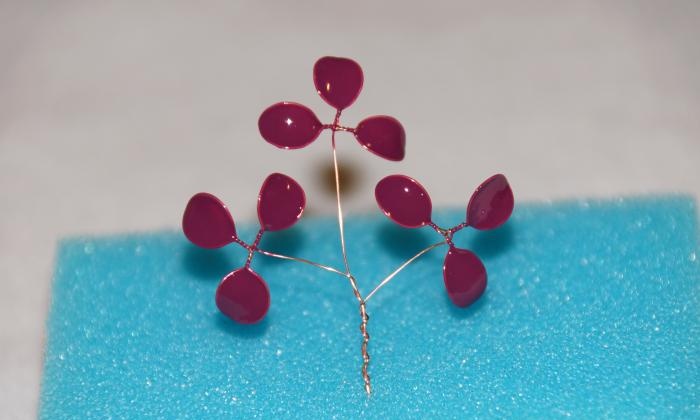
11. It is best to leave the product to dry overnight after applying 3 layers of varnish. And paint in a room where everything is well ventilated.
It is necessary to prepare a lot of such basic branches.

I got 54 pieces of different colors. It is best to place such branches in a food tray to dry. The wire is easily stuck into it. You can use a dish sponge. But sticking twigs into it is more difficult, and small pieces of sponge can sometimes fall out of it.
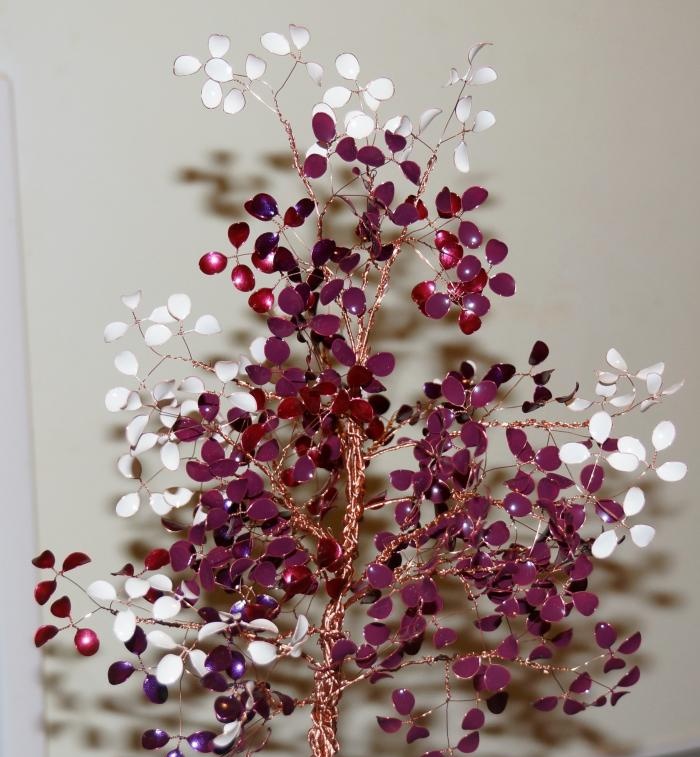
After the varnish has completely dried, you can begin assembling large branches.
12. You need to take a wire approximately 60-80 cm long and fold it in half. Then fold it in half again. Attach 3 warps to it alternately. Then you need to repeat this action for 2 more large branches.

13. Similar to the previous step, bend 80 cm of wire in half, and in half again. And wrap 3 large branches around it.
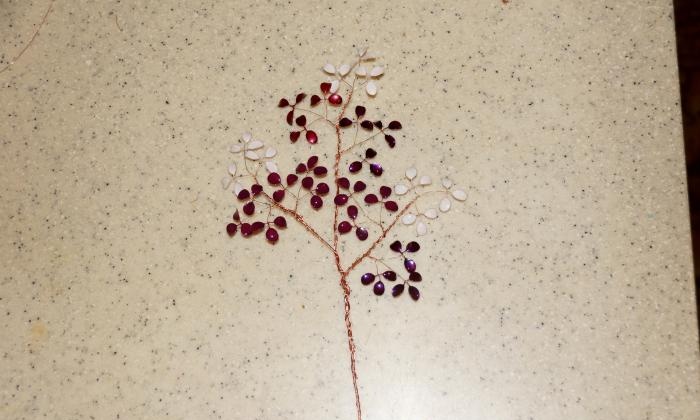
14. From these branches (17 pieces) we assemble the base of the tree. You should not try to make them fluffy, as this is an unnecessary action. Then, in the process of making the barrel, they will have to be pressed together to make it more convenient to work with plasticine.
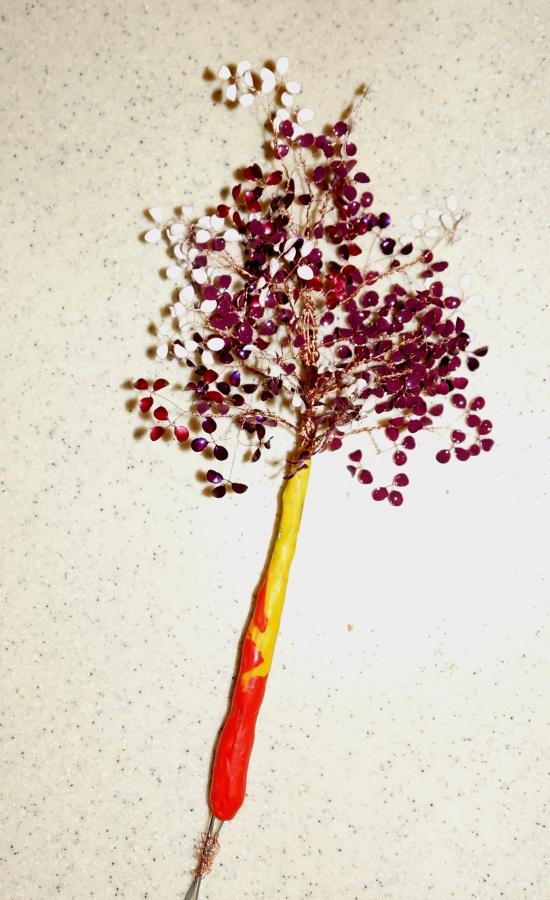
15. Then we take 3 pieces of thick wire and attach it to the trunk. This can be done with anything: glue, plasticine, wire, etc. We get a barrel made of wire, but as if unfilled - empty. It can be stuffed with paper or newspaper. And cover the top with plasticine.
16.Cover the barrel with alabaster on top of the plasticine, using a brush or your hands. It is better to use gloves when working with such material. It is sold in any hardware store and is inexpensive (about 20 rubles per 1 kg). For the entire work 1 kg. alabaster will be enough.
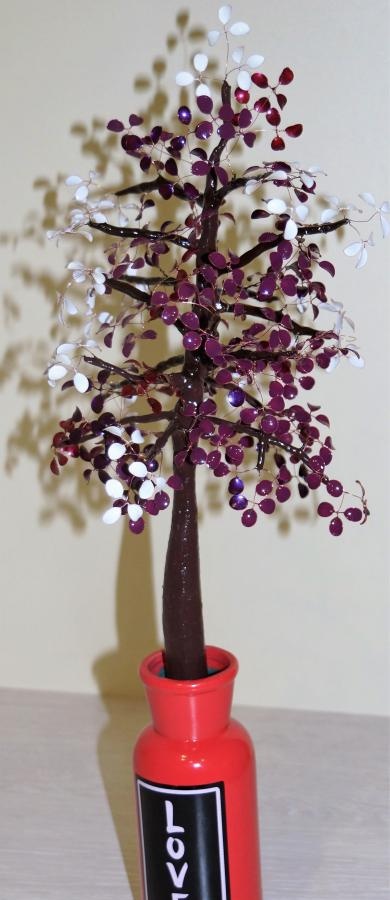
17. We dilute the alabaster and fill the vase almost to the top (leaving about 4 cm). Immediately insert the trunk into the vase (alabaster hardens very quickly), and wait until it hardens (about 5-7 minutes, so it will harden and the trunk will not be able to move in different directions). Paint the trunk brown.

18. The next step is very long and painstaking. All branches must be coated with plasticine so that the wire is not visible. Then we paint over all the branches with brown varnish. The lighter the color of the plasticine, the easier it will be to paint over it. We paint the alabaster that is visible from the vase green (imitating grass).

At the end of all the work, let the varnish dry, preferably leaving it to dry overnight.
19. After the varnish has dried, you need to straighten out all the twigs and leaves. It happens that the leaves become damaged and crack, but you can apply another layer of colored varnish to this leaf.

The whole job took about 6 bottles of nail polish (including the barrel). About 4 blocks of plasticine.
Thank you for your attention to the master class, I will be glad to see your comments.