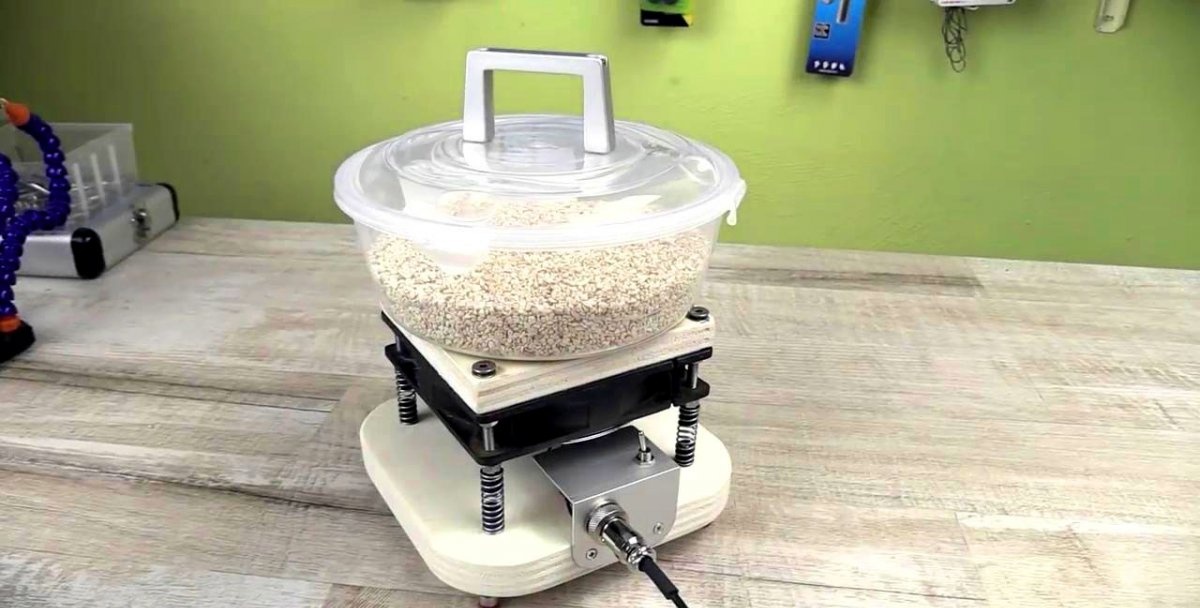
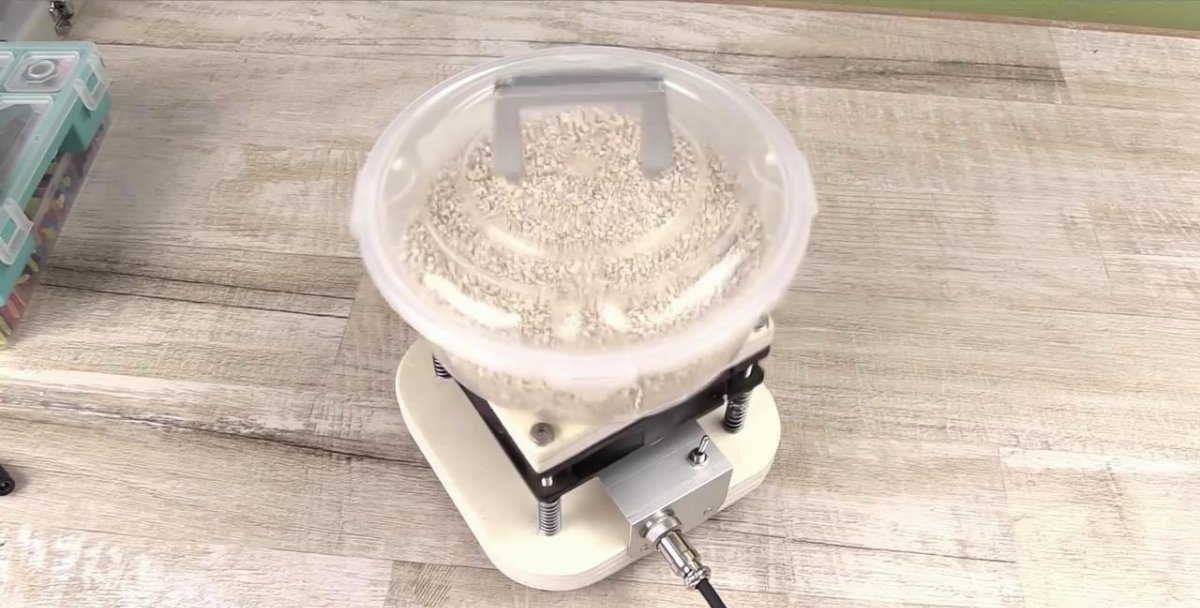
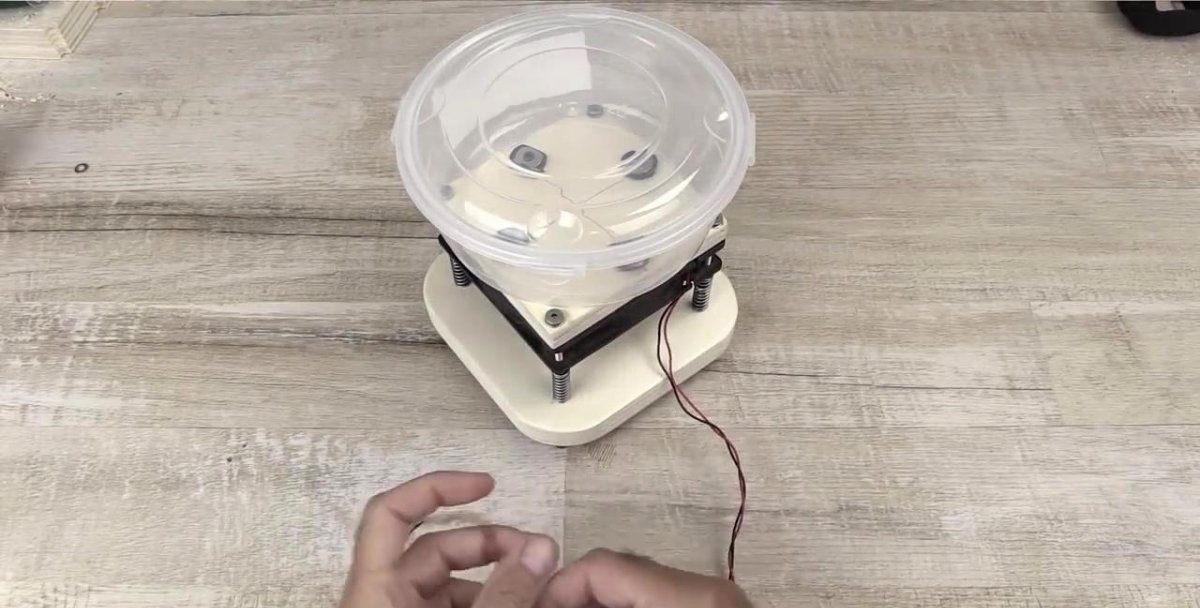
At first glance, it is not so easy to determine the purpose of this device. A plastic transparent cup with a handle, cereal is poured into it, but it does not look like it was going to be cooked: after all, the plastic and the spiral are not visible, and the cereal is not filled with water, although the electric cord is there. Maybe the product is wet and needs to be dried? And it doesn't look like it.
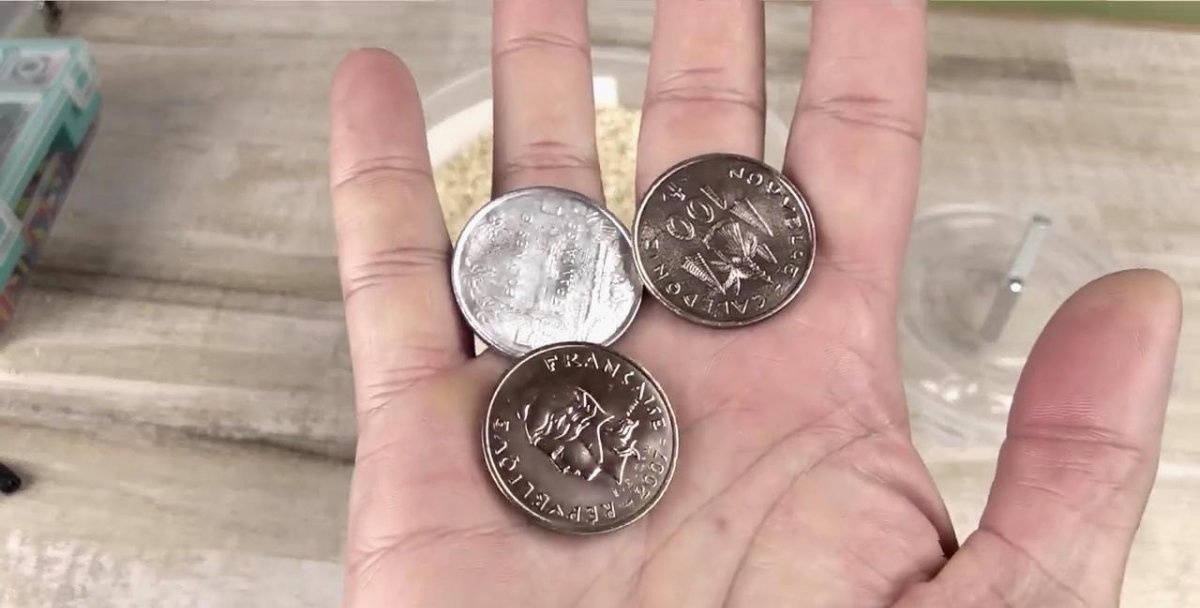
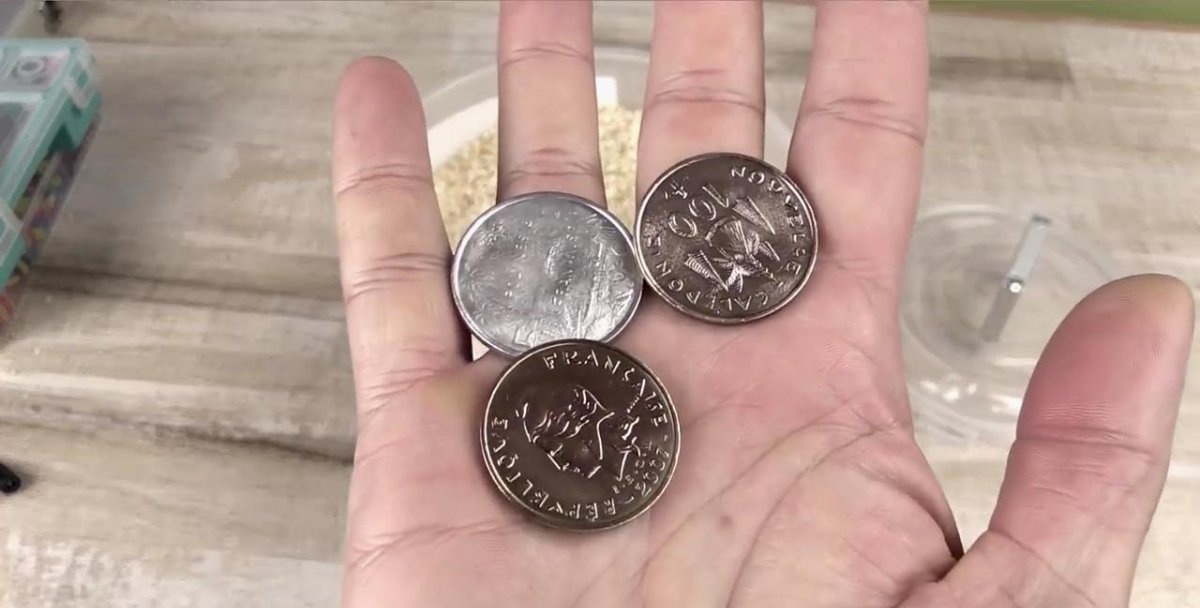
Well, when, after opening the lid, they put old coins, faded with time, into the cup, and turned on the device and it “danced,” the bewilderment instantly dissipated. The device is designed for vibration cleaning of small metal objects!


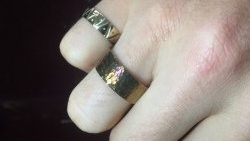
This assumption was brilliantly confirmed (literally and figuratively) when the device was de-energized and amazingly clean and bright coins were taken out from under the cereal (even the eyes hurt!), which a few minutes ago were depressing with their fadedness and unattractiveness.
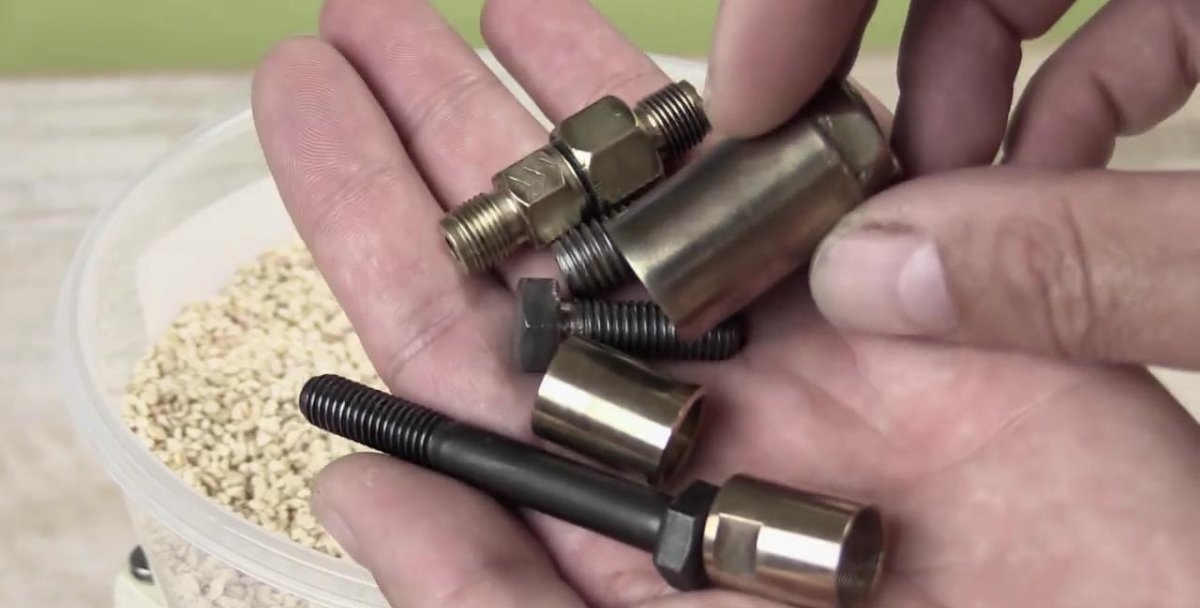
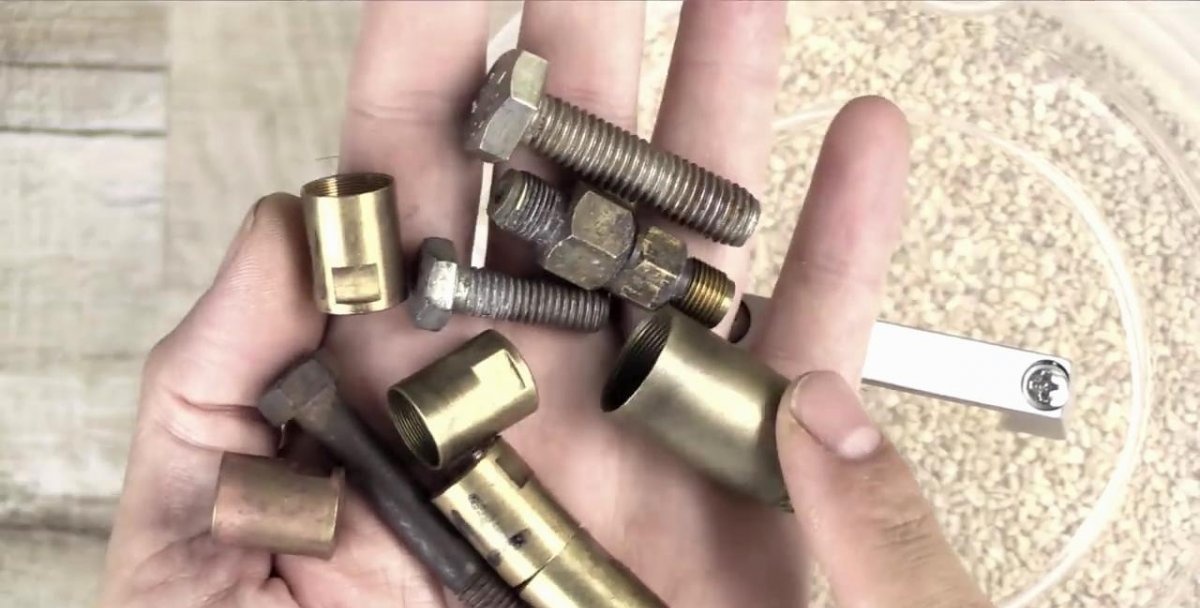
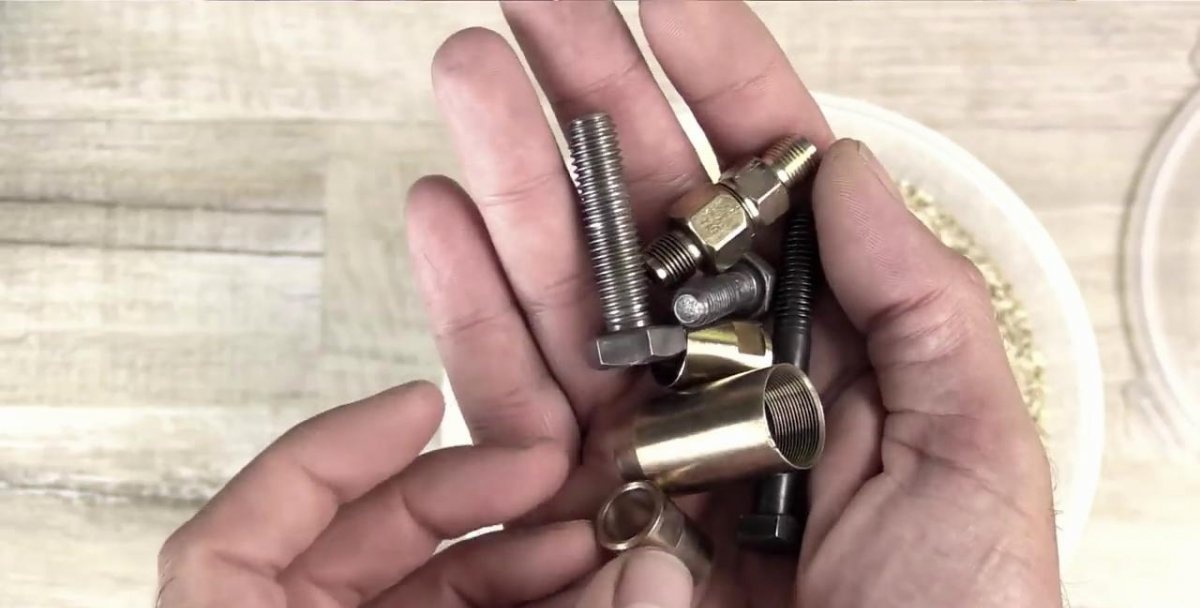
The same thing happened with steel bolts, nuts, brass or bronze bushings and anything else that had clearly been damaged in the past. There is plenty of dirt, soot and rust on them.However, placed, like the old coins, in the cereal, in which they stayed for some time with the machine turned on, they did a miracle - everything became as good as new. Just unbelieveble!
Is it possible to do something similar with your own hands? Easily! There won’t be any special shortage, just all the little things and some tools. But in order not to be distracted while working on a homemade project, we will still outline the main things that will be needed.
Required tools and materials
Tools you will need:
- Painting knife, scissors.
- Marker, ballpoint pen, ruler.
- Electric drill with a set of drills, electric jigsaw.
- Various wrenches, hand screwdriver, hexagon.
- Pliers, pliers, file.
- Soldering iron, soldering accessories.
- Medical syringe.
Materials required for work:
- Household exhaust fan.
- Plastic round container with a snap-on lid.
- A piece of multi-layer plywood and thin rubber
- Steel springs – 4 pcs.
- Screws with different heads and lengths with washers and nuts.
- Bolt with nut.
- The screws are short with wide heads and washers.
- Motorsil brand glue.
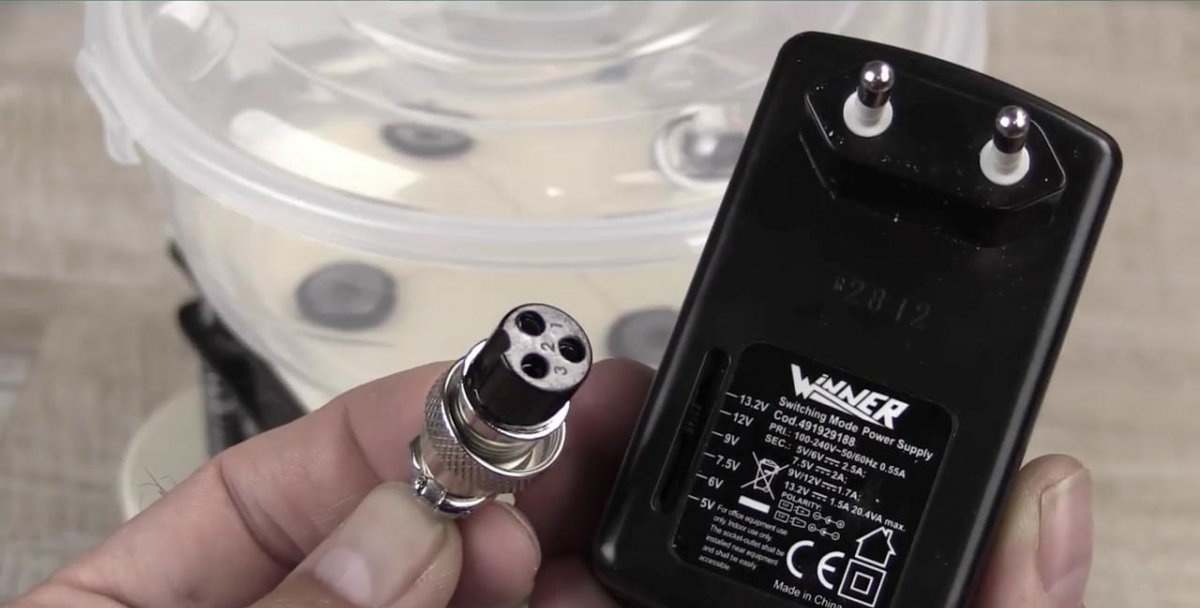
- Electrical connector and two position switch, etc.
Vibration cleaning process
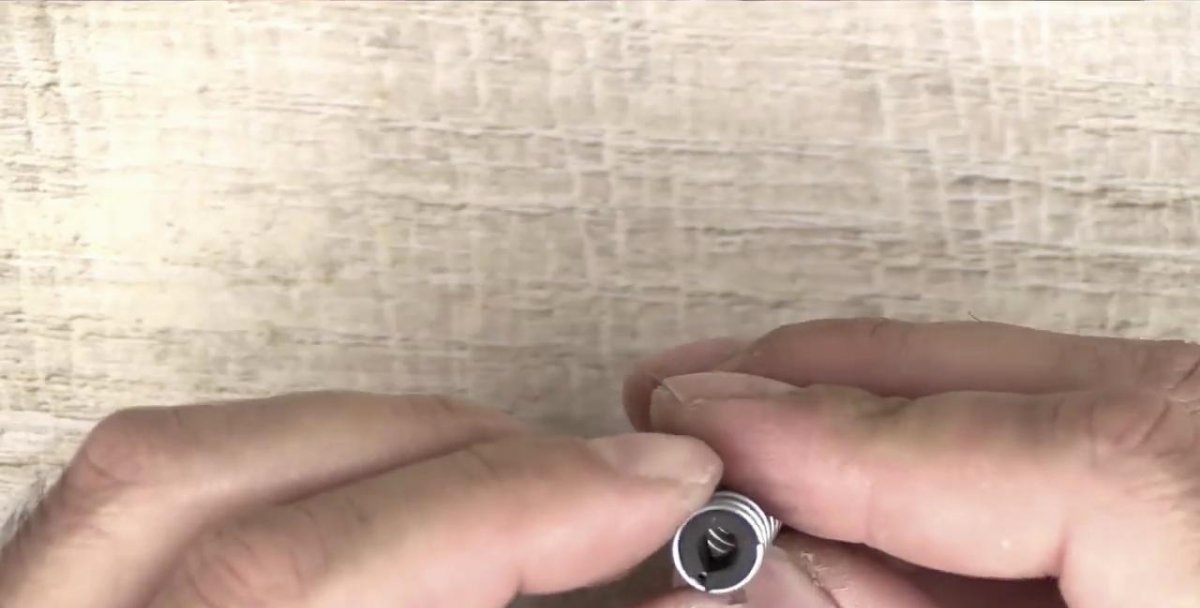
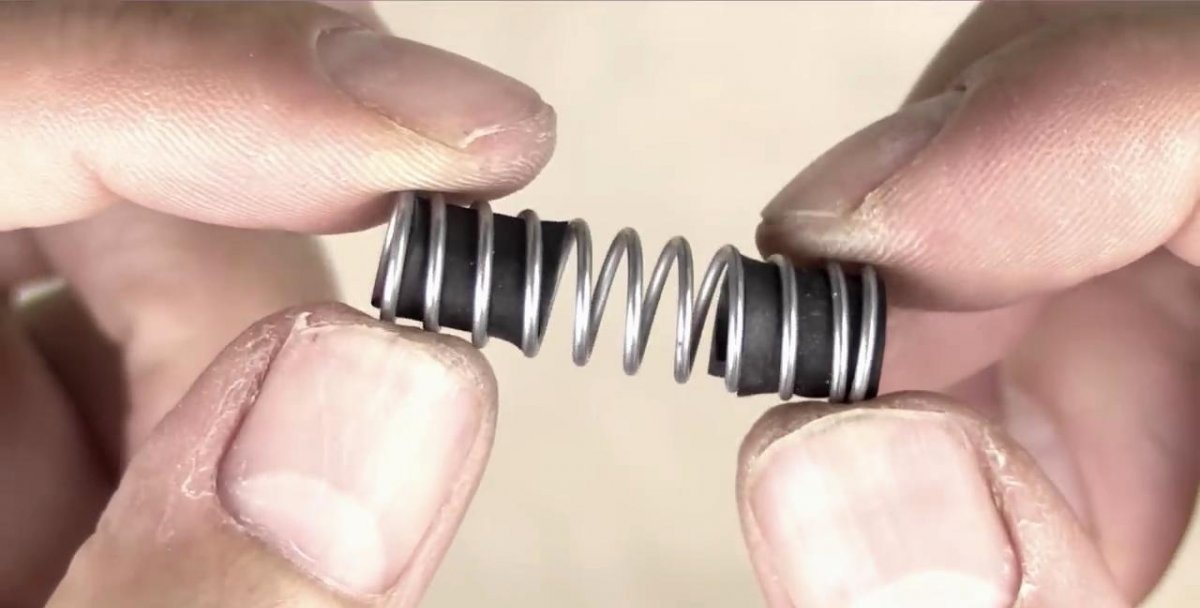
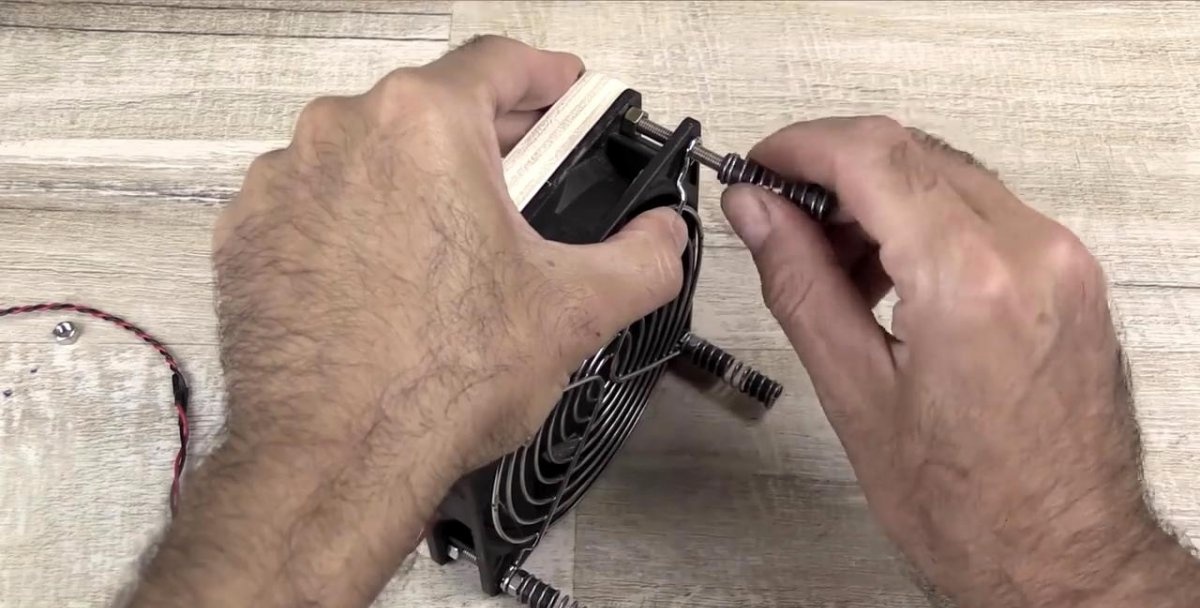
Let's start with compression springs. They should be quite elastic with flat ends. It is the springs with an unbalanced impeller that will provide the vibration process.
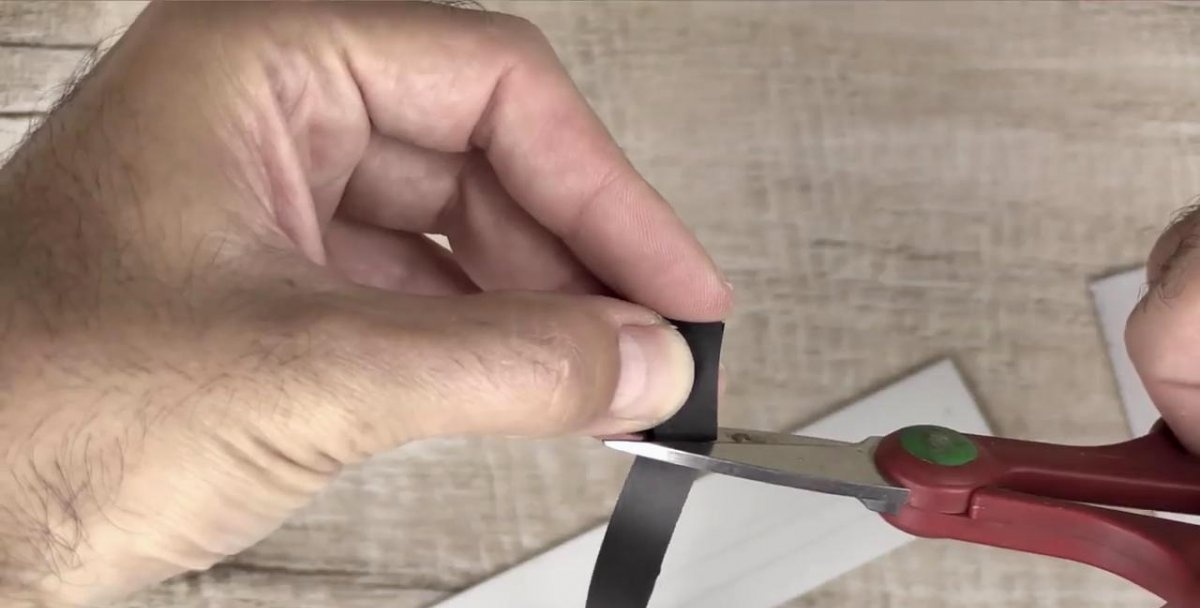
To secure the springs in the structure with screws, we insert strips of rubber on both sides, which when rolled up should form cylinders (the ends of the strips should meet in place).

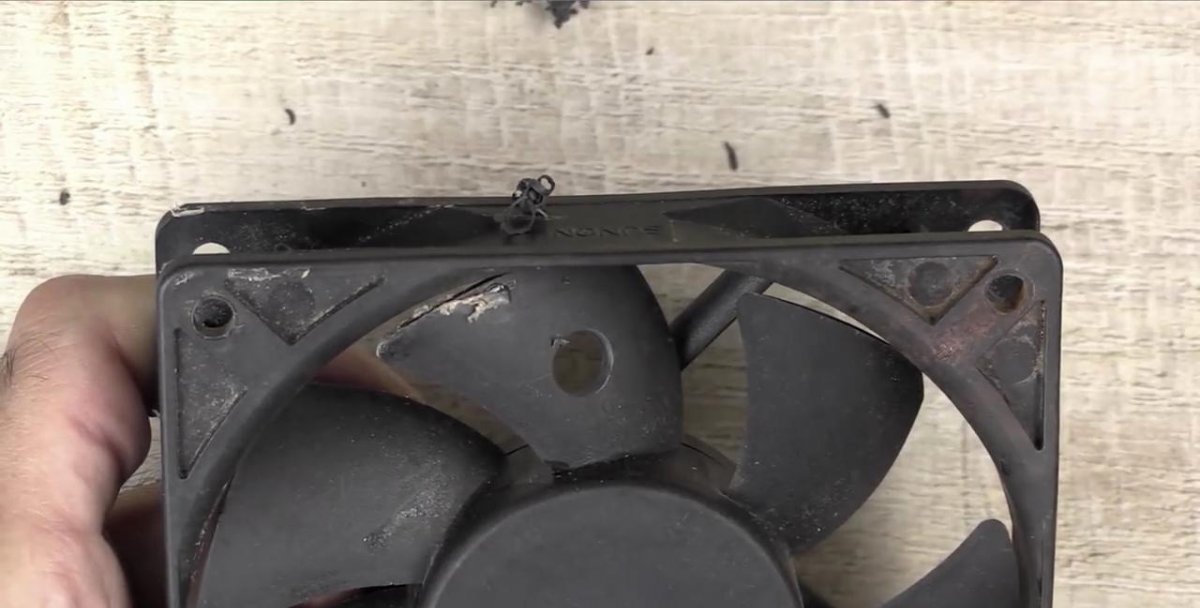
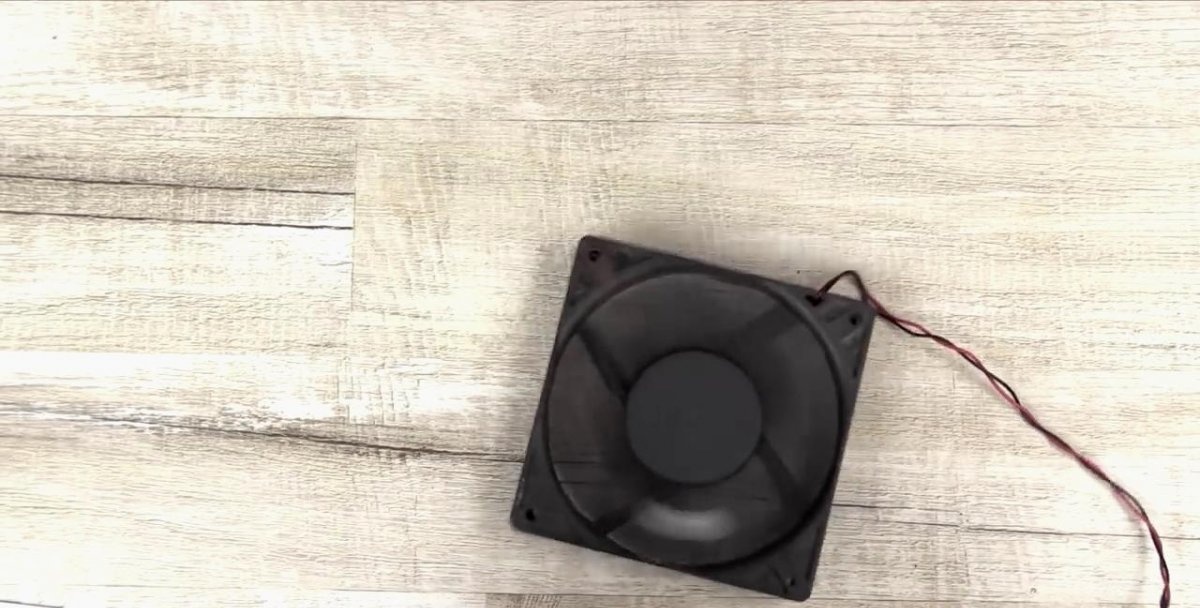
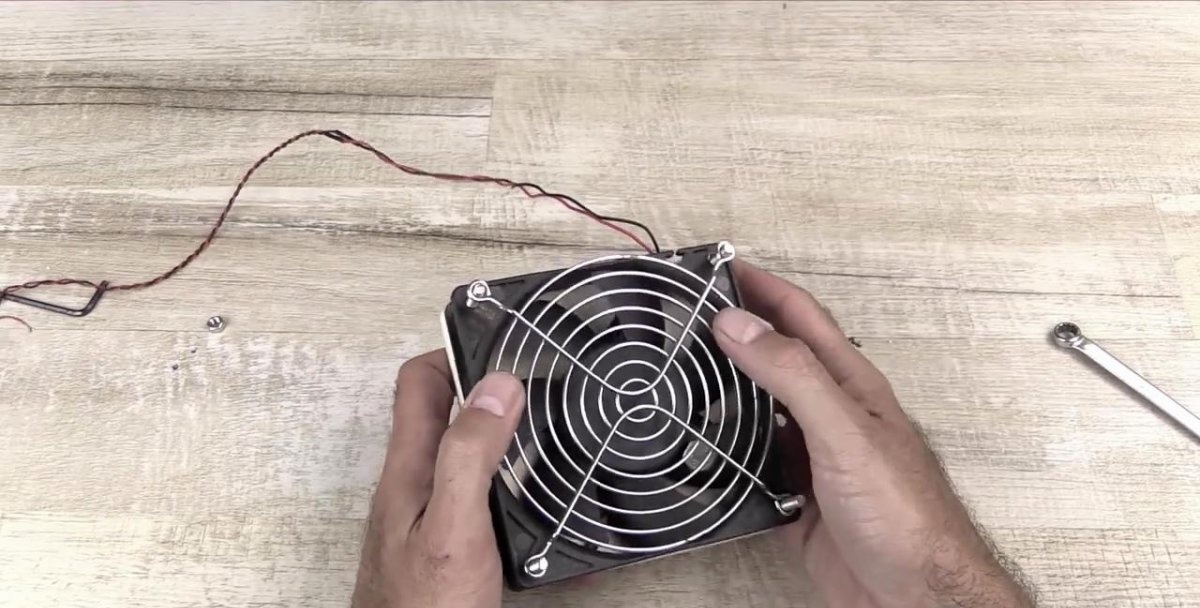
Let's start upgrading a computer fan, the impeller of which consists of 7 blades and is completely balanced. If you supply power to the device, it will work without vibration or beating.
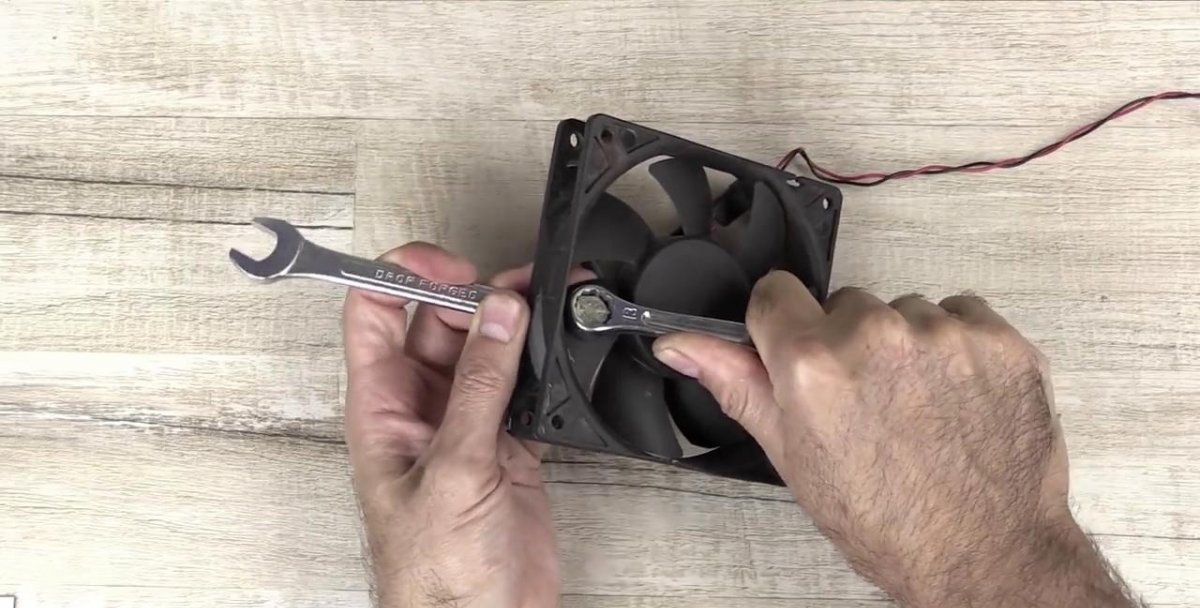
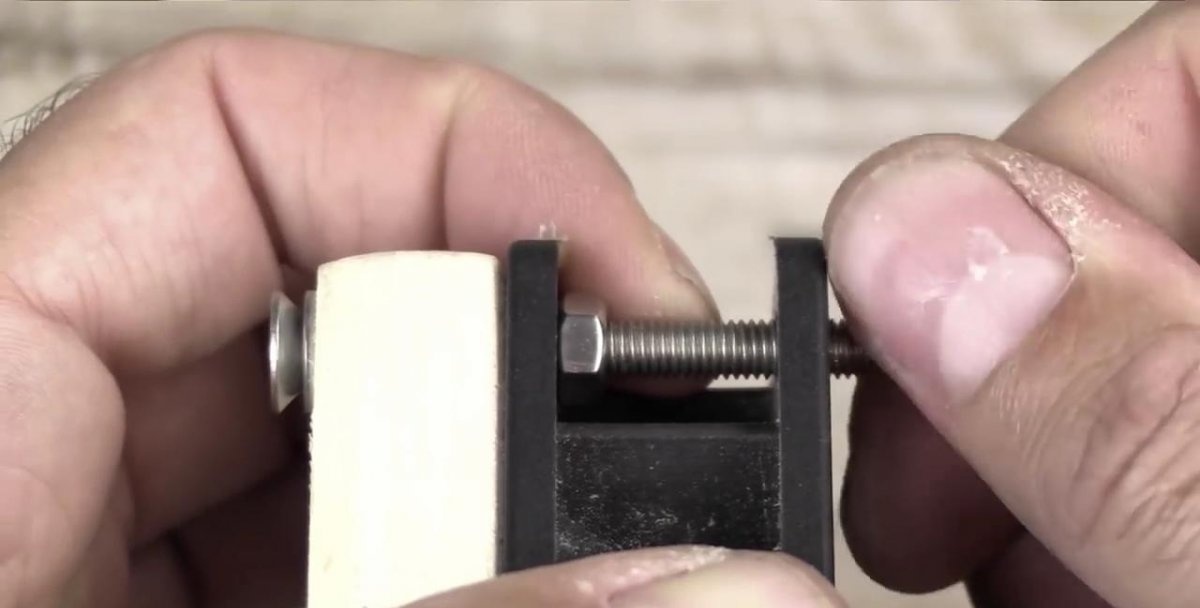
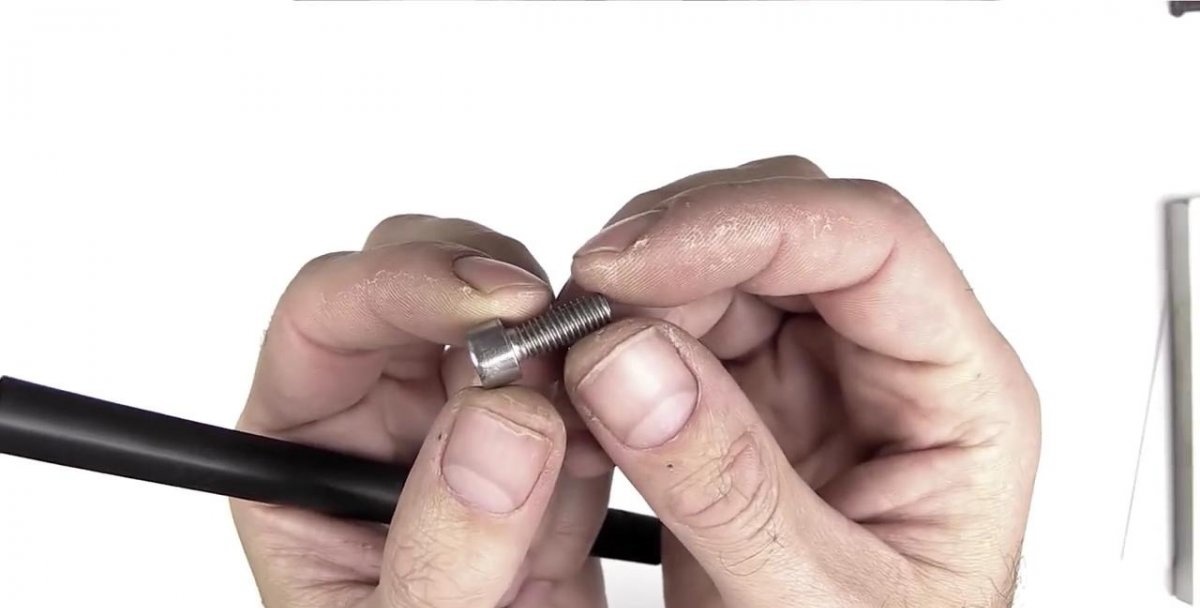
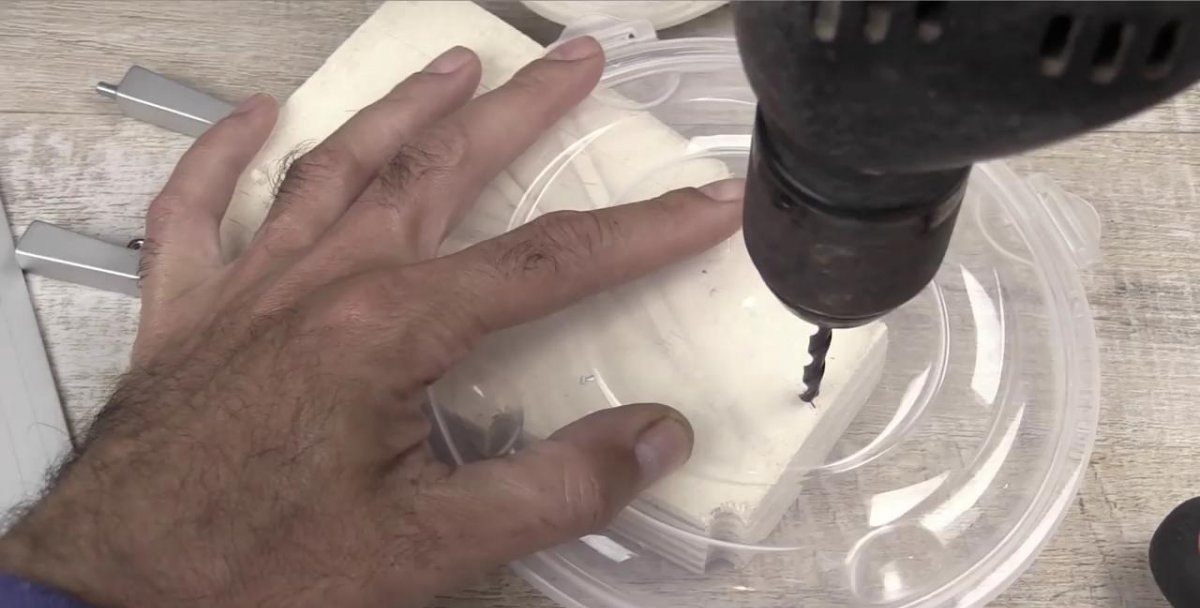
To upset the balance, we drill a hole for a bolt on one of the blades and securely fasten it on the other side with a nut.
As a result, the weighted blade will create an imbalance when rotating and, if the fan is not turned on, it will make intricate “pirouettes” along the table surface.
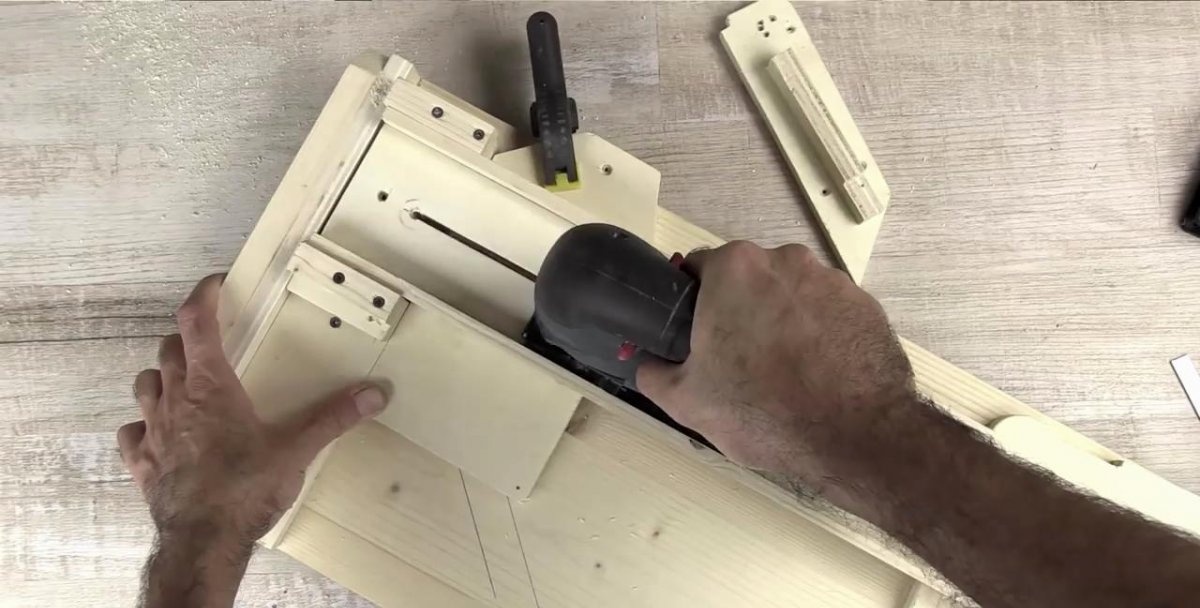
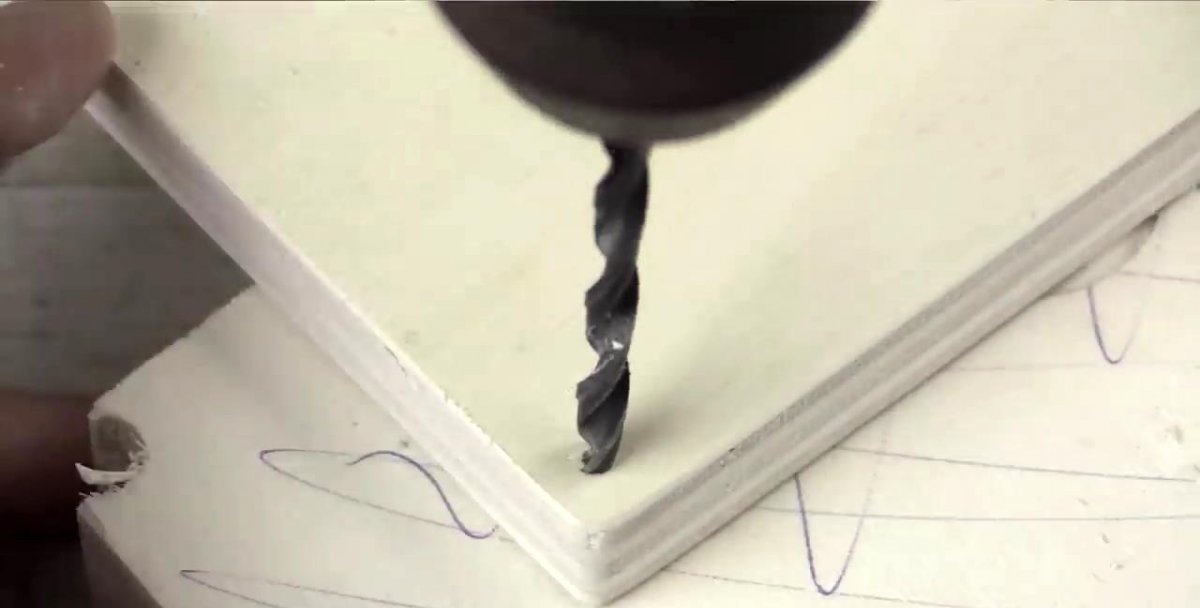
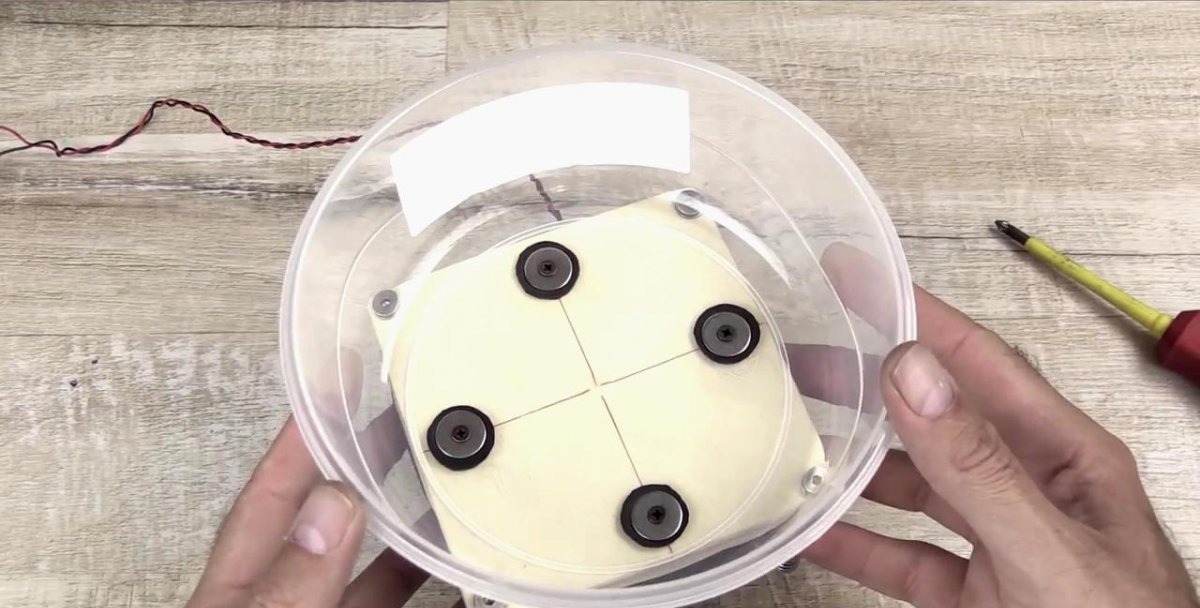
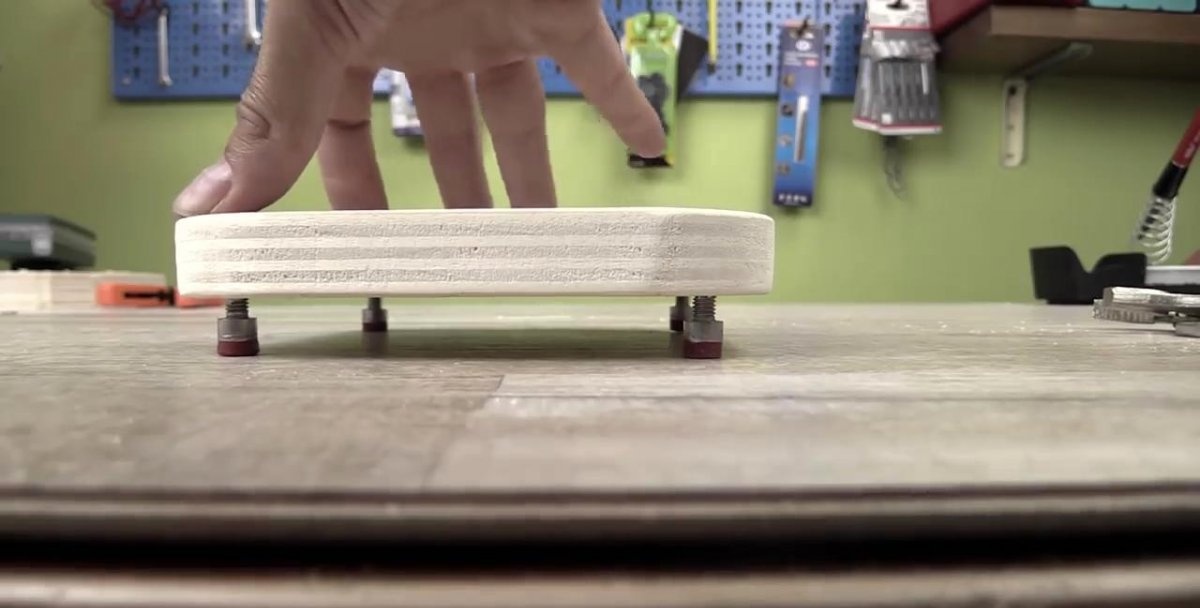
Next, we cut out the bottom base from multi-layer plywood using an electric jigsaw. We drill holes in the four corners using the fan housing as a template. Then, using sufficiently long screws with washers and nuts, we securely fasten them together using keys and a hexagon.

We make sure that the system has not lost its imbalance. On the back side of the fan, we secure the protective mesh with washers and nuts, using the protruding ends of the screws, onto which we screw springs with rubber inserts, which at the same time serve as nuts.
The presence of four springy “legs” in the corners, together with the imbalance of the impeller, ensures a multidirectional and multi-frequency vibration process of the assembled structure.

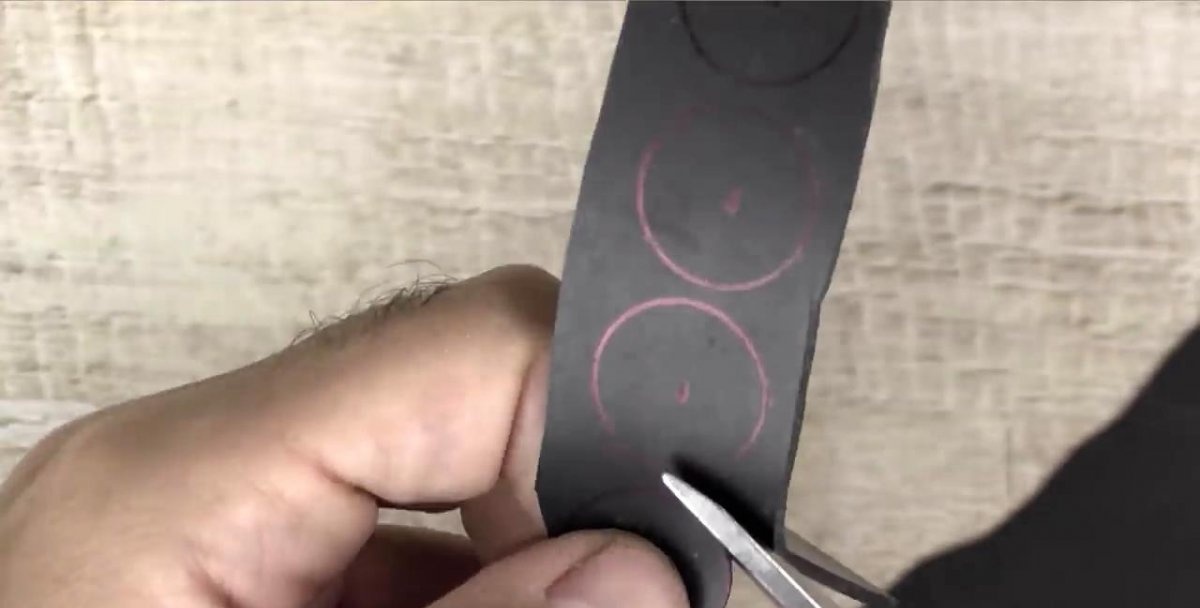
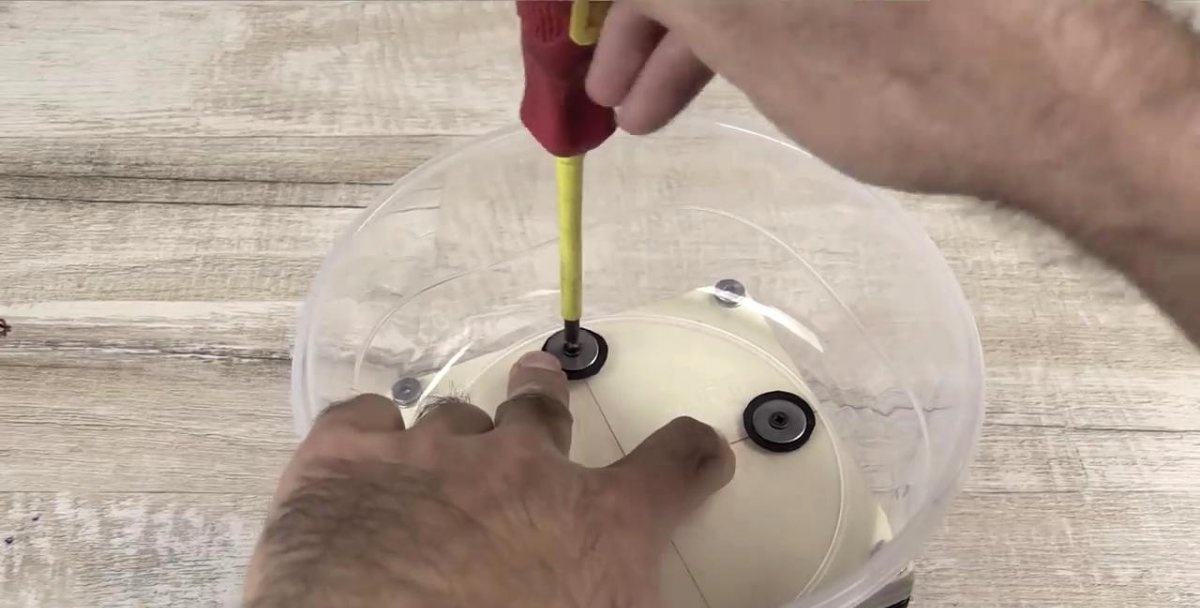
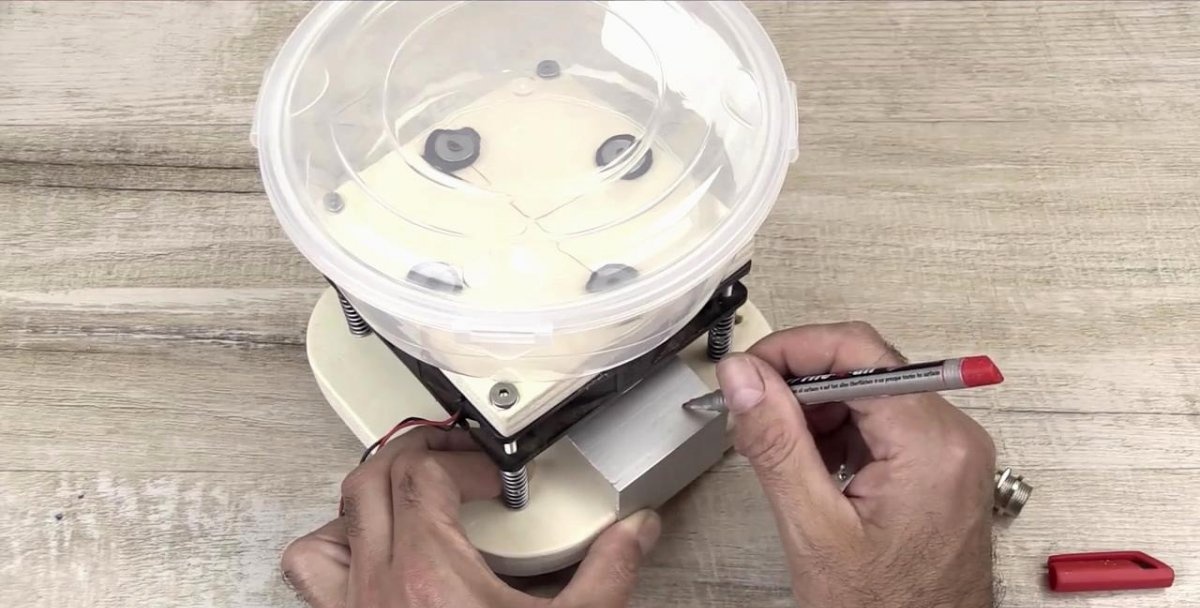
From the remaining piece of rubber, using a small bearing, a ballpoint pen and scissors, cut out 4 circles, in the center of which we drill small holes. These will be needed to securely attach the plastic container to the top base of the device, along with four short screws and metal washers.
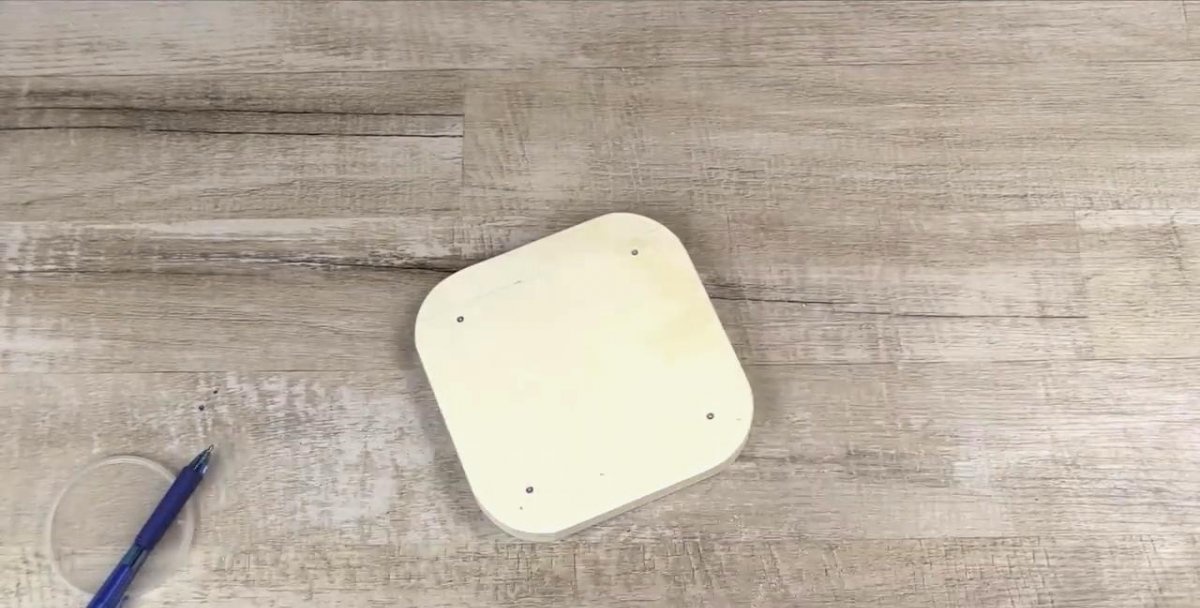
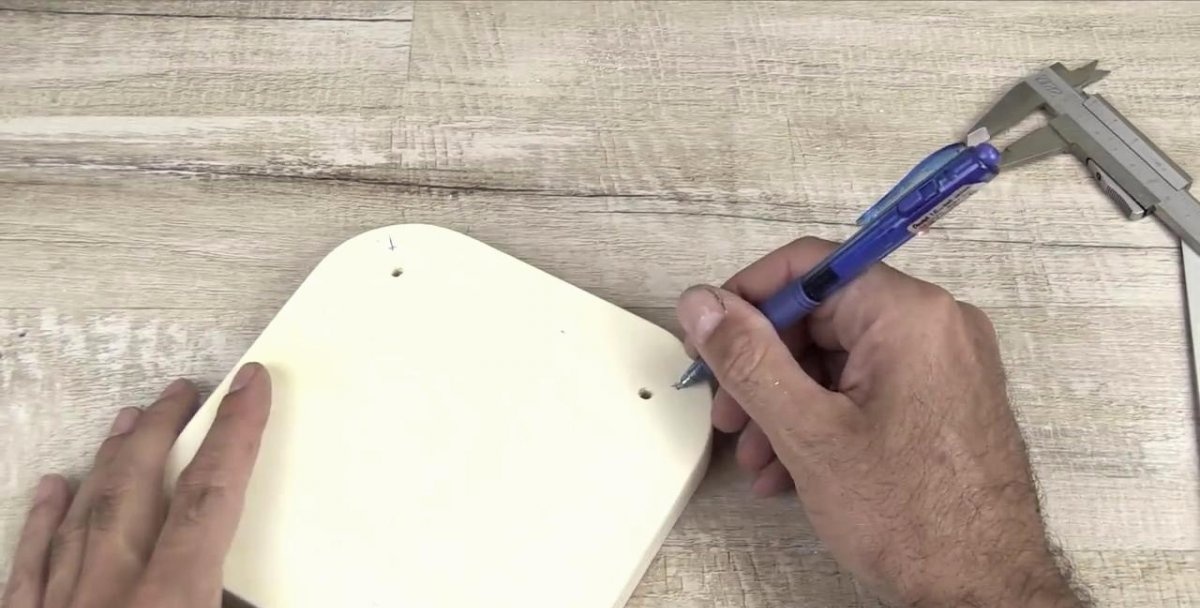
Next, we cut out the lower base from the remaining piece of multi-layer plywood, rounding the corners, and drilling 4 through holes in them, using the fan housing as a template.On the continuation of the diagonals drawn through the opposite holes, at equal distances from them we make marks of the centers of the blind holes for another “legs”, but no longer spring ones.
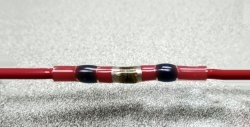
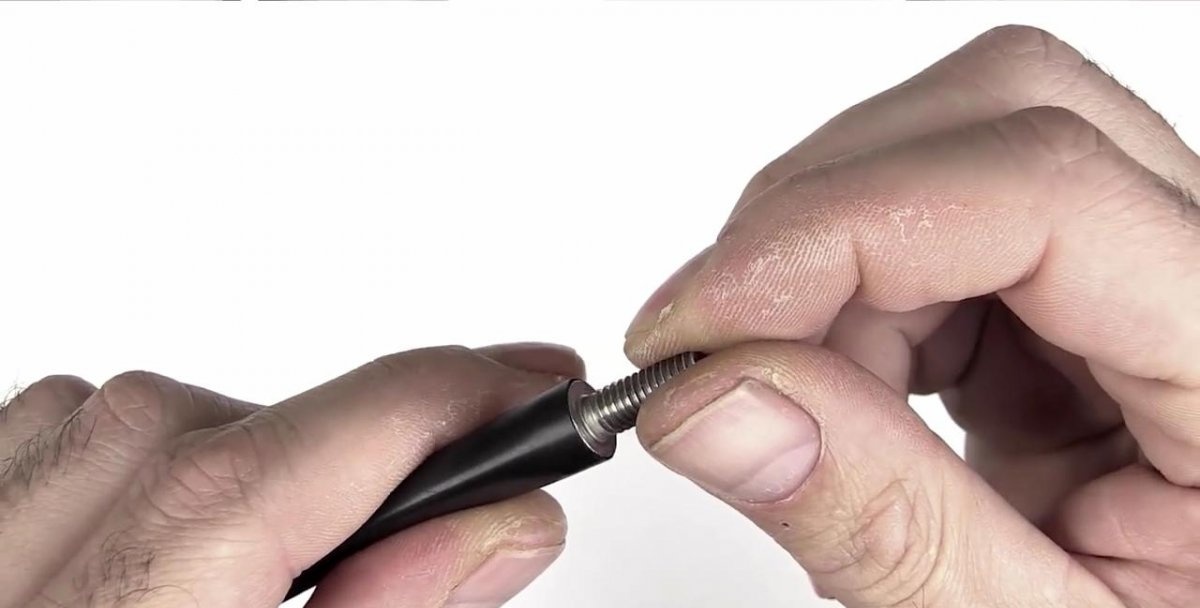
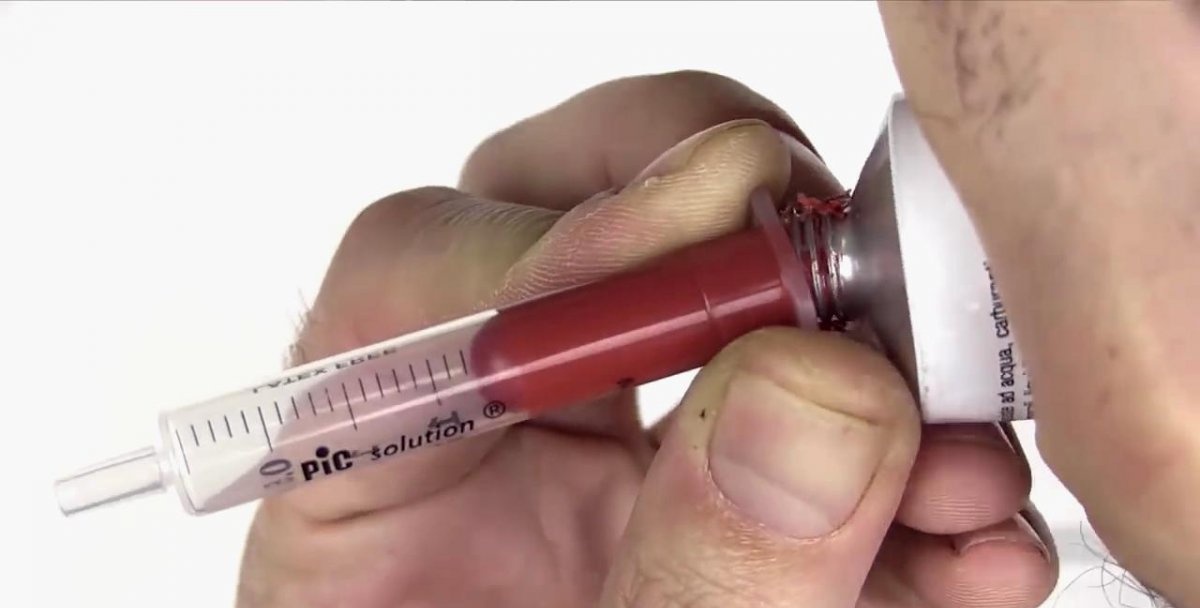
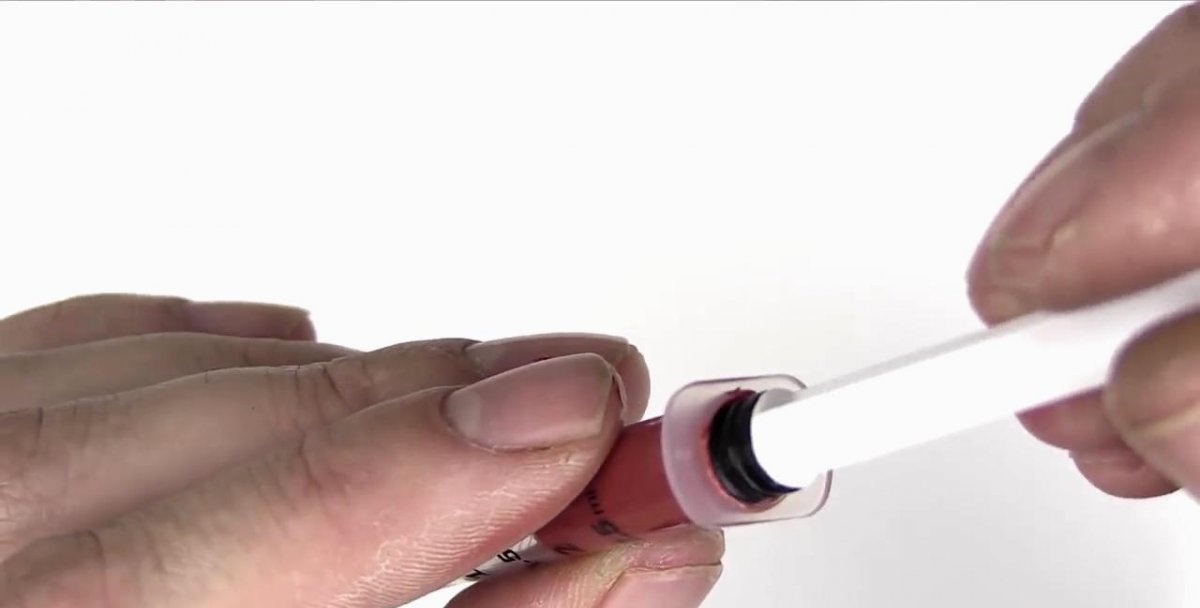
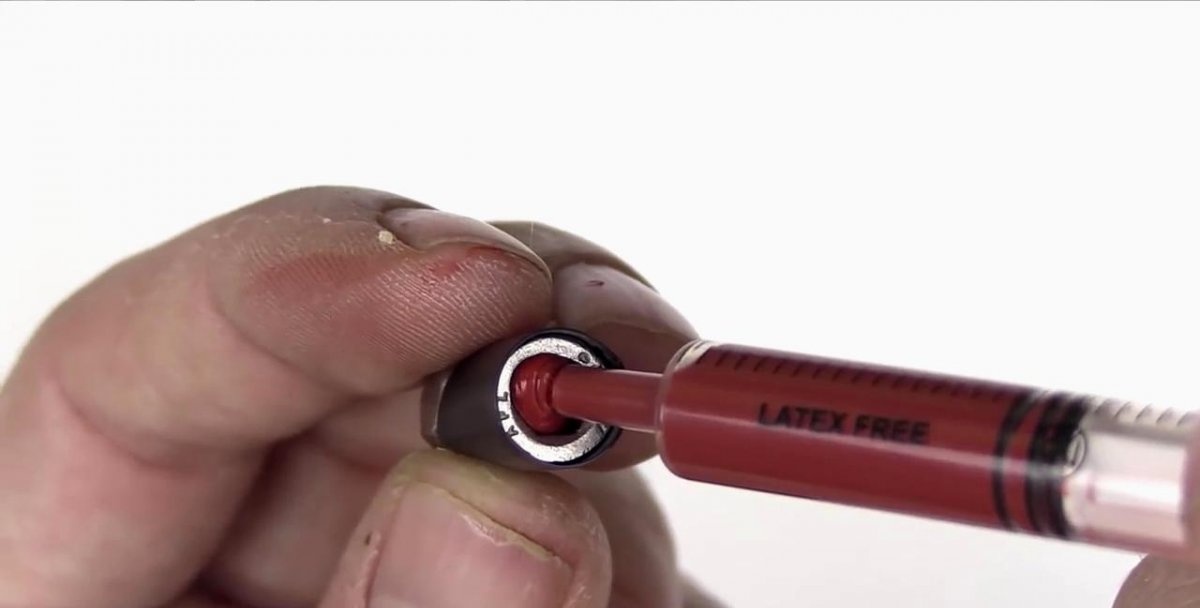
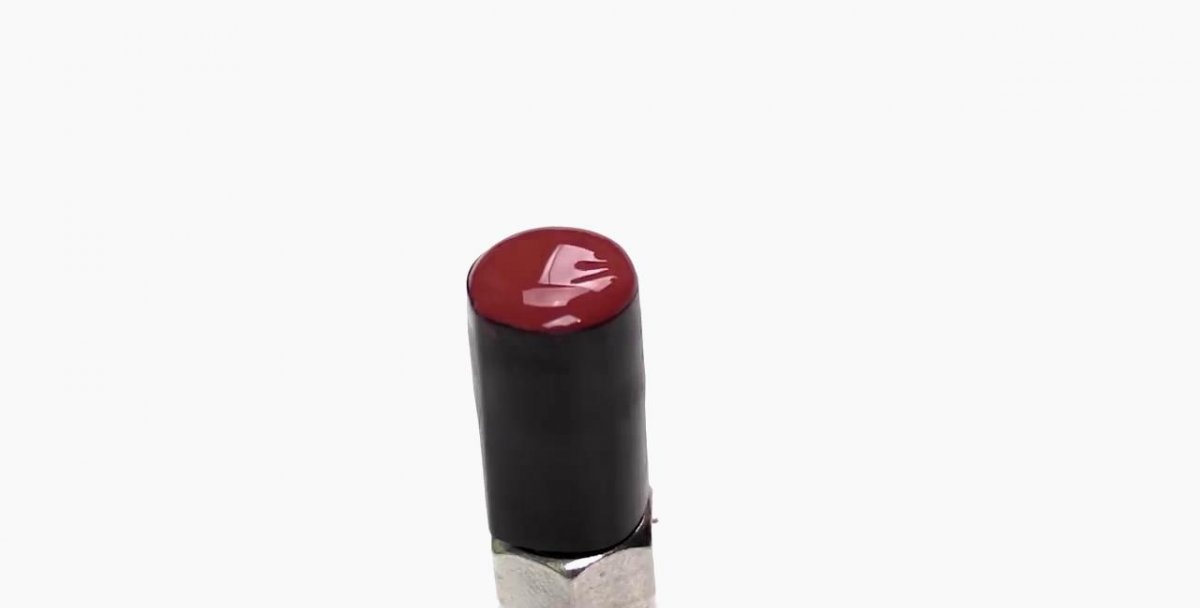
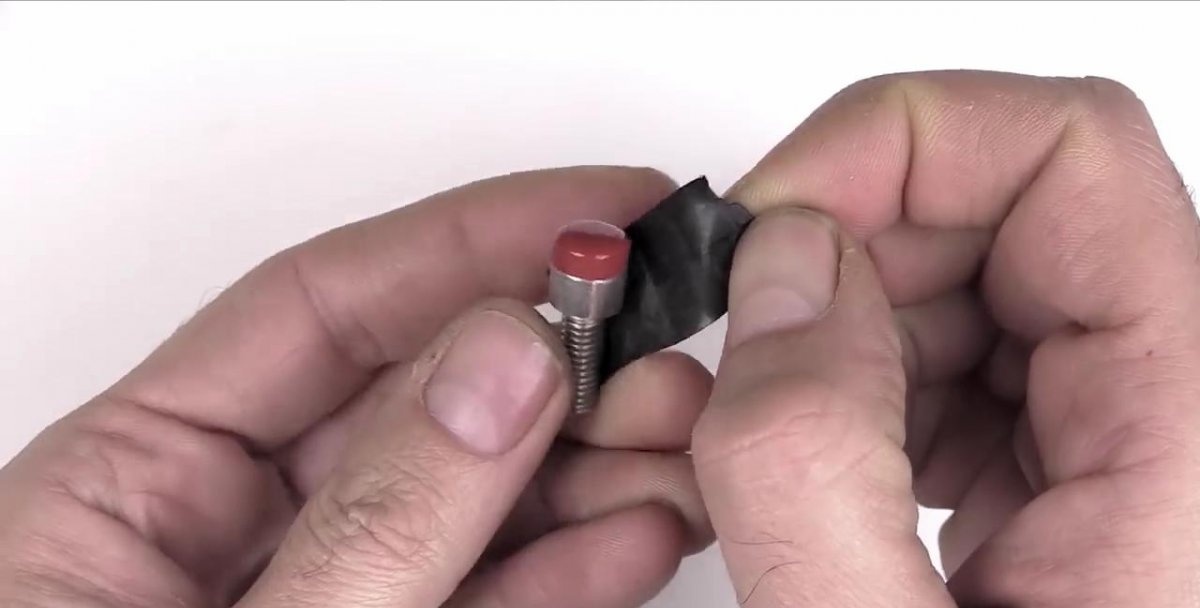
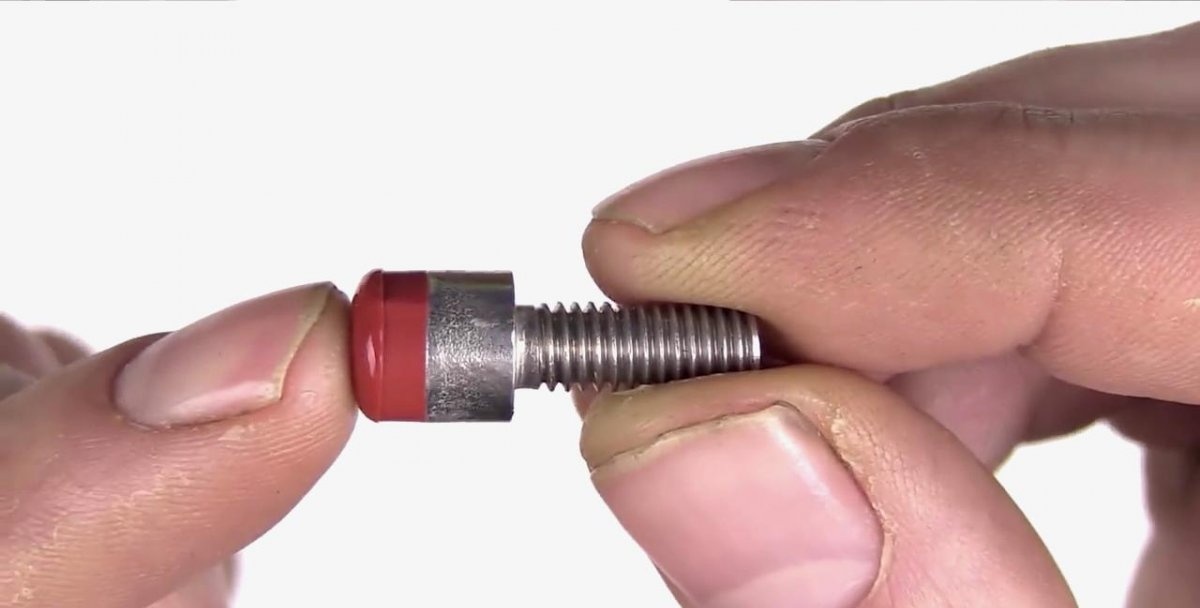
We use hexagon round head screws as supports. To prevent them from creating additional resistance to the vibrational movements of the device, we fill their heads with Motorsil brand glue, which, after hardening, acquires not only strength properties, but also elasticity. To obtain a spherical shape, we put cambrics on the heads of the screws, into which glue is poured with a syringe.
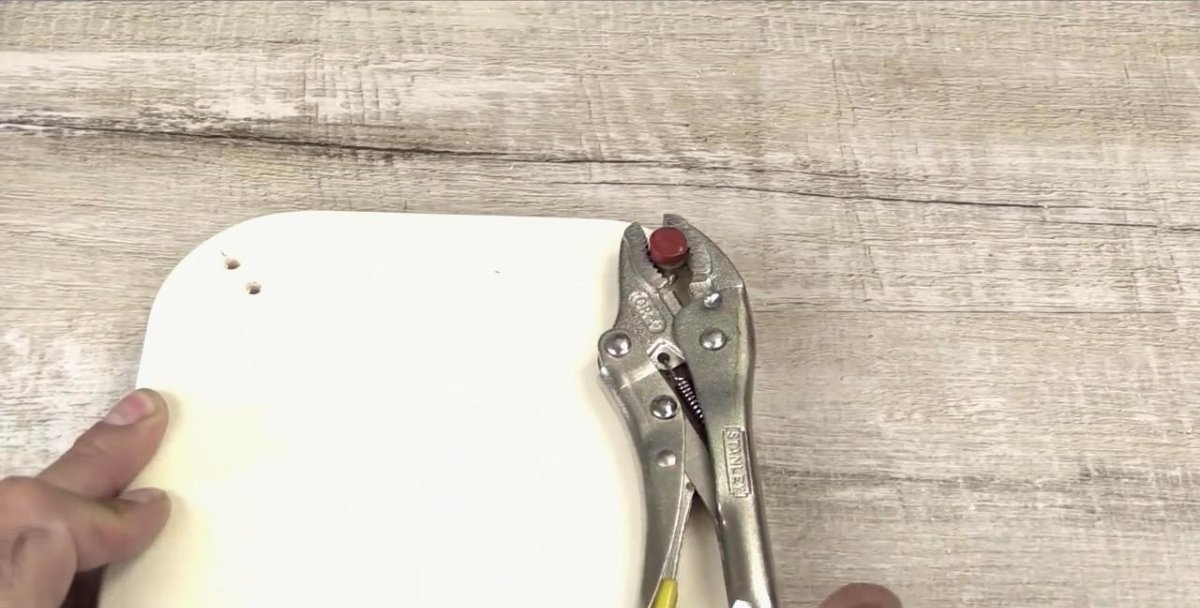
We screw the screws modified in this way into blind holes, which are drilled with a drill in pre-marked places. To ensure a tight and secure fit, tighten them with pliers.
Now you can connect the lower base through the existing holes with the spring legs of the upper platform using screws, screwing them into the rubber “nuts” in the springs.
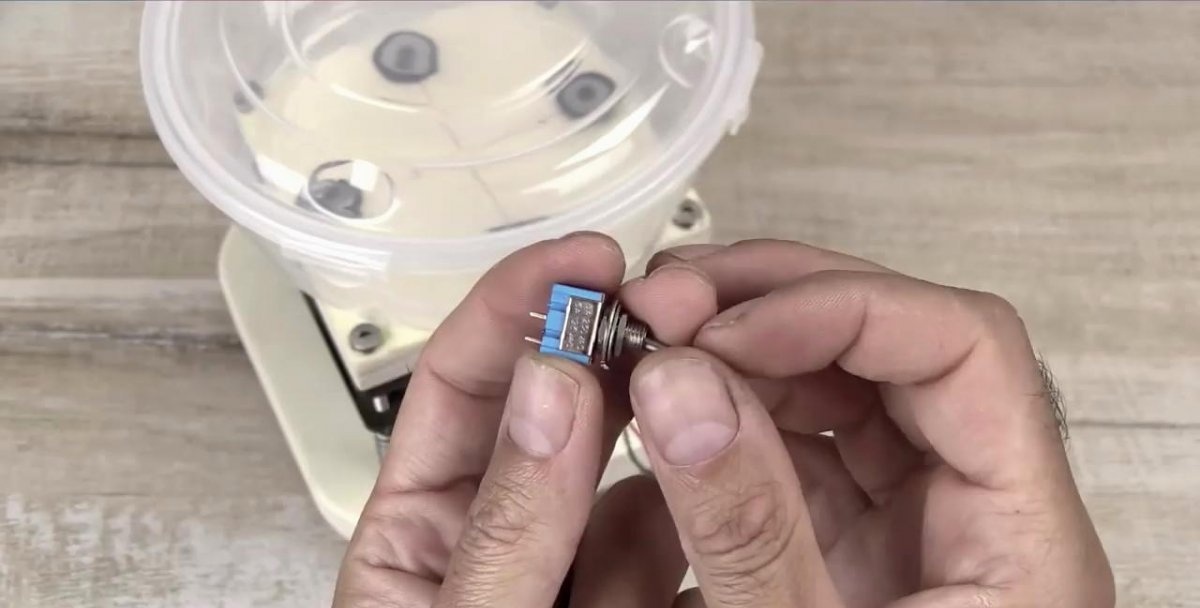
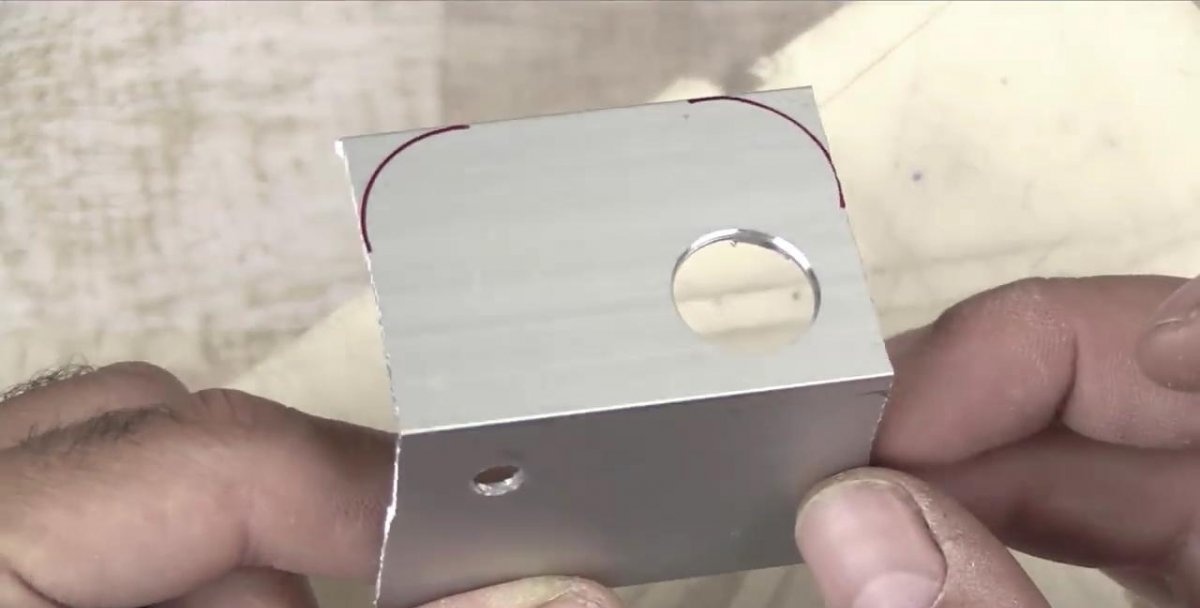
Let's start installing the electrical part. We need to install an electrical connector and a two-way switch. We use a duralumin corner as a basis for them. On one shelf we drill a large hole for the connector and two small ones for the mounting screws, on the other - for the switch. We round the upper corners along a circular arc using pliers and finish them with a file.
Now we figure out how long to leave the fan wires with a small margin, and cut off the excess with wire cutters. We pass one wire through the connector fastening nut and solder it to one of its contacts. We solder a small piece of wire to its other contact, which will connect the connector to the switch.After some time, we slide the cambrics over the soldering areas so that they melt slightly and tightly cover the contacts. All that remains is to use a nut on the back of the shelf to secure the electrical connector in the space provided for it.

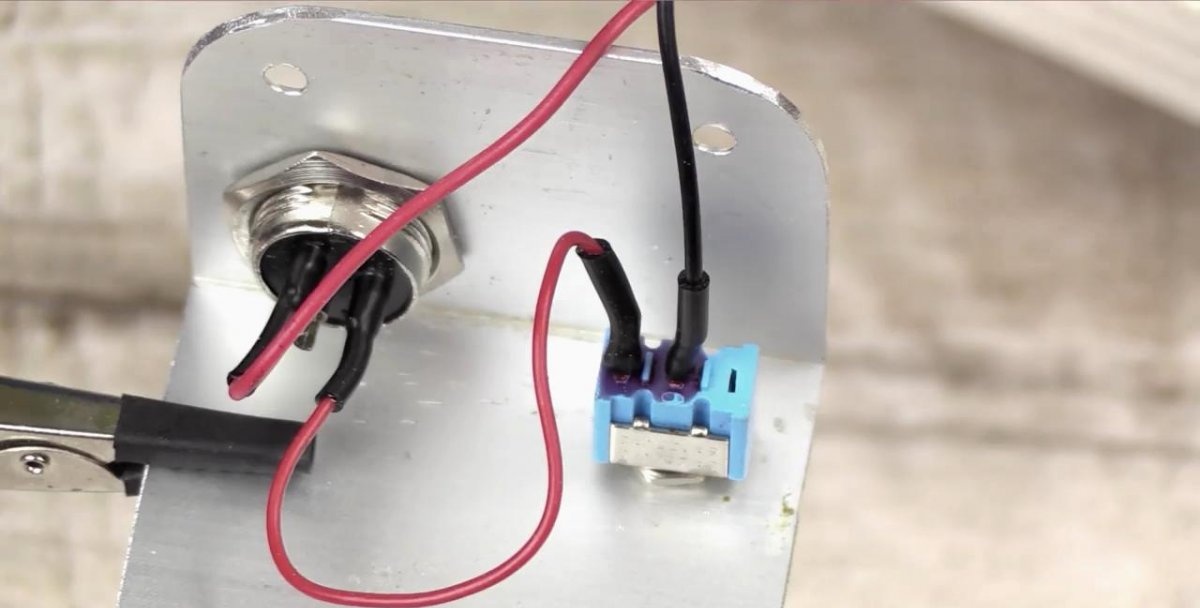
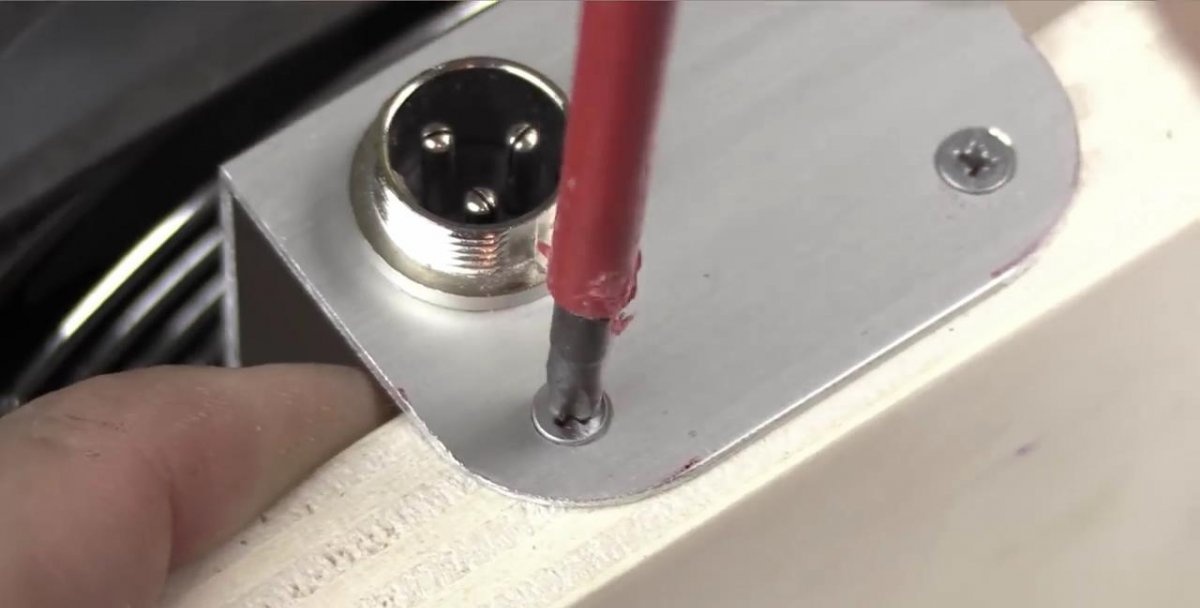
We perform the same manipulations with the switch: we fix it on a shelf, solder the end of a short wire from the connector to one contact, and the second wire of the fan to the other. All that remains is to screw the corner with the fixed elements with two screws to the end of the lower base.
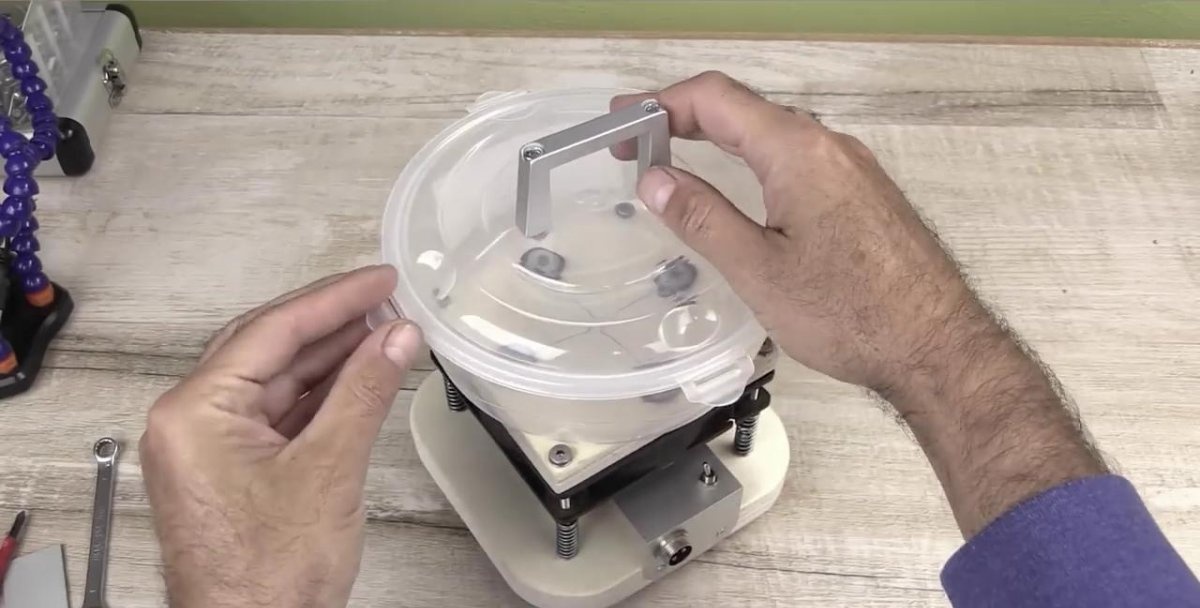
In order to make it convenient to remove and install the cover, we attach the aluminum handle to it using long screws passing through the through holes in the handle and the cover using washers and nuts.
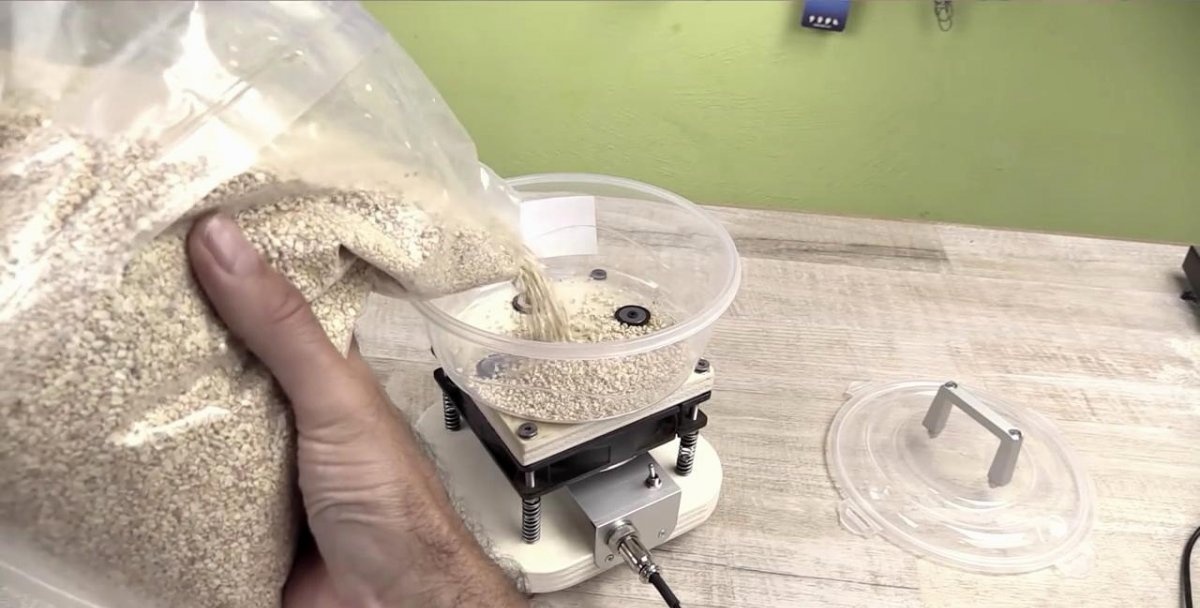
Now it is enough to power the device and pour the cereal into the container, and it is ready to work. By the way, the noise created by our homemade product is 58-59 decibels, while an electric jigsaw produces 77-78 decibels.
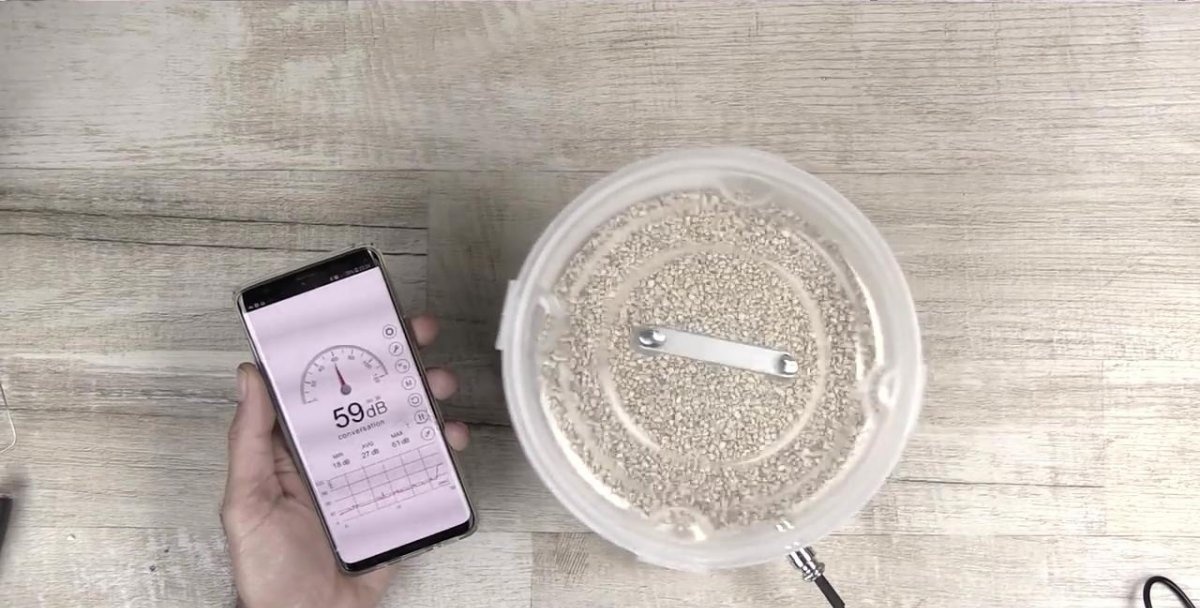
We put the vibration cleaner to the test by alternately loading old metal parts and used coins. The result is beyond all praise. By the way, during vibration cleaning, the lower base is practically motionless (the bolt does not fall). This indicates no energy loss.

Improvements and improvements
The main problem is impeller imbalance. Its bearing and electric motor axis are not designed for this mode of operation and will quickly break. You can get out of the situation by using a drive with an offset center.
The plastic container, when loaded, will initially become dull, and after a while it will wear out. Replacing with metal or glass utensils will extend the service life.
In the description, wheat grits are used as an abrasive load, but grains of other cereals can be used.To process threads on parts (in general, small elements), it is better to mix chopped grain with whole grain. For hard materials, you can use crushed nutshells, and even sand.