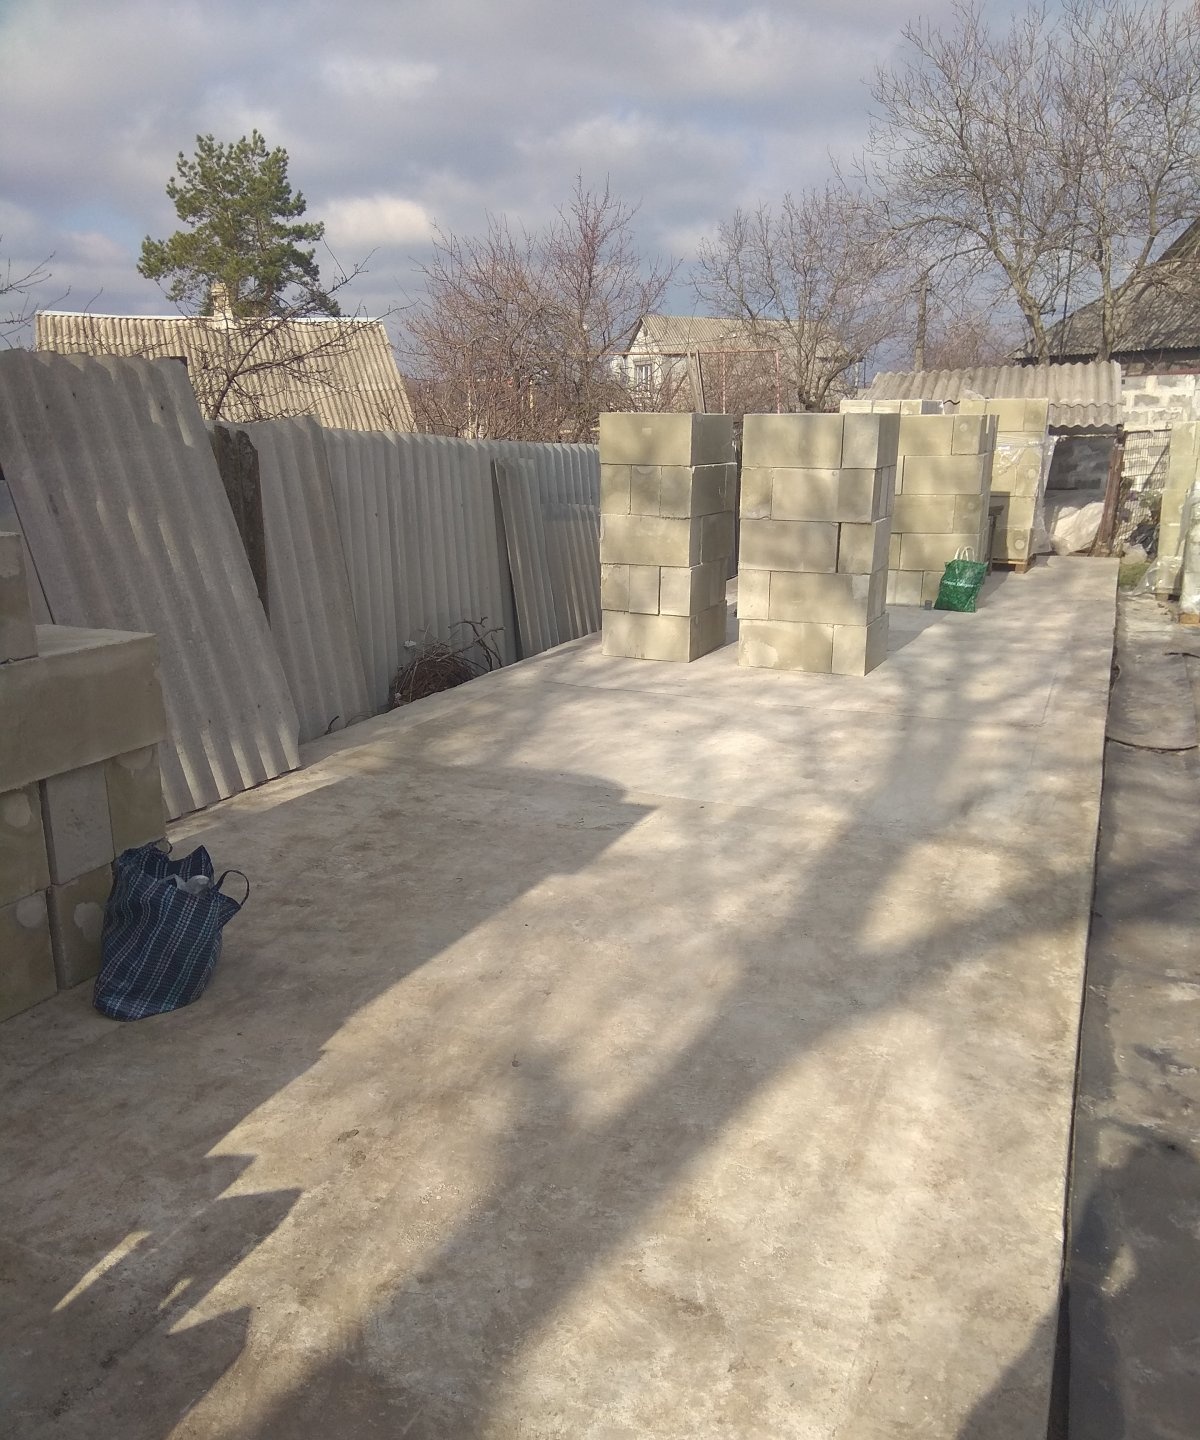
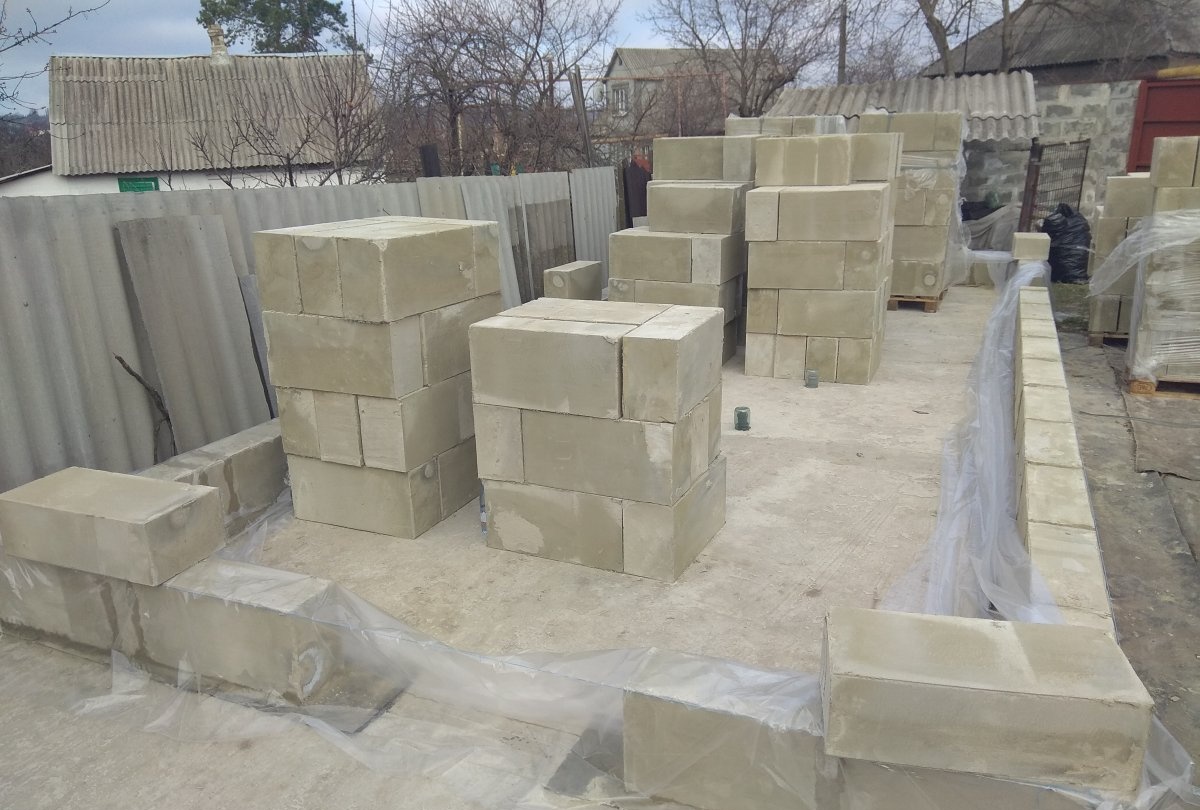
Today, foam blocks are widely used in the construction of various types of premises, both residential and commercial buildings. Interest in this building material is caused by the fact that, due to its large dimensions, walls made of foam blocks can be erected quickly. In addition, unlike cinder blocks or bricks, walls made of foam blocks will better retain the heat of the building.
The technology for laying foam blocks is simple, and can be mastered by any craftsman with at least basic construction skills. Now we will look at how to build walls from this material.
Constructing walls from foam blocks with your own hands
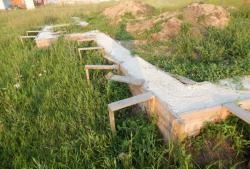
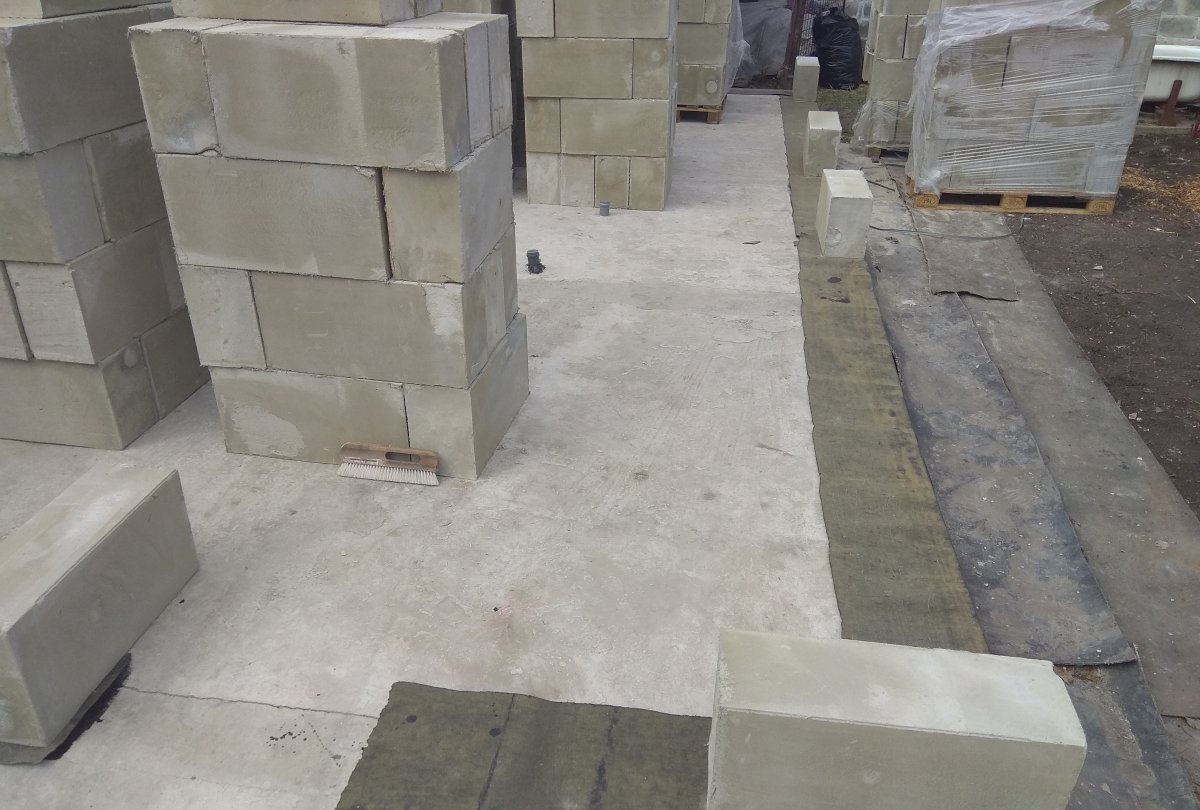
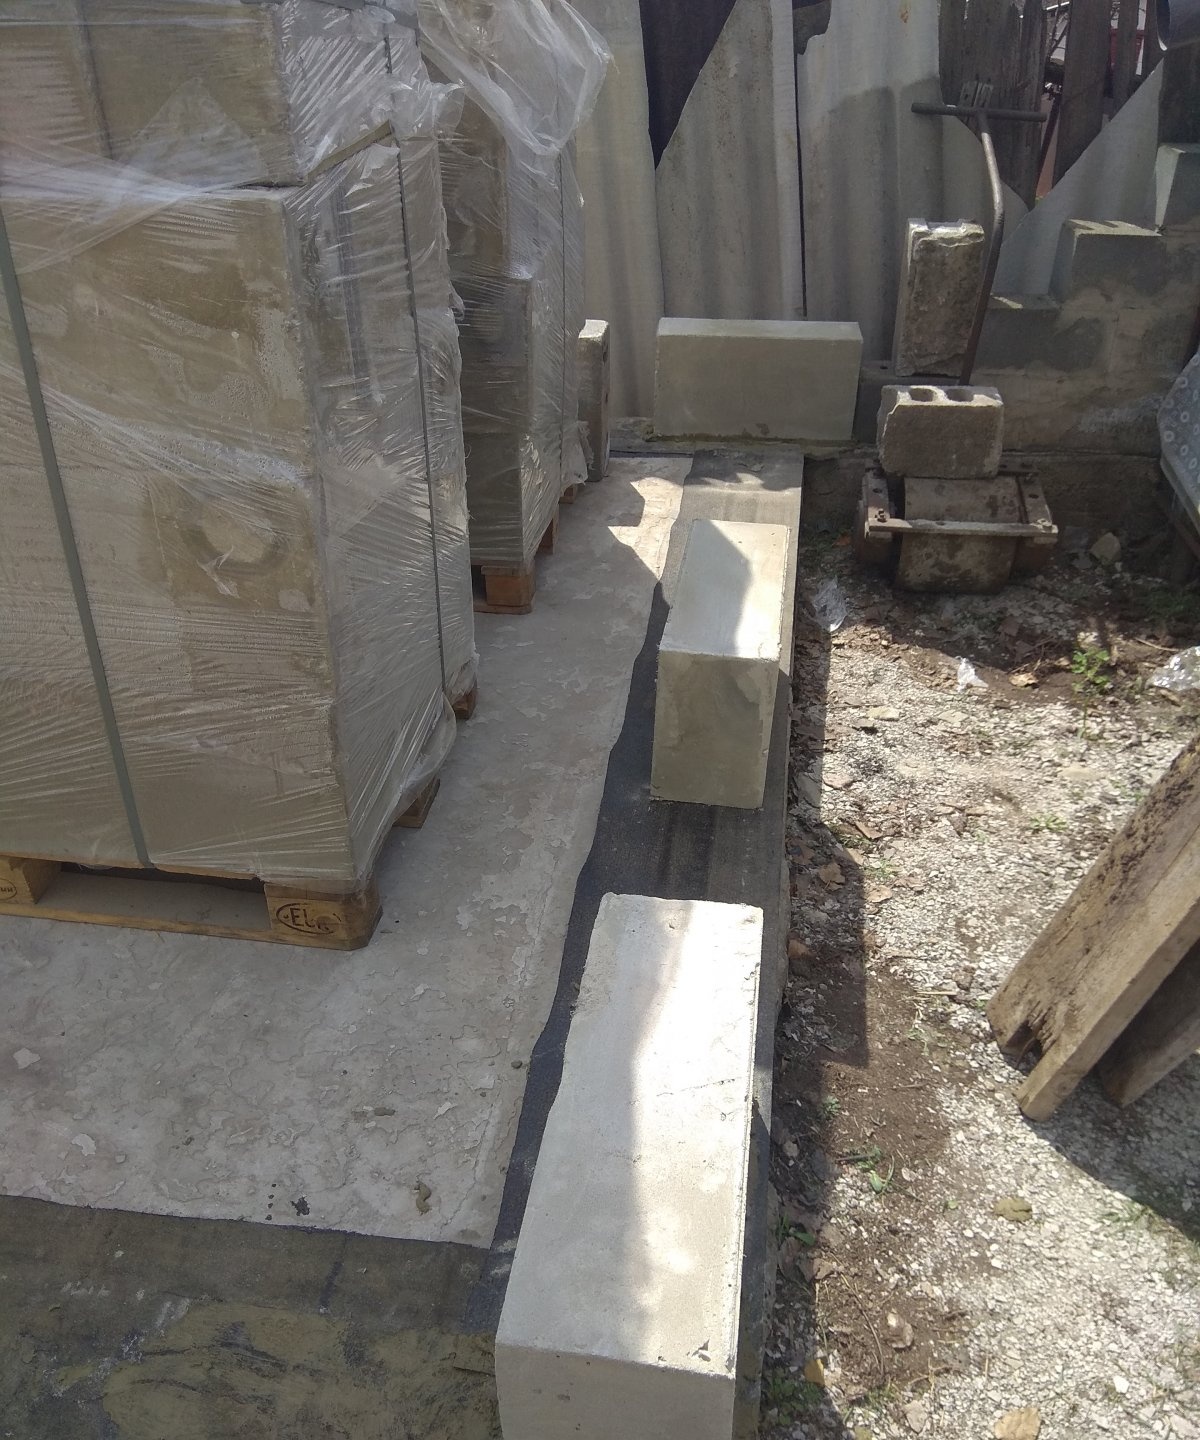
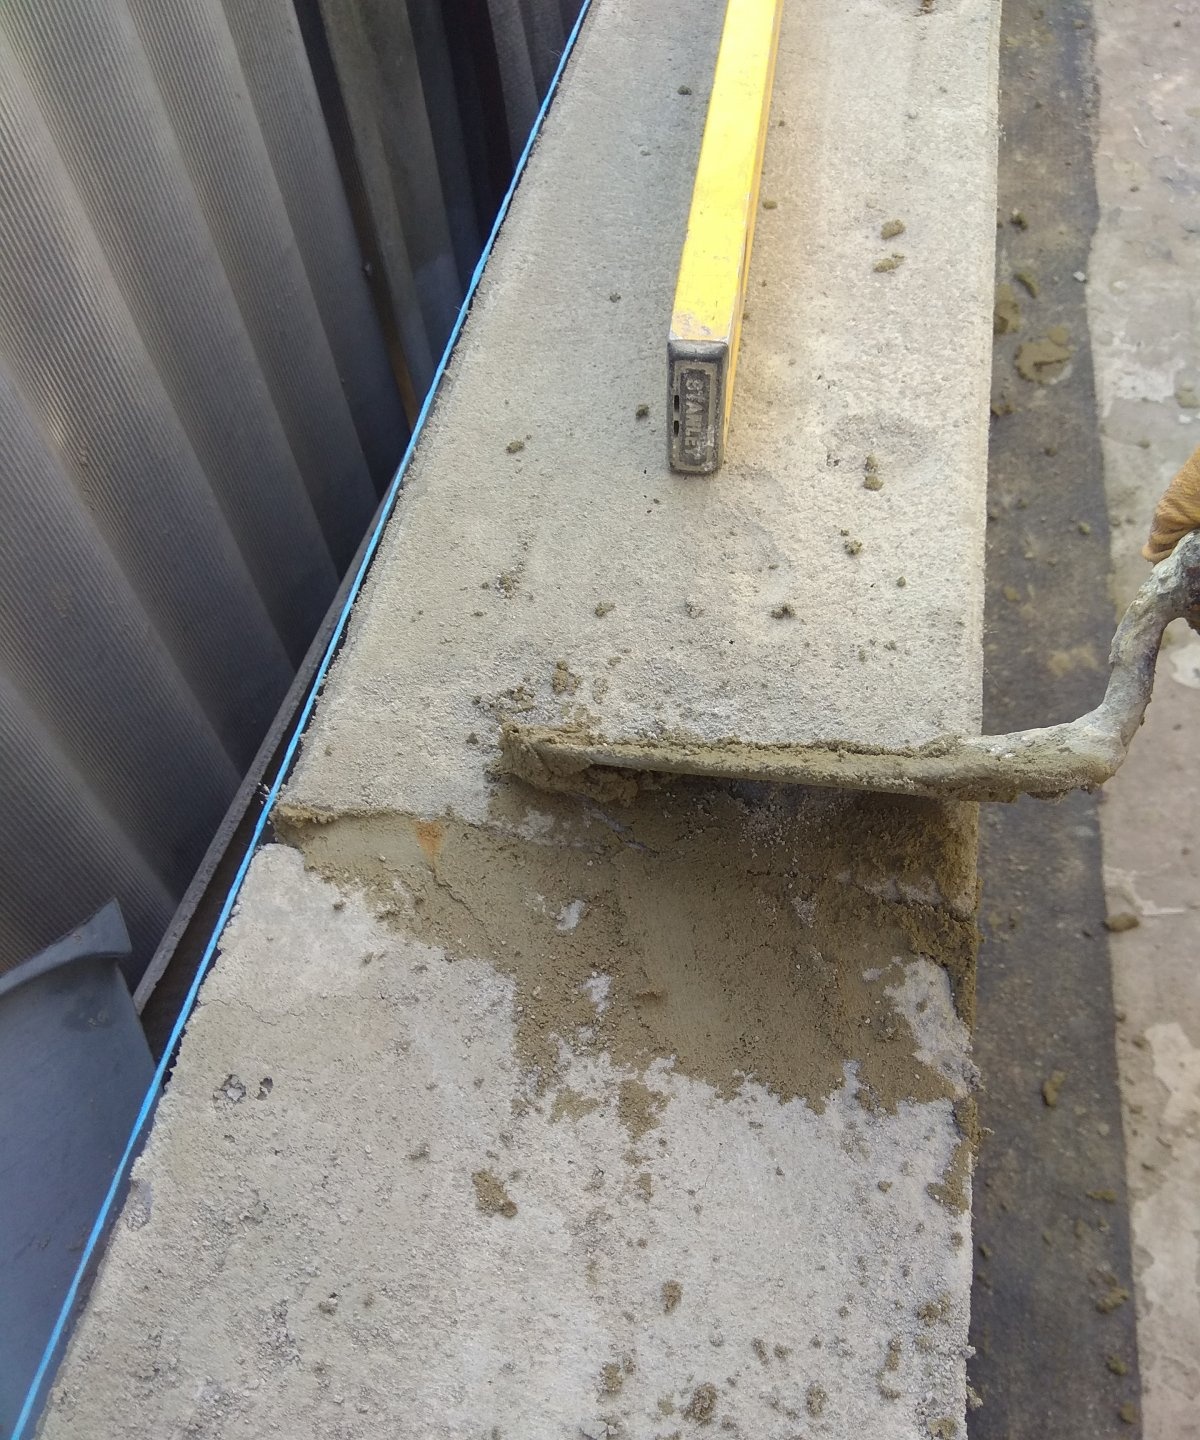
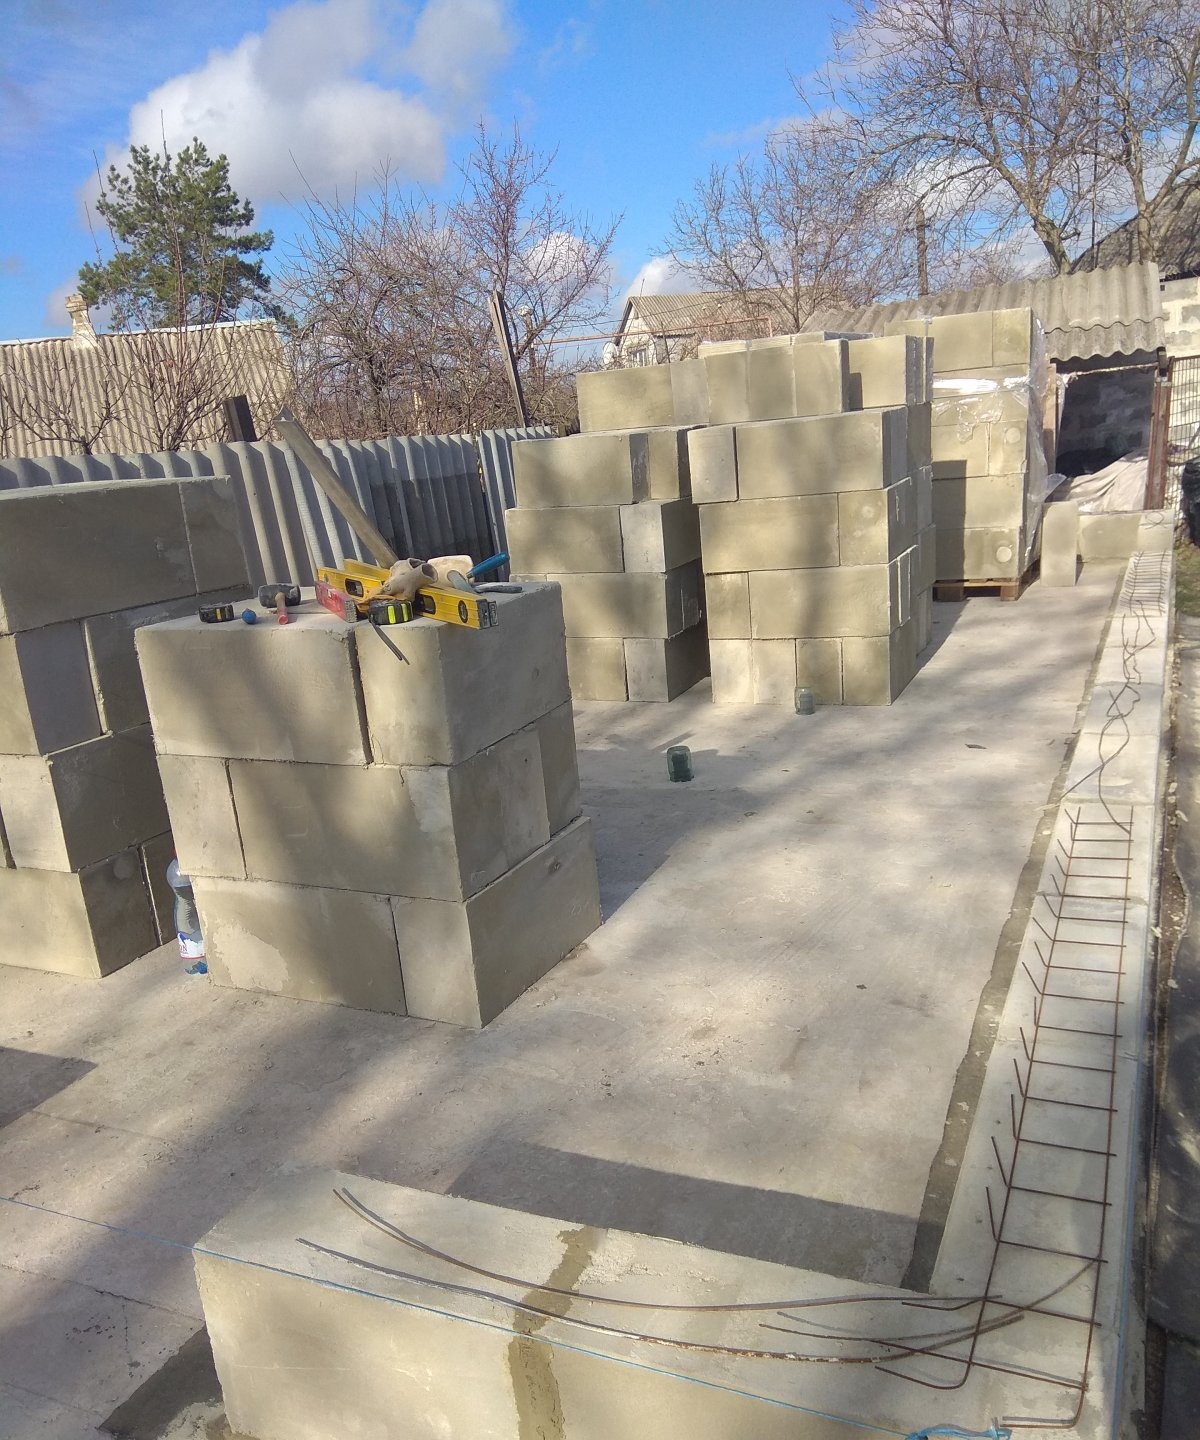
The first thing you need to do is prepare the foundation surface for building walls. Therefore, using a broom or brush, it is important to remove debris from the foundation.

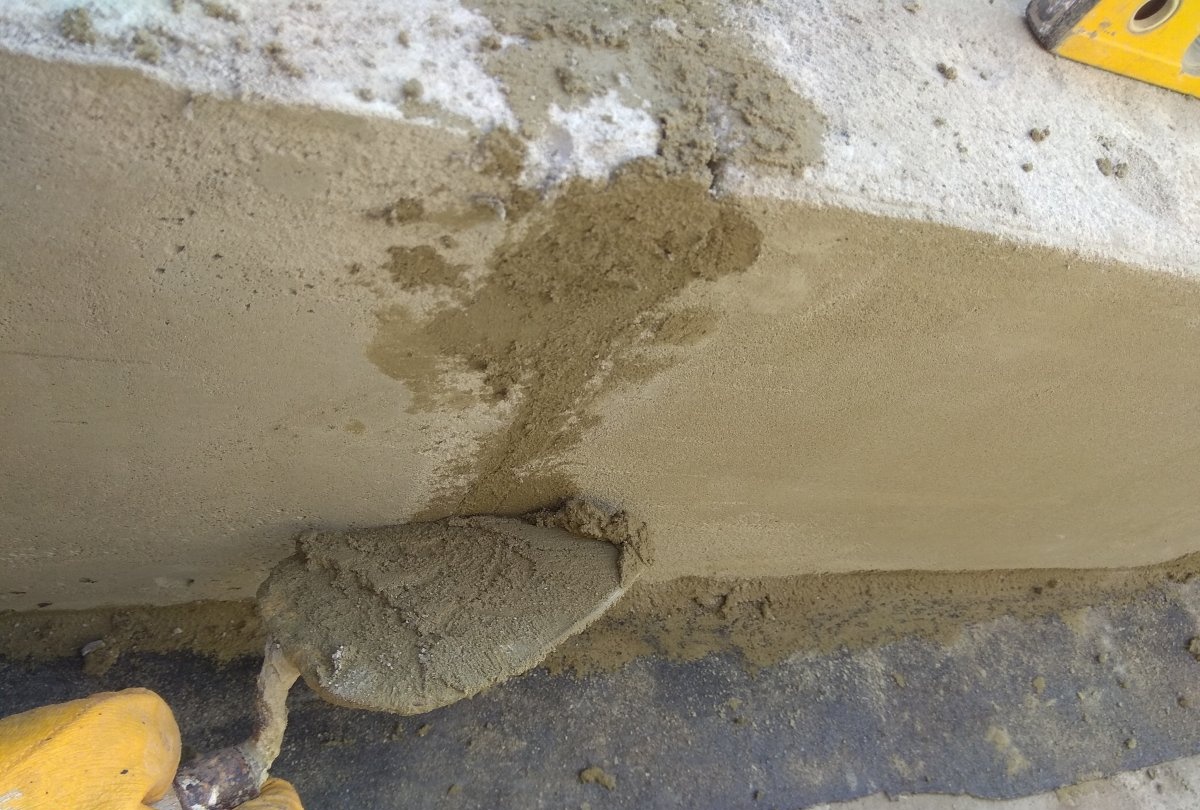
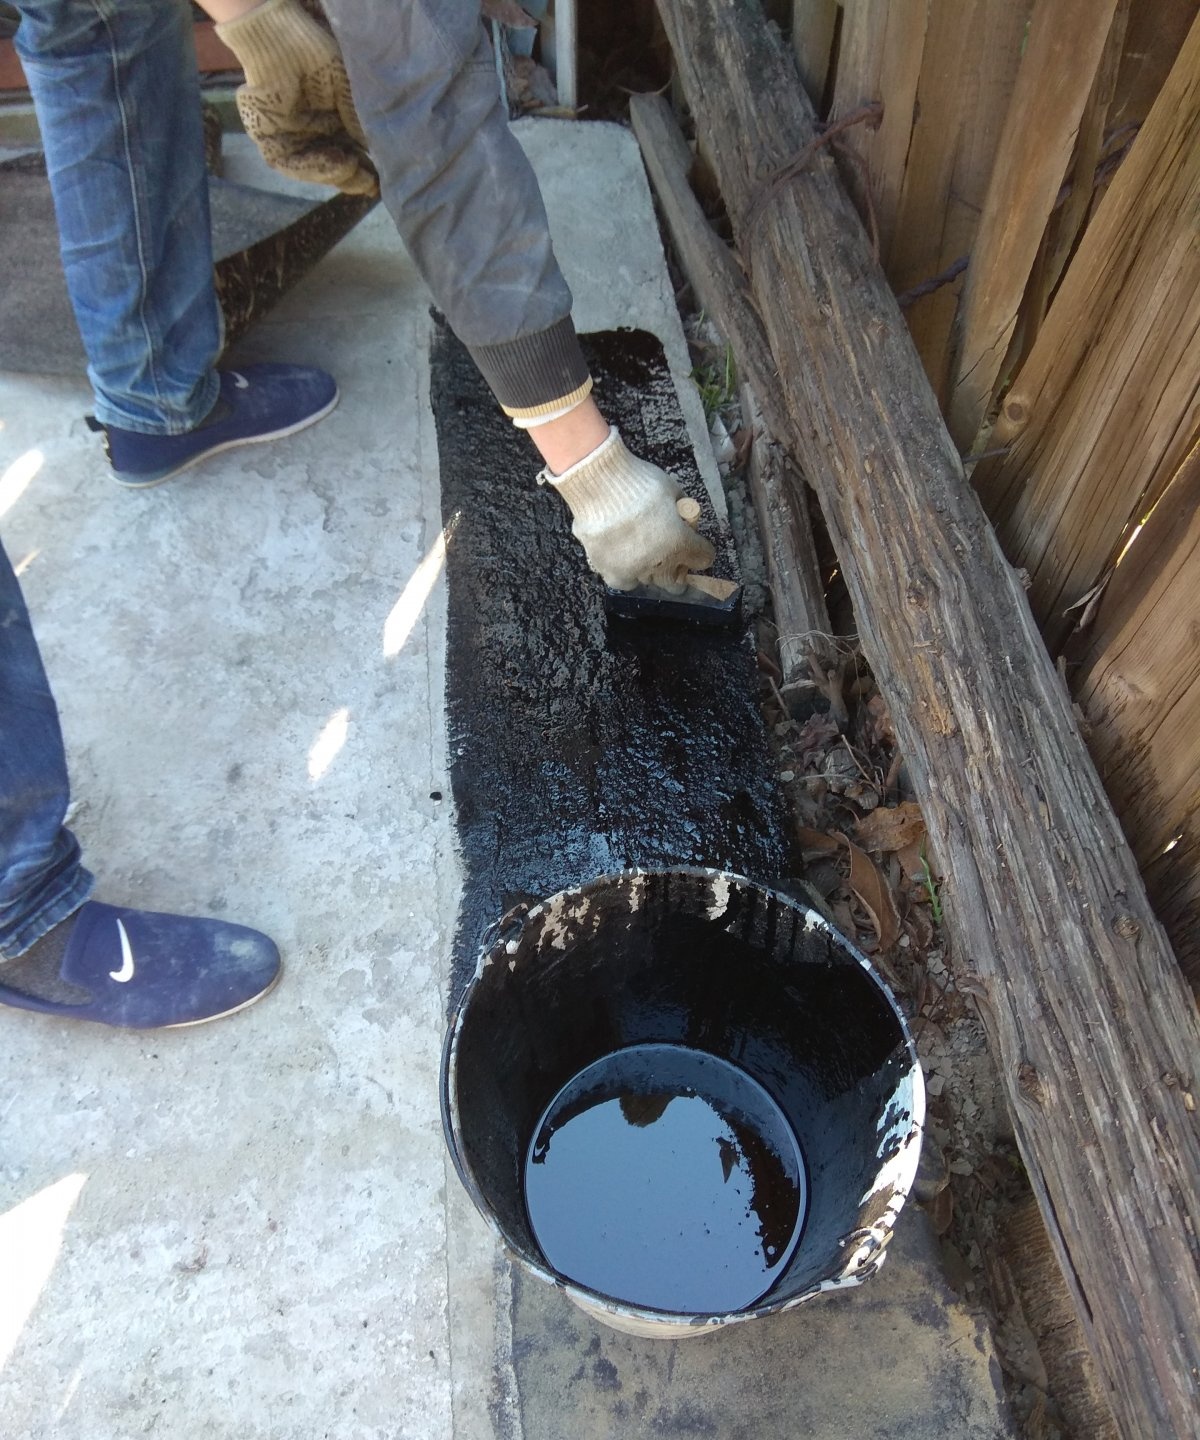
Further, mastic and roofing felt can be used as waterproofing.
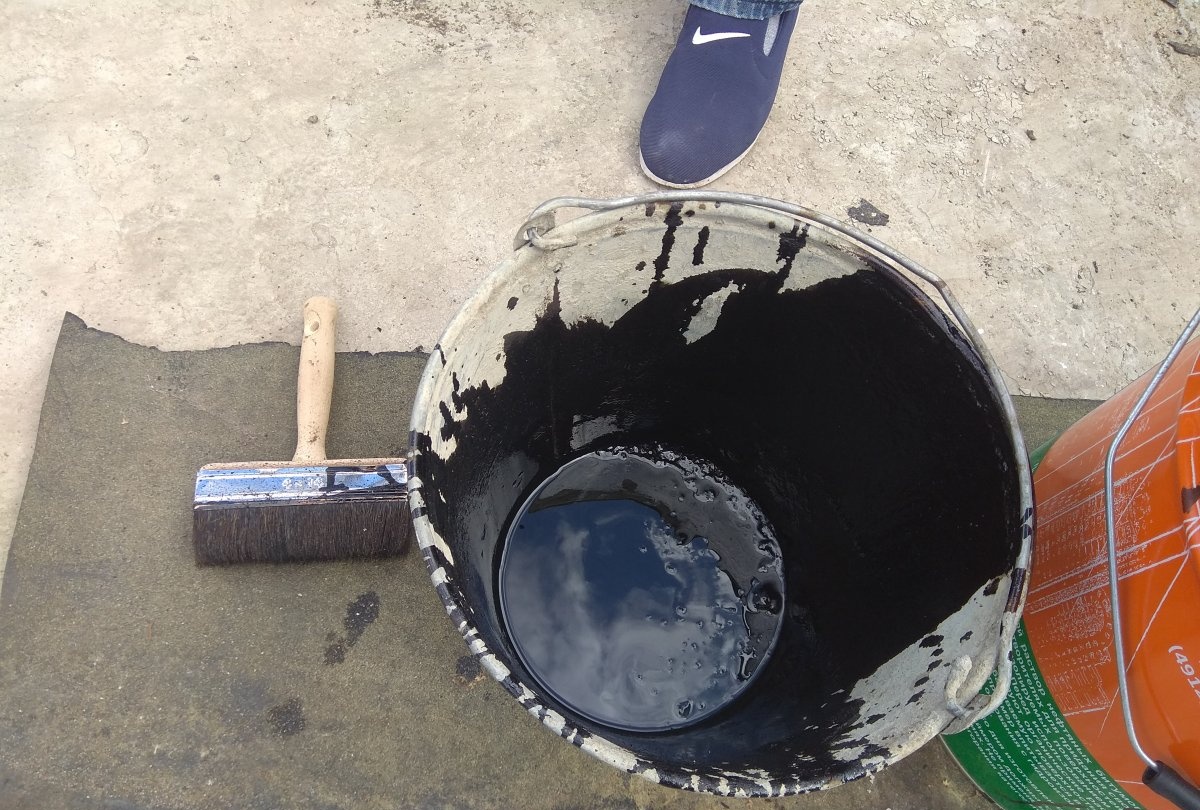
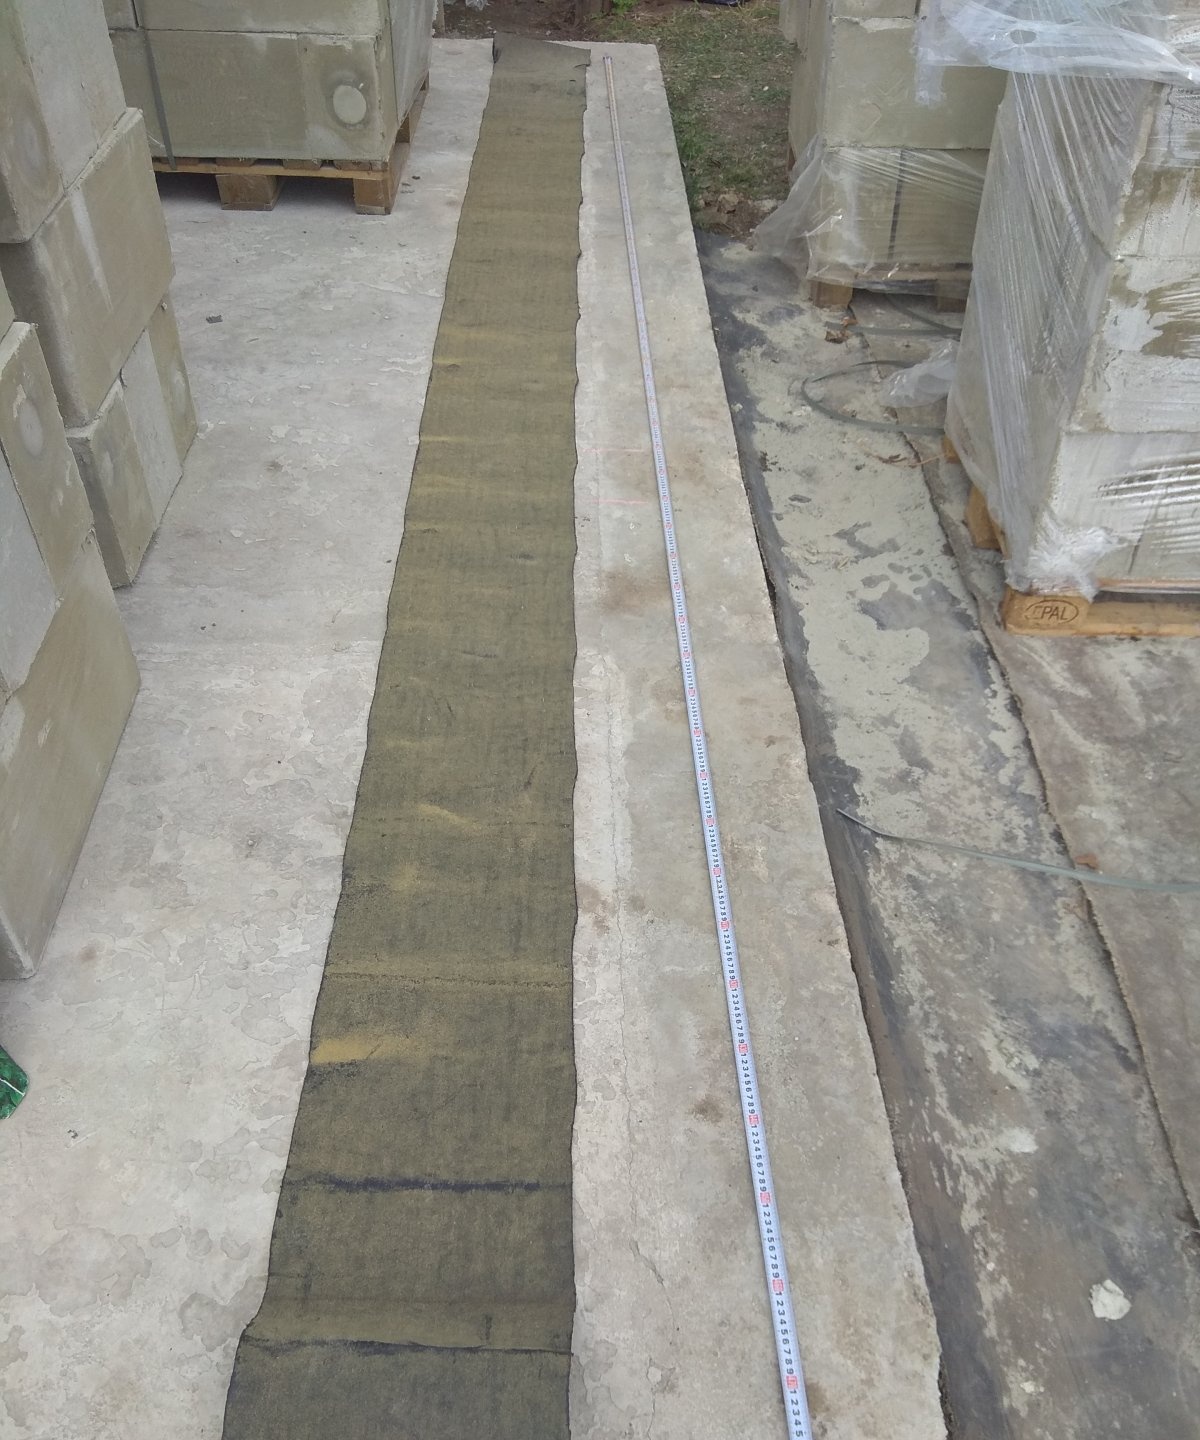
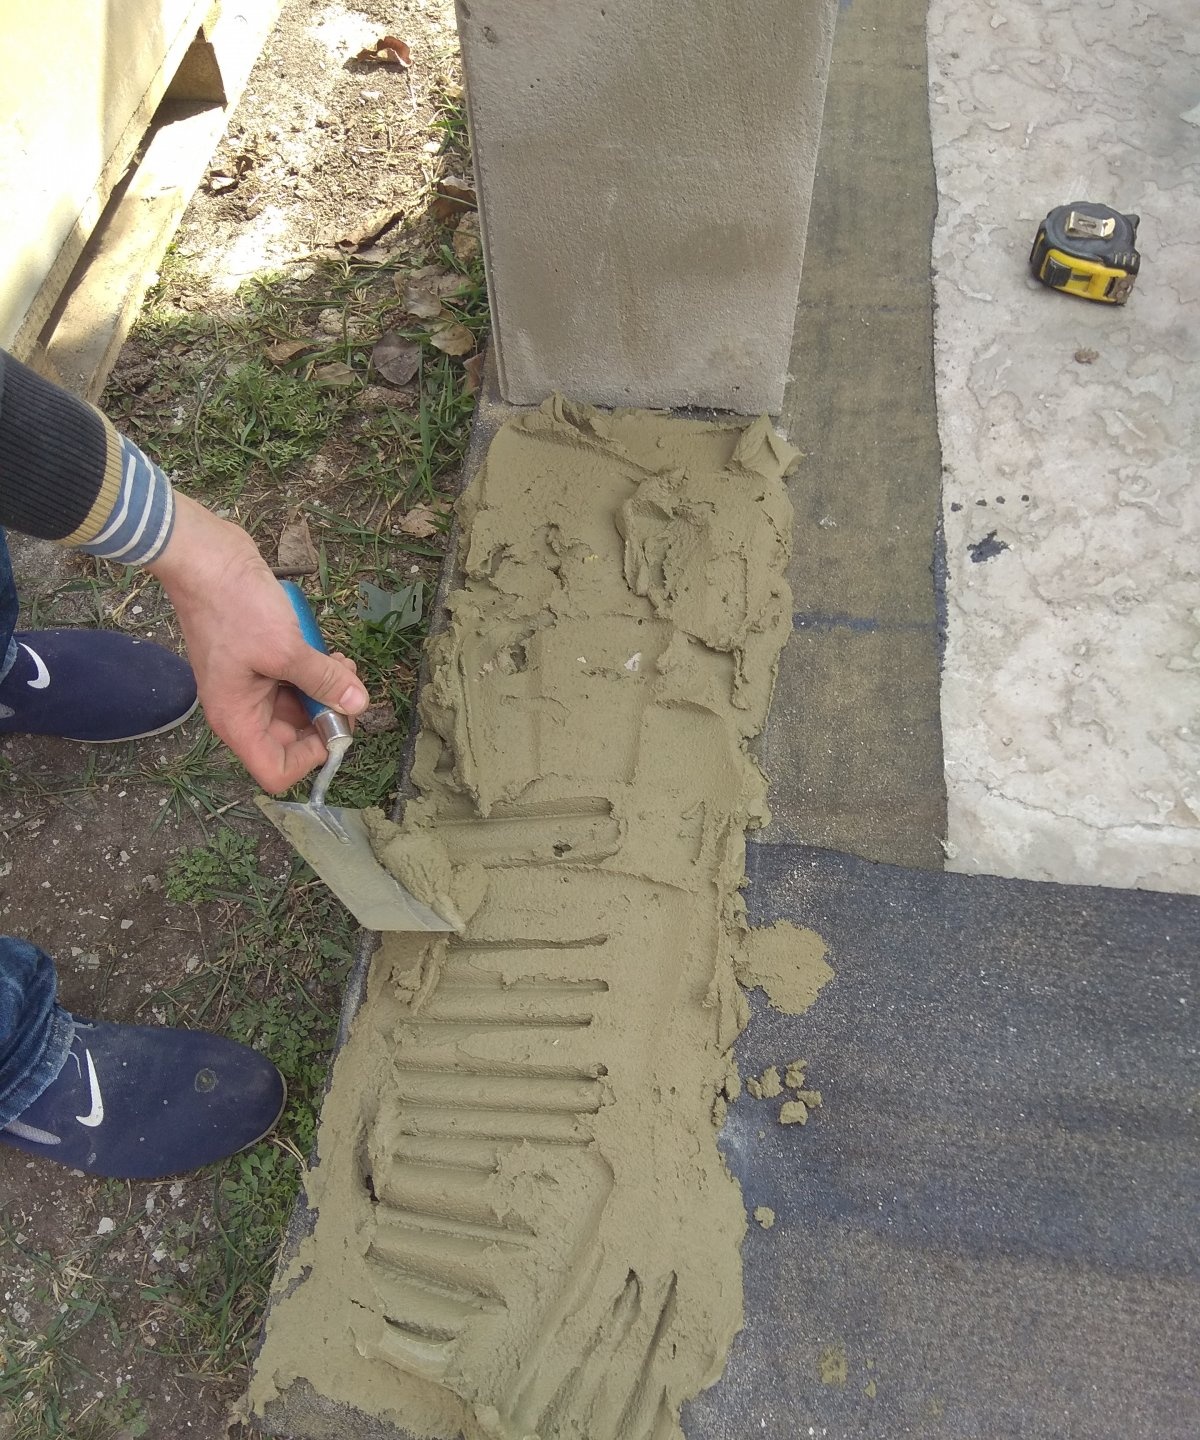
Since the width of the foam blocks is 20 cm, it is necessary to prepare roofing material 25–30 cm wide for the substrate. Subsequently, the protruding roofing material can be trimmed. Before laying roofing material, coat the surface with mastic. This is done along the entire perimeter of the future building.
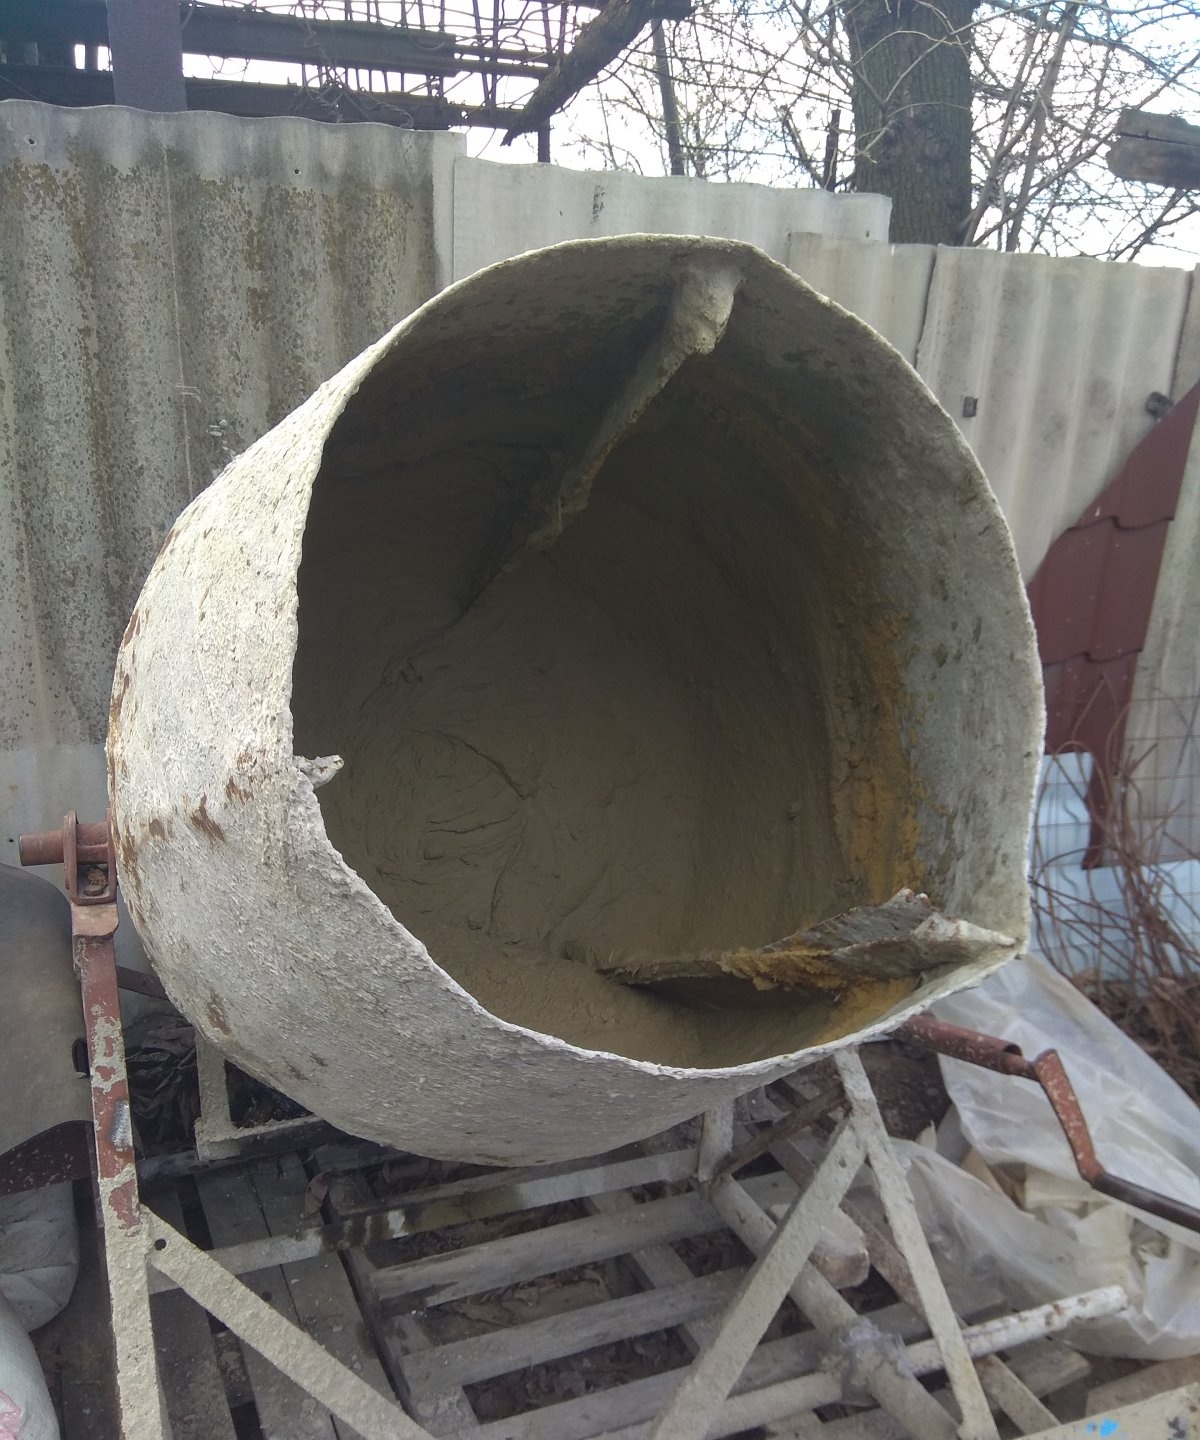
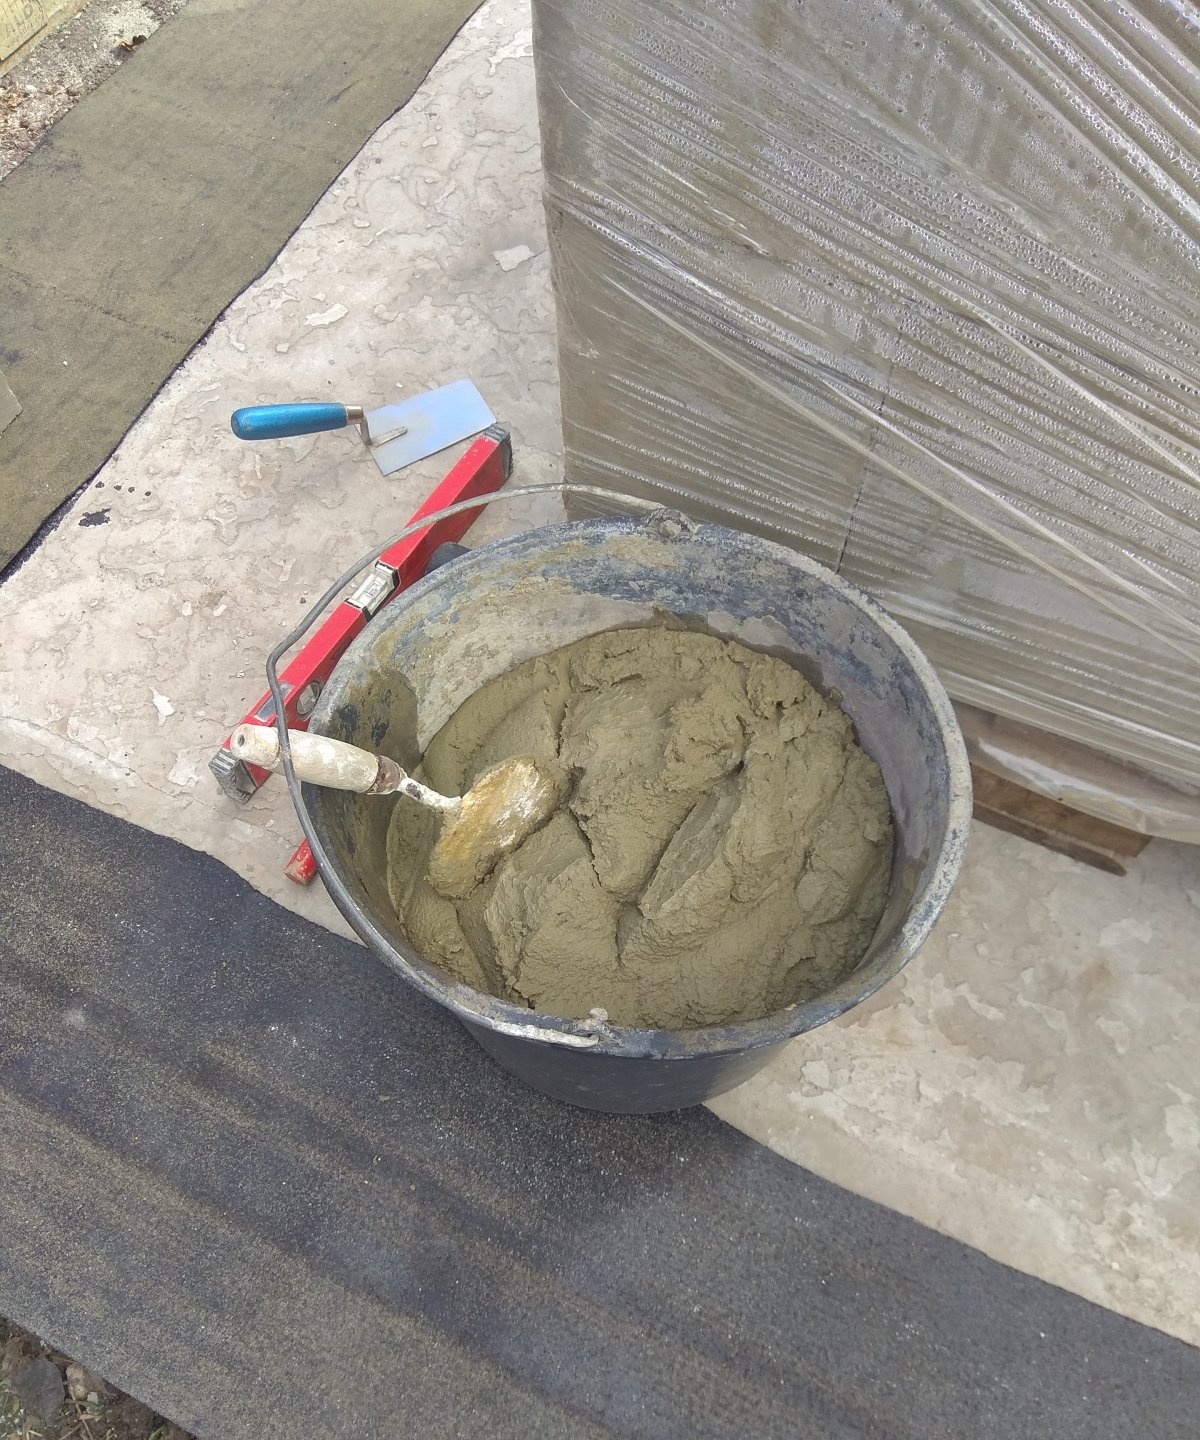
The next stage is the construction of the first row of the wall. To do this you will need a solution.You can use a regular mortar with one share of cement and three shares of sand. Also, for viscosity and better adhesion, you can add liquid soap to the solution. This is a more economical option. Also, foam blocks can be laid on an adhesive solution, which is a more expensive option. We will look at the first method. To lay foam blocks you need a lot of mortar. For example, 1 bucket of cement mortar is enough for about 4 foam blocks. Therefore, to speed up the process of building a wall, it would be better to use a concrete mixer, which will allow you to mix a large amount of mortar at once.
If you are using a glue solution, you will need a mixer.
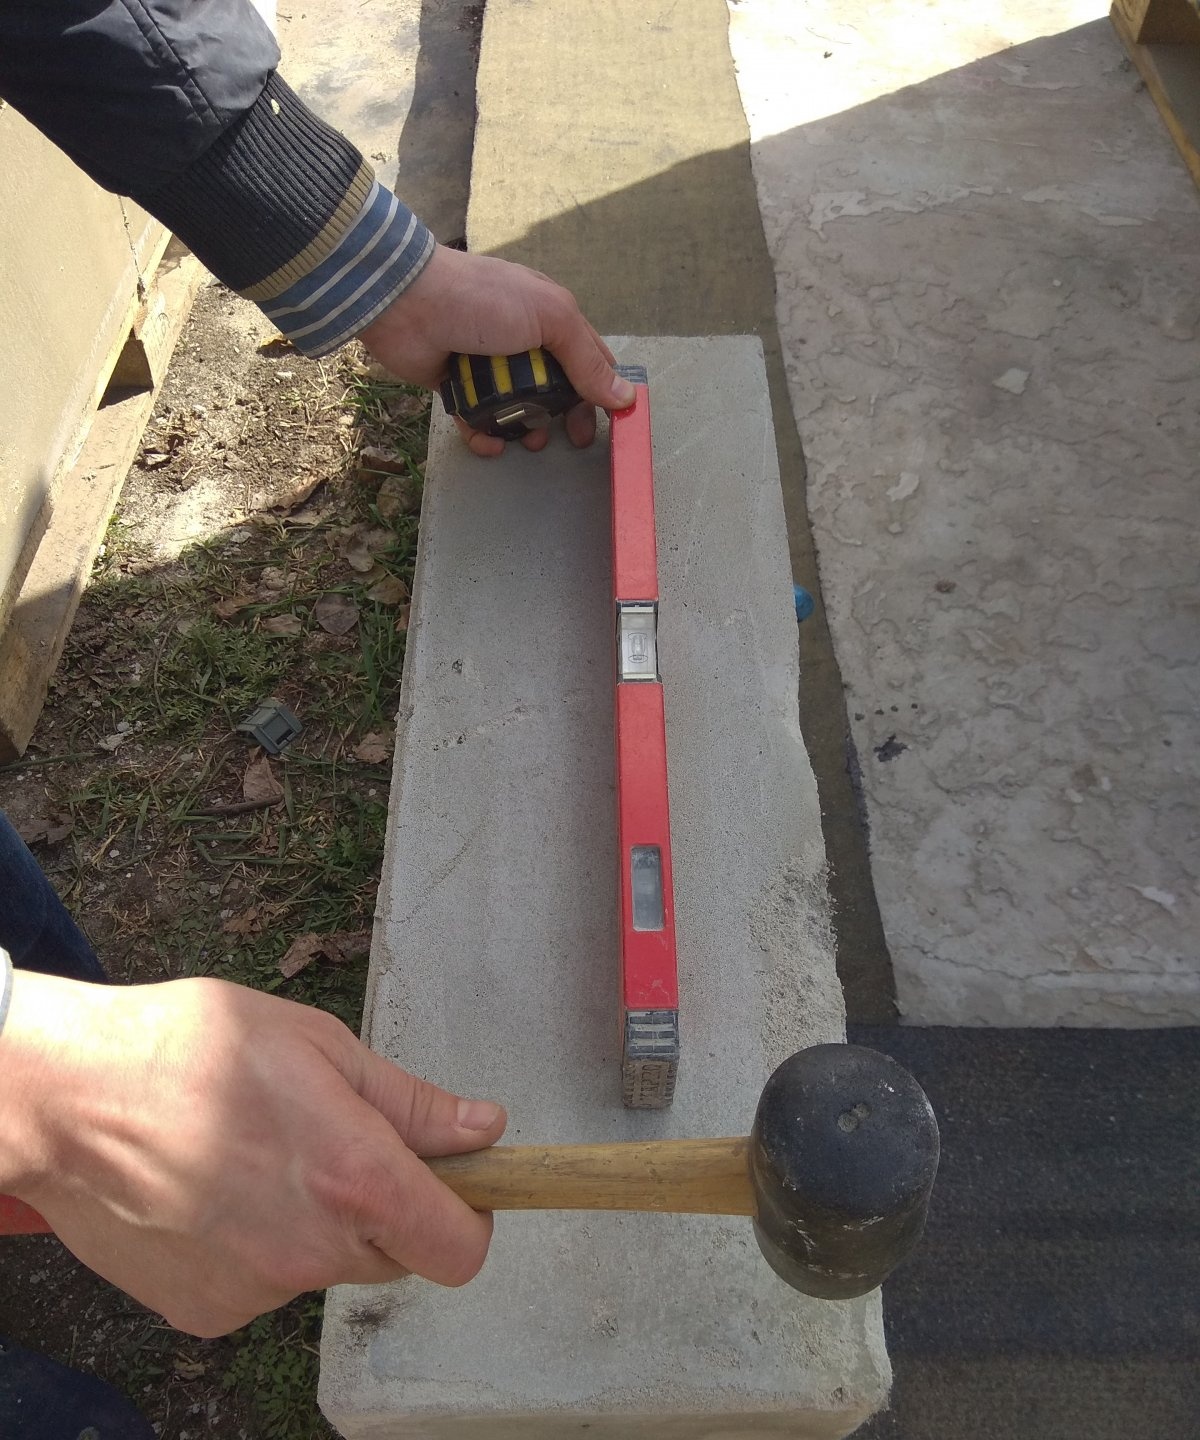
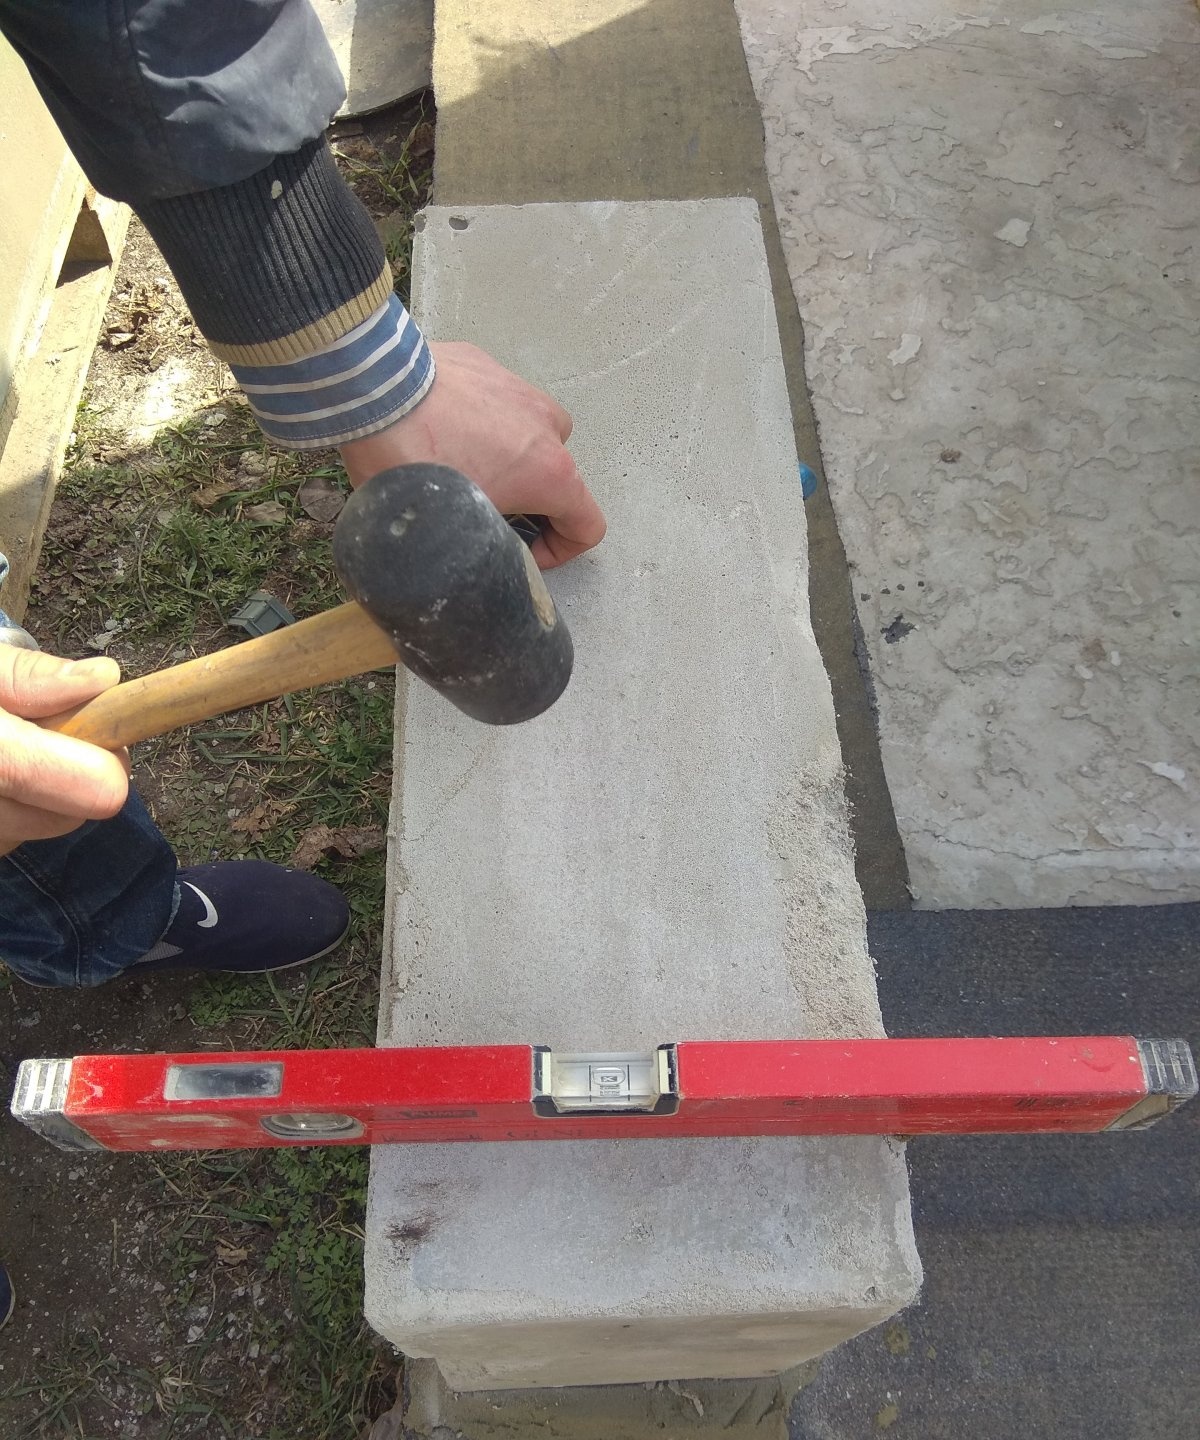
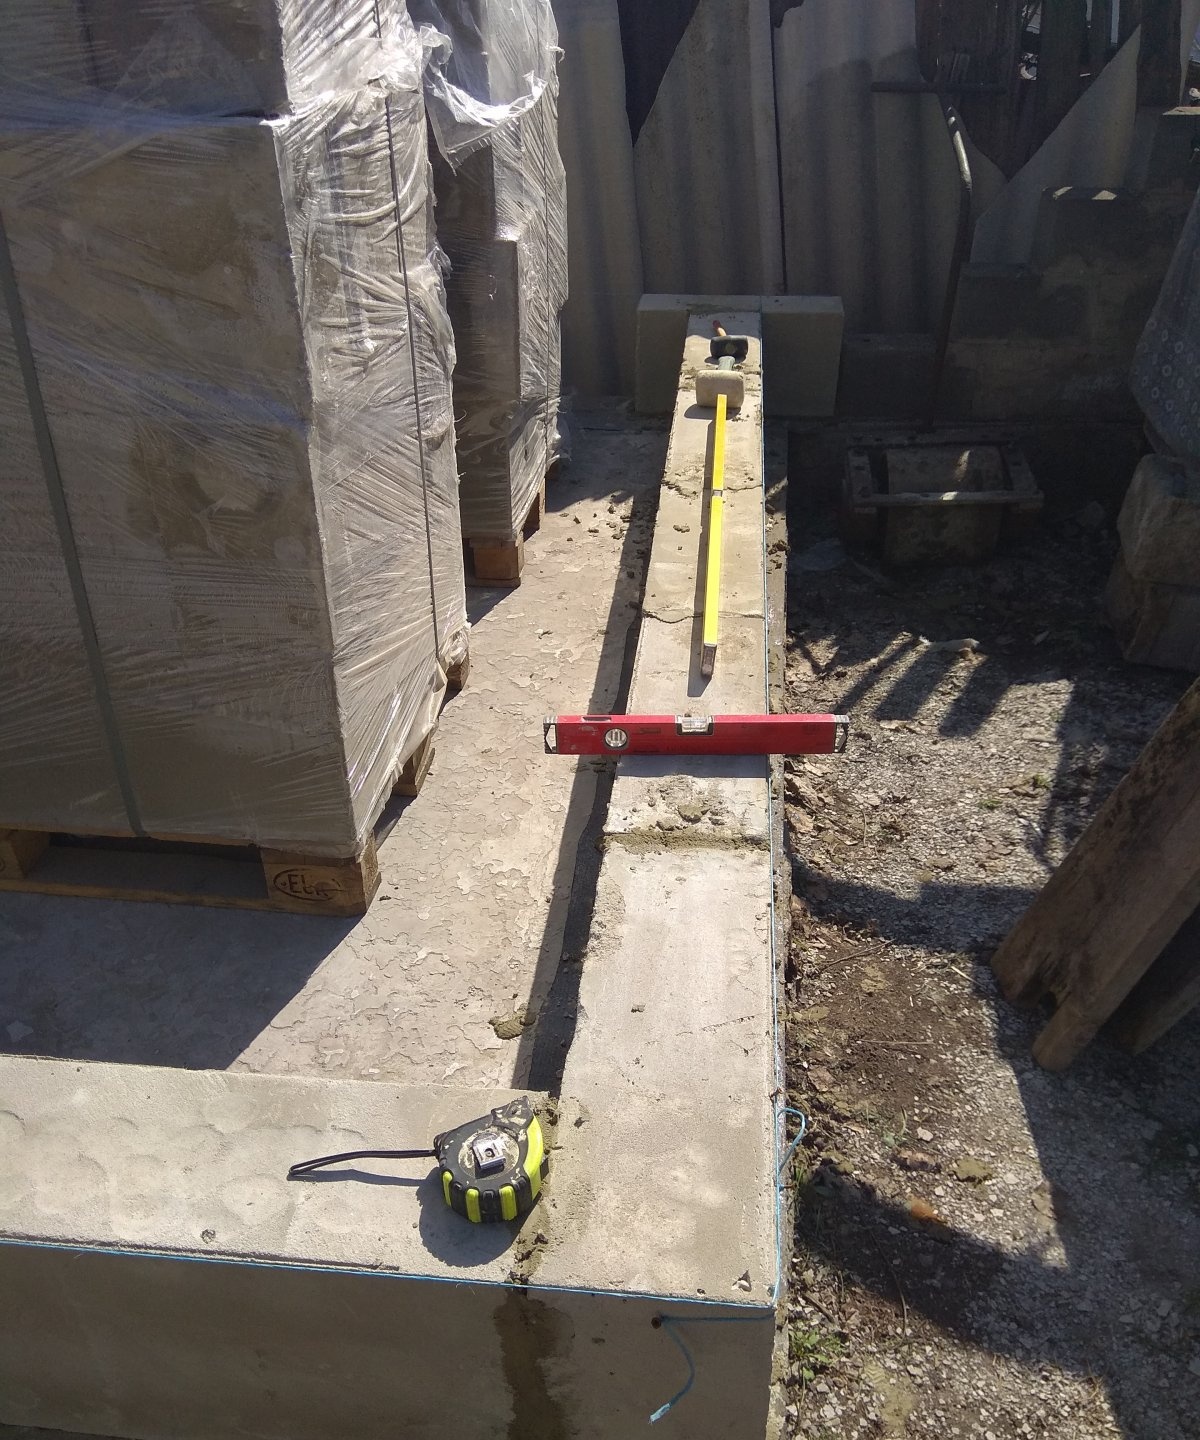
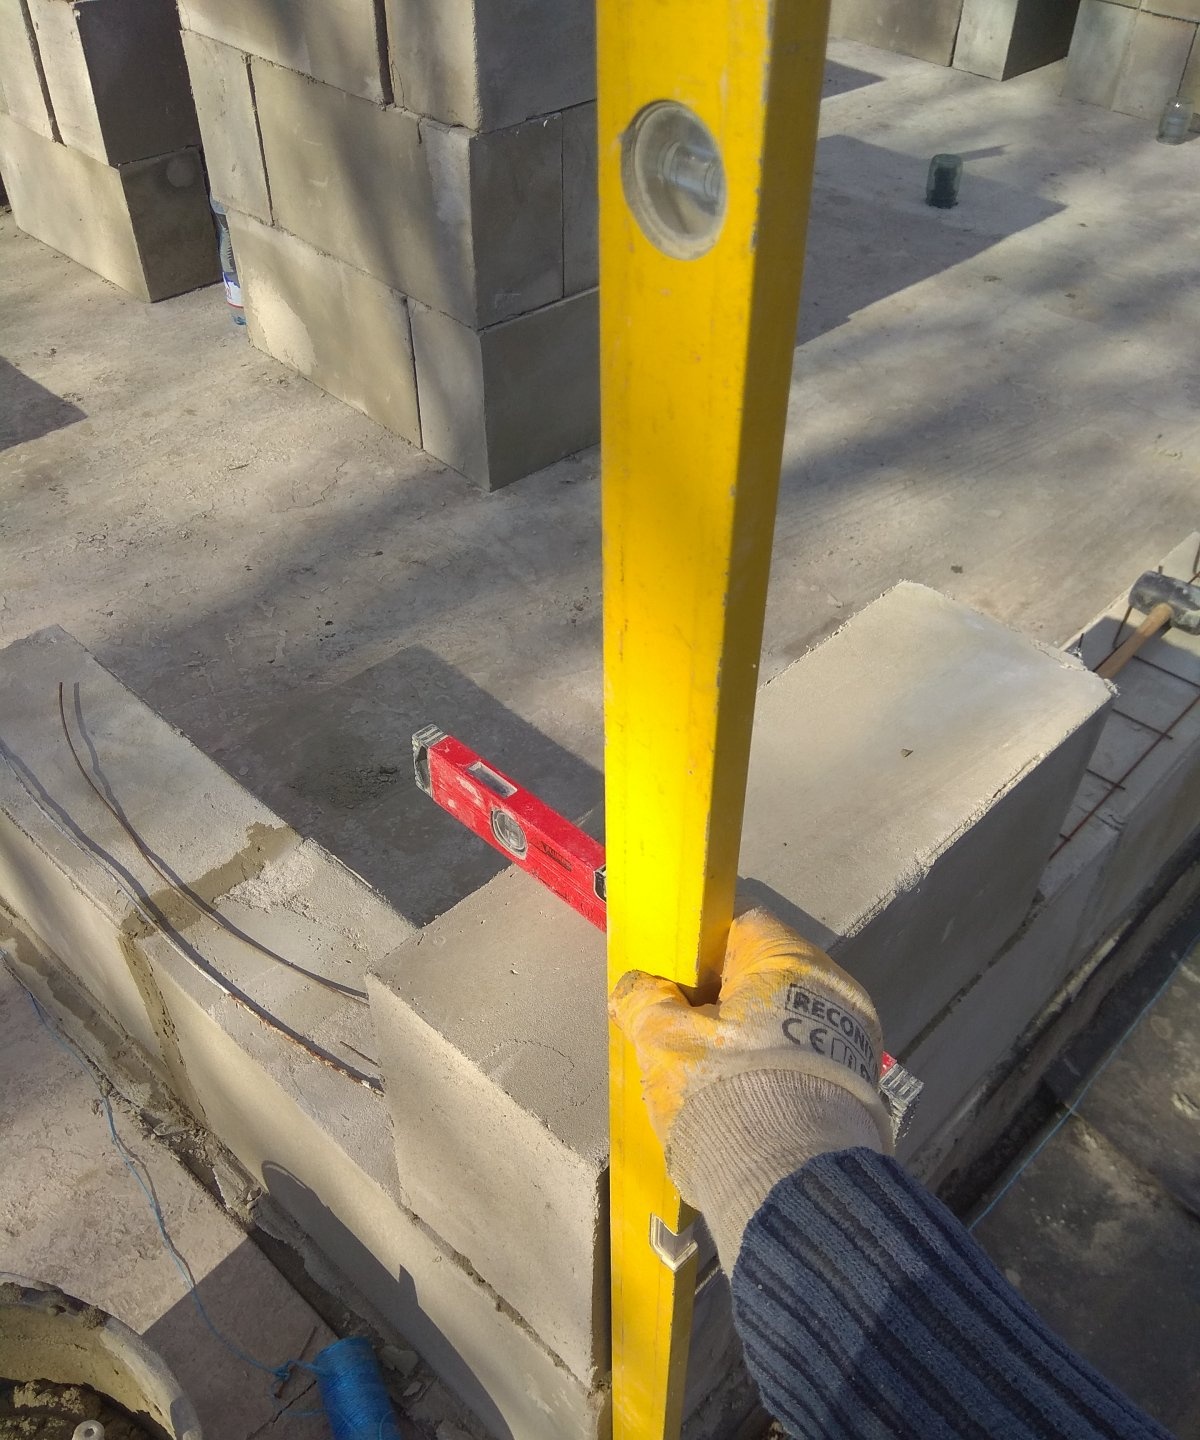
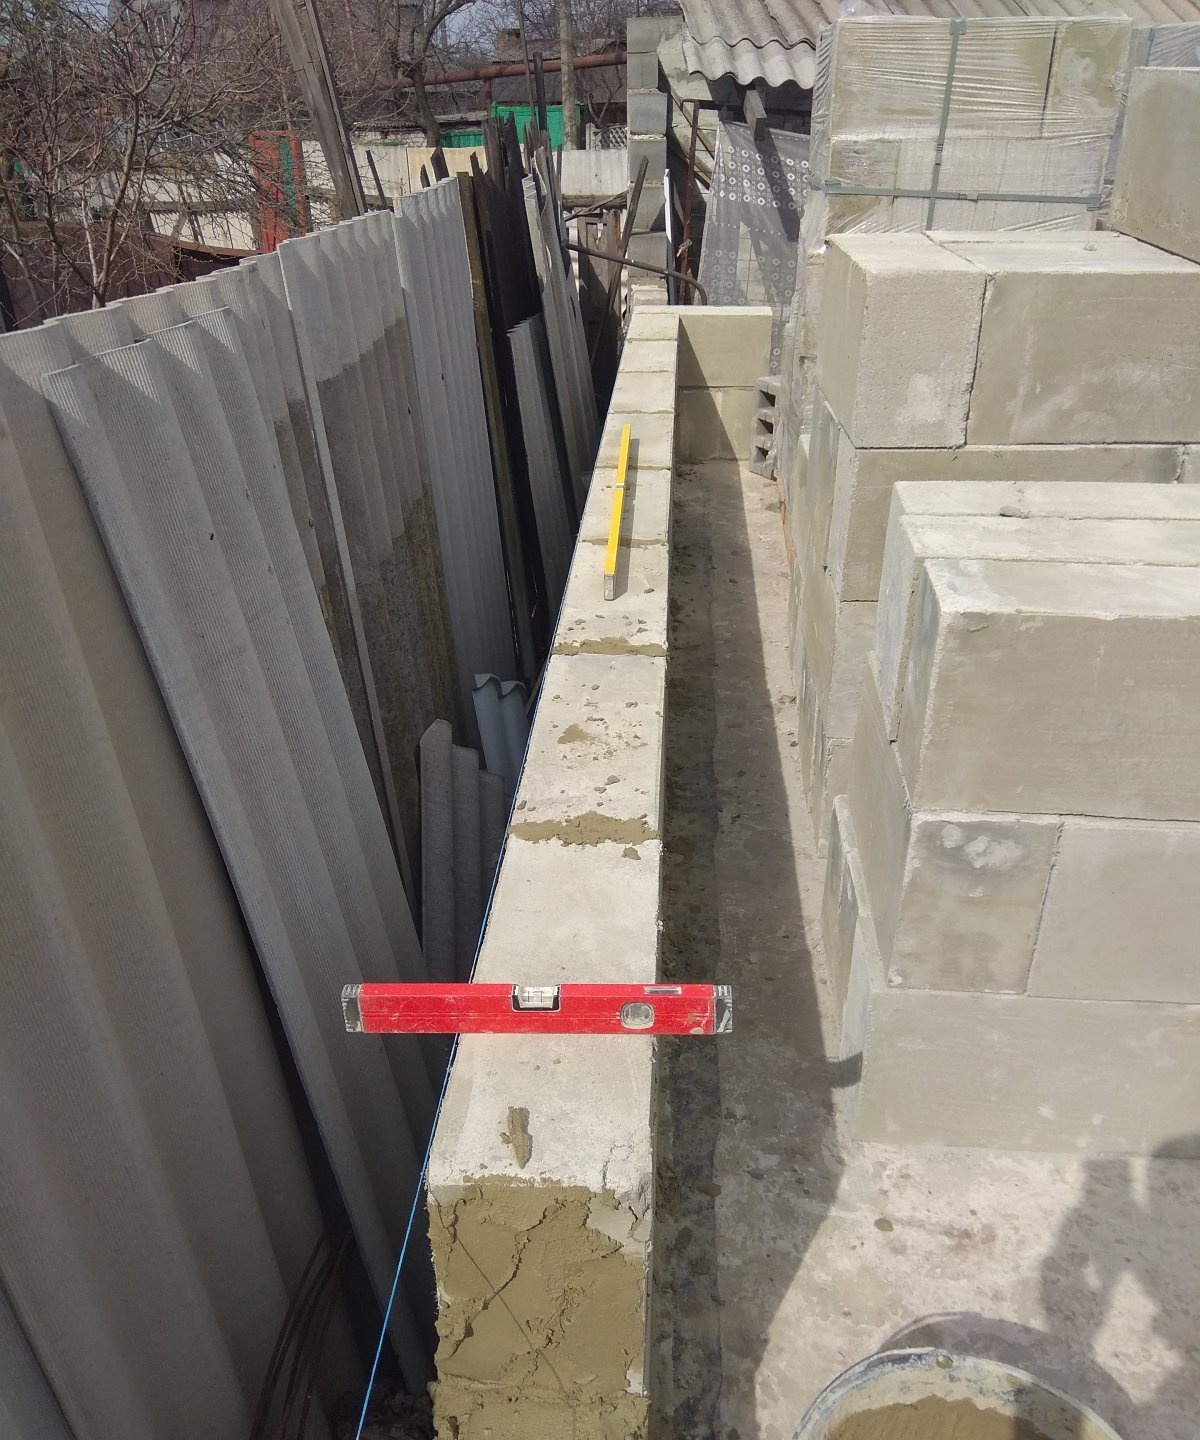
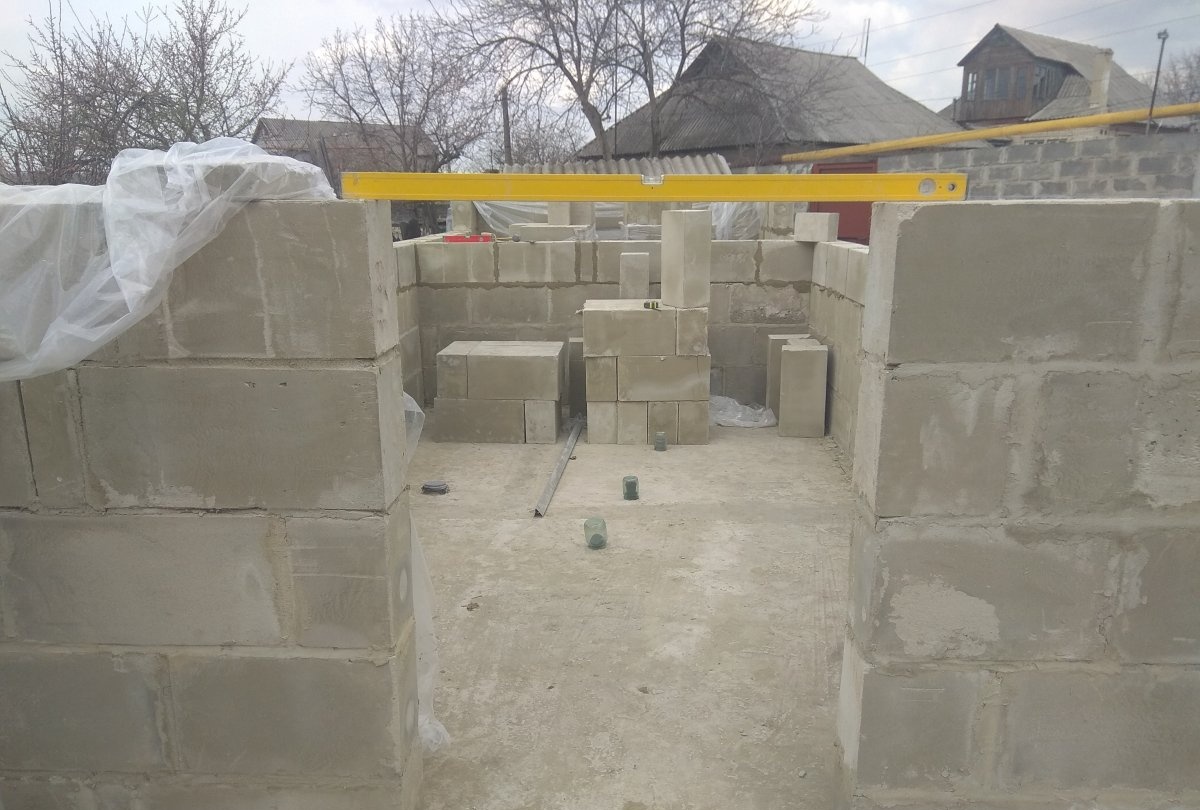
The construction of the first row begins from the corners. Since the foundation of a building cannot always be poured level, especially if it is long, it is important to use a hydraulic level or laser level to determine the highest point and start from there.

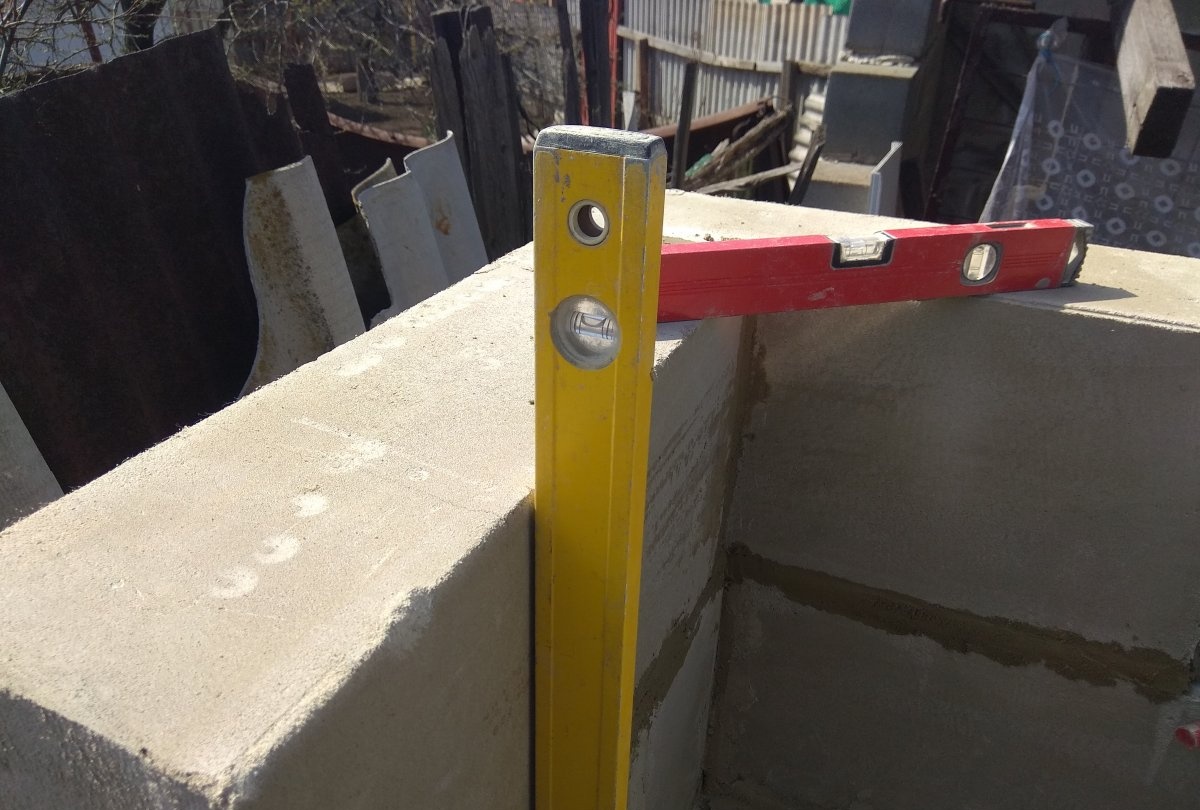
For example, if the level shows that one edge of the foundation is higher than the other, then you need to start there, installing corner foam blocks on a minimum layer of mortar. Then, on the other side, install the foam blocks on a larger layer of mortar, and then check with a level whether the heights of the corners correspond to each other. When laying corner foam blocks, it is especially important to adhere to the level horizontally and vertically. The more accurately you set the angles, the smoother the order will be. To do this you will need a building level, as well as a rubber hammer.
When the corners are set, you can tighten the thread so that the entire wall is at the same level. Next, you can begin laying the order.
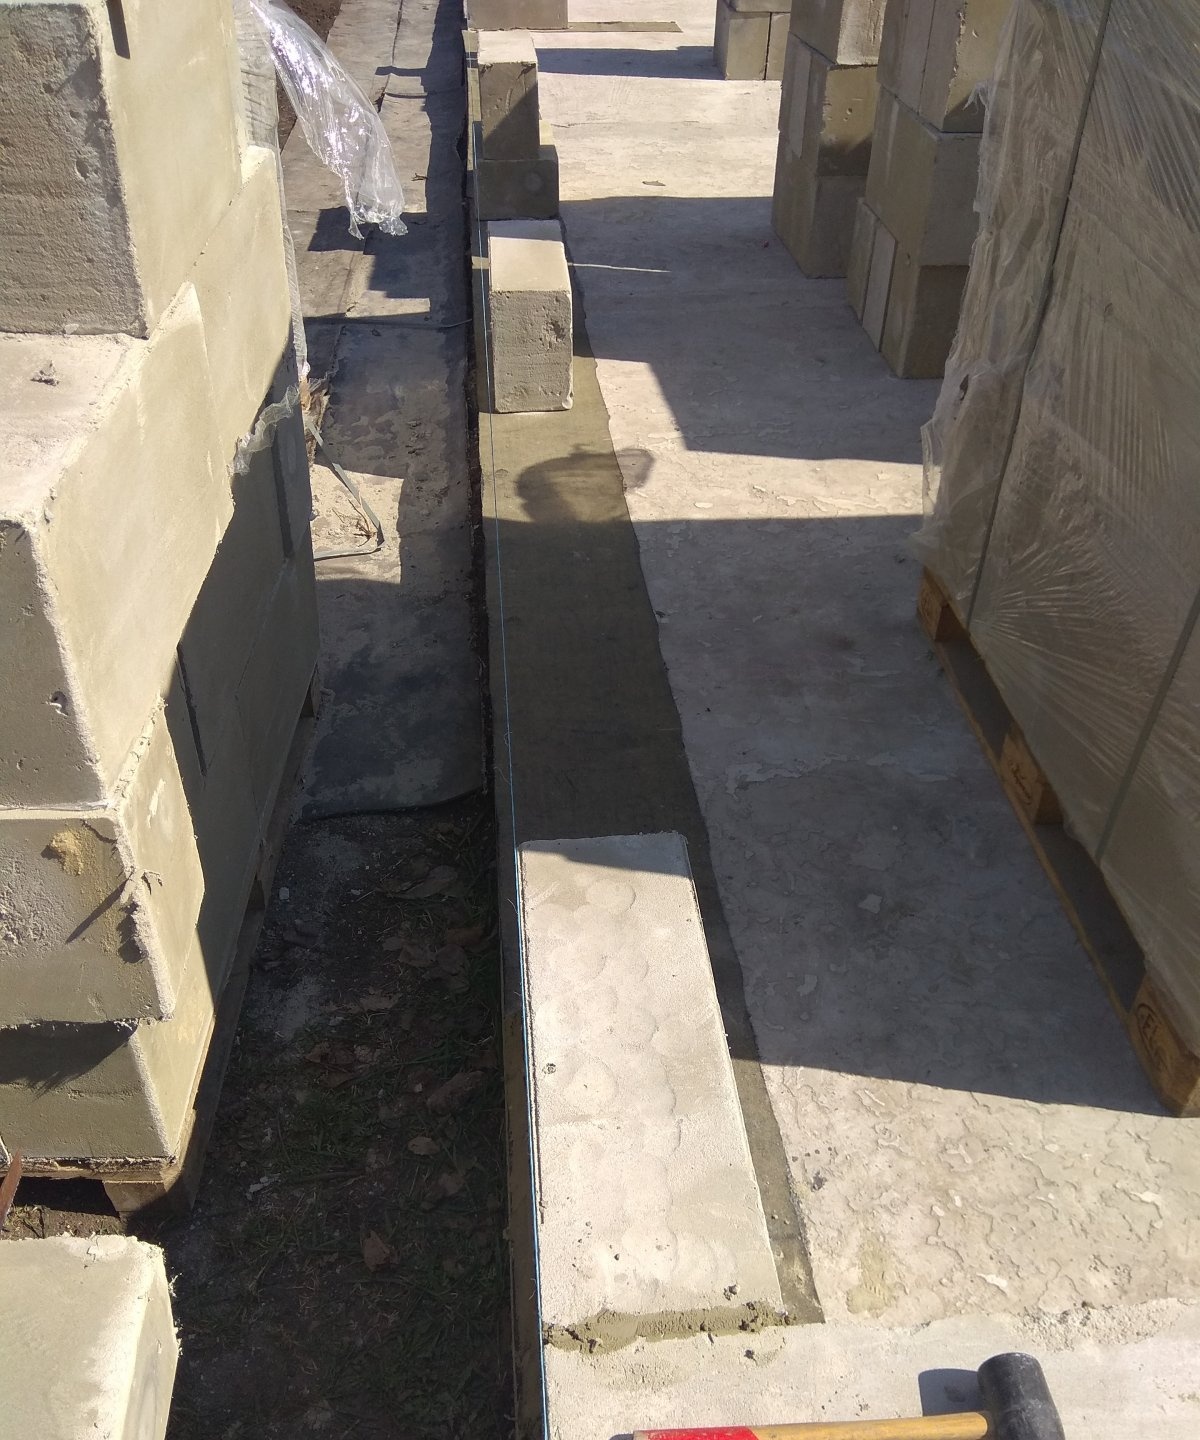
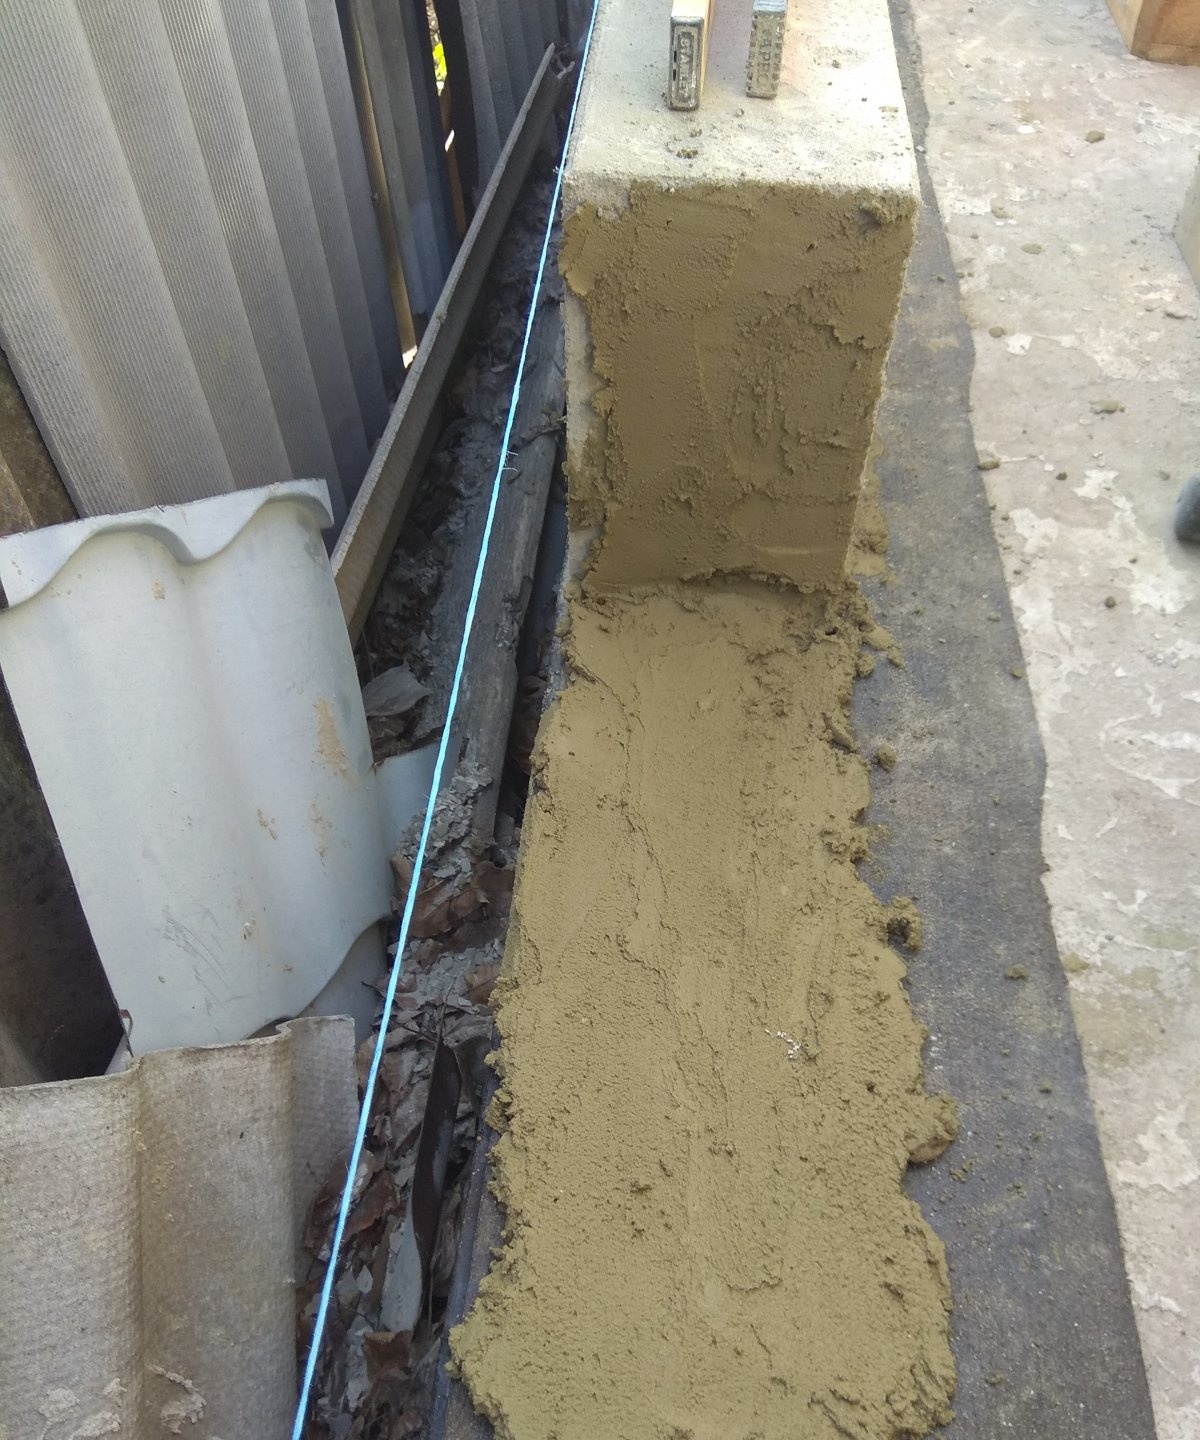
The seams between the foam blocks must be immediately covered with mortar.

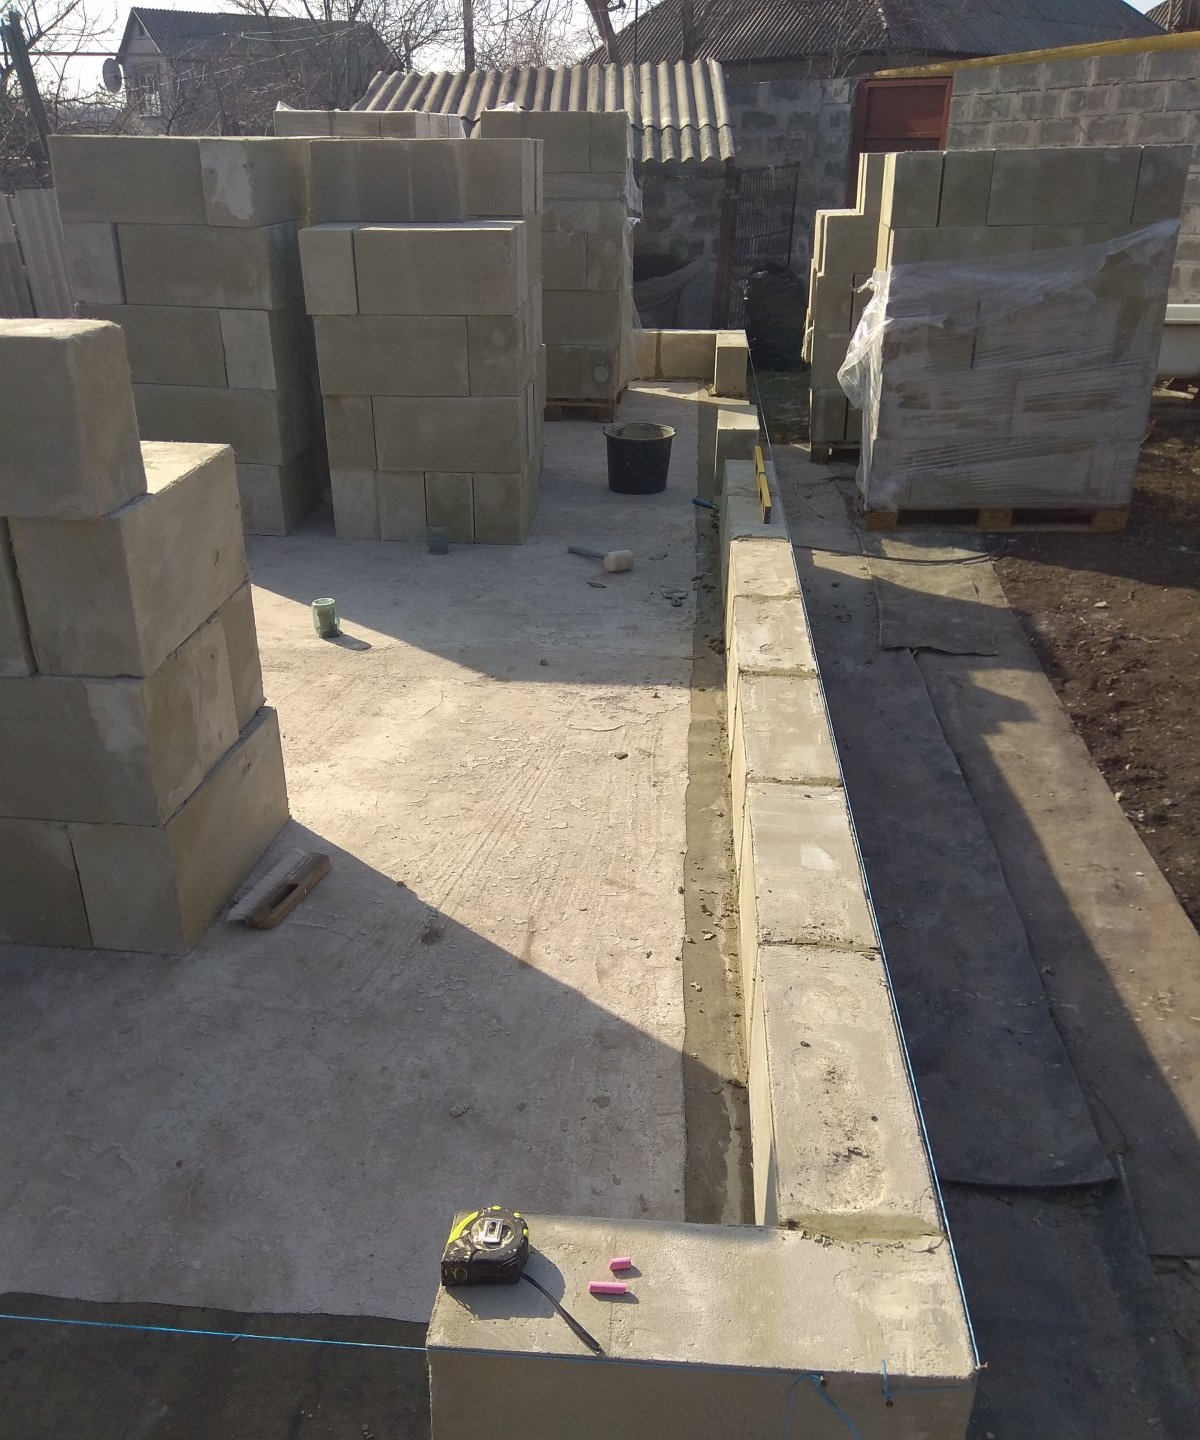
Already on the first row you will need to trim the foam blocks. You can use a regular hacksaw for this.
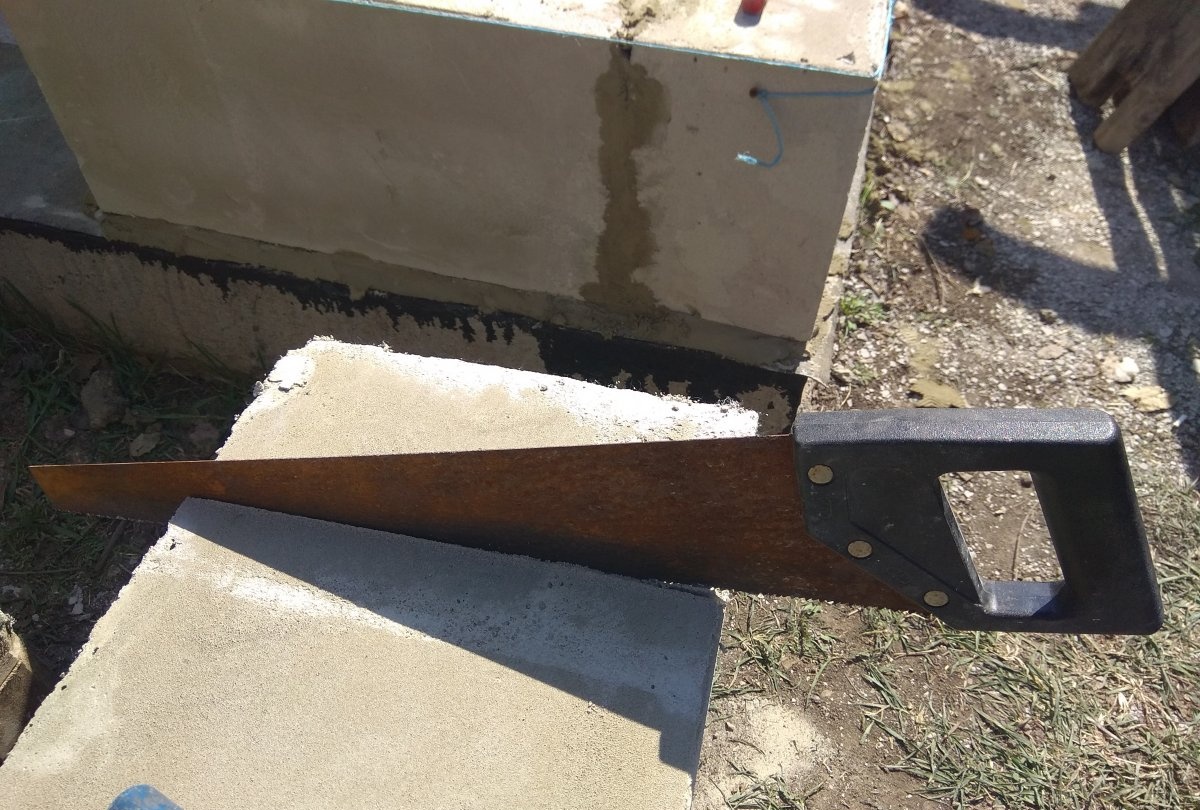
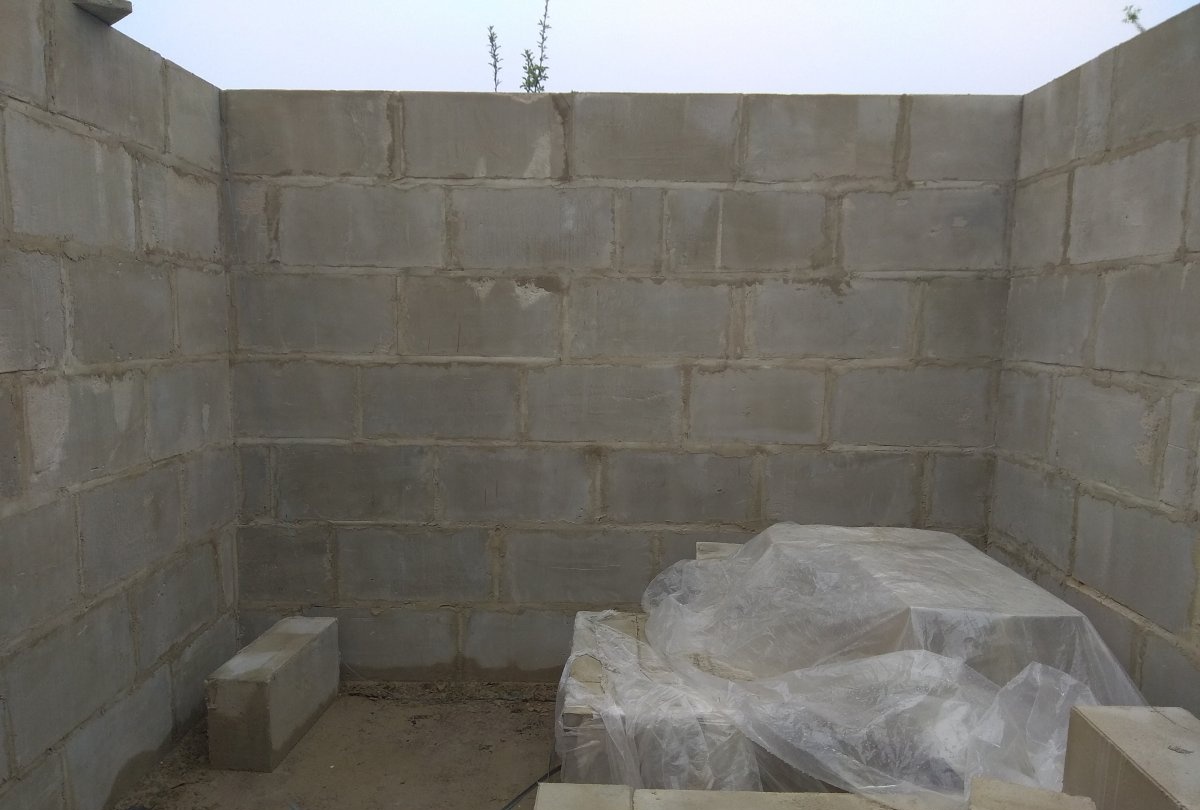
The foam block is easy to saw. It is also important for you to immediately decide on doorways and partitions already during the construction of the first row. It is best, after you have erected the first row, to wait 1 day for it to settle, and the next day to begin further laying the wall. Since this is an outdoor job, weather conditions may interfere with work. Therefore, you can use film to cover the masonry, for example at night, in case it rains.
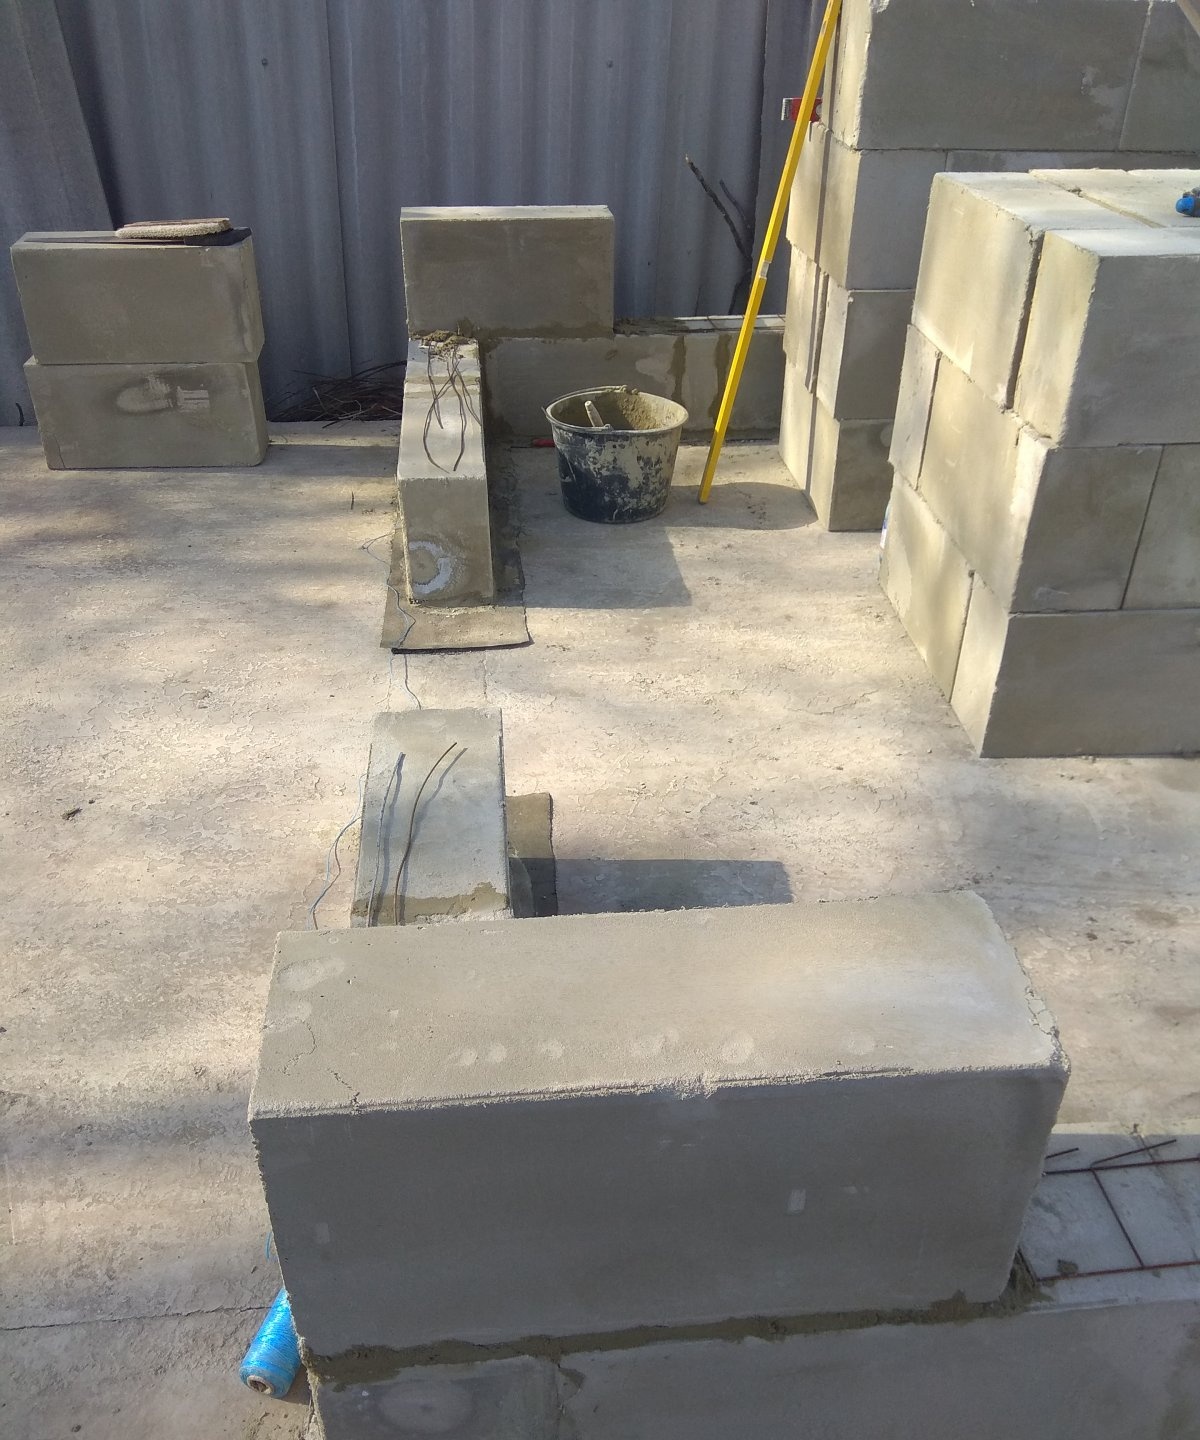
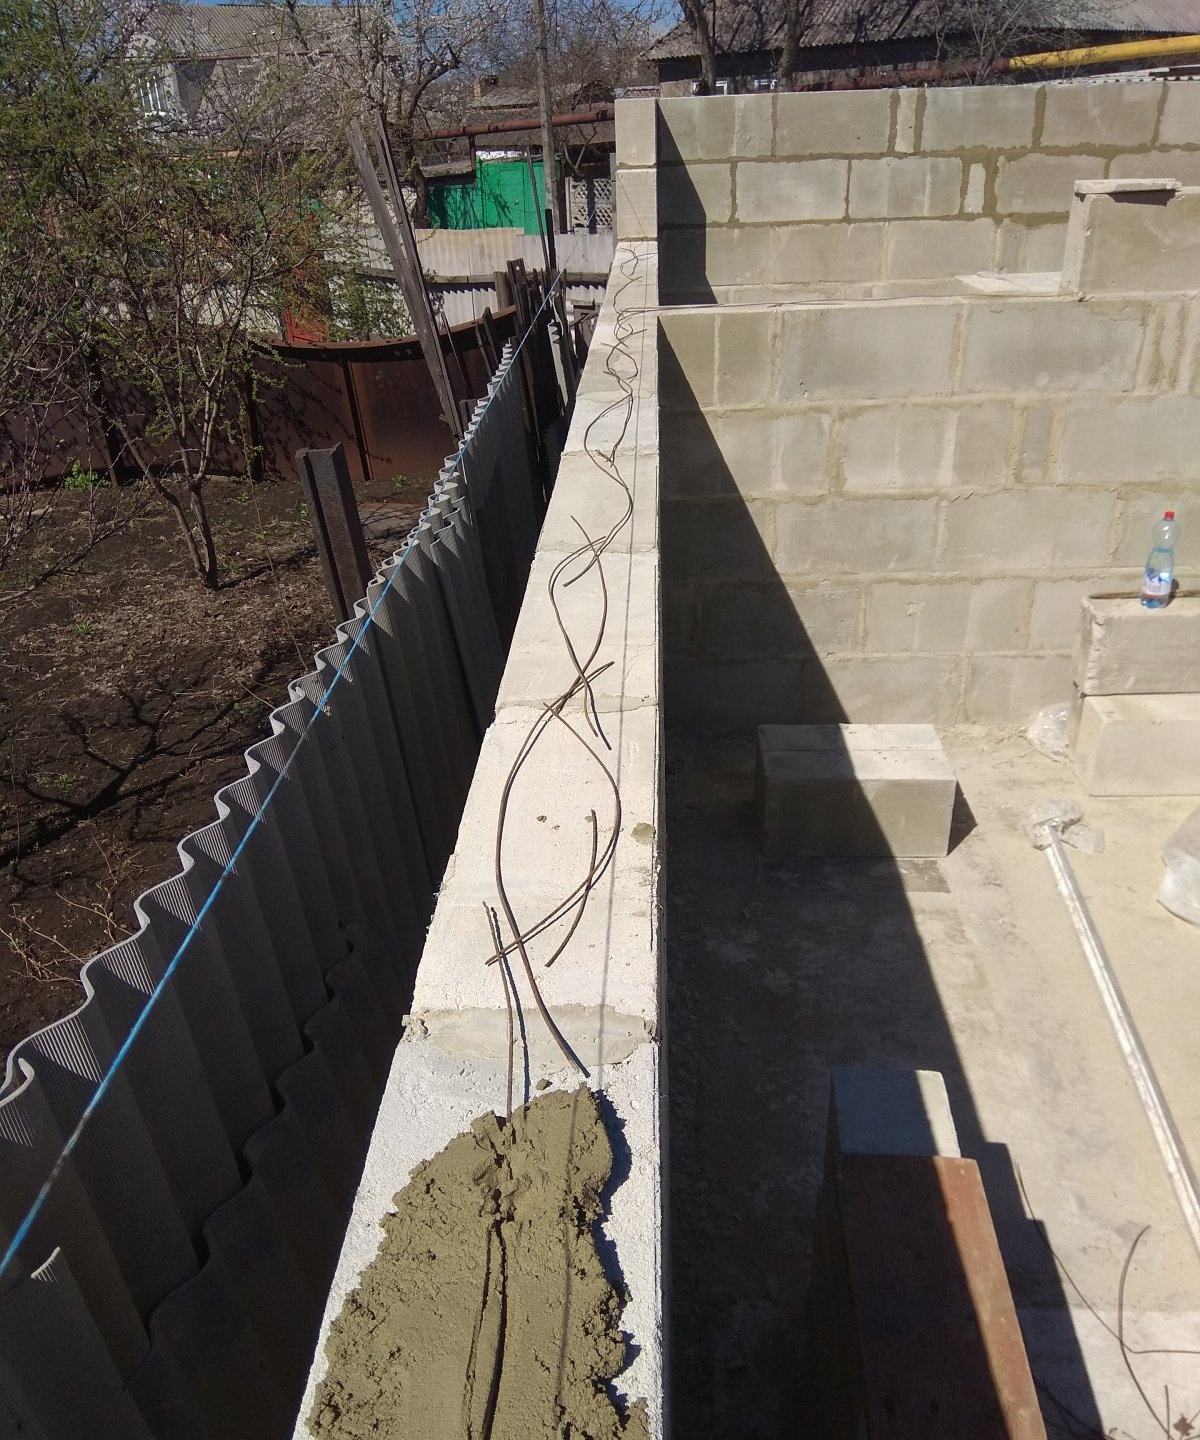
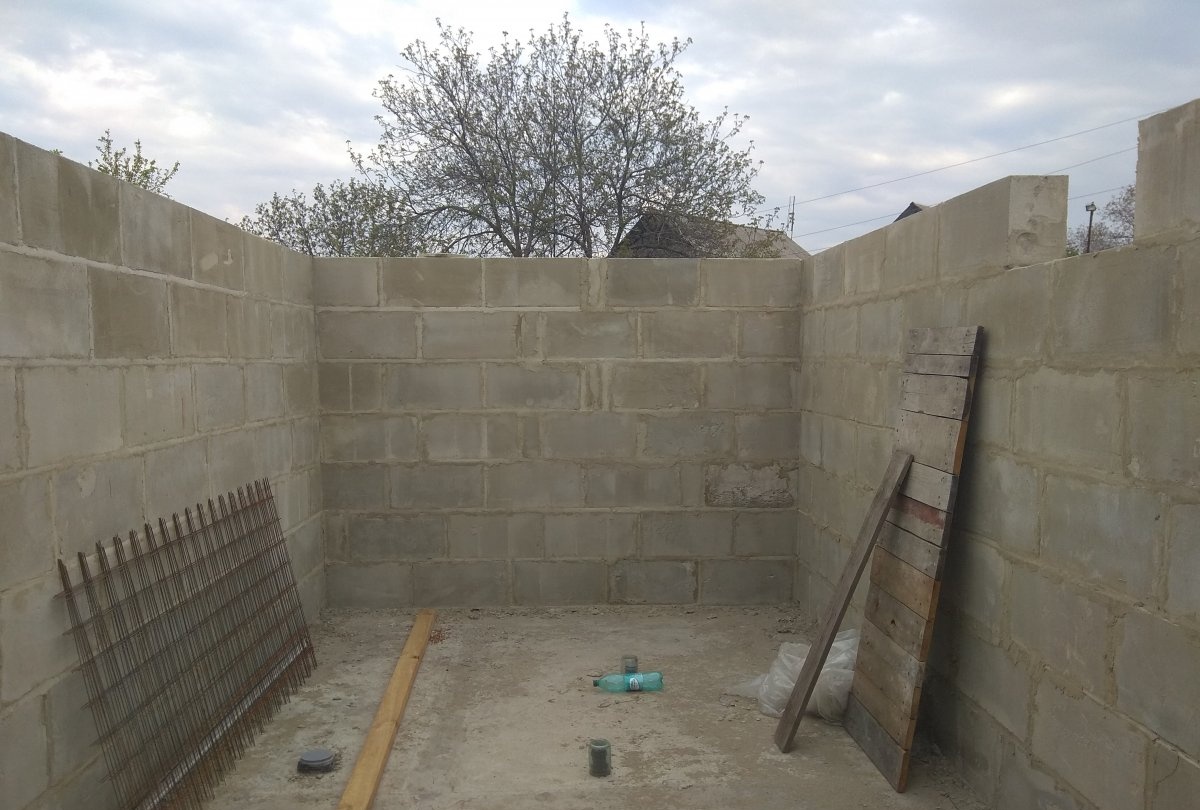
Before you begin building the second row, use wire or mesh for reinforcement.
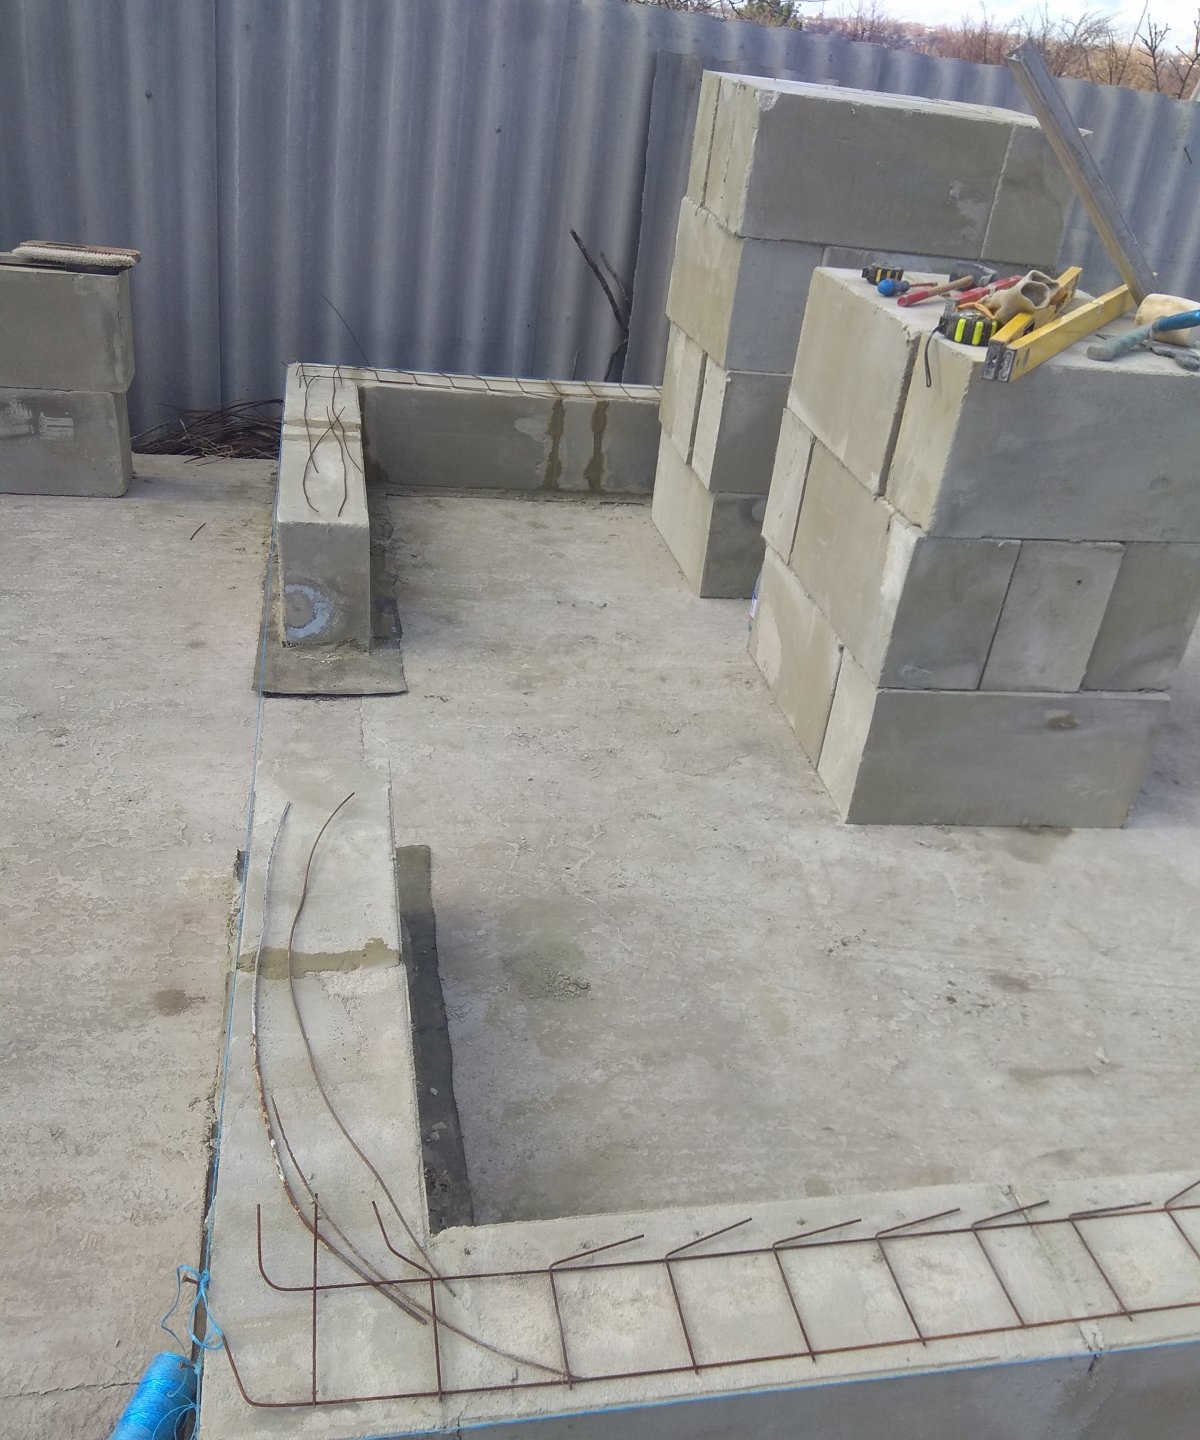
This needs to be placed in the seam between the first and second row. Then everything is done in the same way: first, the corner foam blocks are installed as evenly as possible, then the thread is pulled from the corners, after which the order can be laid.
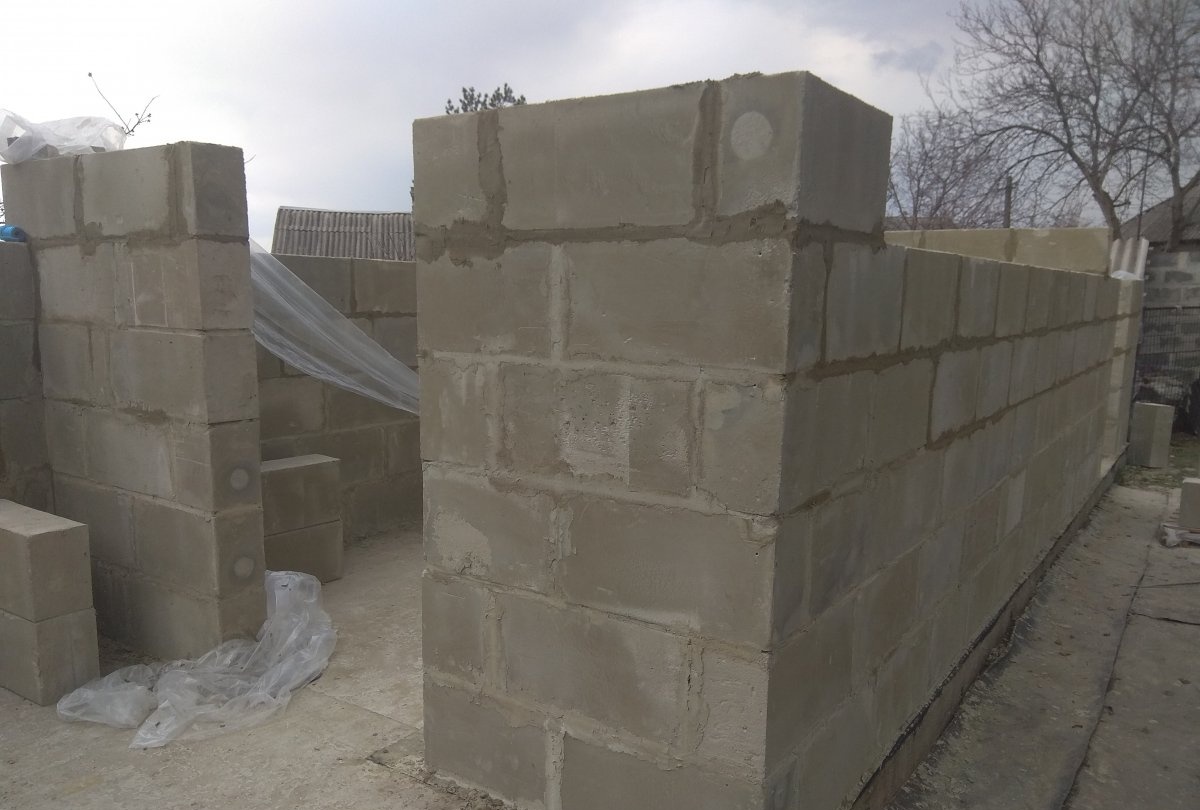
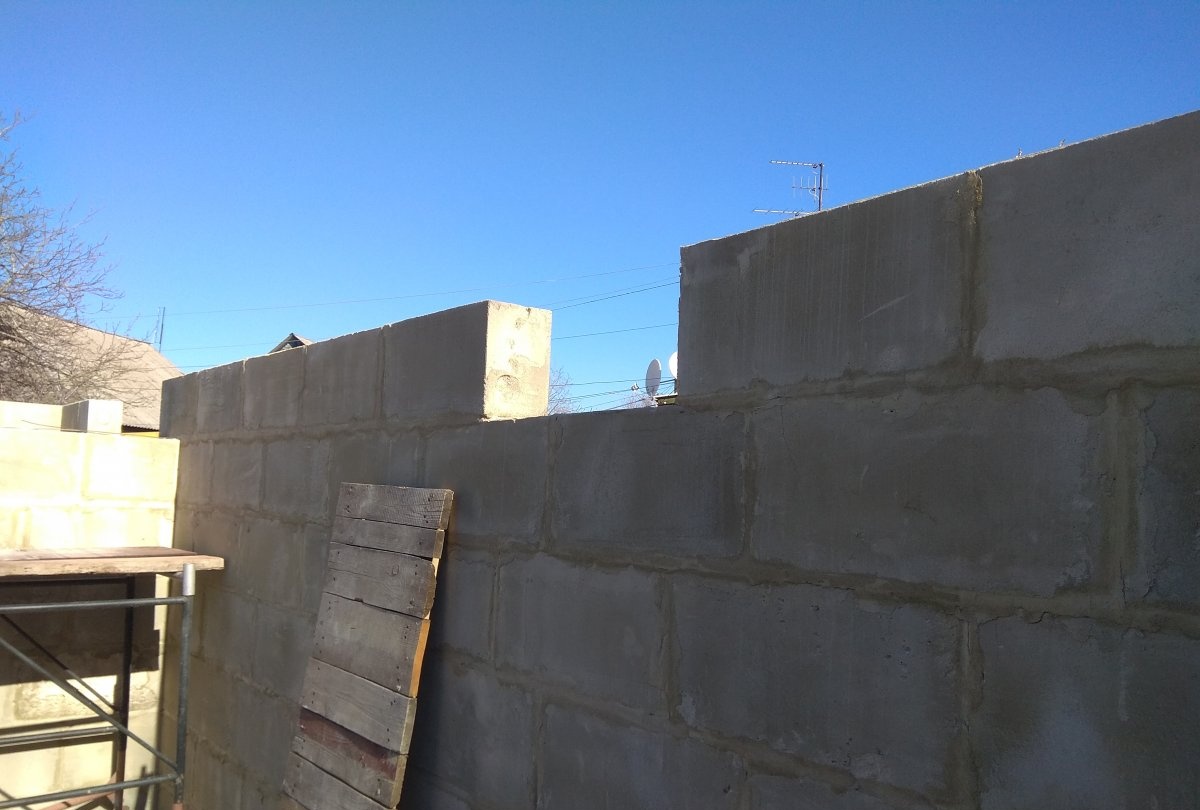
All rows are built according to this principle. Approximately on the 4th - 5th row, you can again reinforce the wall by laying wire or mesh between the seams. Ideally, reinforcement is used after the first row, in the middle, and also on the penultimate row of the wall.


It is also important to decide on window openings, namely on which row they should be made.
You can install metal corners on top of the window, and lay a row of foam blocks on top of them.
As you can see from this article, this is not a difficult job that even a beginner can handle. And since the sizes of the foam blocks are large, your work will progress quickly and noticeably. A room that was built from this material will serve you for many years.