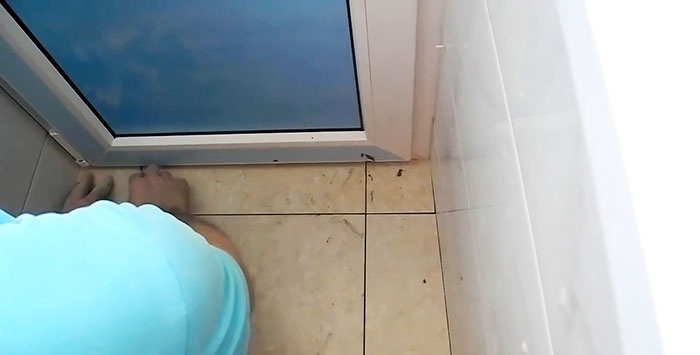
Particular attention should be paid to the threshold to the balcony. If you follow the traditional path, you need to cut out the floor boards, if any, and, starting from the floor slab, install the formwork, fill it with concrete, wait at least three days and remove the formwork. Only after this can you begin tiling the threshold.
How can this work be simplified, made less labor-intensive and, without loss of thoroughness, speeded up as much as possible? Yes, there is such a way, and we will deal with it now.

Making the base of the threshold for the balcony from the remains of plasterboard
The work on constructing the base of the threshold will take 1-2 hours instead of three days, and at the same time it will be in no way inferior to concrete.
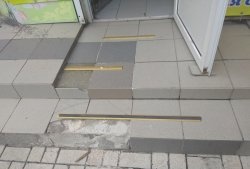
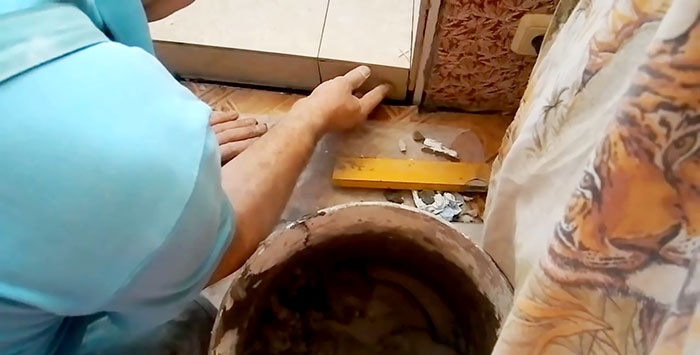
For strength and aesthetics, it is better to extend the threshold to the end of the slope.Its base will be made from the remains of drywall and a mixture of tile adhesive and sand in a 1:1 ratio.
We lay strips of drywall in layers, alternating longitudinal and transverse positions, on a mixture of tile adhesive and sand.
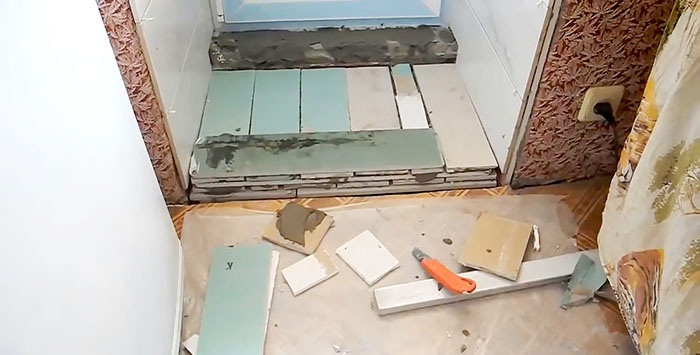
We determine the length of the strips along the edge of the base, make marks and cut along them, break a strip of drywall and also cut the paper on the back side.

We apply glue to the underlying layer of drywall with a trowel and lay a strip on it and press it down, achieving the correct position in the longitudinal and vertical direction. We spread the glue-sand solution squeezed out of the cracks over the surface, increasing the solidity of the base of the threshold.
The front edge is kept recessed inward by the thickness of the facing tile. As a result, the lined front part of the threshold will lie in the same plane with the edge of the slope lining.
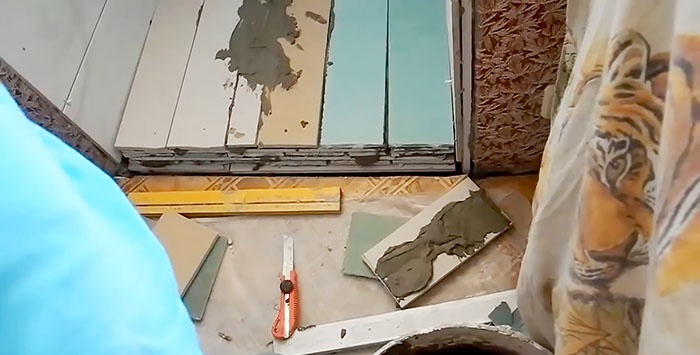
If there is a narrow space left in the layer, then we fill it with strips of drywall of the same width, also placing it on a solution of glue and sand. Strips can be of different lengths.

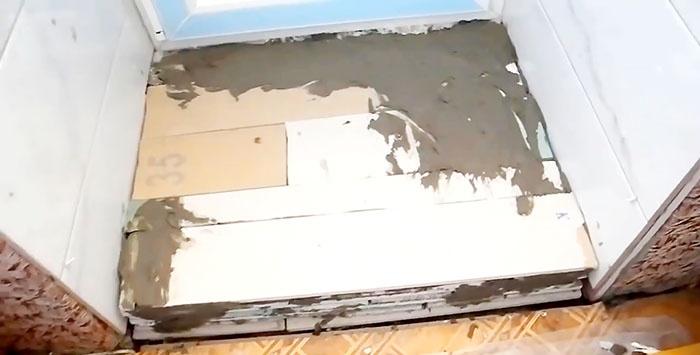
Thus, by alternately laying the remaining drywall on the glue in layers in the longitudinal and transverse directions, we bring the base of the threshold to the required height.
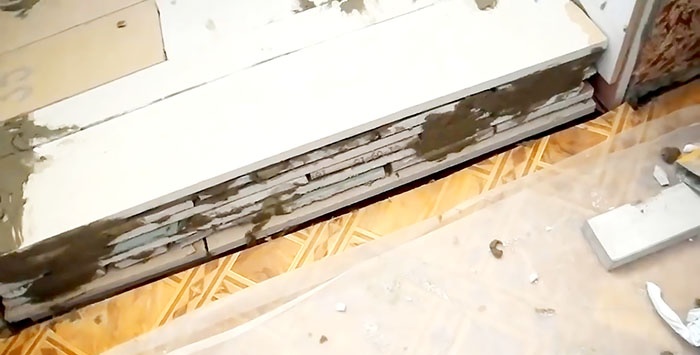
This option for making the base of a threshold on a balcony made of plasterboard, even at a height of 20 cm, thanks to laying it on a thin layer of adhesive-sand mortar, quickly sets, does not shrink and you can immediately lay facing tiles on it.
The procedure for tiling the threshold on a balcony
We select a whole tile, decide on the direction and lay it in the center of the base of the threshold, taking into account the formation of the front edge, which coincides with the tiles with which the door slope is lined.
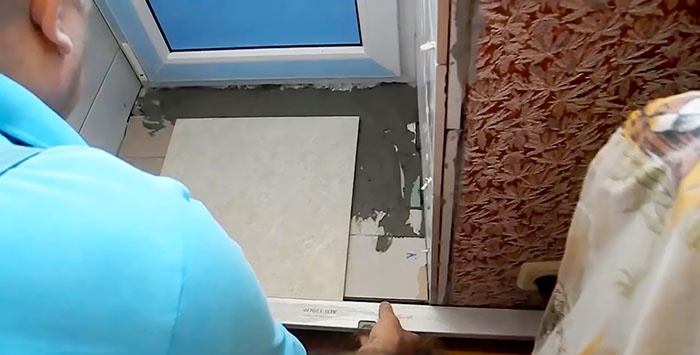
We set the front edge of the tile level, and so that there is approximately the same spread on the sides. Draw a line along one side of the tile with a pencil on the base, which will be the base.

We remove the tiles and apply an adhesive-sand solution to the place where they lay. We lay the tiles again, without confusing the direction, and exactly along the base line. We check the horizontality of the transverse laying by level, lightly tapping the tile in the right places with your hand or a mallet. In the longitudinal direction, the tiles should have a slope from the door so that the height of the threshold is not too high.
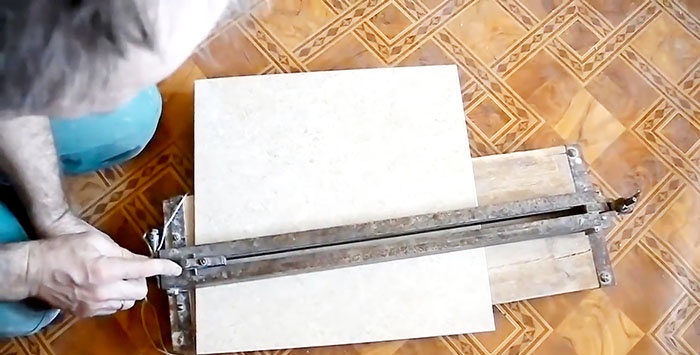
We remove excess glue-sand mortar from the sides of the central tile. We take another tile, decide on the direction and side of installation, turn it over and place it on the top right tightly to the wall and put a mark of minus 3 mm (two seams of 1.5 mm each). We do the same thing from below. We do the same with the other side of the same tile on the left.
We lay the tiles according to the marks on the tile cutter, cut and chip. We get two side strips of the desired size and shape.
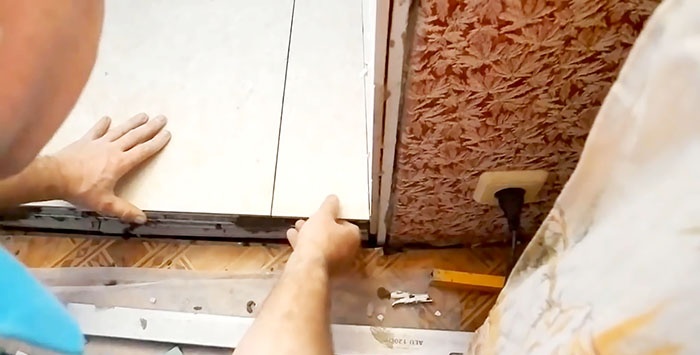
We try them on and make sure they fit exactly in place. Since the glue has not yet set, you can adjust the central tile if necessary.
Since the side elements are not wide, we lay them on clean glue 3-4 mm thick with an excess in the center so that the position can be adjusted. Using a level gauge, we control the plane in relation to the central tile. We lay the second element in the same way.
All that remains is to lay the upper side of the threshold. To do this, use an electronic tape measure to measure the width. It turned out to be 102 mm on one side and 104 mm on the other. That is, each side of the tile will have to be cut to its size.
Again, we take the whole tile, specify the direction, place it tightly against the door frame and apply marks along the edge of the laid tile, taking into account -3 mm. We transfer the marks to the ends, cut off the desired element along them using a tile cutter and glue it in the center, observing the plane and width of the seam.
Next, we cut out individual squares and place them on clean glue, using the surface of the slope tile as a base.
All that remains is to veneer the riser. Moreover, the height dimension is not important here, since it will be covered from below with a plinth. The main thing is to match the slope tiles and the edge of the threshold.

We cut three strips equal in length to the central tile on the threshold and two side elements.
We prime the ends of the drywall with a deep penetration primer, which guarantees the adhesive adhesion to the 5-10 mm base layer.
We install the central strip, placing the glue in a thicker layer in the middle, which will allow it to spread to the sides when installed and pressed and eliminate voids. The main thing here is matching with the edge of the top tile.
Then we install the side strips. If it turns out that there is not enough glue and the tile has “failed,” then you can tear it off and add glue.
On a note
In order for the adhesive to dry and the tiles to adhere firmly, you must not use the threshold or step on the tiles for the time indicated on the adhesive packaging.