Floor preparation
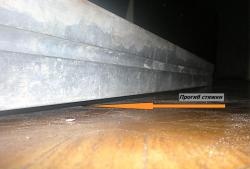
Everything is taken out of the kitchen furniture, refrigerator and gas (electric) stove. The floor boards are inspected, and the most rotten ones are removed and replaced with new ones. If minor damage, minor differences in level and other minor defects are found, they can be left without elimination. All this will be hidden under the wood board and will not affect the quality of the new floor in any way.
Skirting boards are removed. Usually in old houses they are wooden, and after dismantling they are not suitable for further use. The potholes remaining after removing the baseboards are sealed with cement mortar or starting putty.

Next, you should determine the location of the lag.This can be done simply by finding the heads of the nails with which the boards are nailed. They are arranged in even rows with a pitch of approximately 40 - 50 cm. Marks are made on the wall opposite each row: you will need to follow them
navigate by fixing the OSB boards to the joists.
How to lay OSB
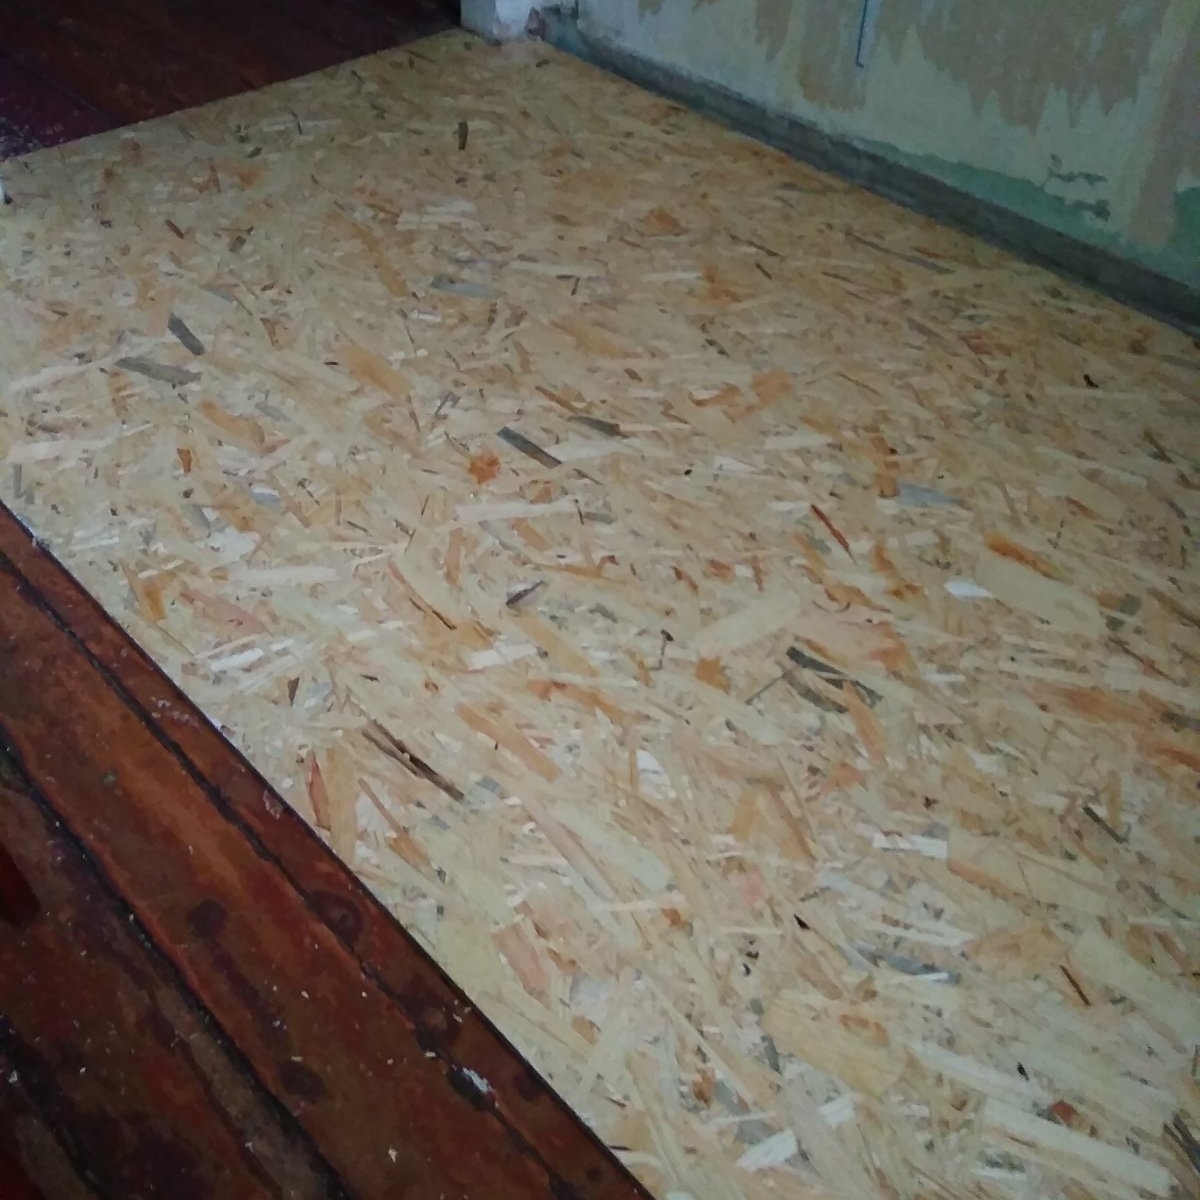
Kitchens in houses built during the Soviet era, in most cases, do not have a large area. Even in 3-room apartments they rarely exceed 7 m2. Thanks to this, to create a base for the finishing coating you will need only 2 sheets of OSB with standard dimensions (250 cm length and 120 cm width).
By measuring the length and width of the room with a tape measure and comparing these parameters with the dimensions of the OSB, the optimal location of the slabs on the floor is determined. If possible, they should be placed so that most of the joints are under the furniture. Next, markings are made on the chipboard with a pencil, taking into account the expansion joint, and the excess is cut off with a hacksaw. Since the room is small, the temperature gap between the wall and the edge of the Osb sheet is small - about 0.5 cm.

It is easier to take measurements for the second sheet when the first one is already in place. Therefore, we lay it on the floor and make final adjustments if necessary.
Next, we carry out markings on the second OSB. We cut it out and lay it in the same way as the previous one.
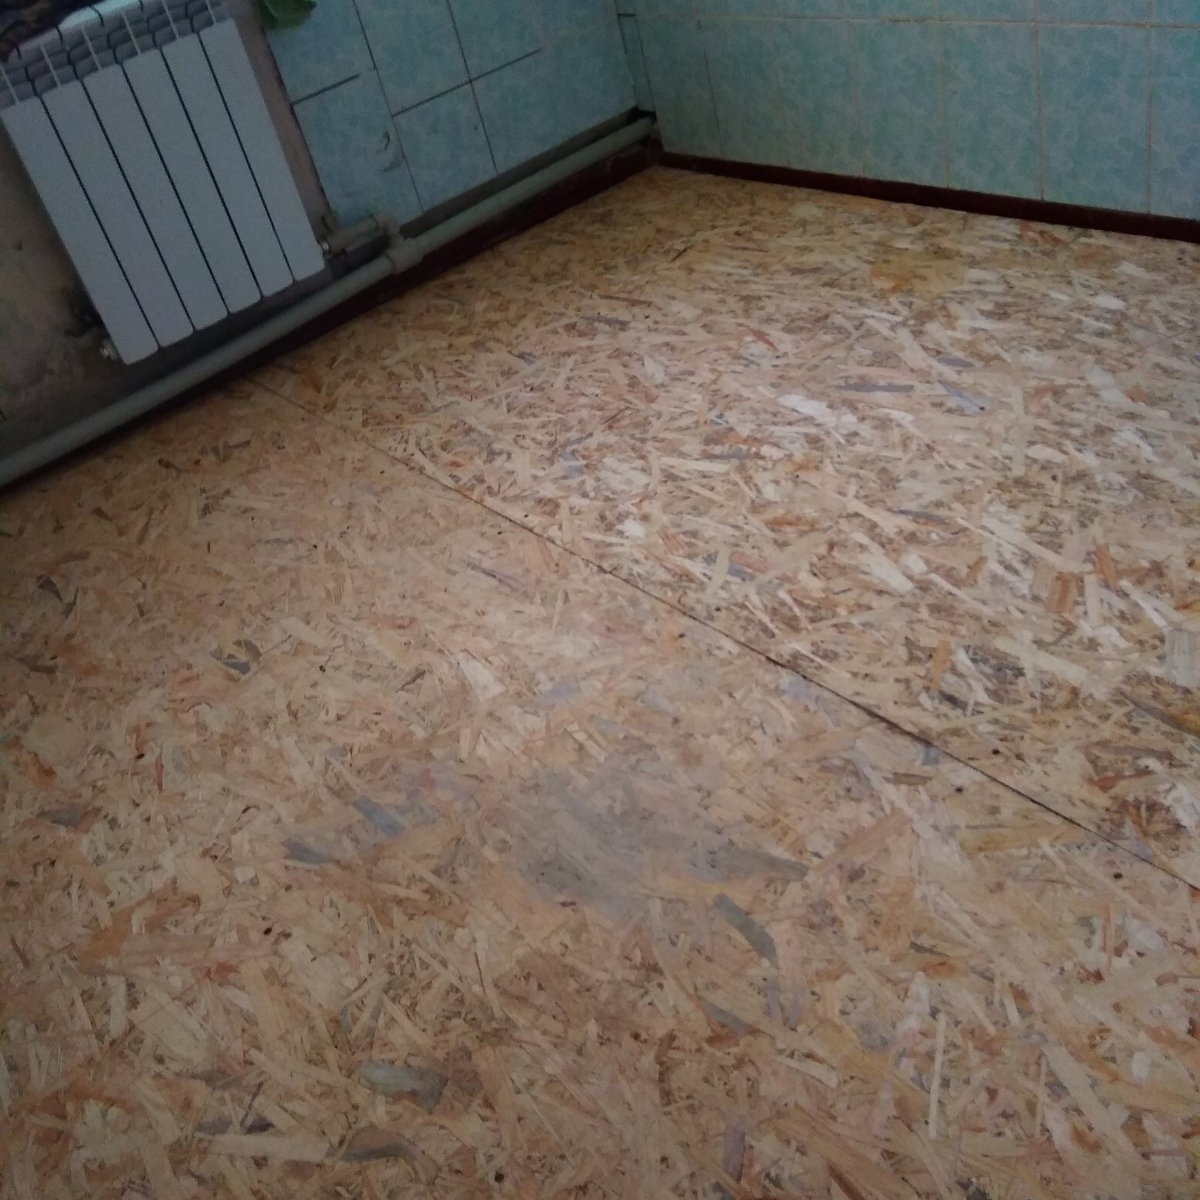

Advice. Cuts are almost never perfectly straight, even if made with a jigsaw. Therefore, it is important that both parts are joined with factory edges, and not cut independently.
Fixing OSB to the floor
Based on the marks made on the wall, straight parallel lines are drawn on the subfloor: self-tapping screws will be screwed in along them to fix the OSB to the joists.

First you need to drill shallow holes every 40 cm. They are needed to recess the heads of the screws inside the slab.

After this, use a screwdriver to screw in the screws. This work can be done using a screwdriver. But in this case, it is important to be careful not to pierce the slab with a self-tapping screw.

The recesses remaining above the caps are filled with wood putty or regular finishing putty. The joint is also coated with putty, and for reliability it is sealed with tape, or construction tape.


After drilling, debris will remain, so the floor needs to be swept well, since small pieces of wood and hardened putty will eventually appear as bumps on the linoleum.
How to lay linoleum
Before starting work, the linoleum is kept in a straightened position for two days in a room with an air temperature of 200 C or higher. To prevent kinks, its edges should not be folded. Based on the size of the kitchen and taking into account all the niches and protrusions (thresholds, heating radiators), the required piece of linoleum is cut out.
Measurements are taken along each wall and along the center line of the room - in this case, errors can be minimized. In cases where the contours of the floor are disproportionate, it is recommended to make small allowances and then correct the coating in place.

The material is cut with a construction knife exactly according to the markings. A board, a sheet of plywood or a piece of slab is placed under the cut site, which will prevent damage to the plane under the linoleum. A straight strip is applied to the marking line and a through cut is made. If necessary, cut by weight, you can use scissors.

When laying linoleum, it is important to straighten it well and prevent “waves” and distortions. If the measurements are not made accurately enough, the excess is cut off with large scissors.It is important that the gap between the wall and the flooring is no more than 1.5 cm, otherwise it will not be covered by the baseboard. Ideally it is 0.5 cm.
Finishing work
The floor repair is completed by installing the baseboard. It is advisable to buy plastic skirting boards with a channel for the cable - they are stronger, more convenient to screw, and all fasteners are covered with overlays.

As an option, instead of a factory-made plinth, you can glue ceramic tiles cut into strips 6-8 cm wide. But this is appropriate in the case where the coating pattern is also made to look like a tile.
Furniture should be brought in carefully, since dragging tables and refrigerators can easily damage the top decorative layer of the covering. It is better to carry heavy objects in your hands.