Making a reusable protective mask with your own hands
1. We choose natural fabrics for making a protective mask: 100% cotton, so that you feel comfortable in it. Be sure to make a double mask so that you can insert protective gauze or a bandage folded in several layers into it.
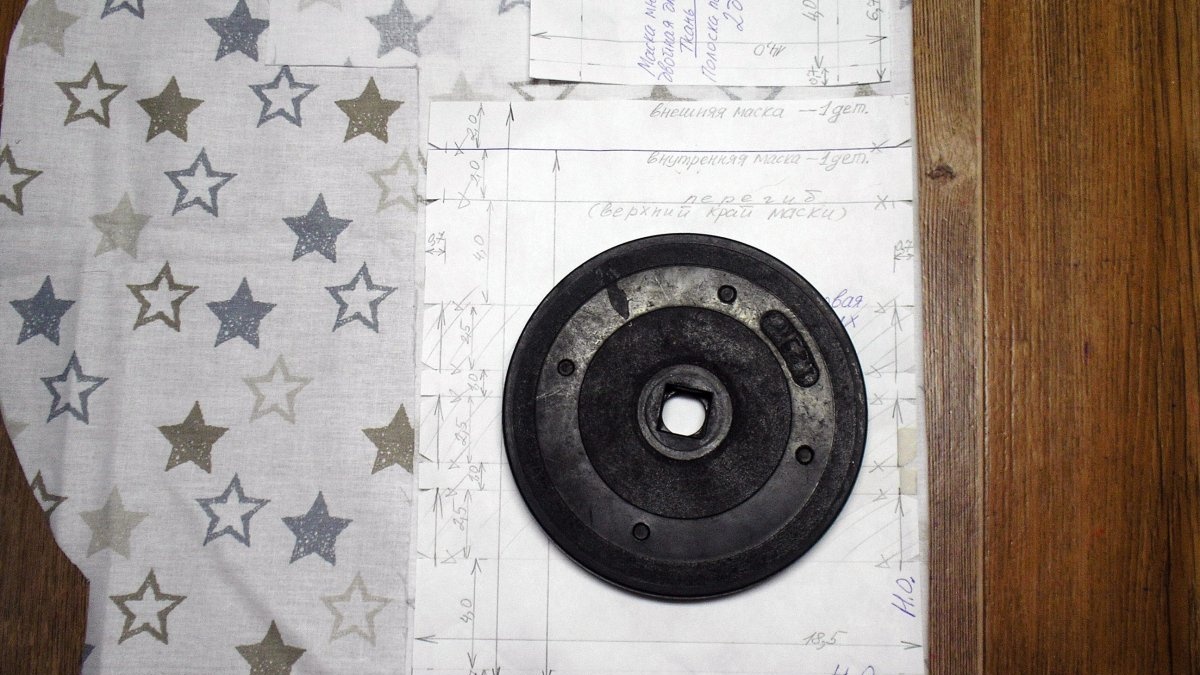
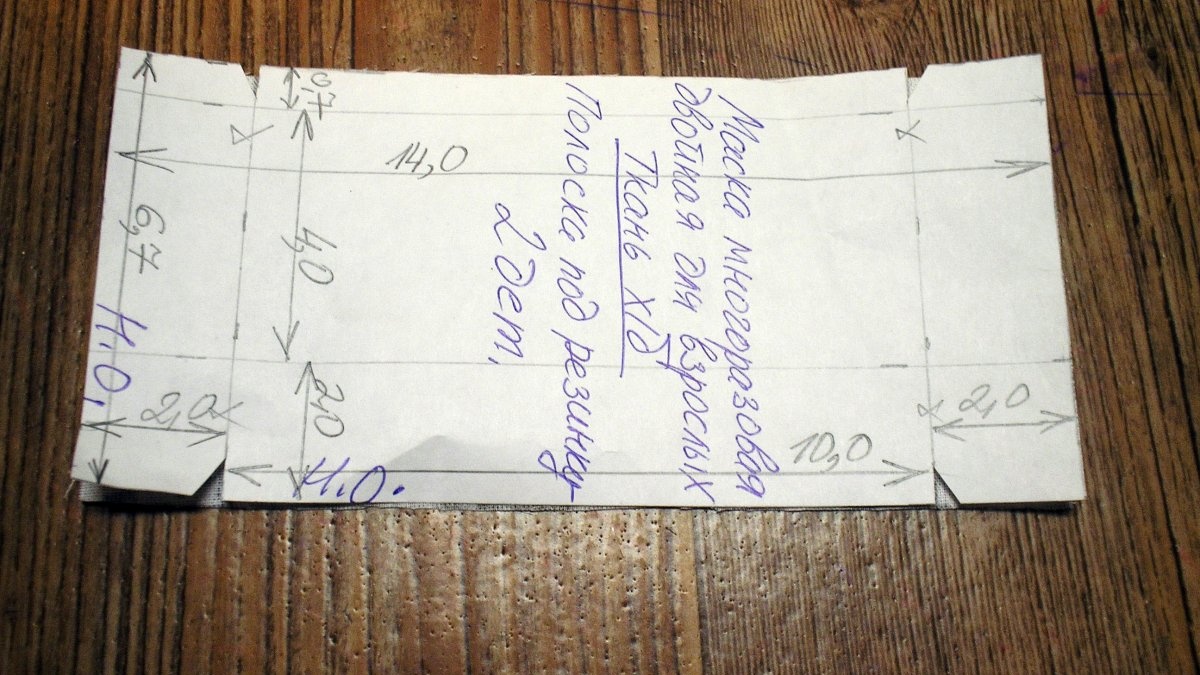
2. Make mask patterns. In Fig. 01 presents ready-made mask patterns with all the dimensions necessary for construction.Please note that the patterns already include all allowances for processing; there is no need to add anything! We build two rectangles: one with dimensions 22.2x18.5 cm, the second with dimensions 14.0x6.7 cm. The first rectangle is a template for two parts of the mask at once: for the outer one with a height of 22.2 cm and the inner one with a height of 20.2 cm (there are notches along the upper edge of the mask on both sides, indicating the line of the inside of the mask). That is, the outer and inner parts of the mask along the upper edge differ in height by 2.0 cm; in all other sections they are absolutely identical. In the constructed rectangle we mark all the dimensions according to Fig. 01 and put the necessary notches. We cut out the patterns. We cut notches no longer than 0.5 cm so that they do not reach the seam line.

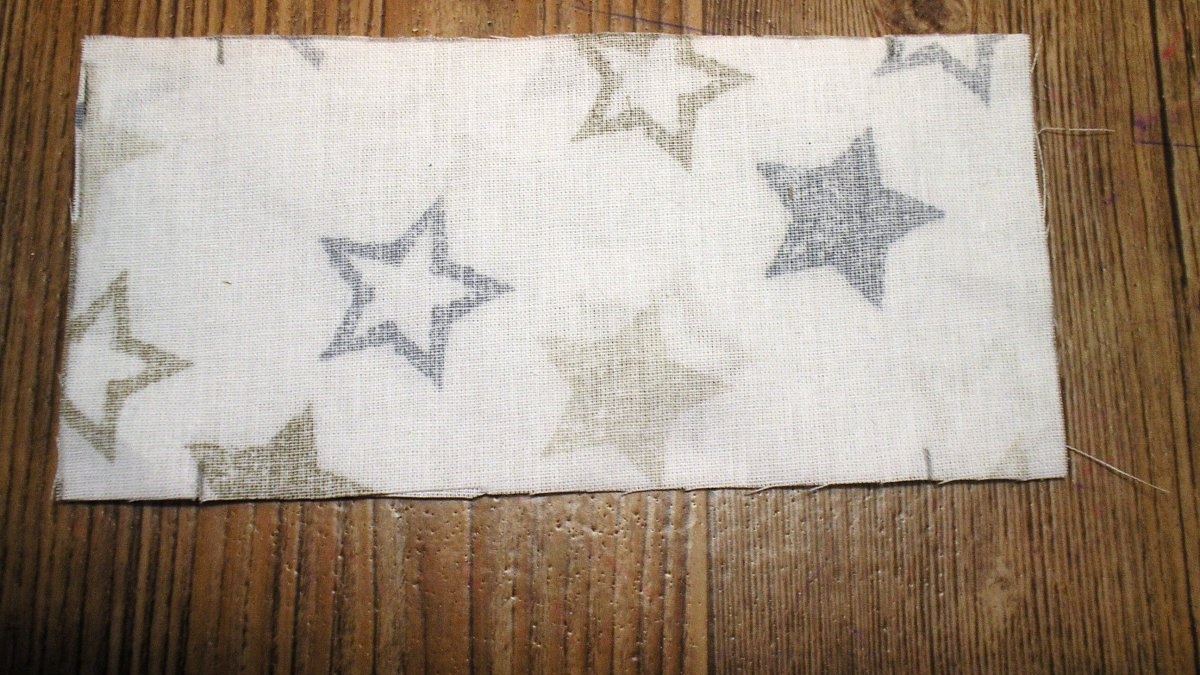
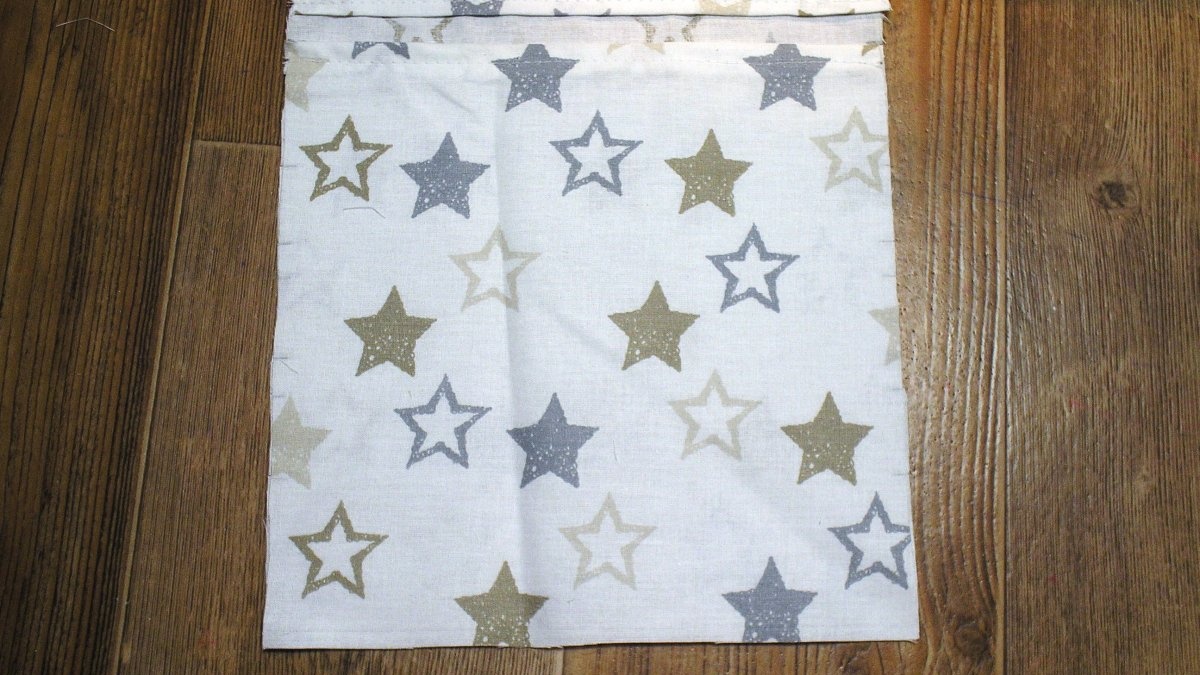
3. Now we start cutting. Fold the fabric face to face in two layers. We lay out the patterns and trace them with a pencil or chalk for cutting, as seen in Fig. 02.
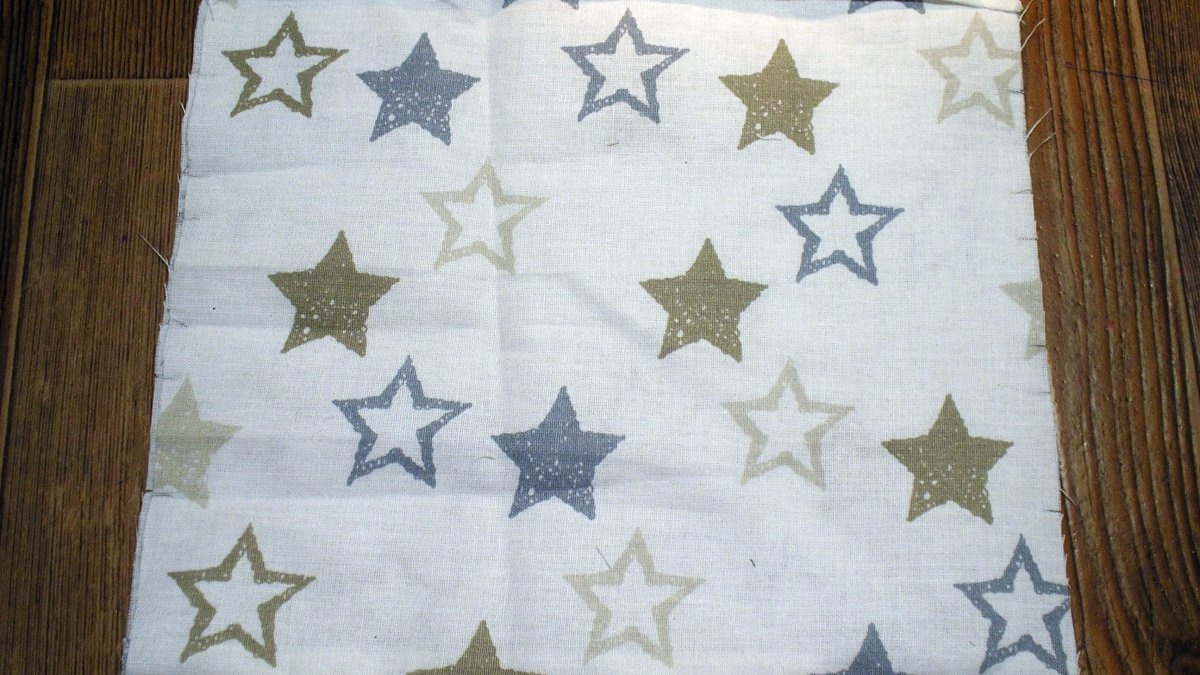
First we cut out the outer mask, then we remove one part, and on the other part we connect the notches according to the pattern, where the height of the inner part of the mask is marked and cut off 2.0 cm (the difference in height between the outer and inner parts of the mask). The cut out cut of the mask parts is shown in Fig. 03.

The outer and inner parts of the mask are folded together, all their notches are the same, but they differ only in height by 2.0 cm. On the strip under the elastic, you need to put notches on the hem at the top and bottom to process the edges of the strip, as can be seen in Fig. 04 and 05. The cut is ready.
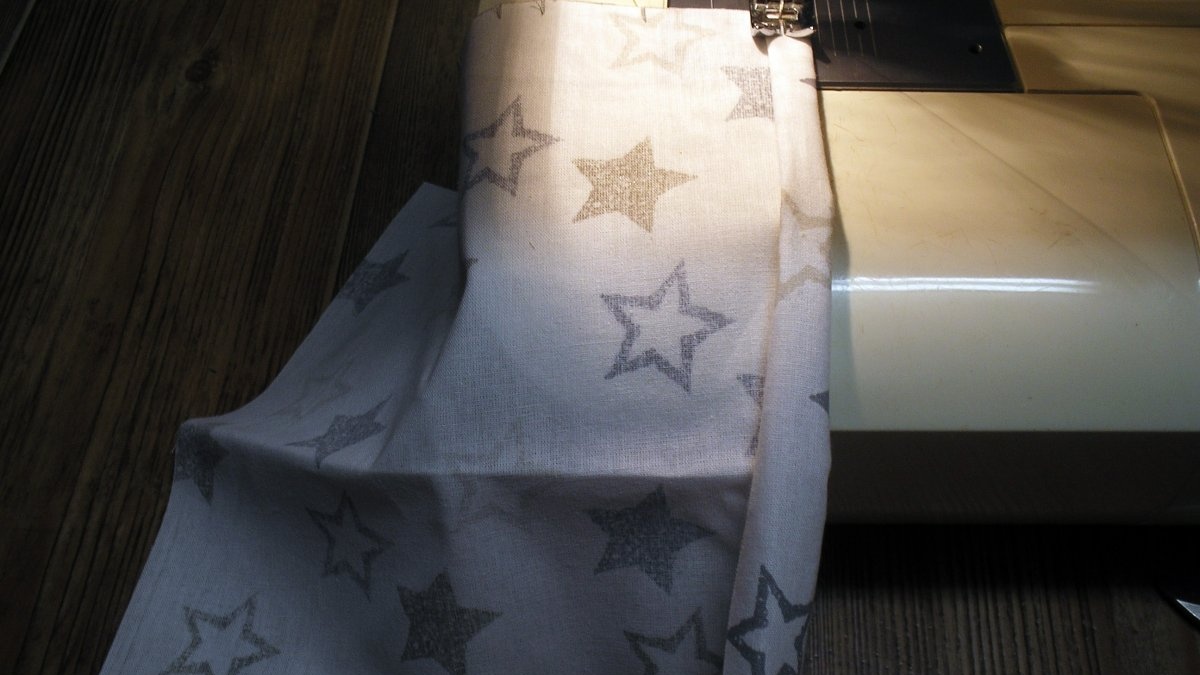
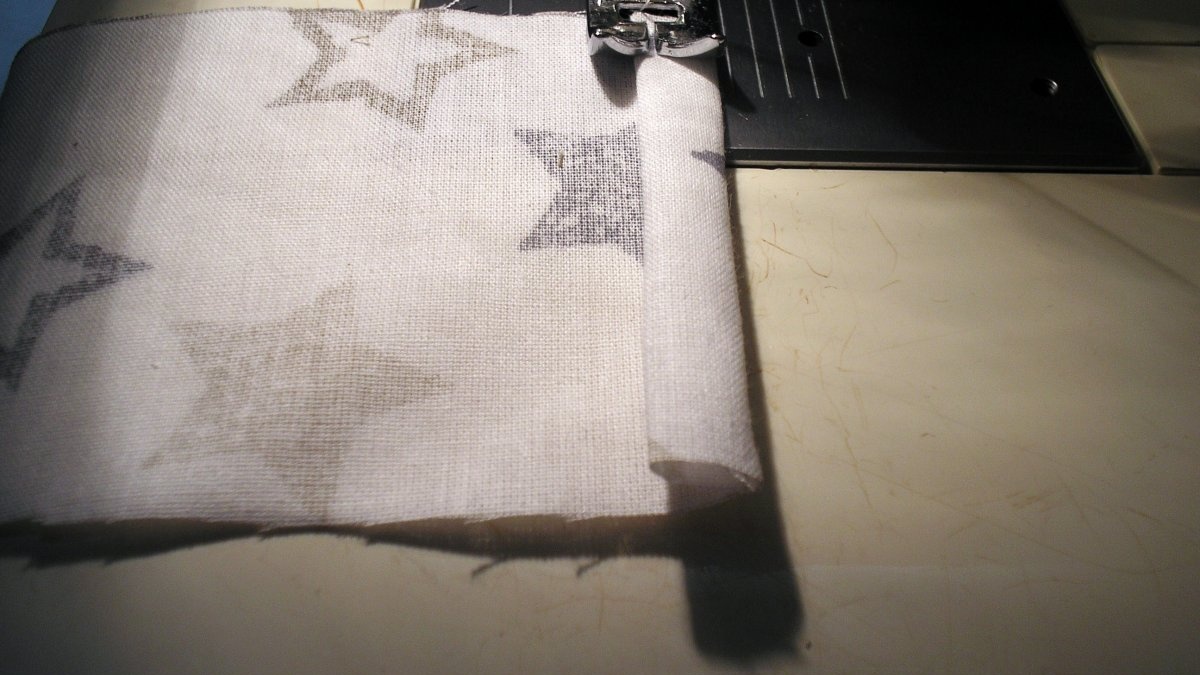
4. Let's start sewing the mask. We process the upper cut of the mask, turning it over and sewing 2.0 cm along the notch (1.0 and 1.0 cm) with a closed cut stitch, as shown in Fig. 06.
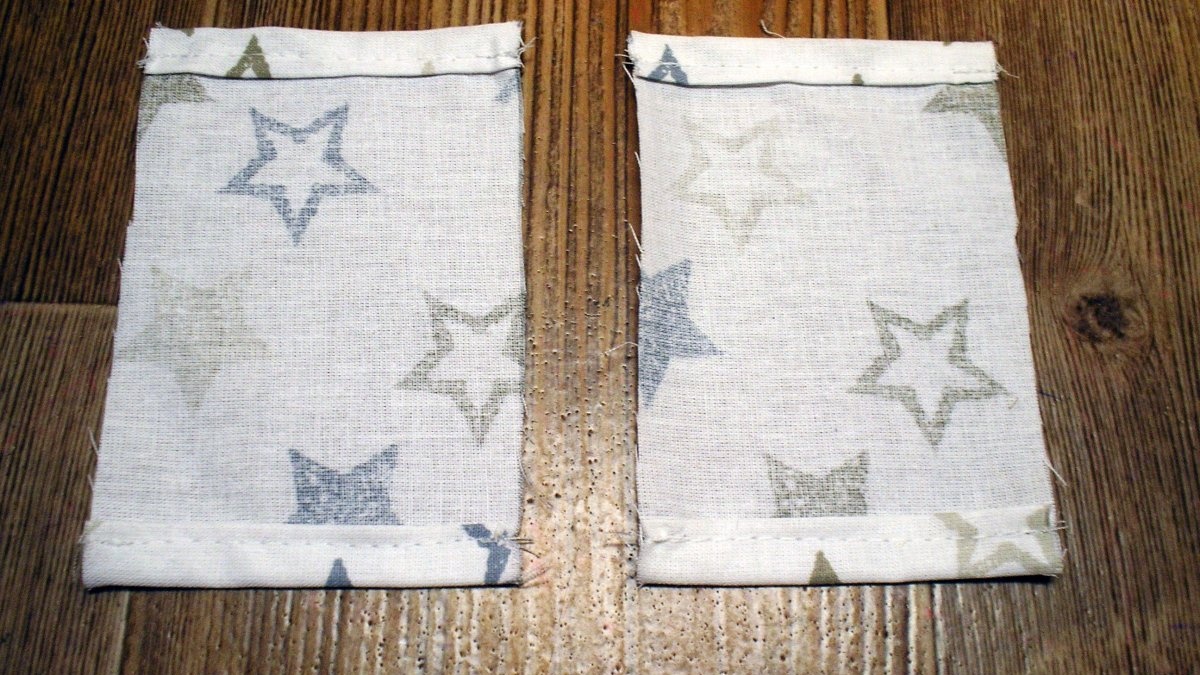
We do this with the outer and inner parts of the mask. We get the result in Fig. 07.
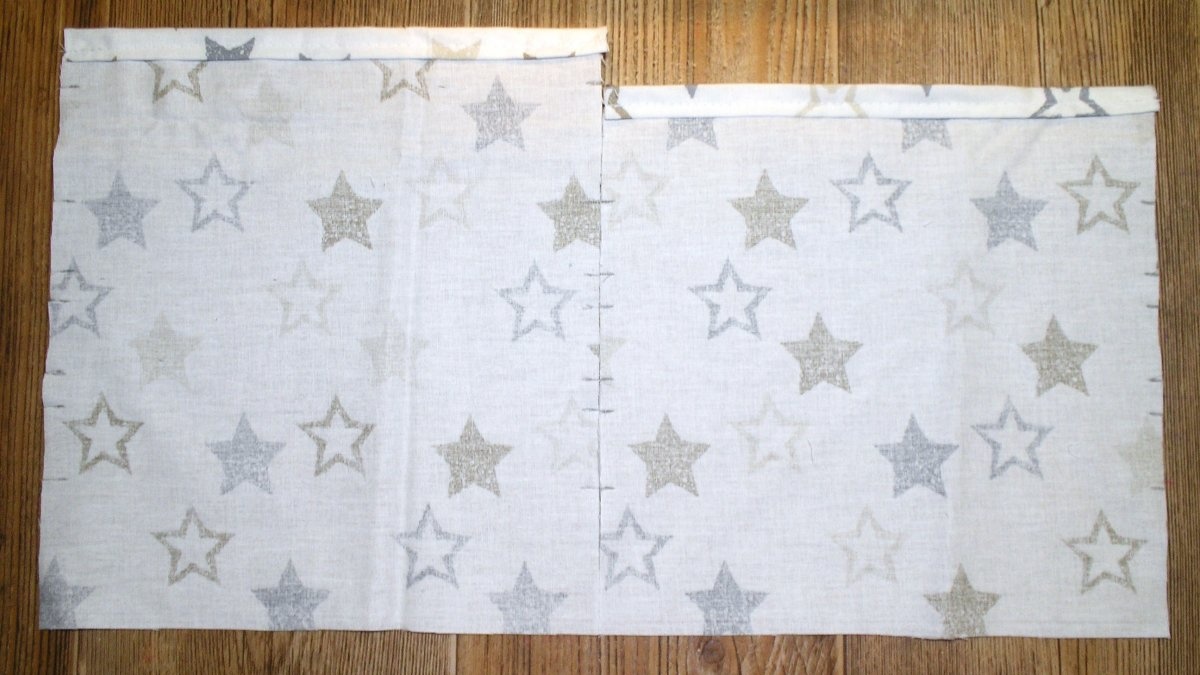
The outer and inner parts of the mask still differ in height by 2.0 cm at the top, all notches coincide when combined at the bottom.
5. Fold the outer and inner parts of the mask back to back, matching and aligning them from the bottom edge, as shown in Fig. 08.
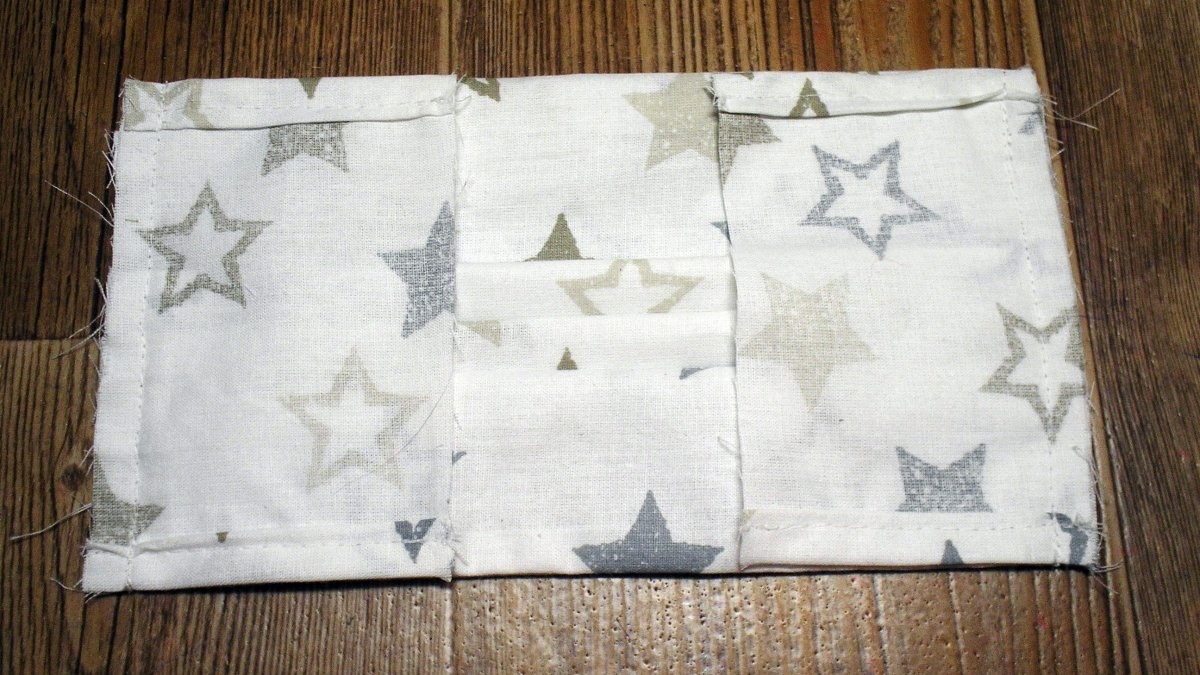
Along the upper edge, the parts of the masks differ by 2.0 cm in height. At the top we go around the lower part of the mask with the upper part of the mask (2.0 cm) and stitch these areas on both sides, as in Fig. 09.

There was a hole in the mask for a bandage or gauze folded in several layers. This can be seen in Fig. 10.

6. Turn the mask inside out, folding the parts face to face and aligning them at the bottom. We connect the upper and lower parts of the mask along the lower edge with a seam 0.7 cm from the edge. The result in Fig. eleven.

Turn the mask right side out, straightening the seam along the bottom edge of the mask, as seen in Fig. 12.
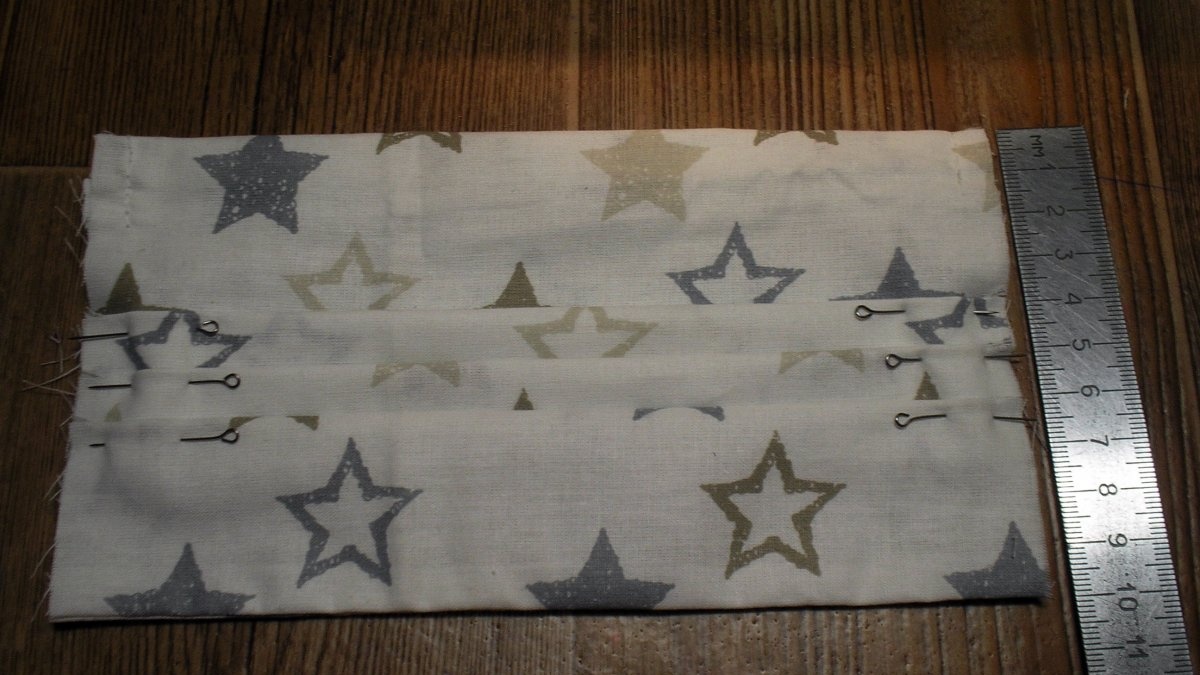
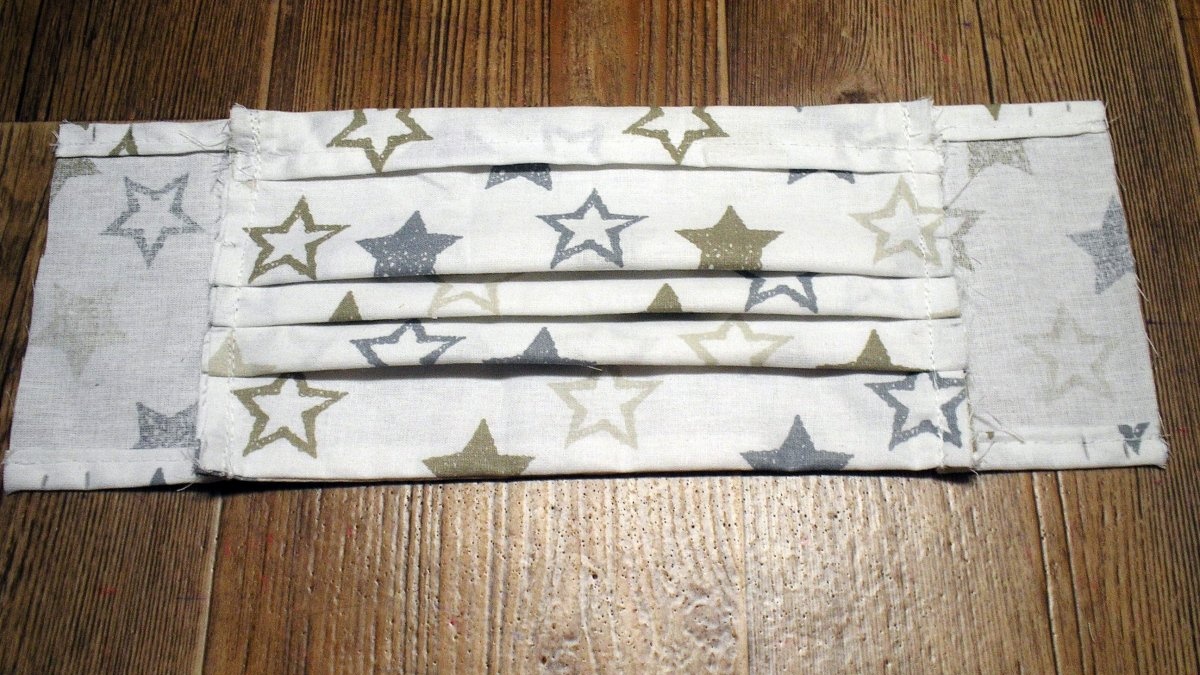
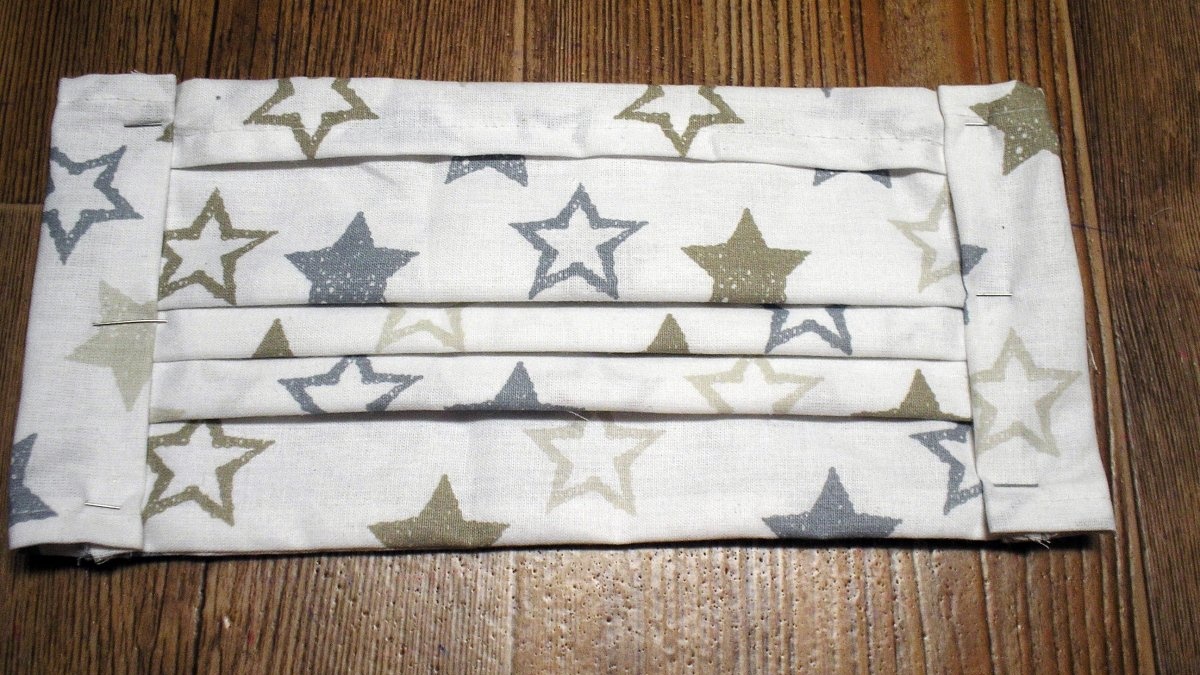
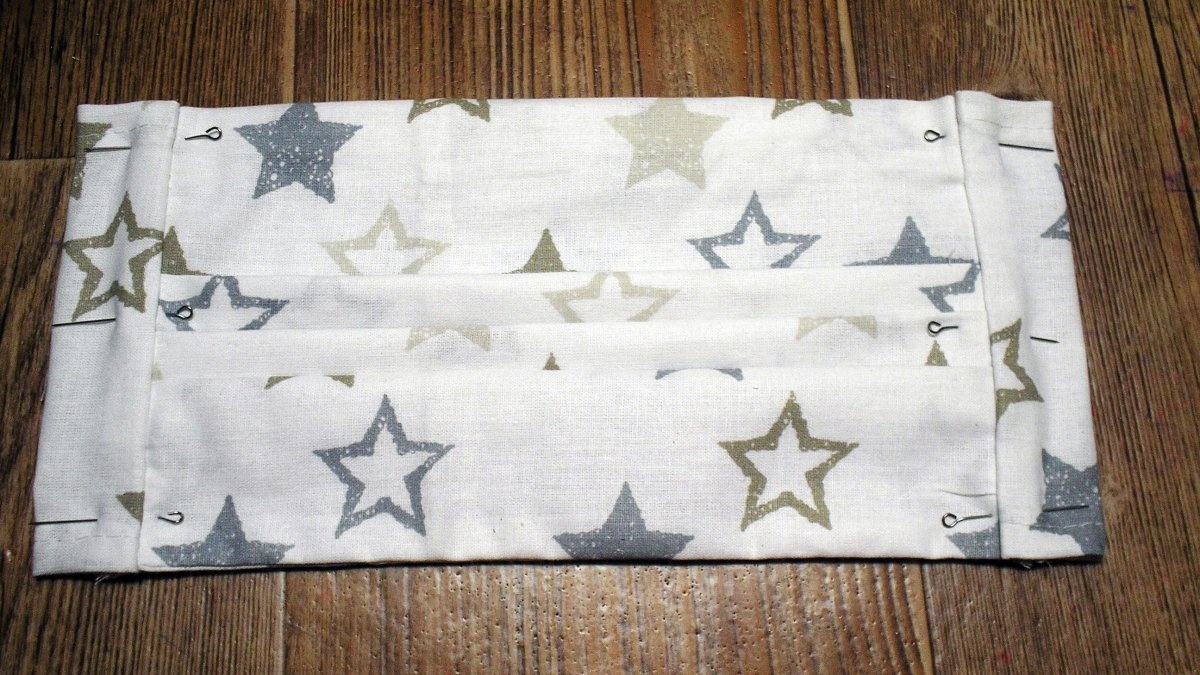
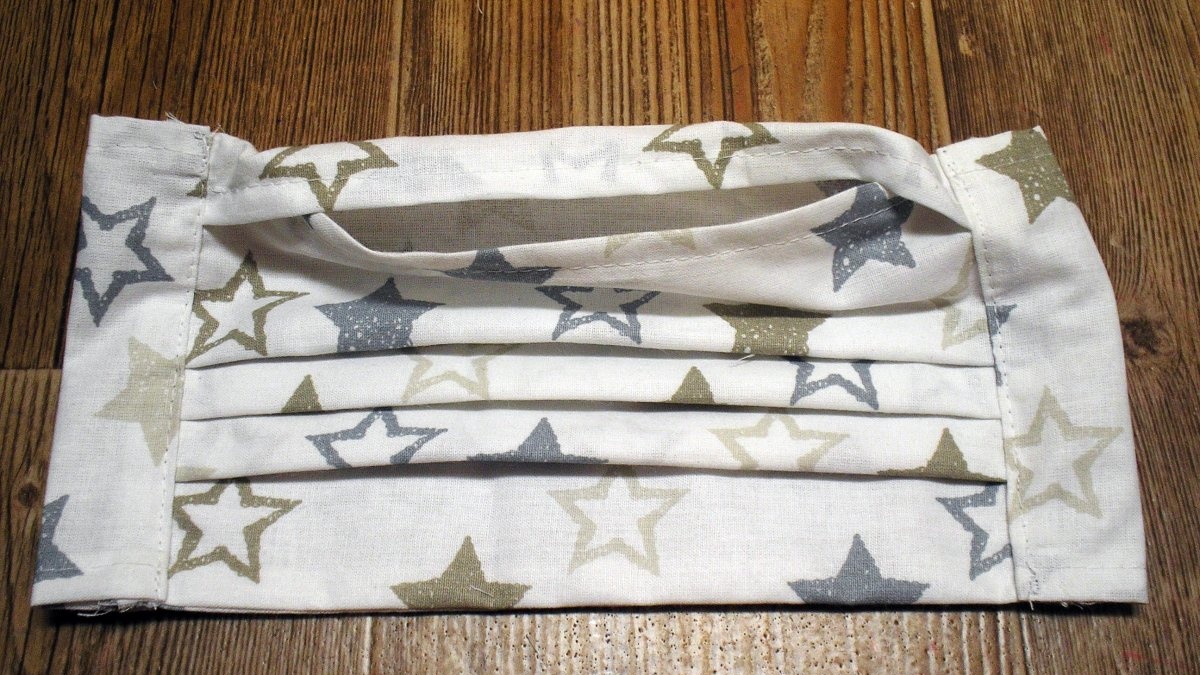
7. Along the notches, we lay folds on both sides of the mask and pin them with needles with an eye, as shown in Fig. 13.
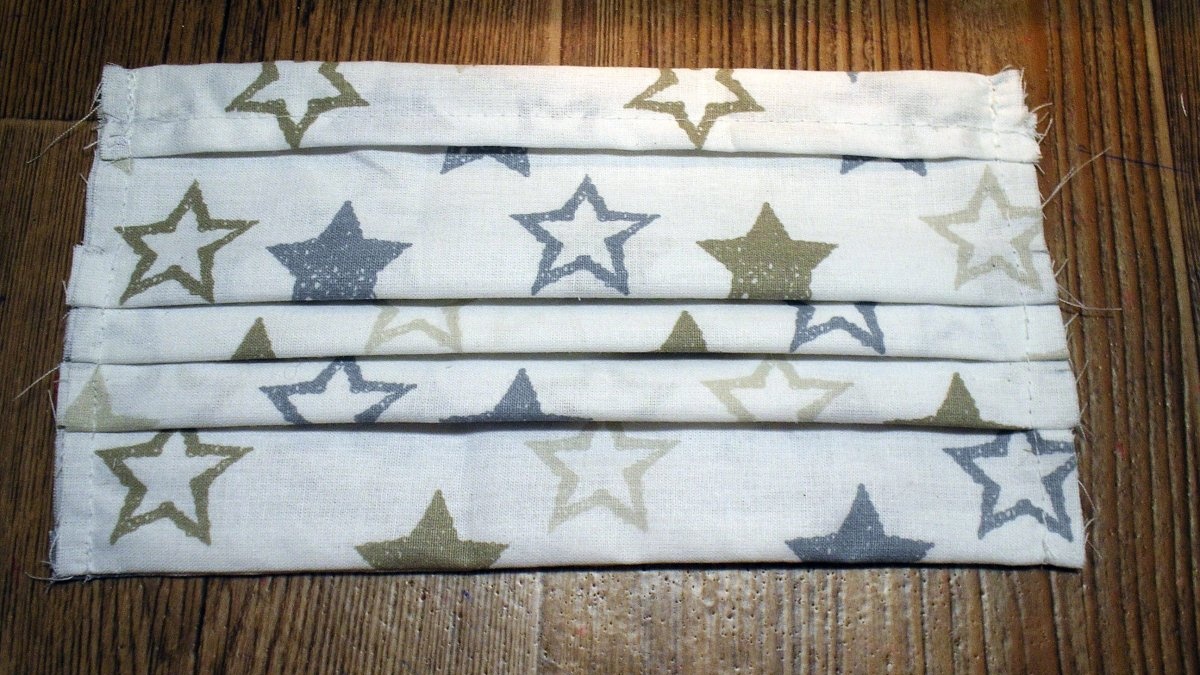
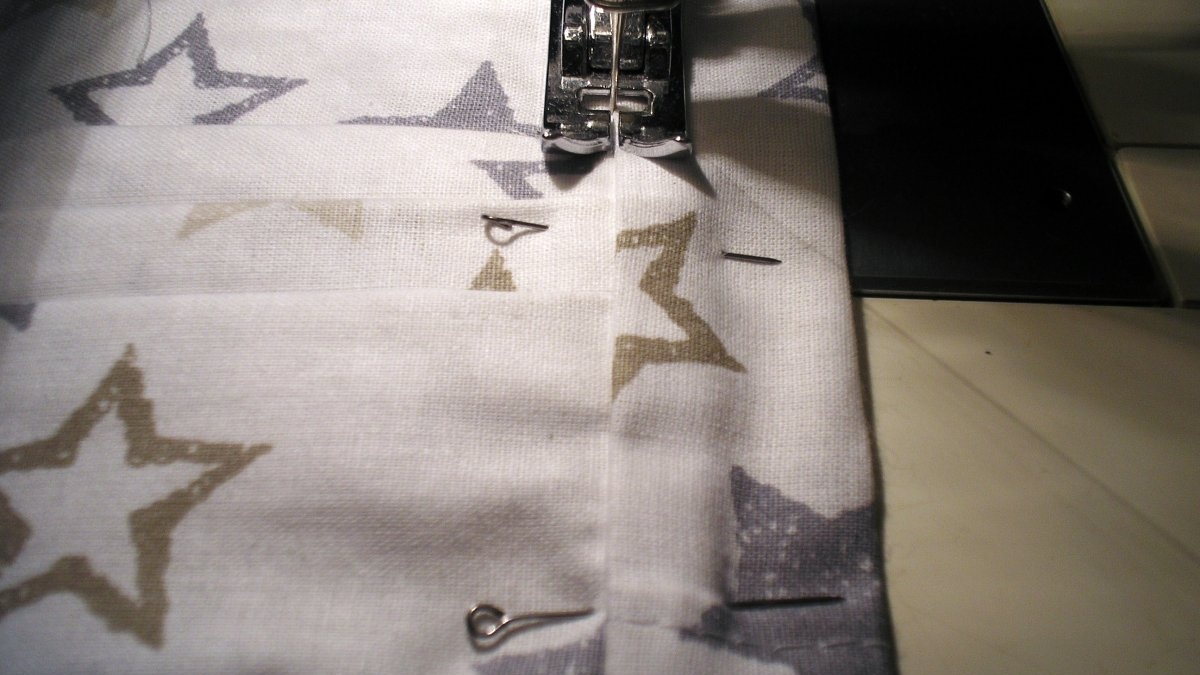
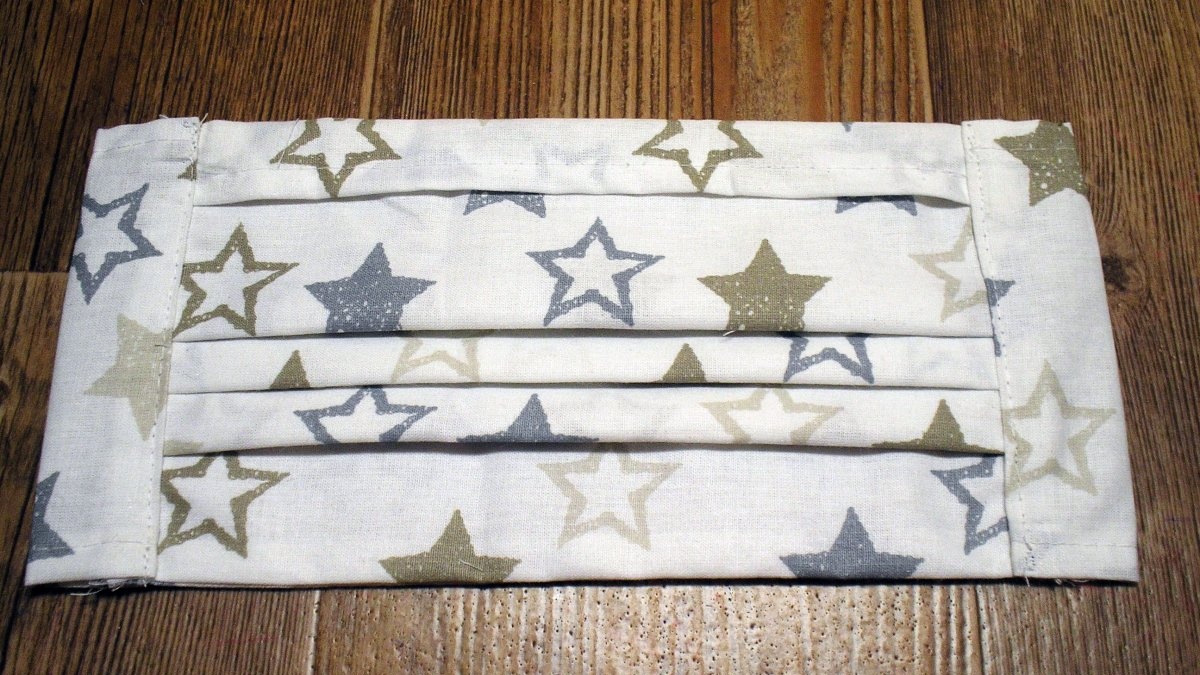
We lay and pin the folds on the outer and inner parts of the mask together, and not separately. You get three folds on each side. We sew the folds on both sides with a seam 0.5-0.6 cm from the edge, as seen in Fig. 14.
8. Now we process the elastic strips. Along the upper and lower cuts of the strips along the notches, we turn in and sew in hem allowances with a closed cut of 2.0 cm (1.0 and 1.0 cm), as can be seen in Fig. 15.
The processed strips are shown in Fig. 16.
9. Place elastic strips on the inside of the mask on both sides, face to face, as seen in Fig. 17, and sew a line 0.7 cm from the edge on both sides, as shown in Fig. 18.

We unfold the strips on both sides, as shown in Fig. 19.
At the edges of each strip we turn in 1.0 cm, as can be seen in Fig. 20.

Next, we fold each strip so as to slightly (by 0.1-0.2 cm) overlap the seam of attaching the strip to the mask, as can be seen in Fig. 22.
We fasten with needles with an eye on the front side of the mask, as shown in Fig. 21, so that when laying a line it is convenient to remove them immediately.
We lay a stitch on the outside of the mask along the seam of attaching the strip under the elastic to the mask, as shown in Fig. 23.
Immediately remove the needles with ears. As can be seen in Fig. 24, the stitching on the outside of the mask is not visible, since it goes along the line of connection between the strip and the mask.

But on the inside of the mask, as can be seen in Fig. 25, the line runs 0.1 cm from the edge of the strip.
10. The mask is almost ready. In Fig. 26, on the inside of the mask you can see a pocket into which a bandage or gauze folded in several layers will be placed.
All that remains is to insert an elastic band into the stripes on the sides of the mask. You can take the elastic band that you like best: you can use a round elastic band with a small diameter, for example, 0.2 cm, or you can use a flat one, 0.3-1.0 cm wide. We thread the elastic band with a pin into the holes in the strips for the elastic band, as can be seen in Fig. 27.
Next, tie the elastic band, as shown in Fig. 28 to try on the mask and decide on the elastic band size.

You can leave the elastic tied in a knot, or you can, having decided on the desired length, cut off the excess and connect the edges of the elastic with a stitch, if, of course, it is a flat elastic band and not a round one.
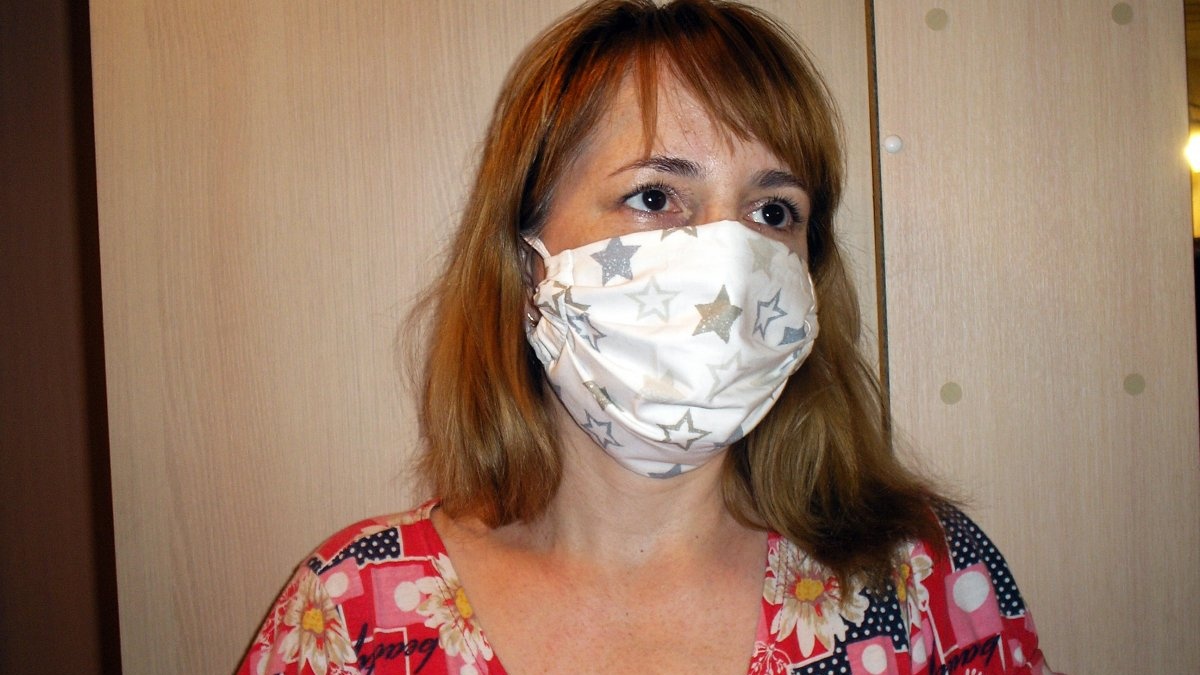
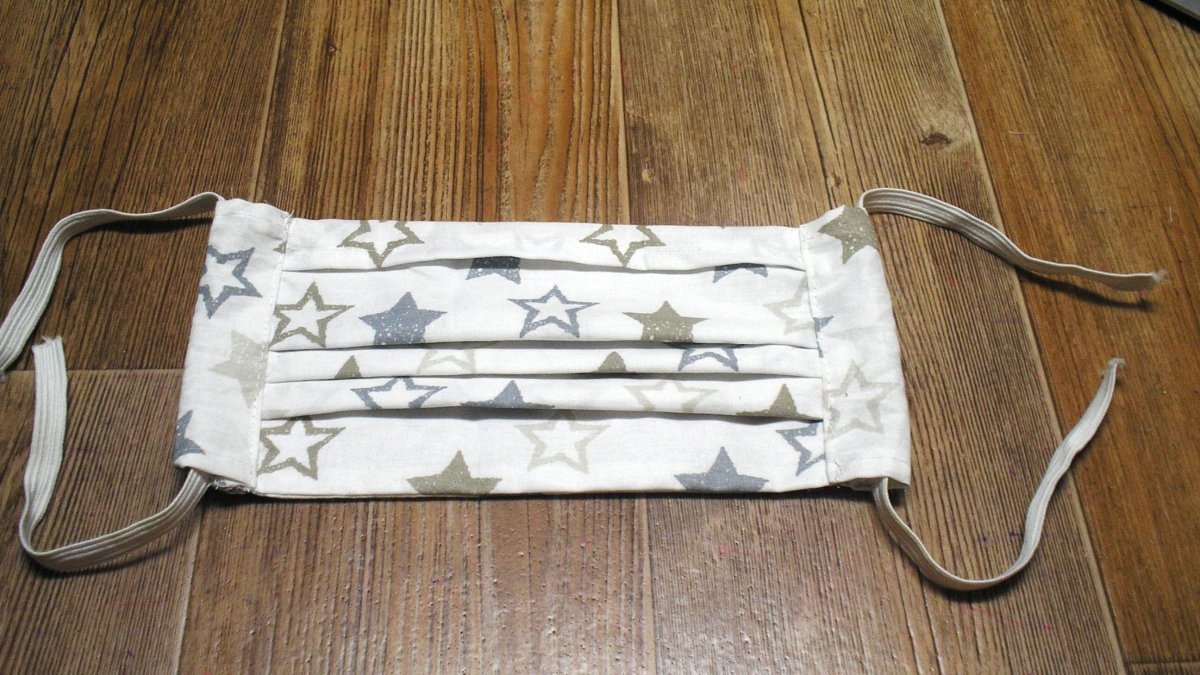
11. Figure 29 shows the finished mask on a person. If you want to change the size of the mask in height, for example, reduce it, then when cutting, you can experiment and remove one fold, pinning it with needles with an eye.You can also reduce the length of the mask by pinning the excess into the patterns, which you consider necessary to remove after fitting. Having ready-made patterns, it will not be difficult for you to adjust them and make a mask, for example, for a child.