I decided to put together a column from what I had. I went through the workshop and collected components. The speaker will serve as a phone music amplifier. She will play louder than the last one. So, it will be wireless.
What you will need
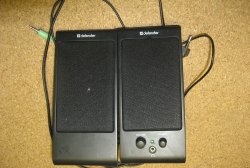
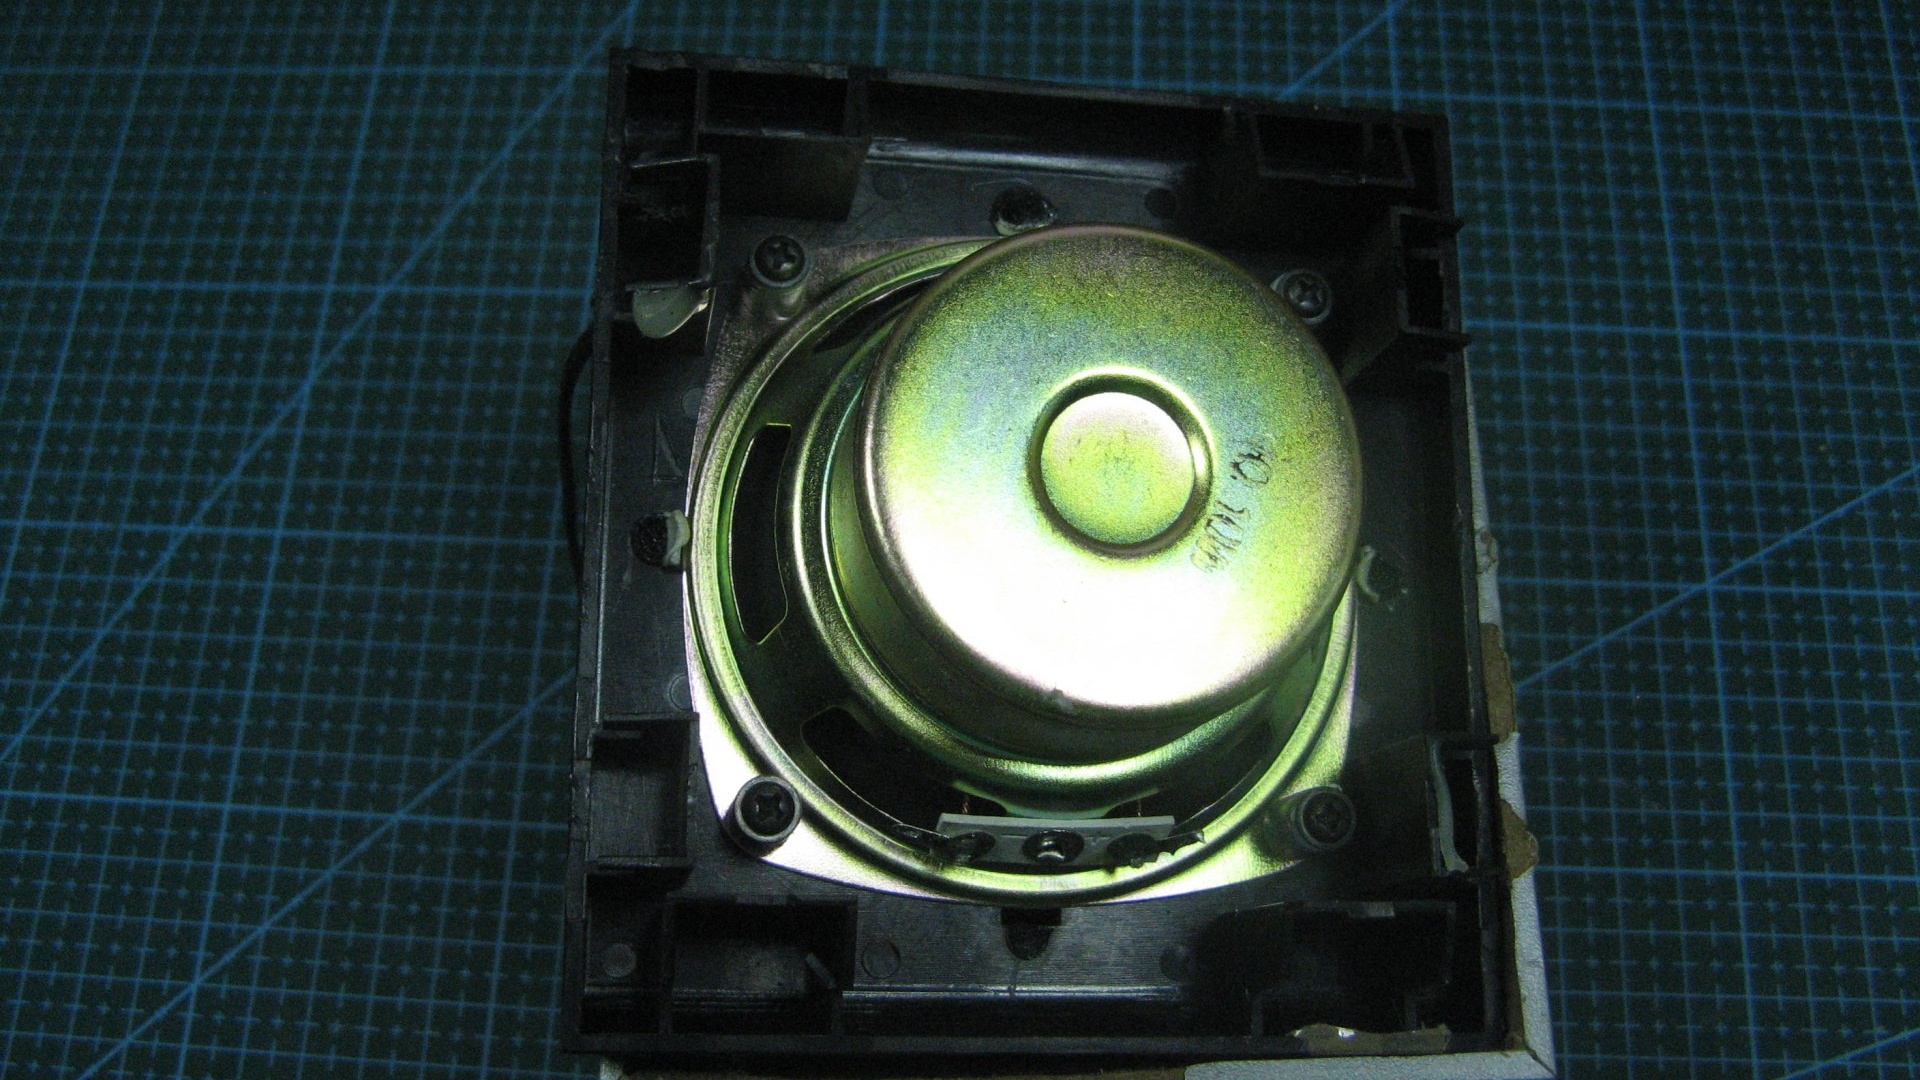
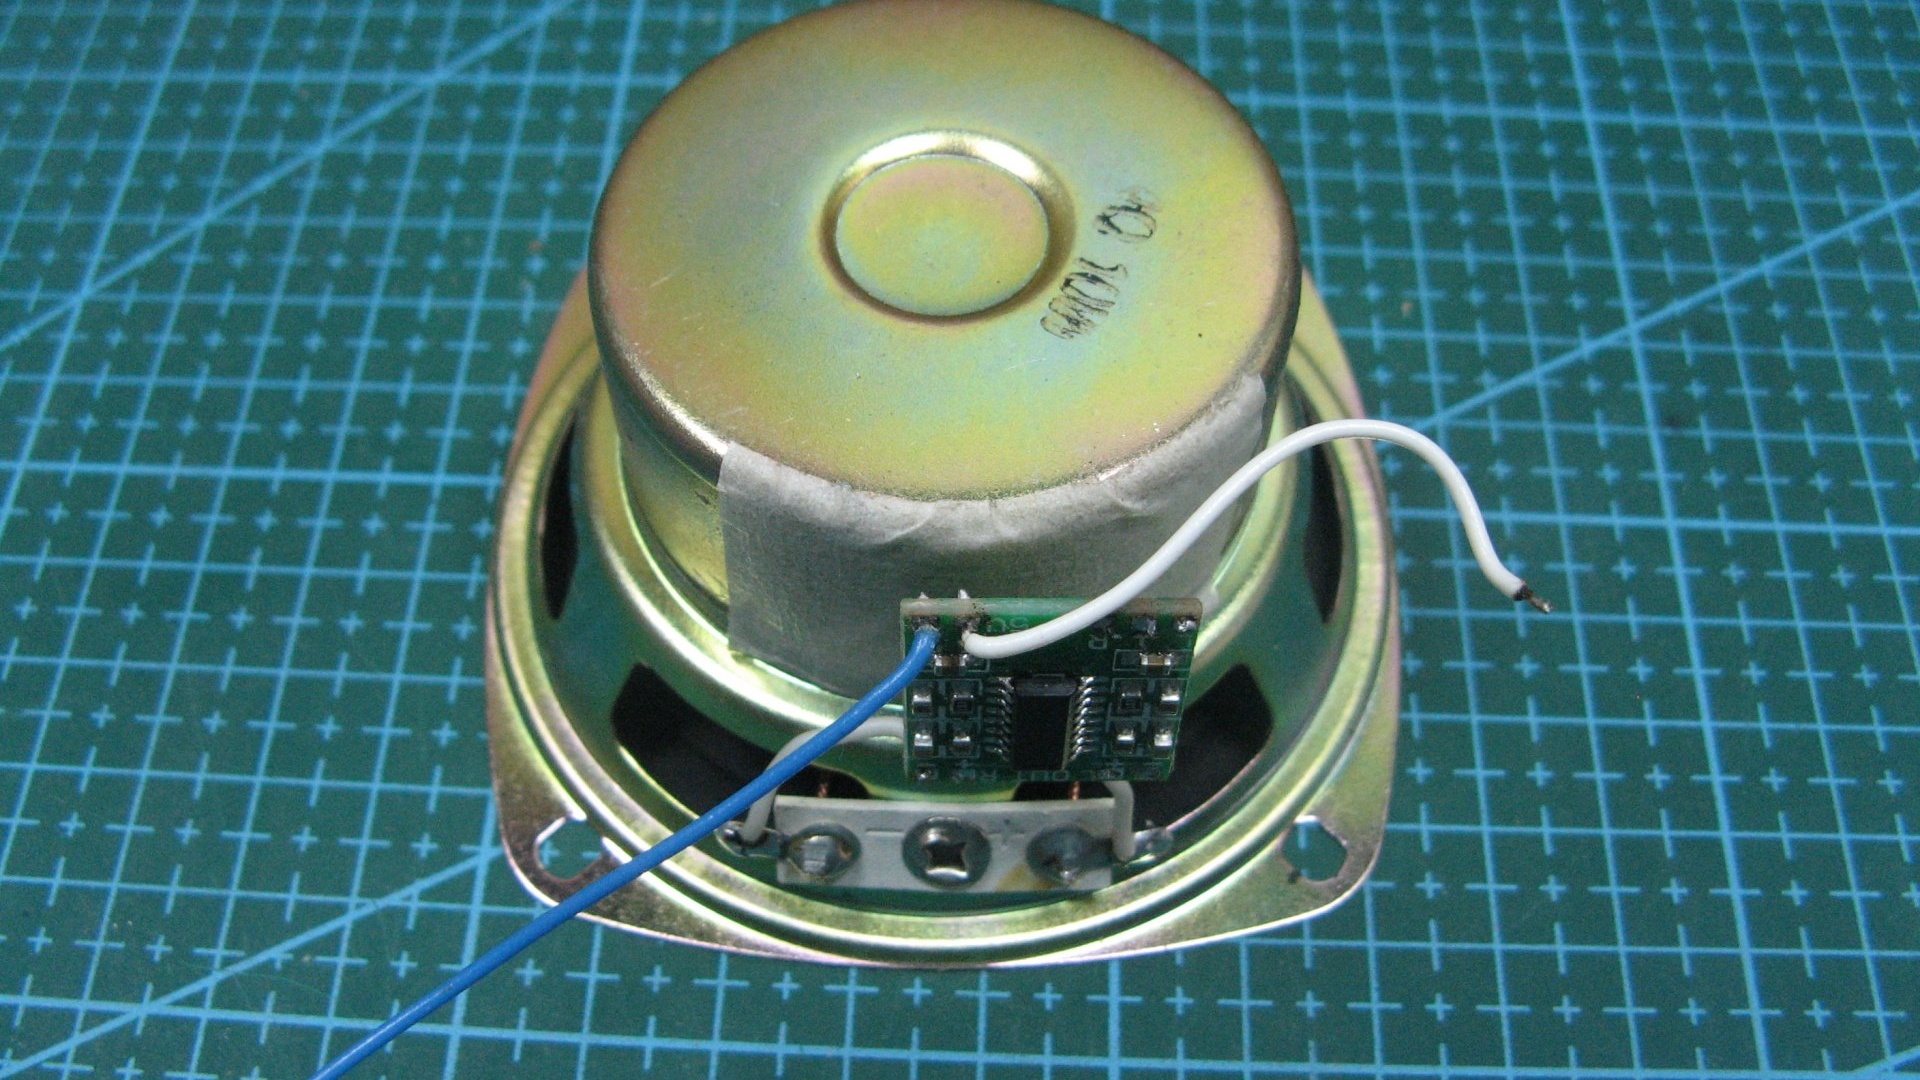
I found one column in the deposits. It seems to be from a home theater, but maybe from something else. The speaker is set to 10 watts, with a resistance of 4 ohms.
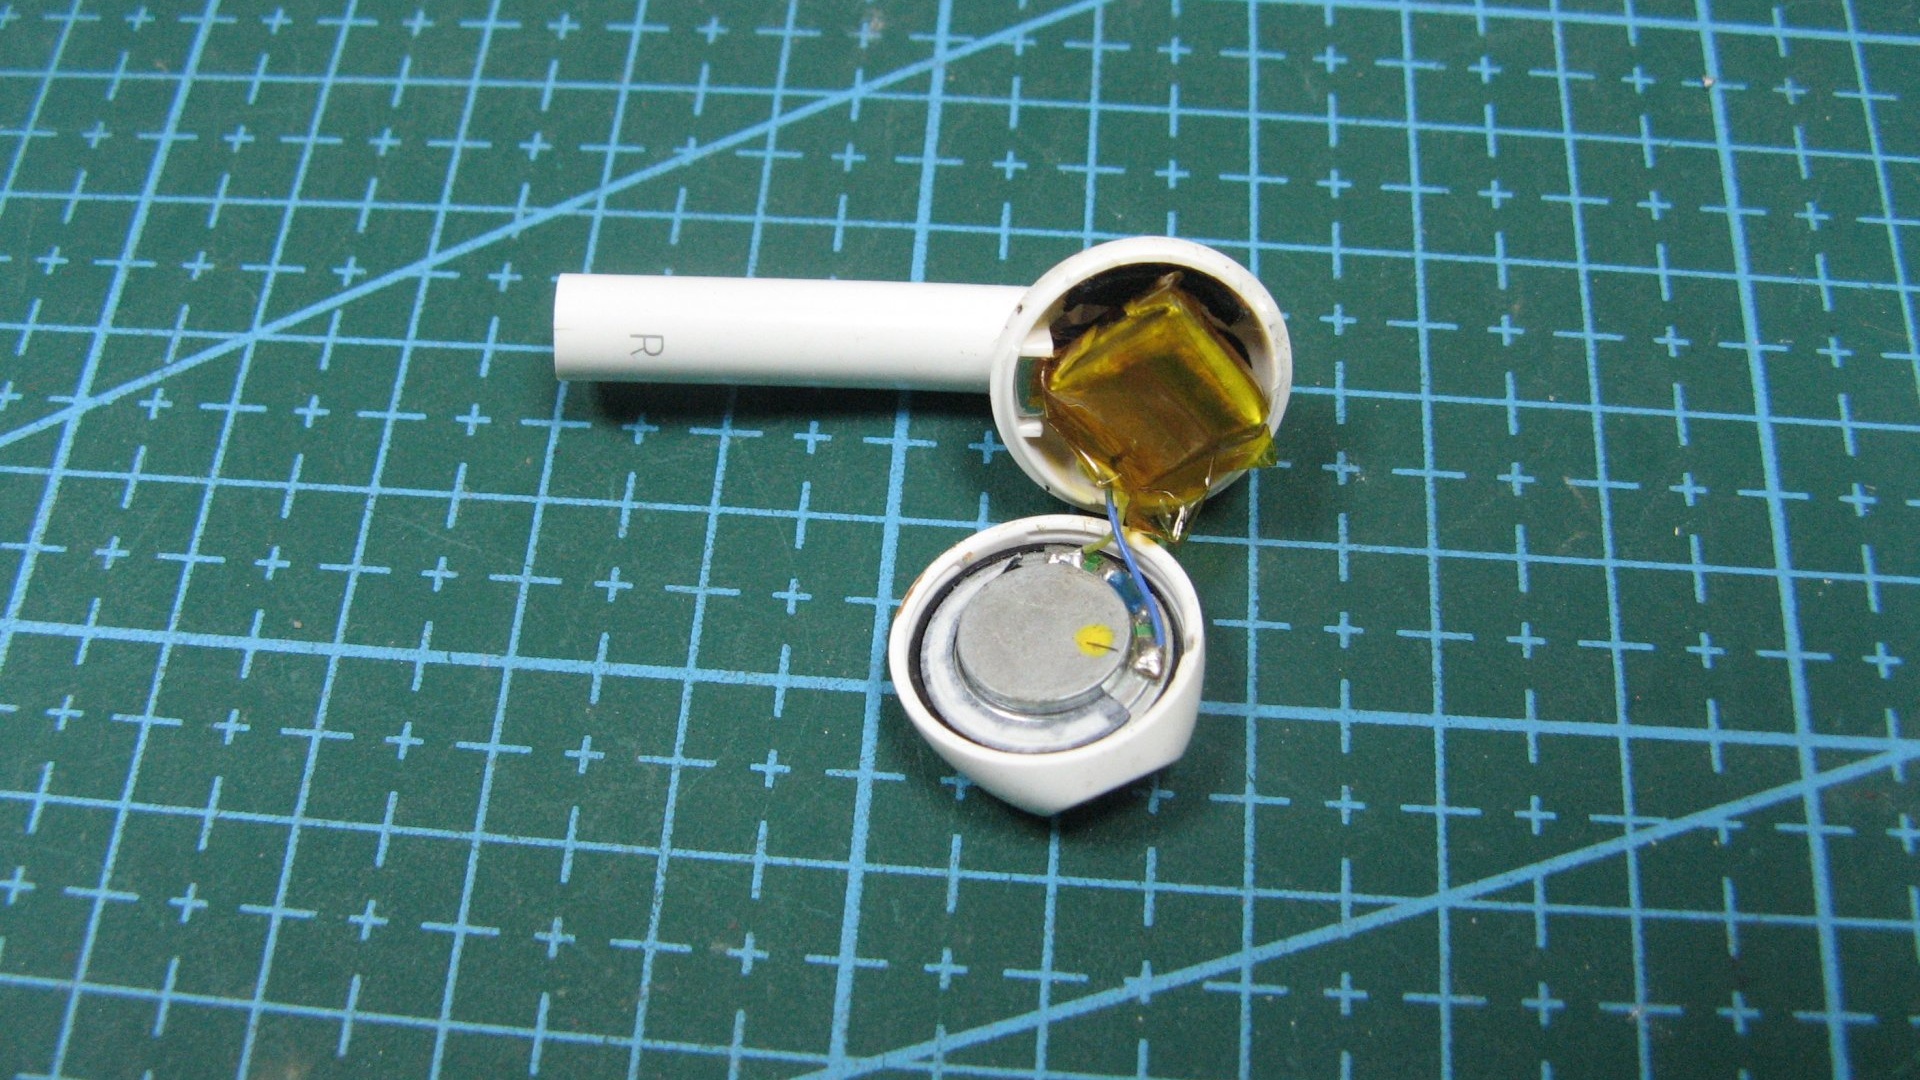
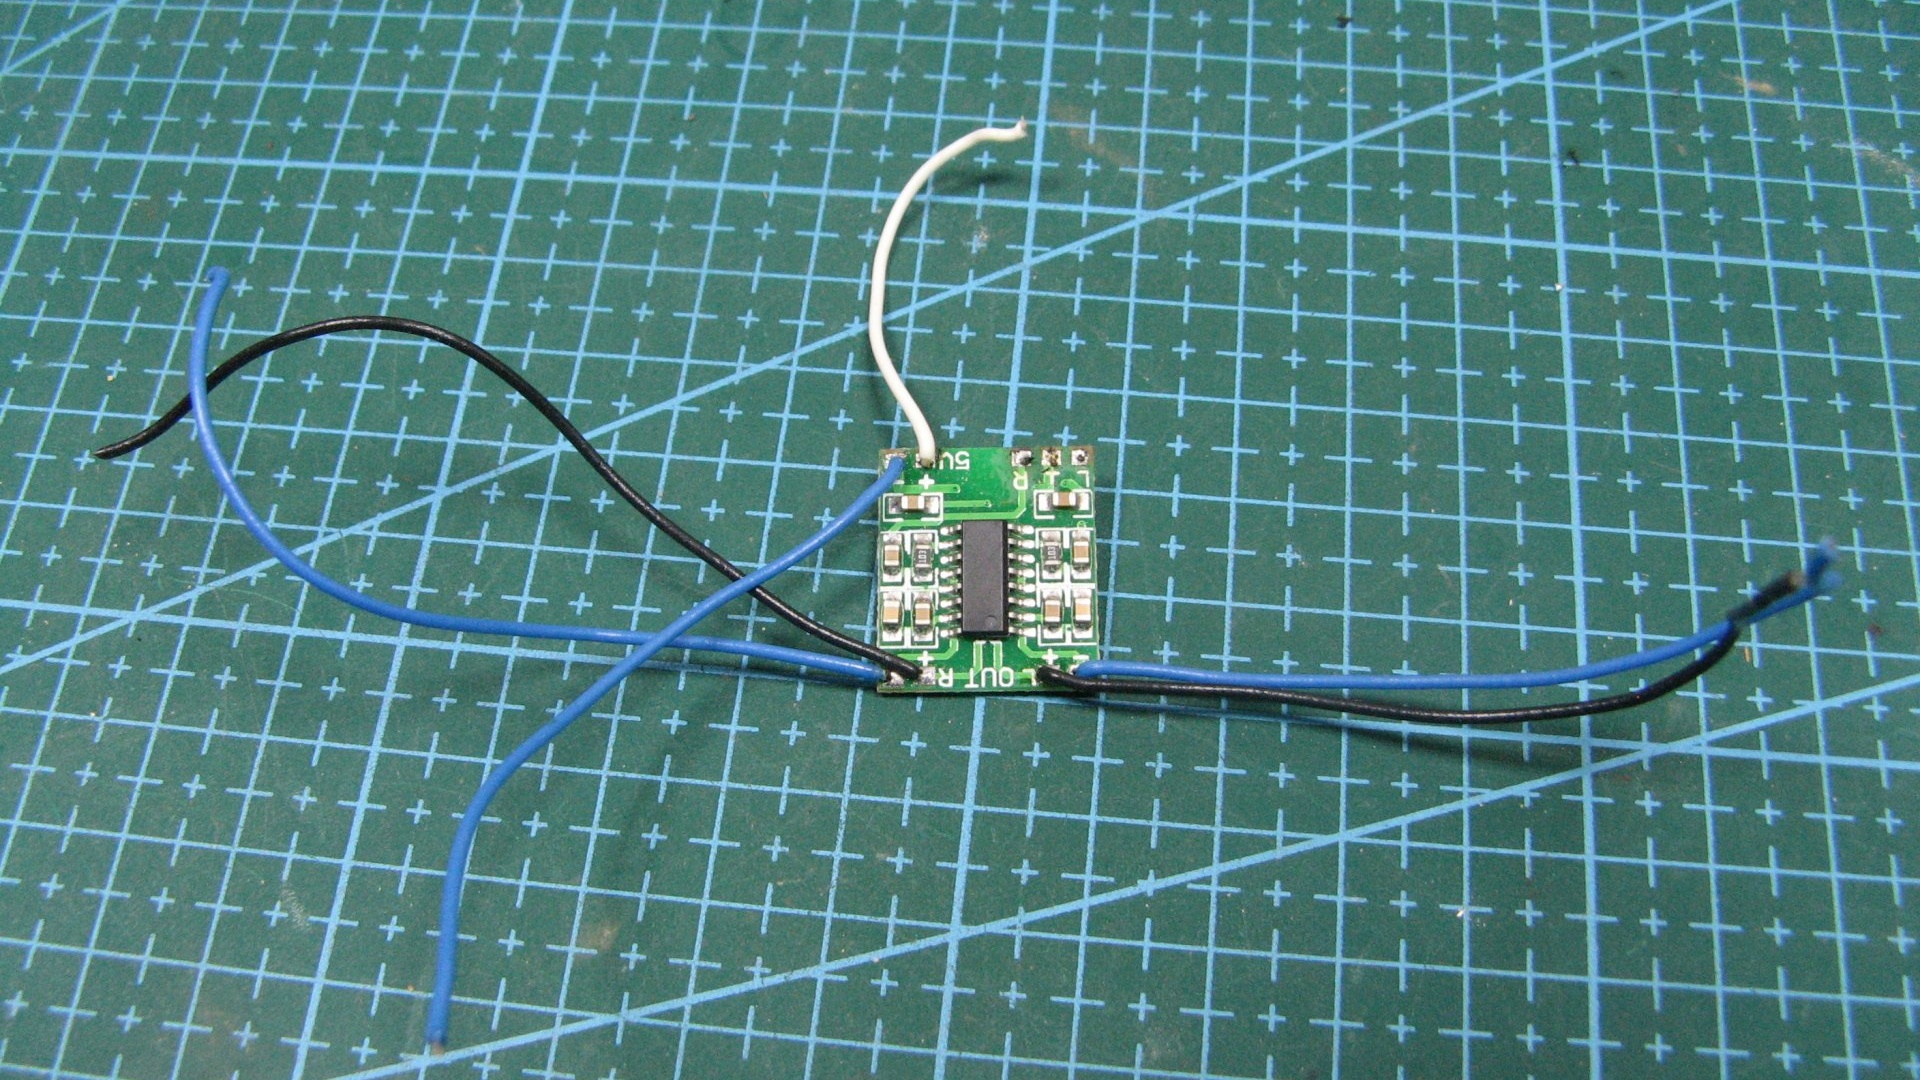
Since the speaker will be wireless, you need a signal receiver. My broken earphone for AirPods will serve as it. The earphone has a full-fledged receiver, but with a secret, more on that later.
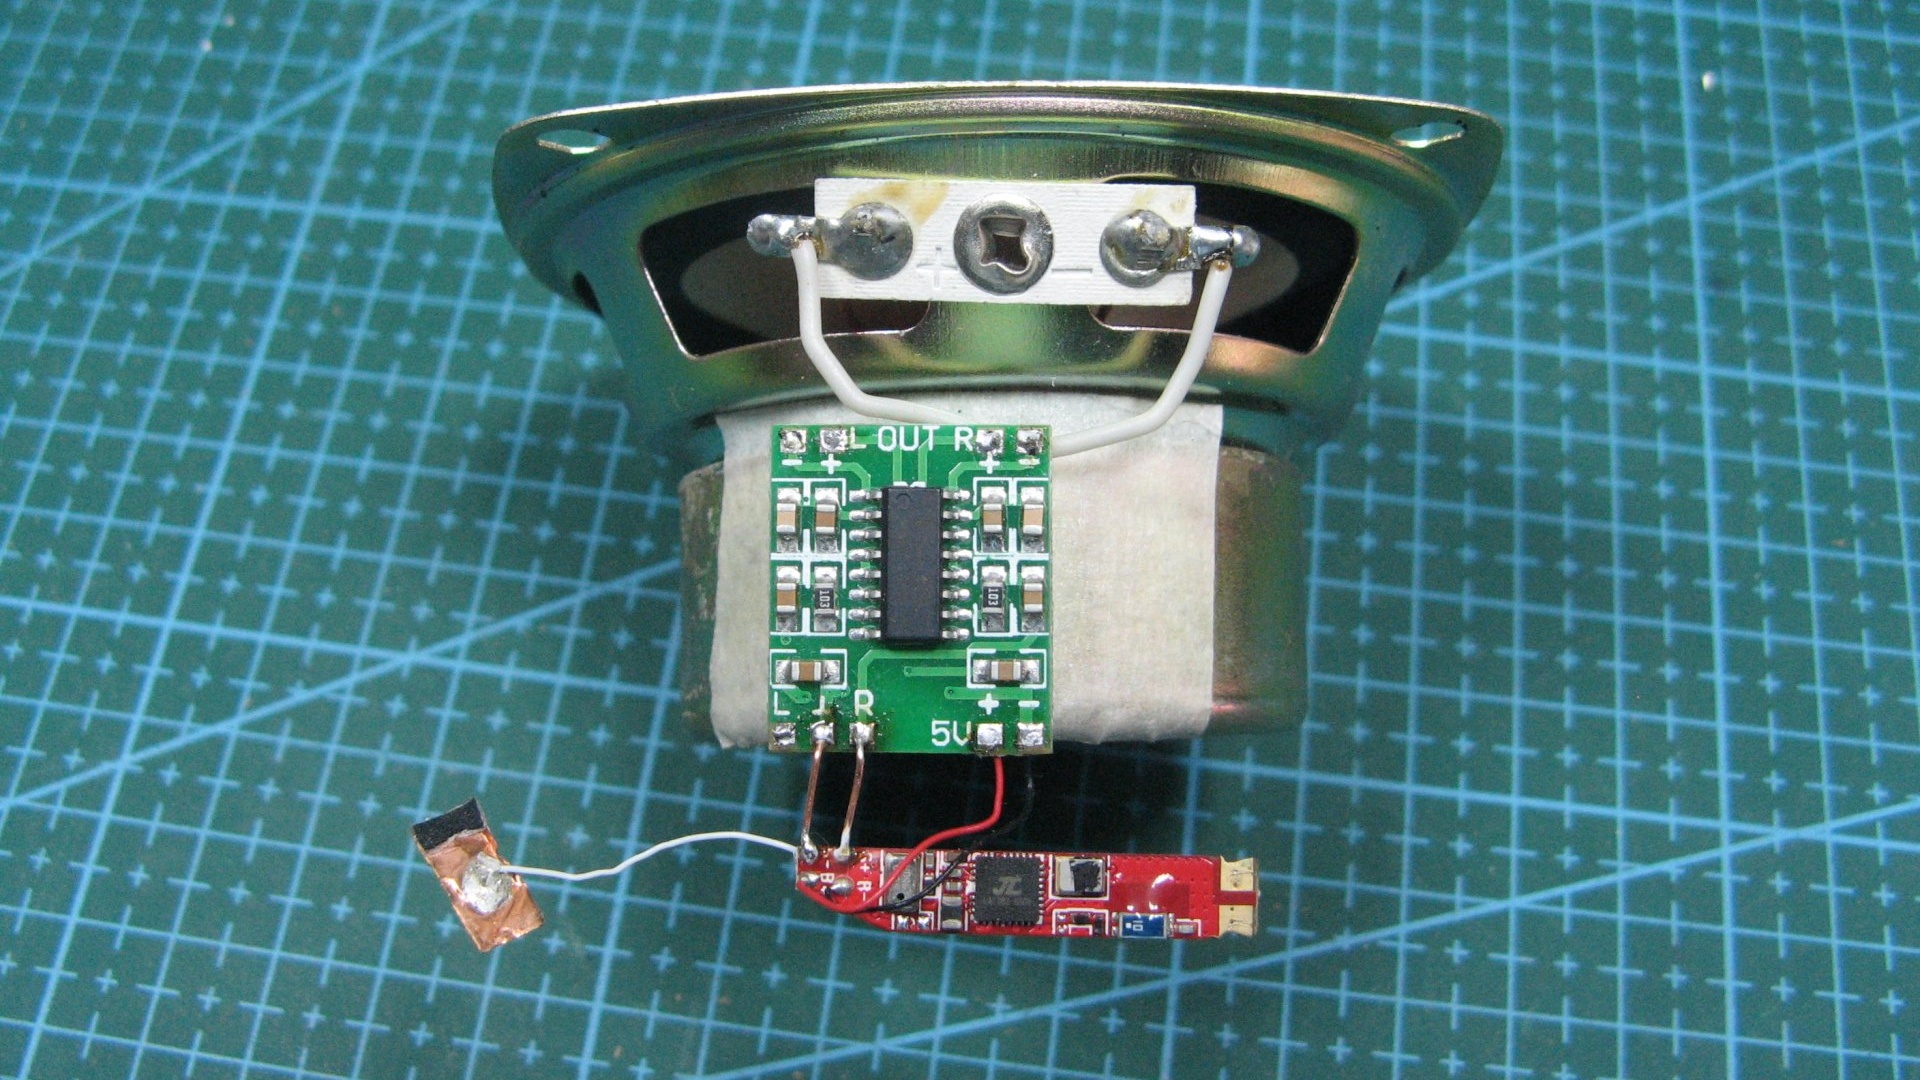
I will amplify the sound with a Chinese board based on RAM8403 - http://alii.pub/5tnnex
I will use one channel.
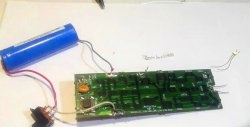
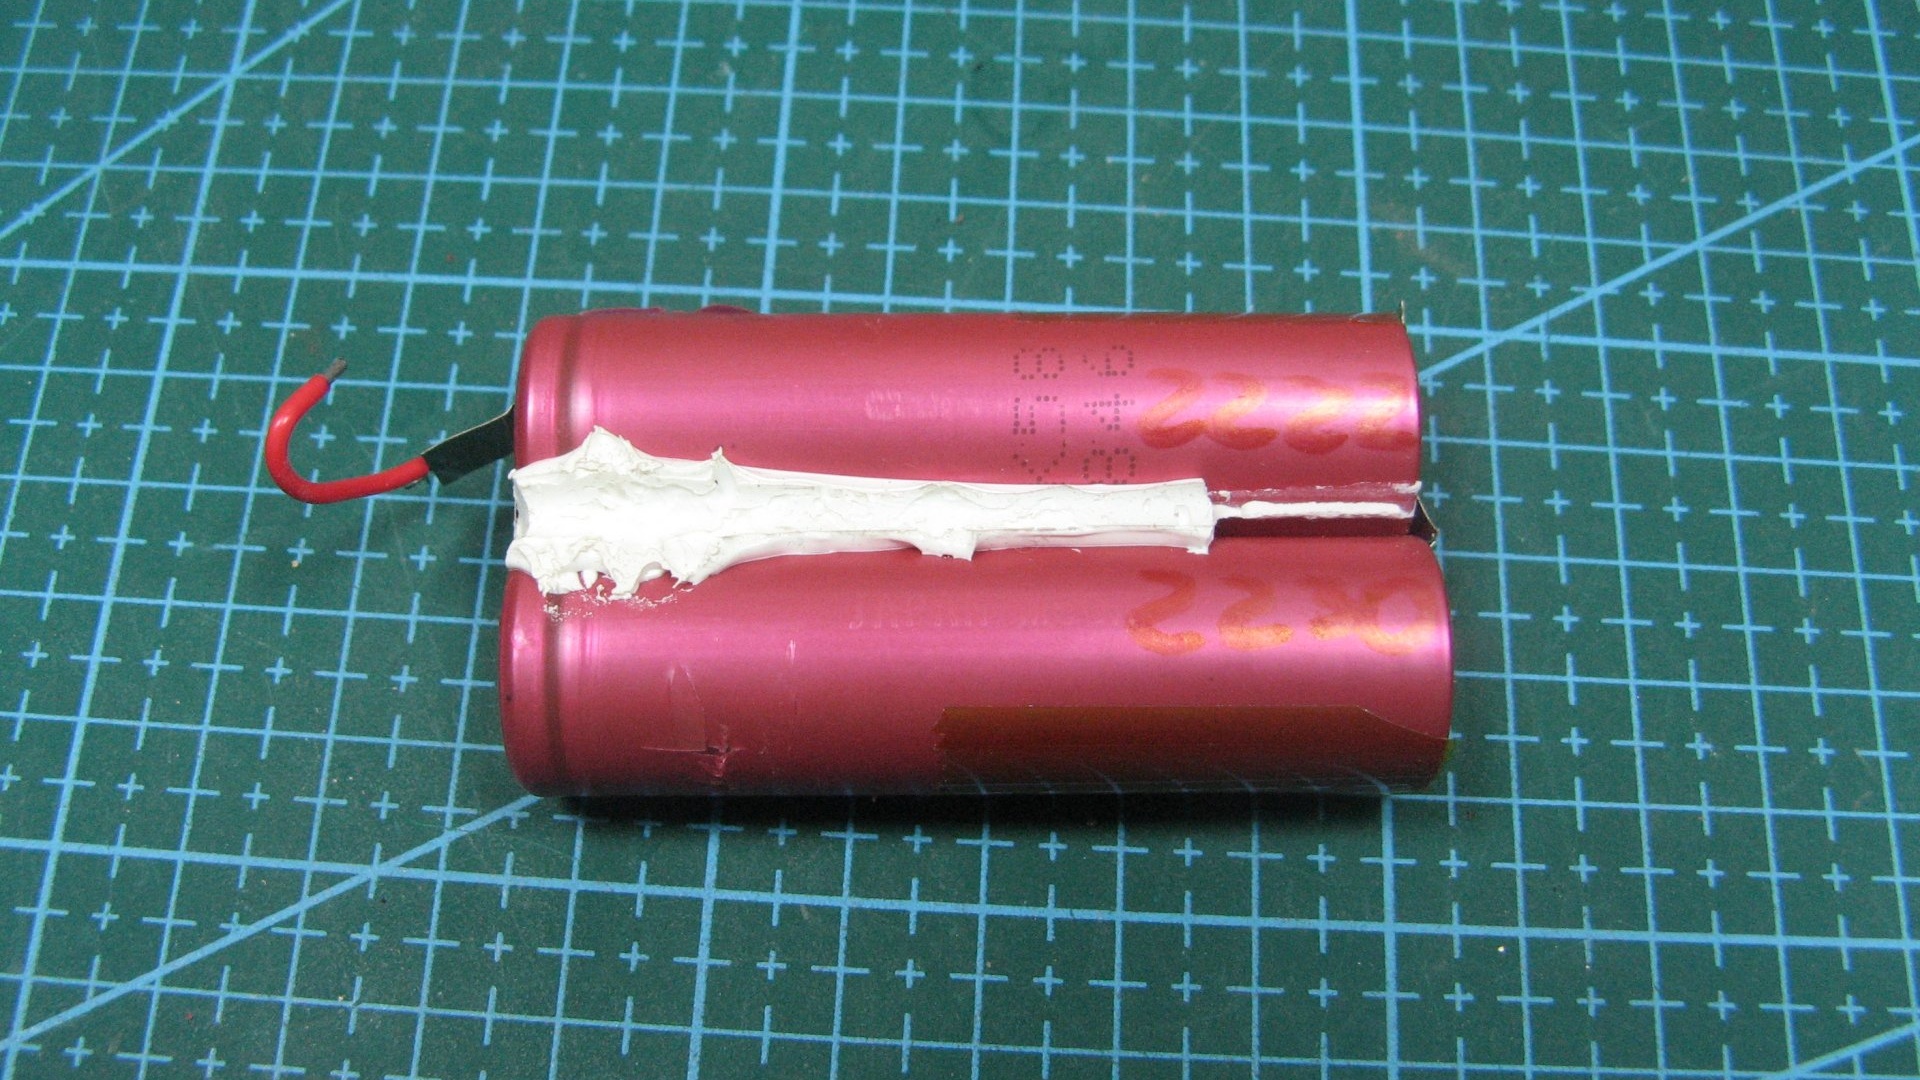
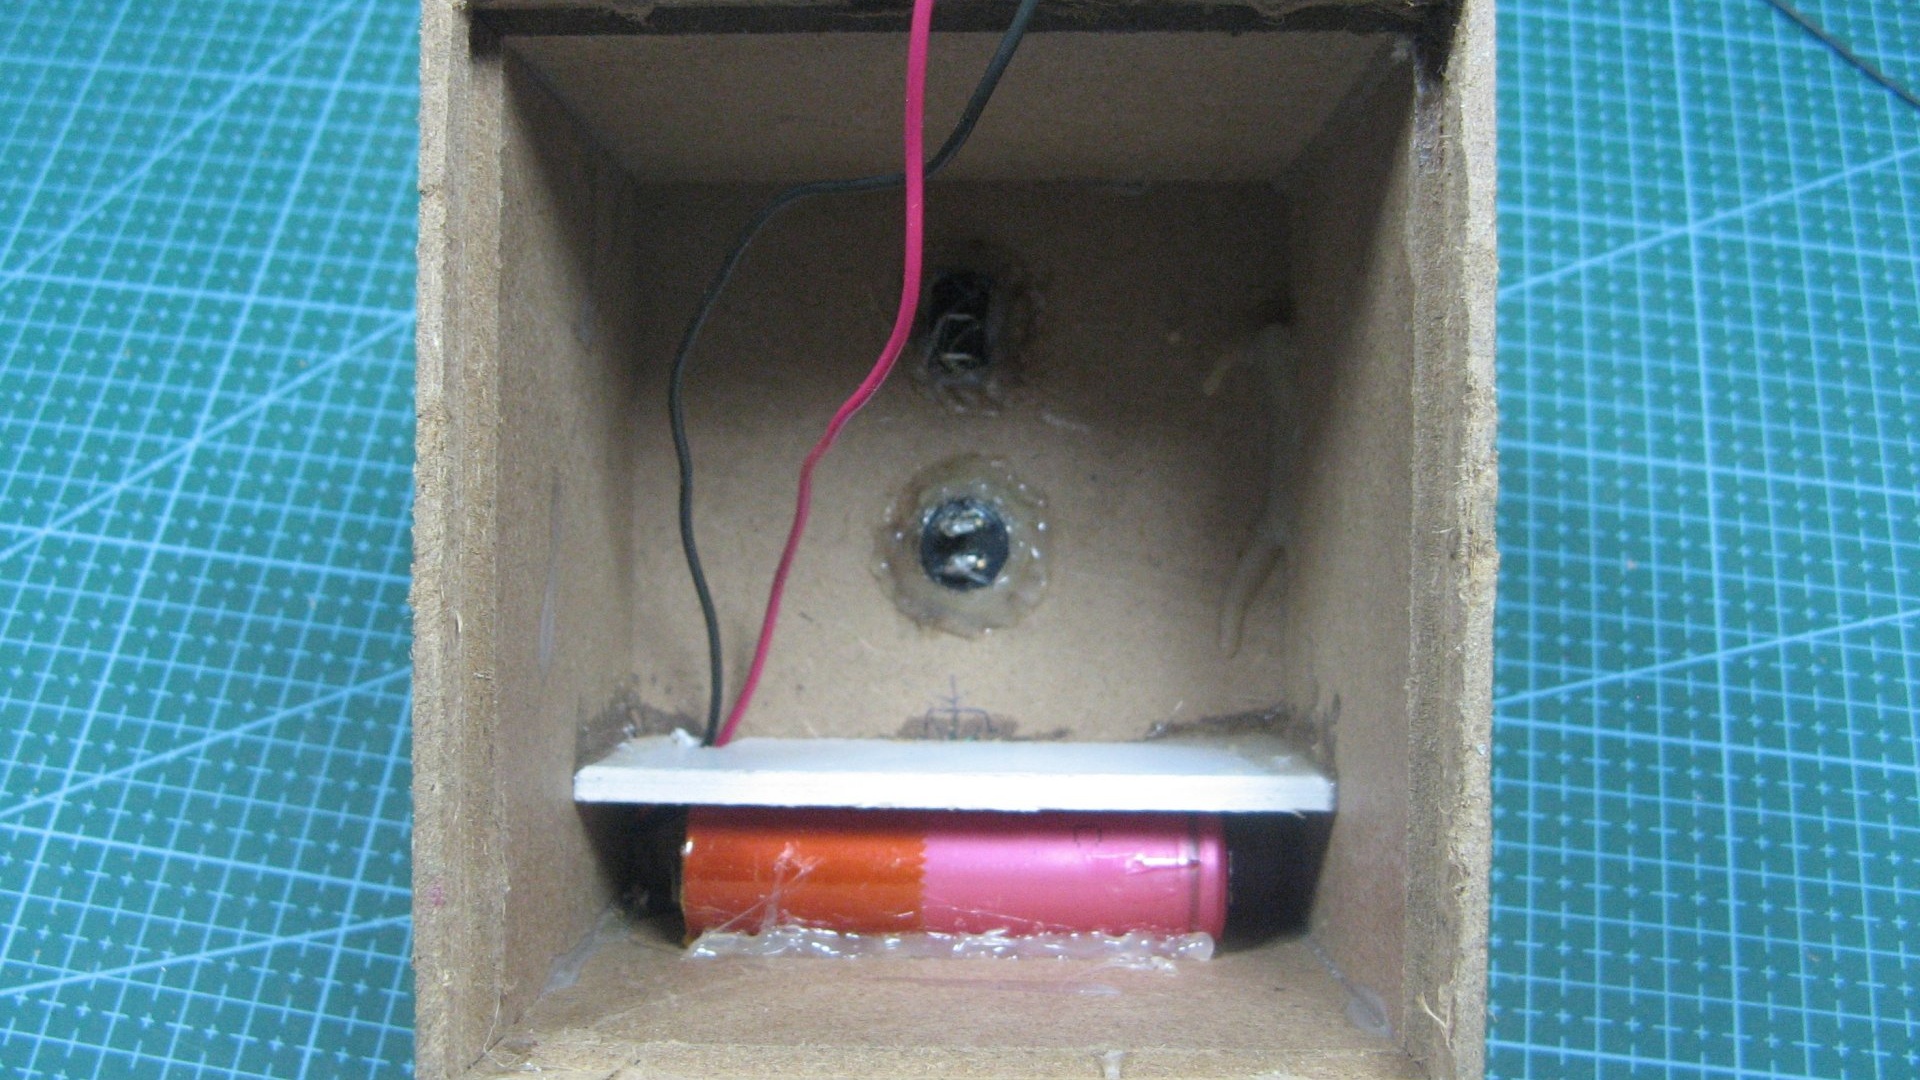
We will power our design from a pair of 18650 - http://alii.pub/5becfz
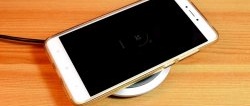
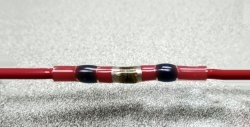
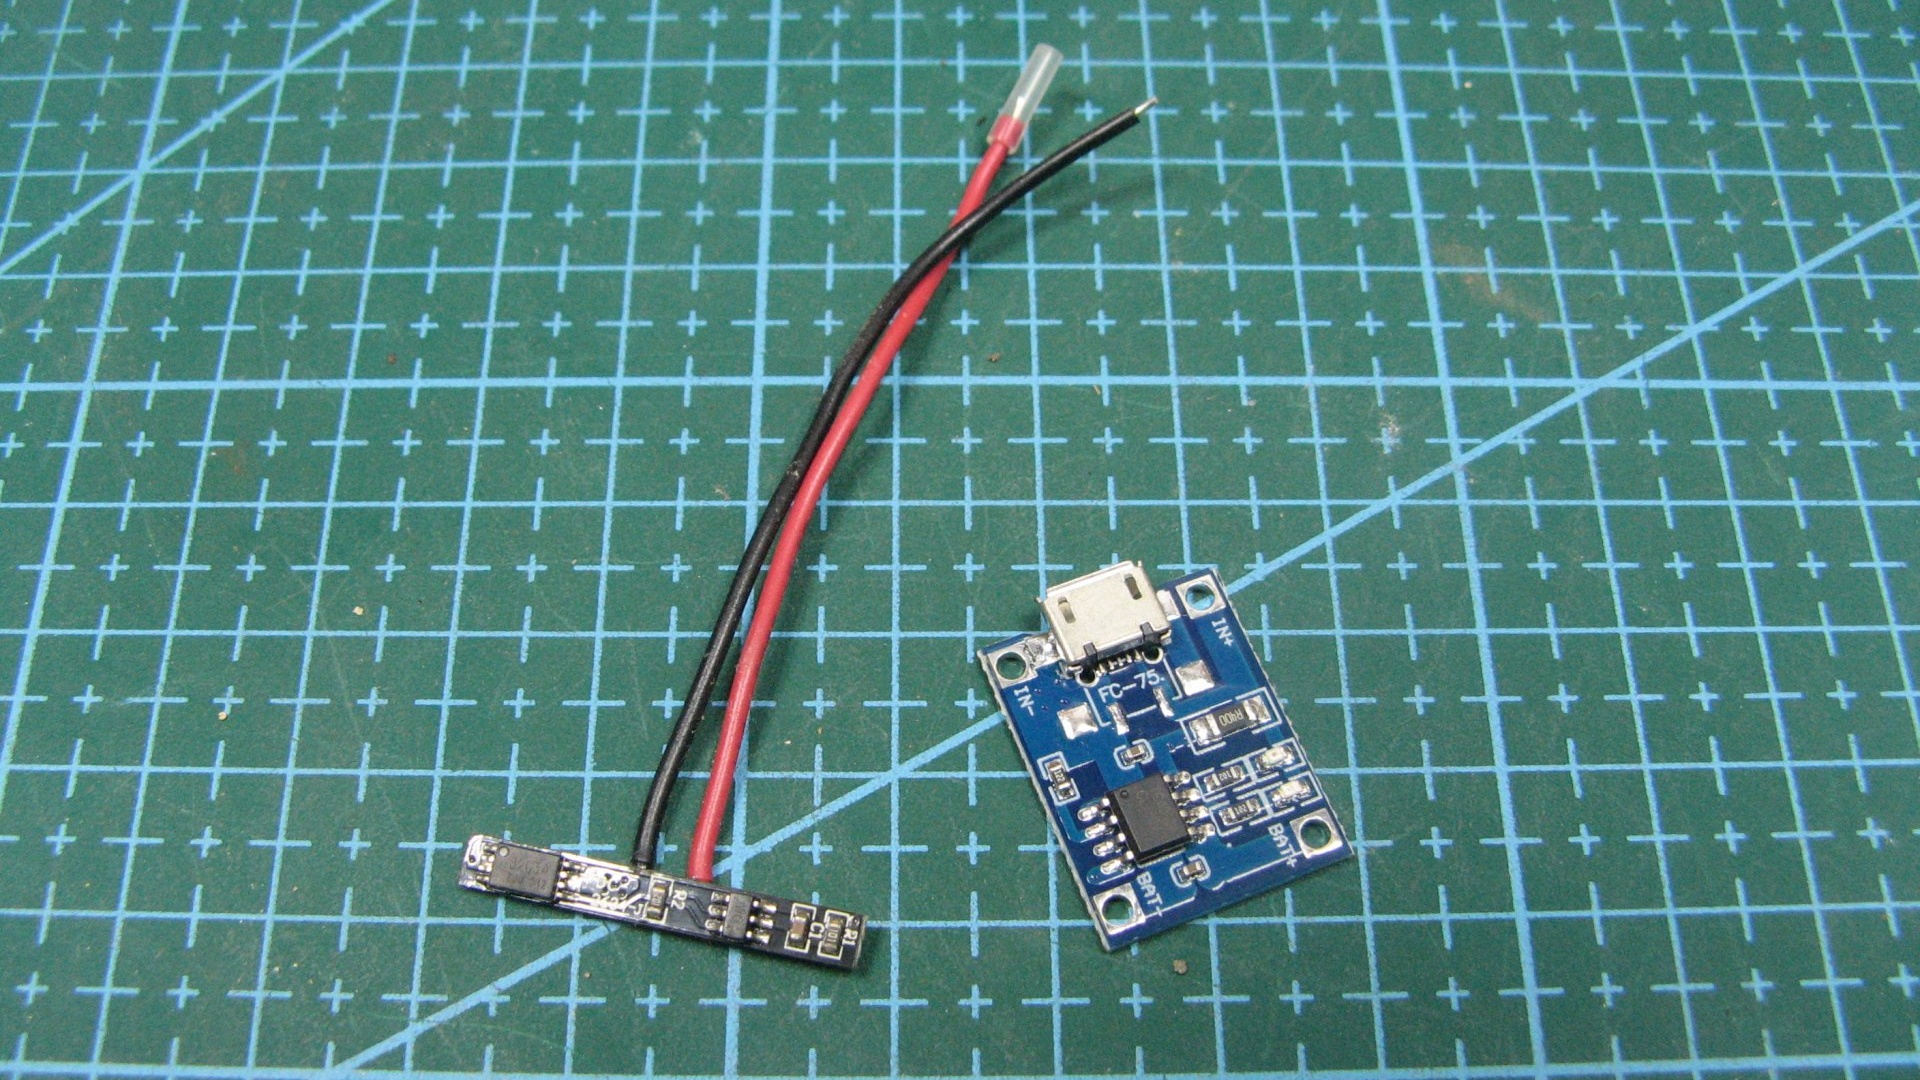
I will charge the batteries through the charge controller -
It is necessary to use the BMS protection board - http://alii.pub/5tnnkk
I have it on a separate scarf.
Scheme
A few words about the scheme. Or how to start an earphone without a base.
Power from the BMS is supplied through the negative switch to the amplifier and Bluetooth board. Sound from Bluetooth is sent to the amplifier.Now let's talk about how to make the headphone board work. Just work. If you do not do the manipulations, then it is not detected by the phone. But everything turned out to be simple.
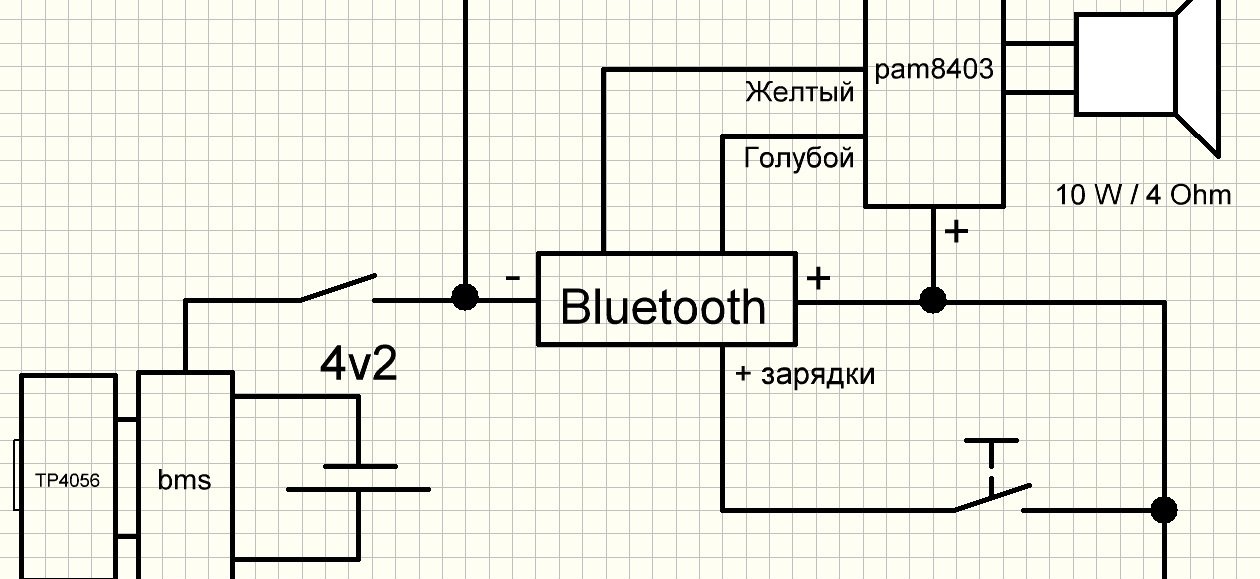
In simple words, we apply plus power to the contact through which the earphone was charged. It is the positive contact.
DIY wireless speaker assembly
I pre-assembled the circuit and checked it. Everything is working. I have two batteries here. I just connected the amplifier to a separate battery, but temporarily.

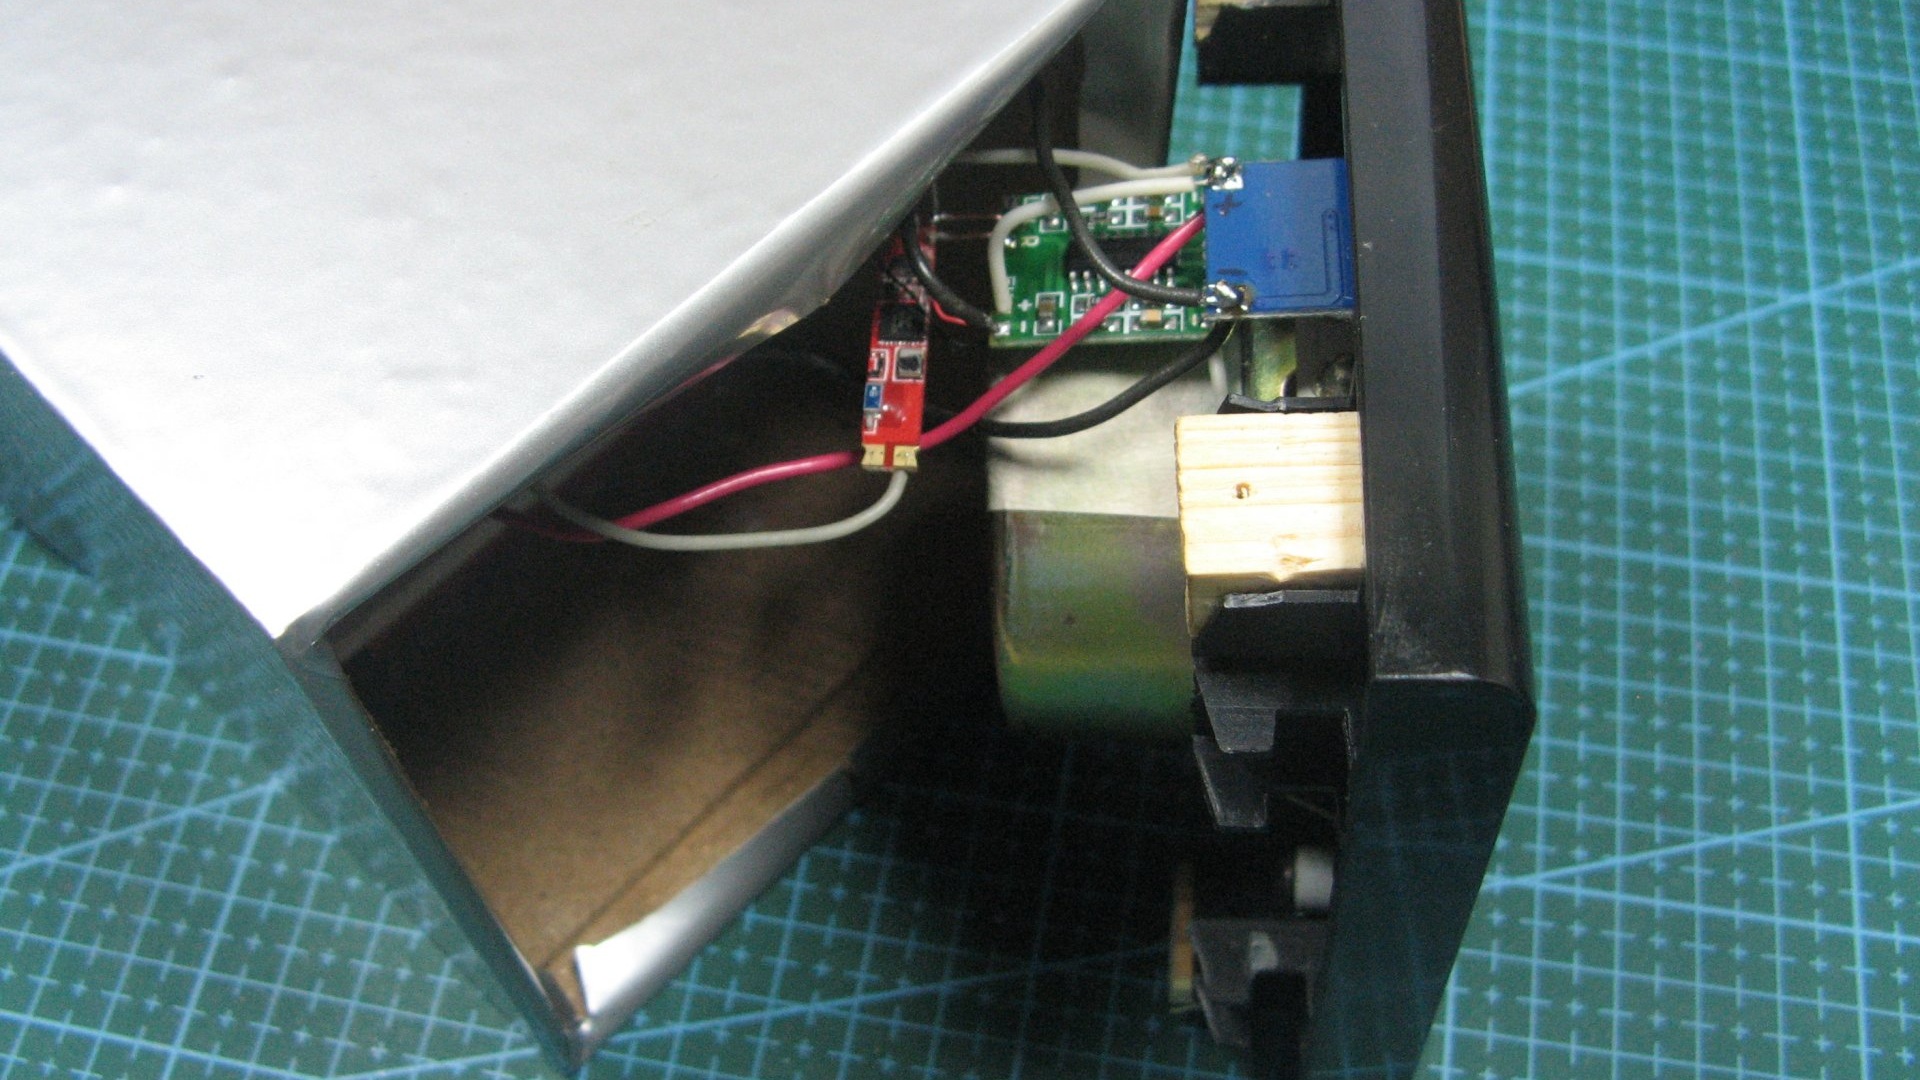
First of all, I soldered the amplifier directly to the speaker. The wires are single-core, rigid.
I soldered signal wires to the amplifier, and a Bluetooth board to them. The white wire is the antenna.
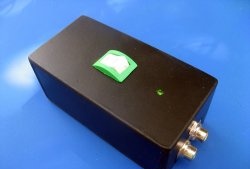
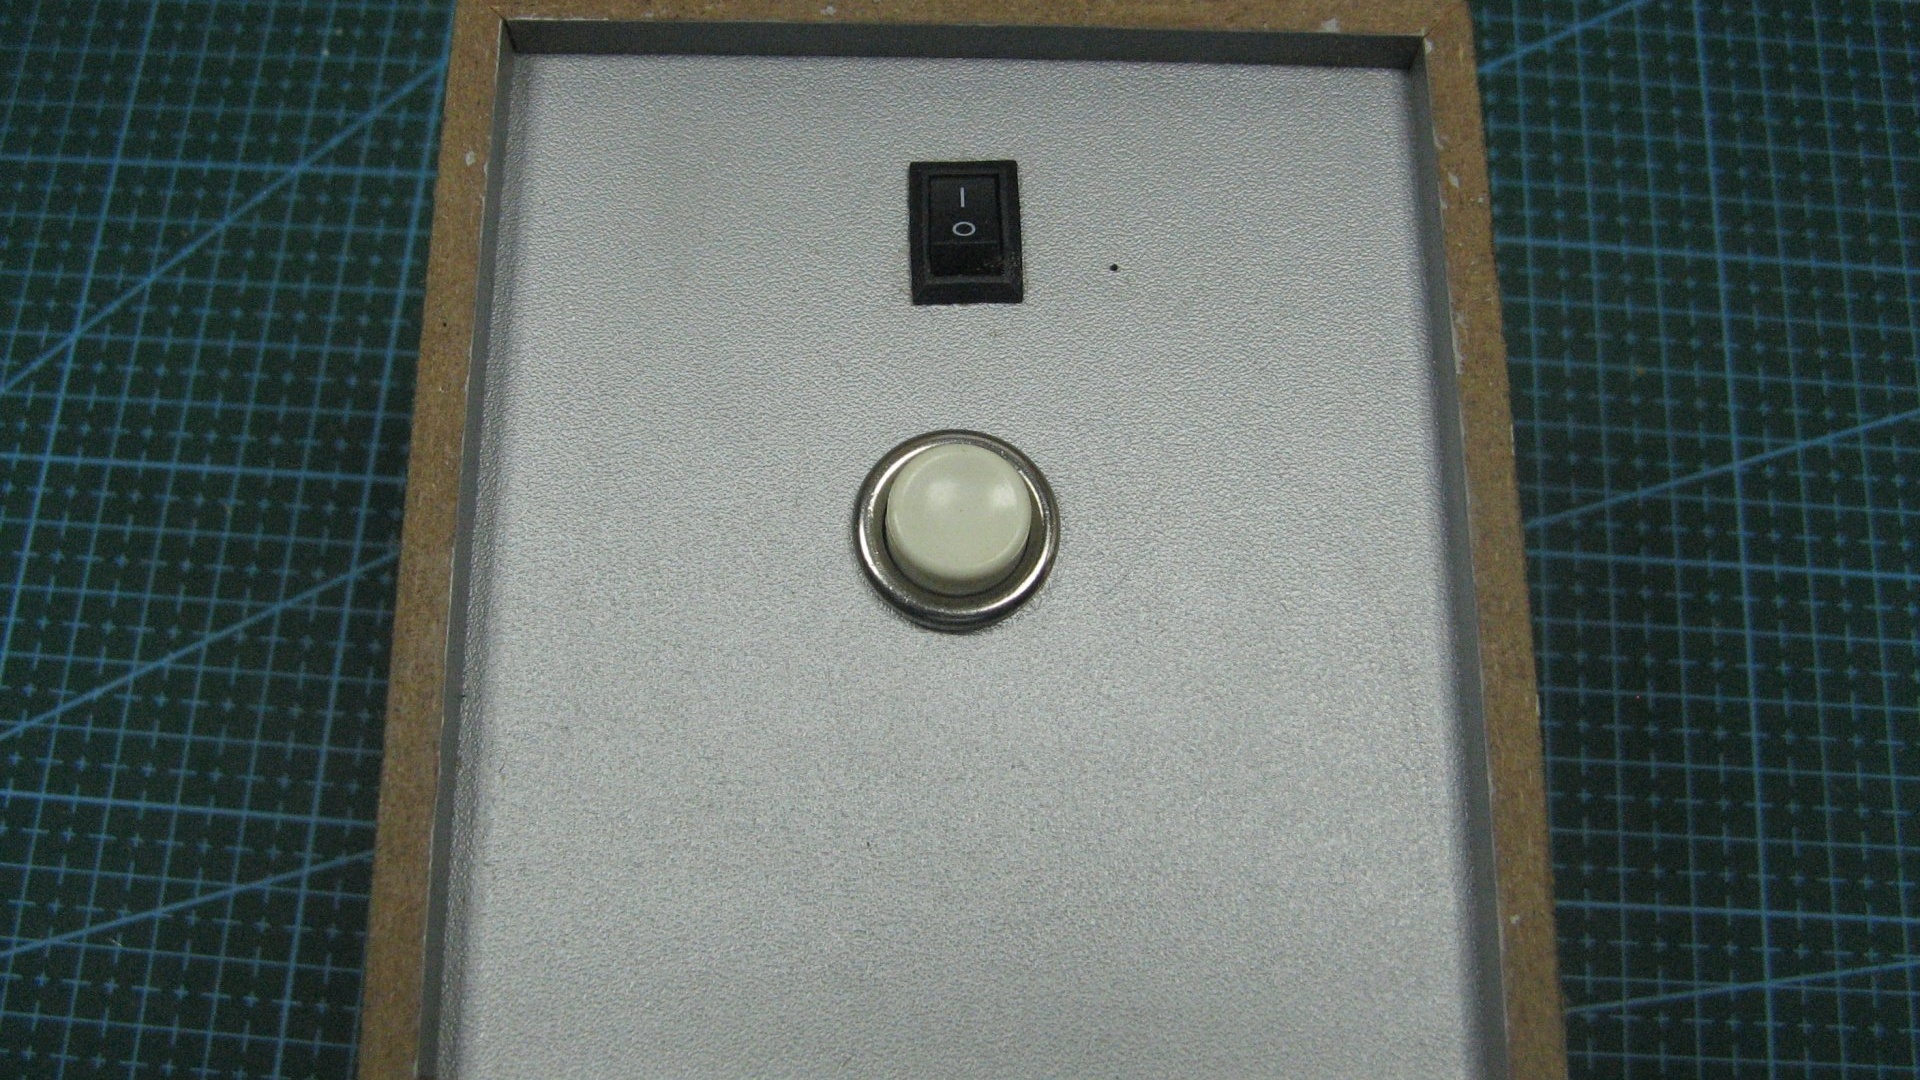
I installed a switch and a button on the back panel of the speaker. I also secured the battery and pre-soldered the BMS board to it. Inside view.
Outside view.
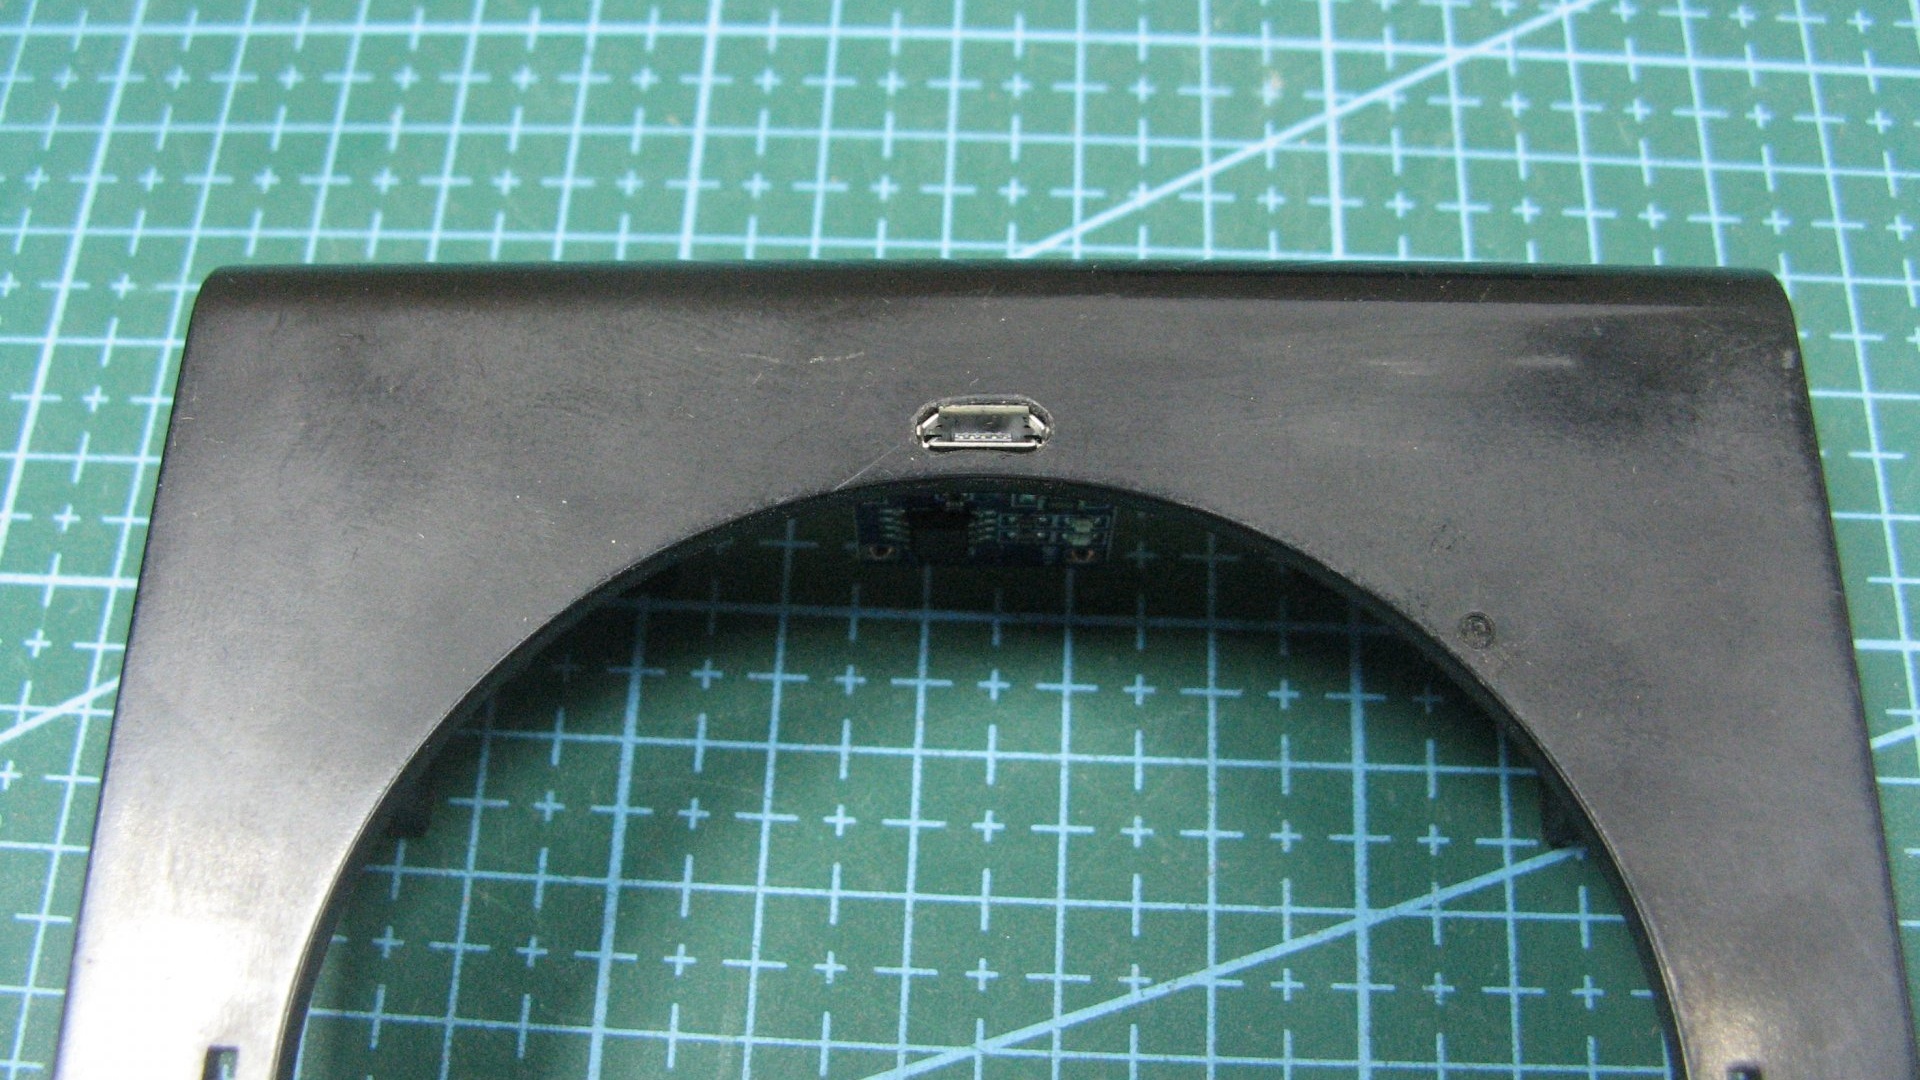
The charge controller fits into the hole in the protective grille, which I don’t have. Wooden blocks are visible on the front panel. I will use them to fix the panel.

I finally solder everything and fix the front panel with self-tapping screws.
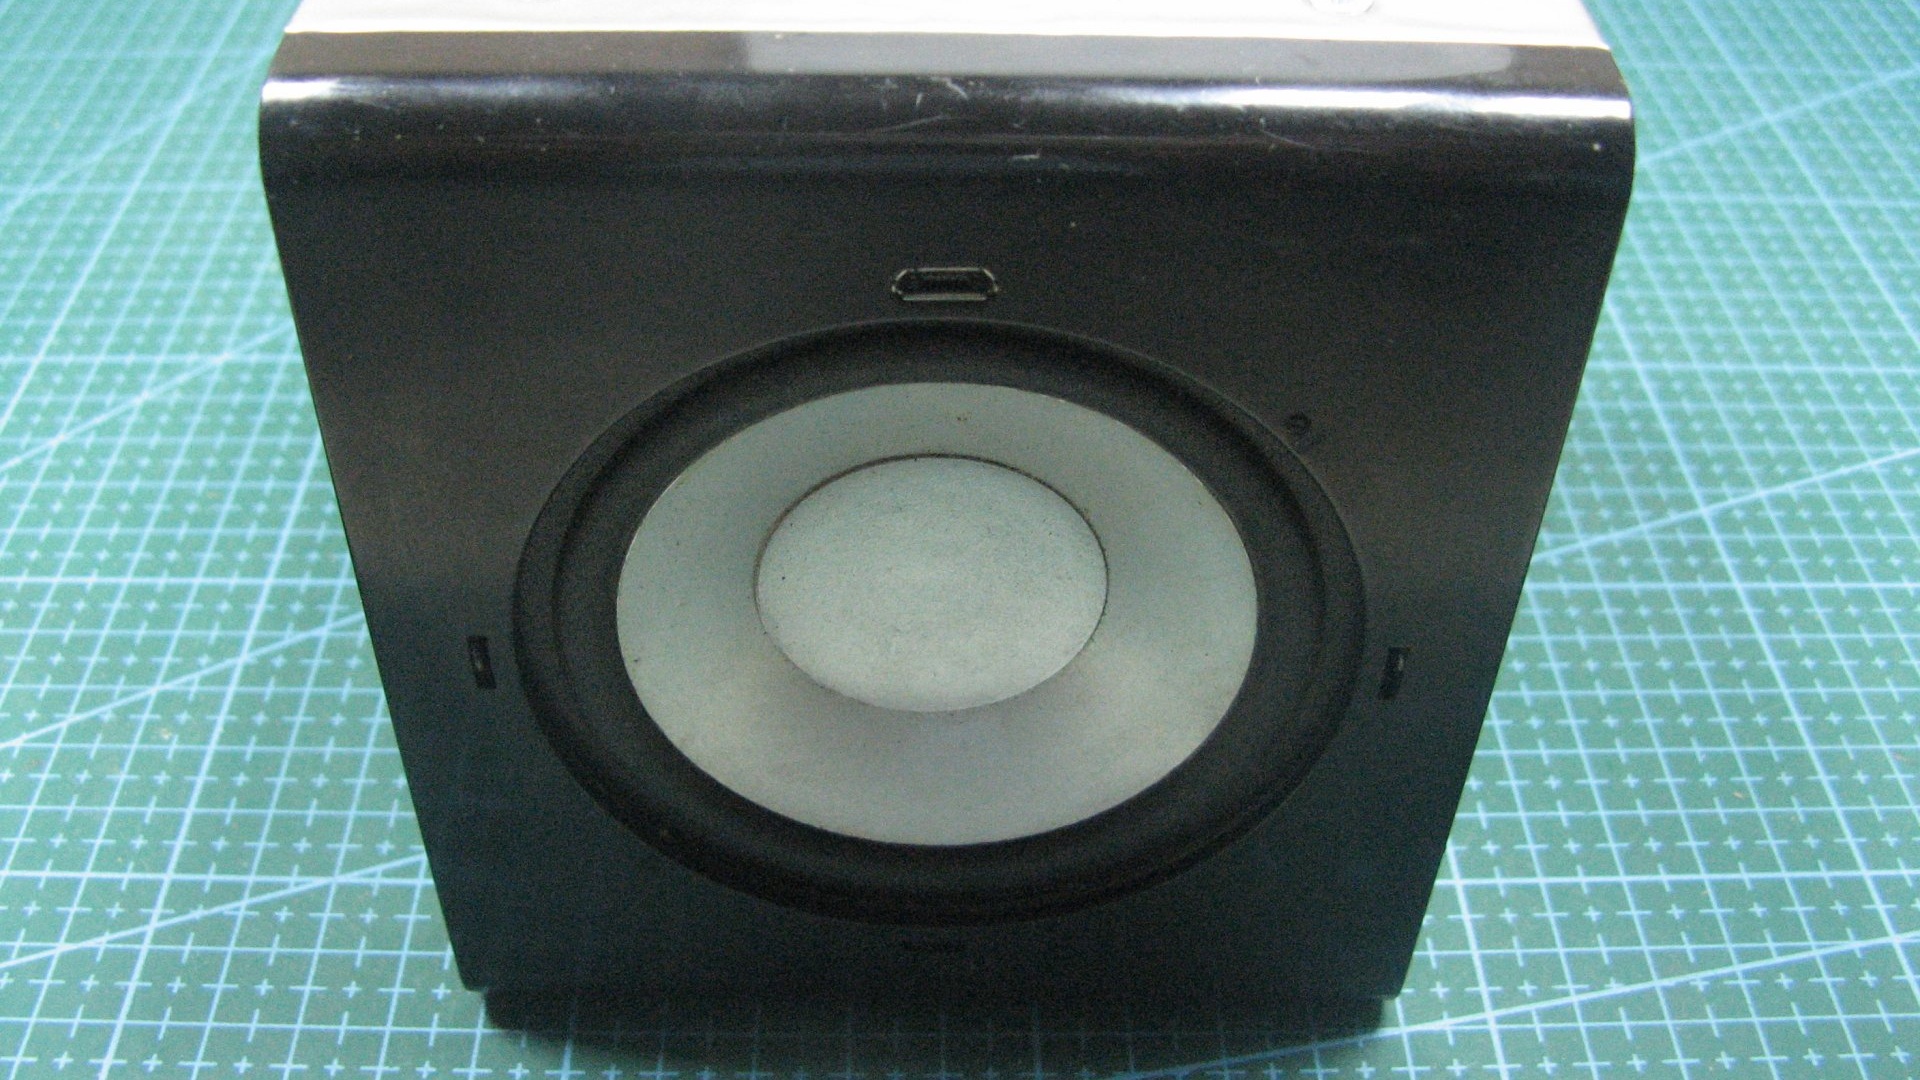
Front view of the column. The charging connector fits very well.
Back view. A button and a switch, nothing more.

In my opinion, it turned out very well. Compact and hopefully reliable.
Let me remind you again. To turn it on, you need to turn on the switch and briefly press the button. The column is defined and ready to go.
The result exceeded all expectations.