Any computer user may need a microphone, be it to record a voice message in a messenger, calls or video calls, record a voice or a musical instrument. Low-price microphones are sold on every corner, but often do not meet the most basic requirements - they are easily overloaded, have a low output signal amplitude, or are completely bad.
Buying an expensive microphone for simple home use is not always justified, but you can easily make one yourself using inexpensive components. The general concept of the microphone is quite standard: the sound is captured by electret capsules, amplified by an operational amplifier and fed into the line input of the computer. To power the amplifier in the microphone, 5 volts will be required; it can be taken from a nearby USB output of the computer.
Description of the circuit
The general diagram is presented below.

Conventionally, it can be divided into 4 blocks.The first of them is a power converter (upper left corner), which creates a bipolar voltage of 5 volts in each arm from a unipolar voltage of 5 volts coming to the input from the USB connector, so the total swing will be 10 volts. Bipolar voltage, firstly, is necessary for the operation of an operational amplifier (op-amp) with a variable audio signal, and secondly, an amplitude of 5 volts is simply not enough for an op-amp chip. The converter contains a minimum of parts, the most important of which are a diode - it must be Schottky, and an inductance of 1000 μH, any with a ferrite core will do. The converter operates on the MC33063 microcircuit, which is often used to create various pulse converters and is sold in any radio store.
The second part is a two-link CLC filter (upper right corner), which cleans the microphone’s power supply from various interference that is literally teeming with the voltage received from the USB output, and which is additionally created by the pulse converter. Both power arms are filtered, and for the highest quality filtering, two links are required for each arm, respectively, you will need 4 inductors of 2000-3000 μH each and 6 capacitors. Each electrolytic capacitor is shunted with tantalum (you can take ceramic) for additional filtering of RF interference. If desired, the circuit can be powered from any 9-12 volt source, creating an artificial midpoint using a resistor divider instead of bipolar power; in this case, neither a converter nor a CLC filter is needed, however, power from USB is very convenient for a computer microphone.
Parts 3 and 4 are direct amplifiers, identical for the right and left channels, so the sound from the microphone will be in stereo format. A low-noise operational amplifier NE5532 is used, instead you can also use TL072 or TL082, all of them are dual, only one chip is required to amplify two channels. Using trimming resistors PR1, PR2, you can adjust the gain individually for each channel. After assembling the microphone, they will need to be adjusted so that the signal amplitude in both channels is the same, and the signal level does not overload the computer input. The pickups themselves are electret capsule microphones, exactly the same as those used in cell phones or headsets.
Microphone assembly
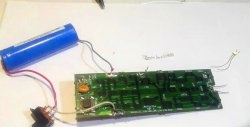
To ensure that the microphone electronics do not take up much space and can easily fit into any suitable housing, SMD components are used for assembly. Of the output ones, only electrolytic capacitors are used in the CLC filter and coupling capacitors in amplifiers, since it is preferable to use film capacitors. The inductors in the filter can also be used as output ones if you don’t have an SMD at hand, as I did. The printed circuit board itself is made using the LUT method; you can find a drawing of the tracks for printing and a diagram of the arrangement of elements in the archive.
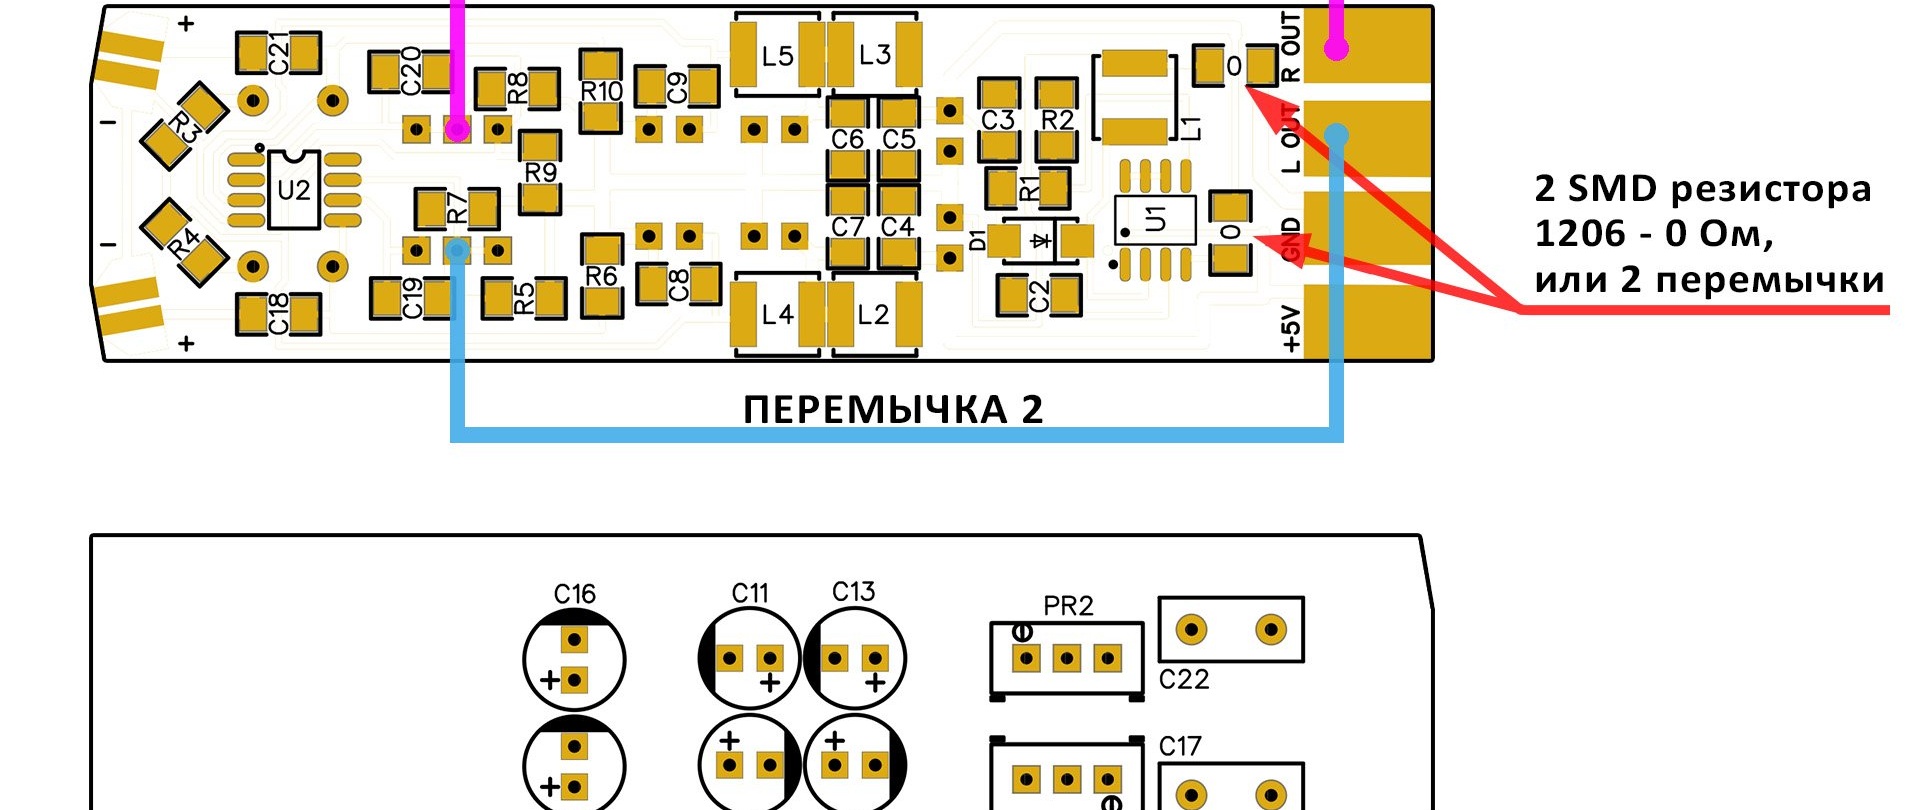
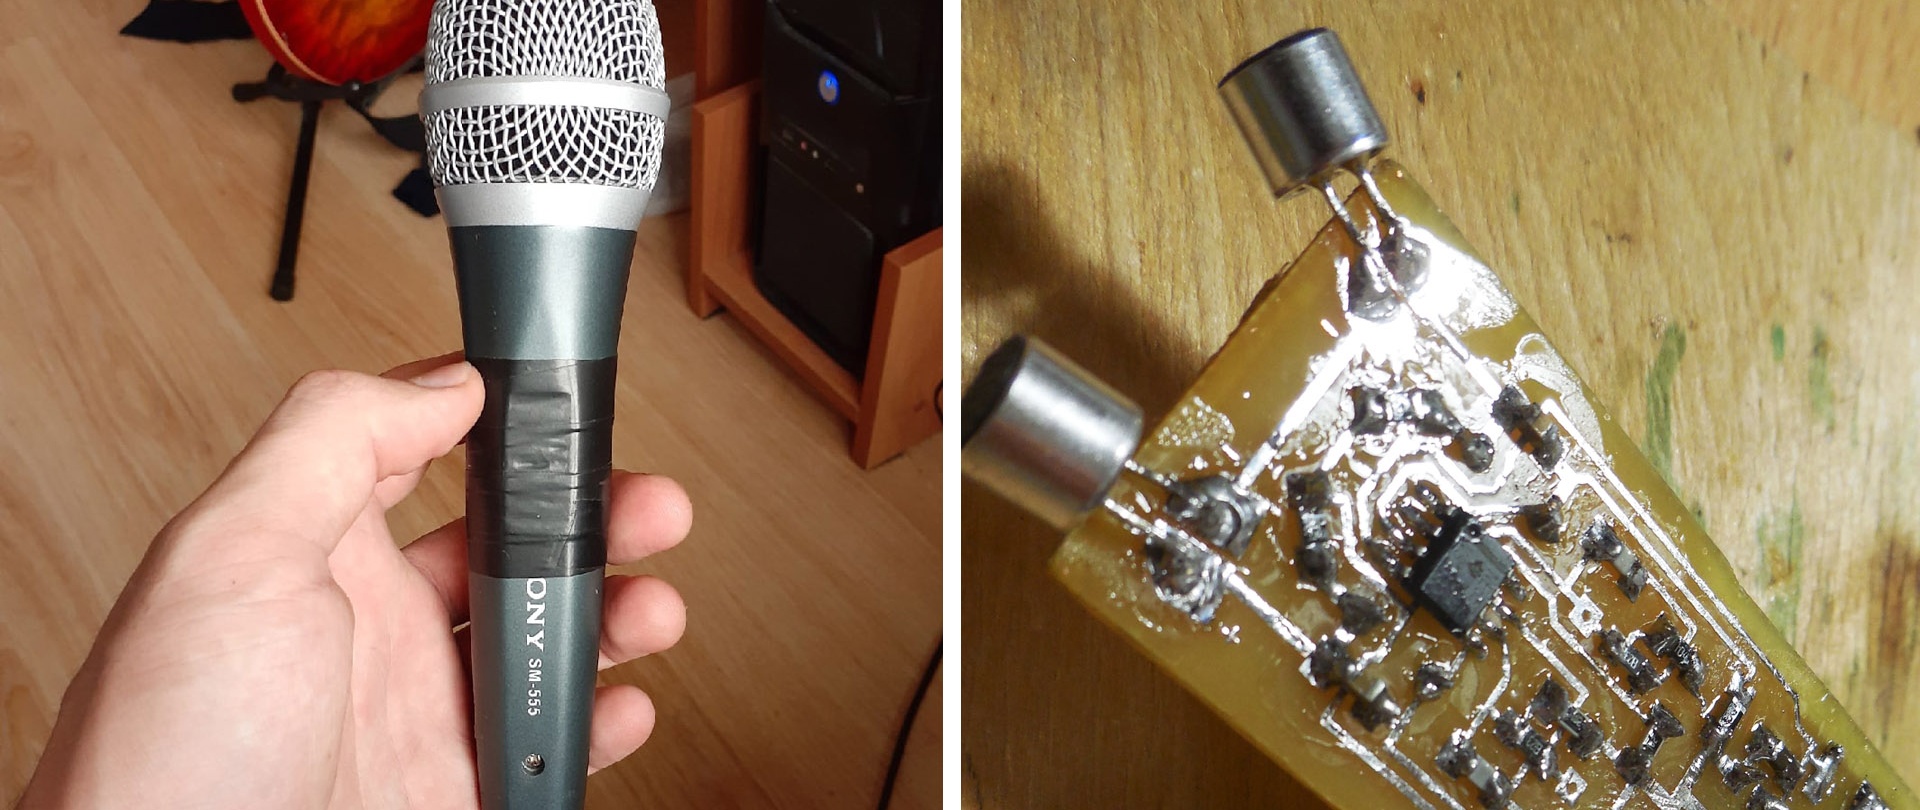
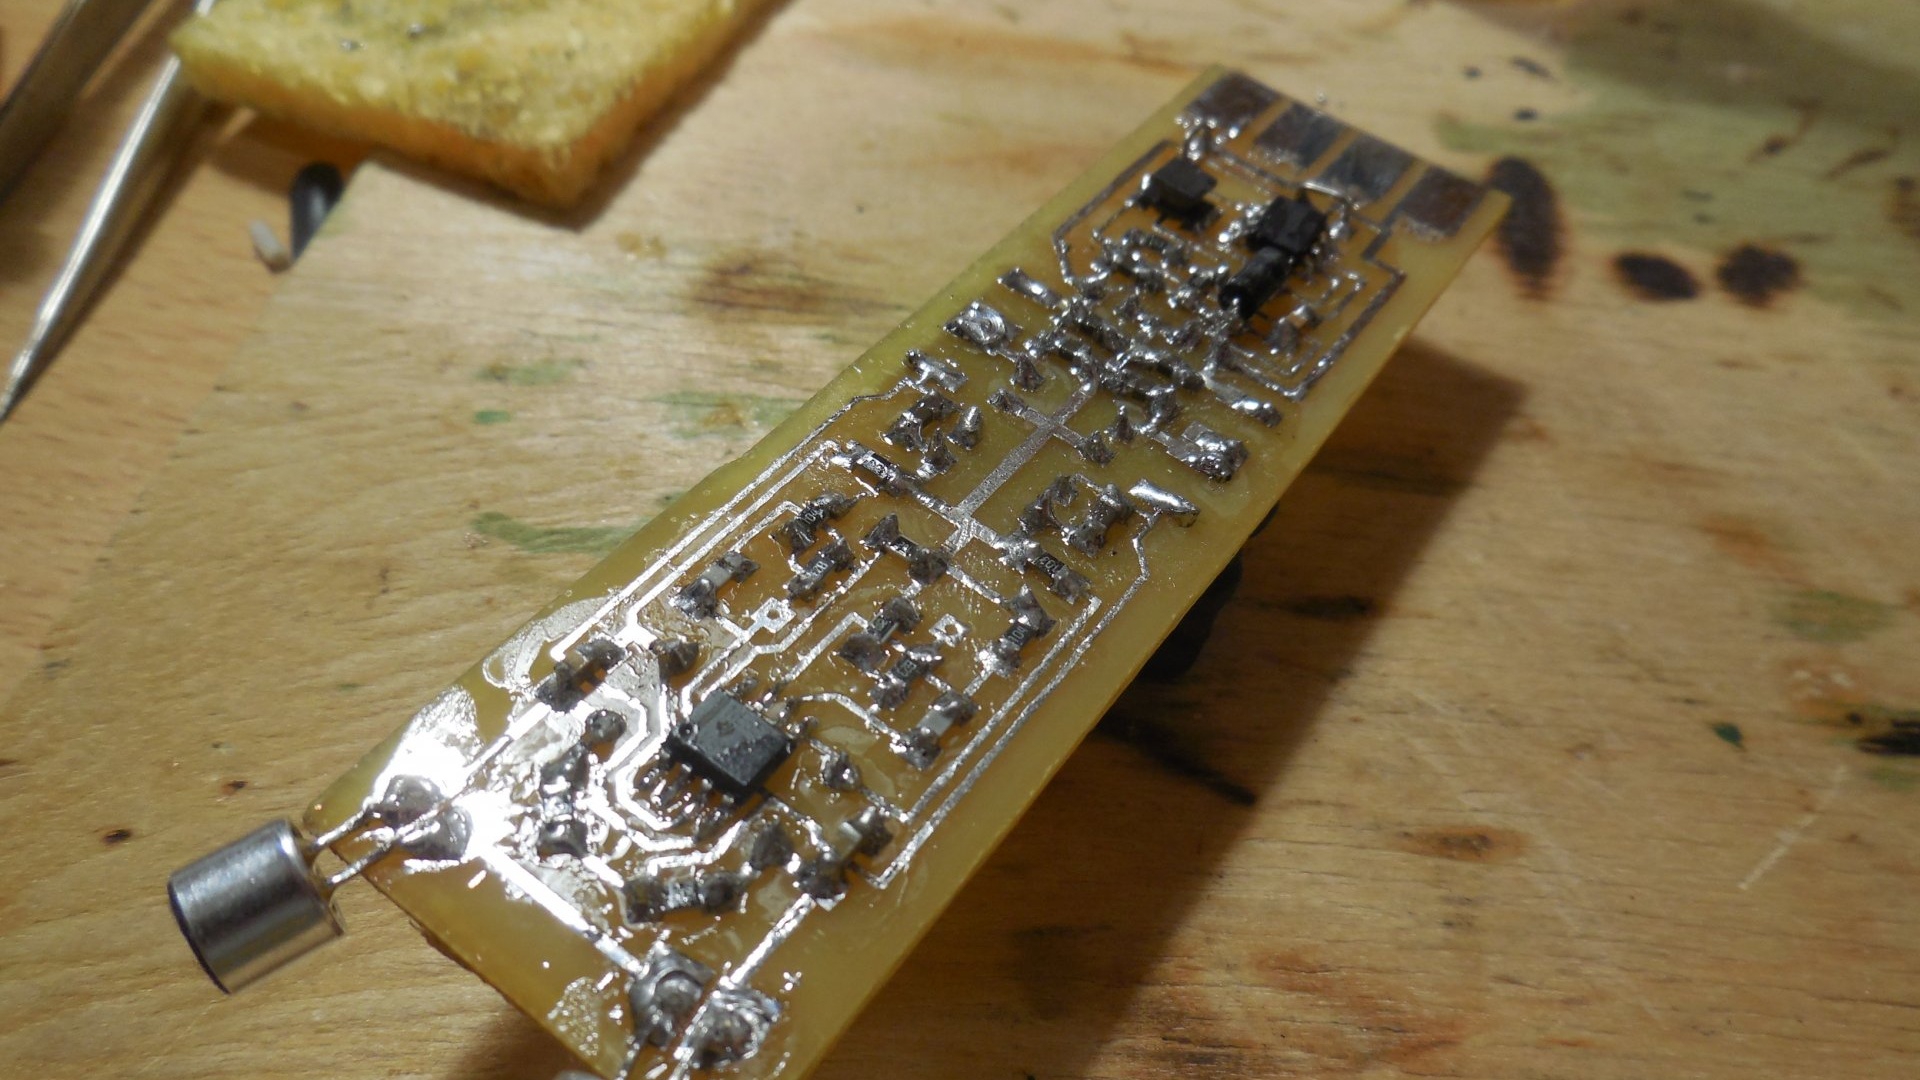
Electret capsules are soldered directly to the board from the end. On the other side of the board there are terminals for connecting outputs (right, left) and 5 volt power. Power minus and signal ground are the same contact. After soldering, the board must be washed off from flux (the photo shows the assembly process).


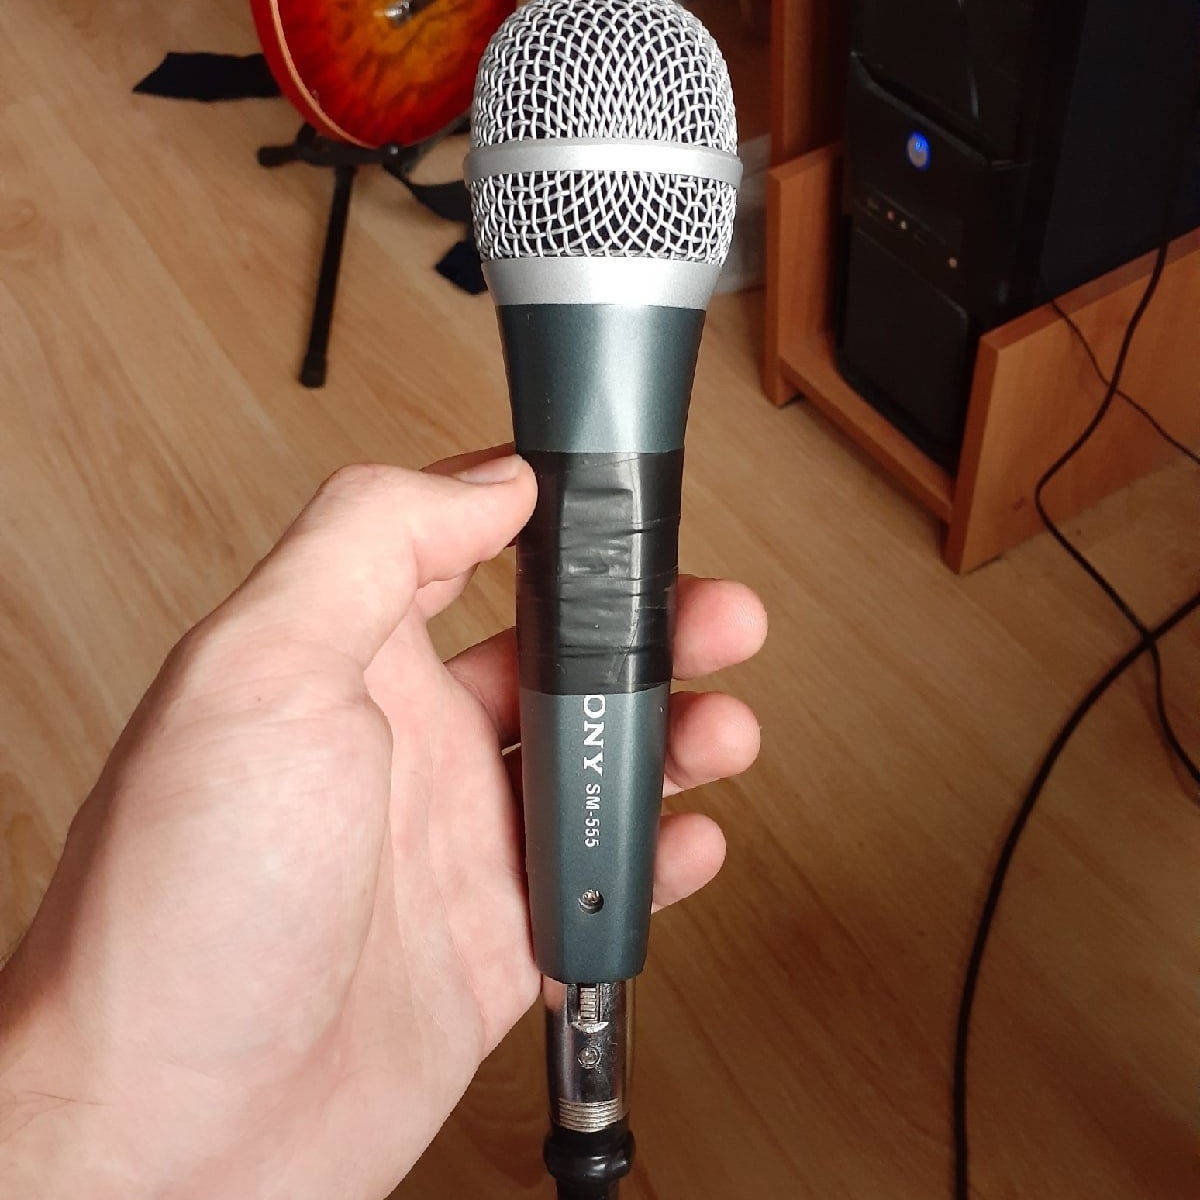
Installation in the case
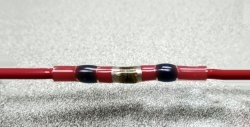
The board is installed in a housing that will not only allow you to conveniently use the microphone, but will also protect the electronics from electromagnetic interference. The case can be of any shape, the main thing is that it is metal - it will need to be connected to the ground of the circuit. A good option would be an unnecessary housing from a cheap microphone, which you can buy for literally 100-200 rubles. A rectangular board fits perfectly into it; to connect the output, you can use a standard XLR connector, or simply output a solid shielded wire with conductors for the right and left channels and a 5 volt line, soldering 3.5 mm and USB plugs to its end.


Microphone tests
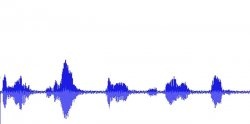
A properly assembled microphone with an adjusted gain level produces a signal of sufficient amplitude with a natural, clear sound. The video below is an example of an acoustic guitar recording made with an assembled microphone.
A simple DIY computer microphone - https://diy.washerhouse.com/en/4420-mikrofon-dlya-kompyutera-svoimi-rukami.html