If you don’t understand electronics and want to assemble a garland switch with a traveling wave effect, then pay attention to this homemade product.
The device is capable of switching different garlands and light bulbs so that they light up and go out alternately, the effect is very impressive. This switch does not contain a single radio element. Switching occurs using mechanical contact.
Materials:
- Aluminum cylinder, which uses a high-voltage capacitor;
- wide electrical tape or tape;
- electric motor with gearbox - http://alii.pub/628562
- sheet plastic;
- Super glue;
- tin;
- switch - http://alii.pub/5mk6b7
- battery 3.7 V - http://alii.pub/5becfz
The process of making a garland switch
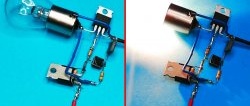
To manufacture the switch, it is necessary to assemble a cylindrical contact. A capacitor housing is perfect for this. It needs to be sanded to expose the metal from varnish or film. The surface of the capacitor is wrapped with tape or wide electrical tape. In this case, you need to leave the edge bare by 5-10 mm.

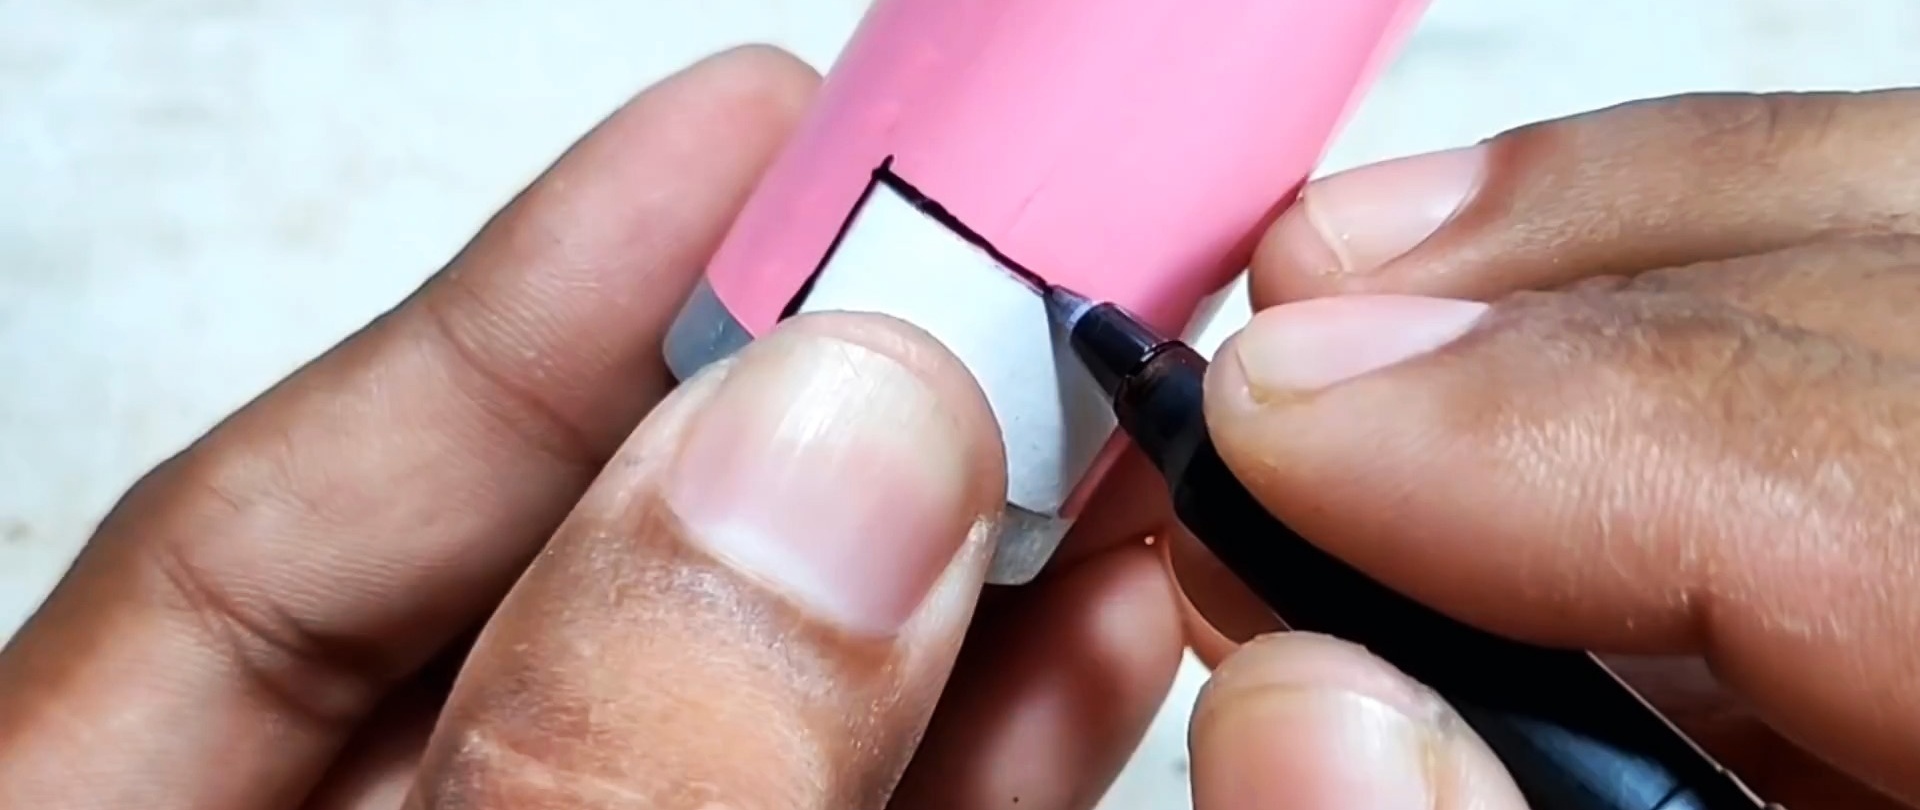
A template is cut out of paper according to which you need to place the insulated capacitor and expose its surface. Each such open island will close a separate garland, as a result of which it can burn for a short time. The capacitor is divided along the circumference into a number of tracks equal to the number of garlands for connection. On each of them you cut out such an island, but not opposite each other.


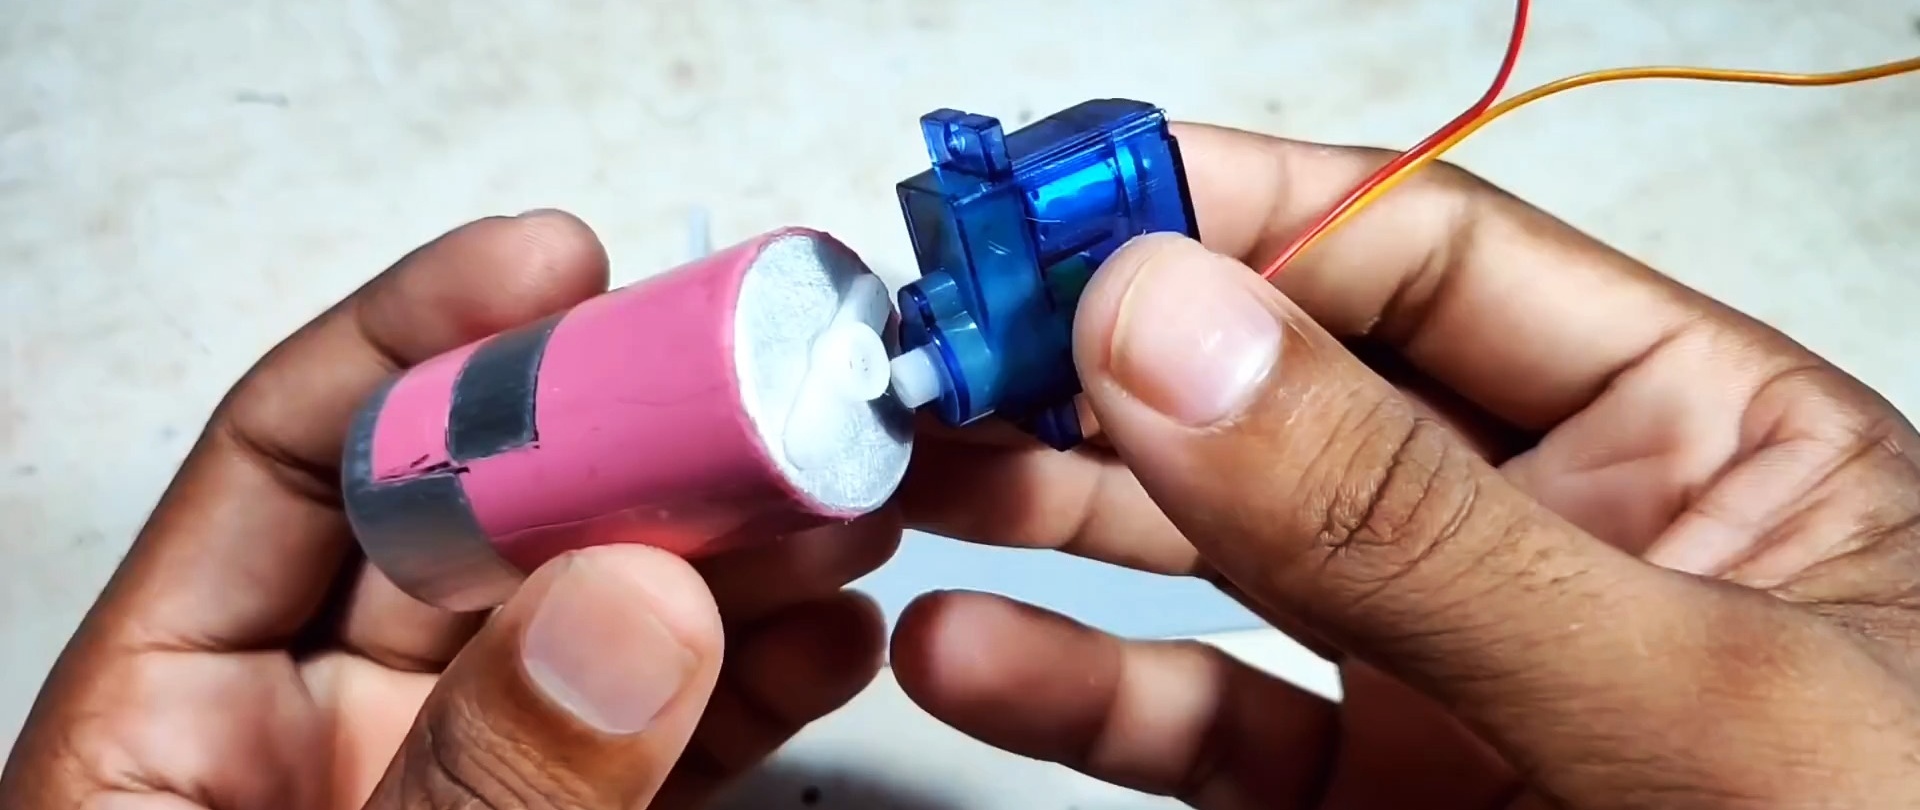
A pulley from the motor is glued onto the capacitor.

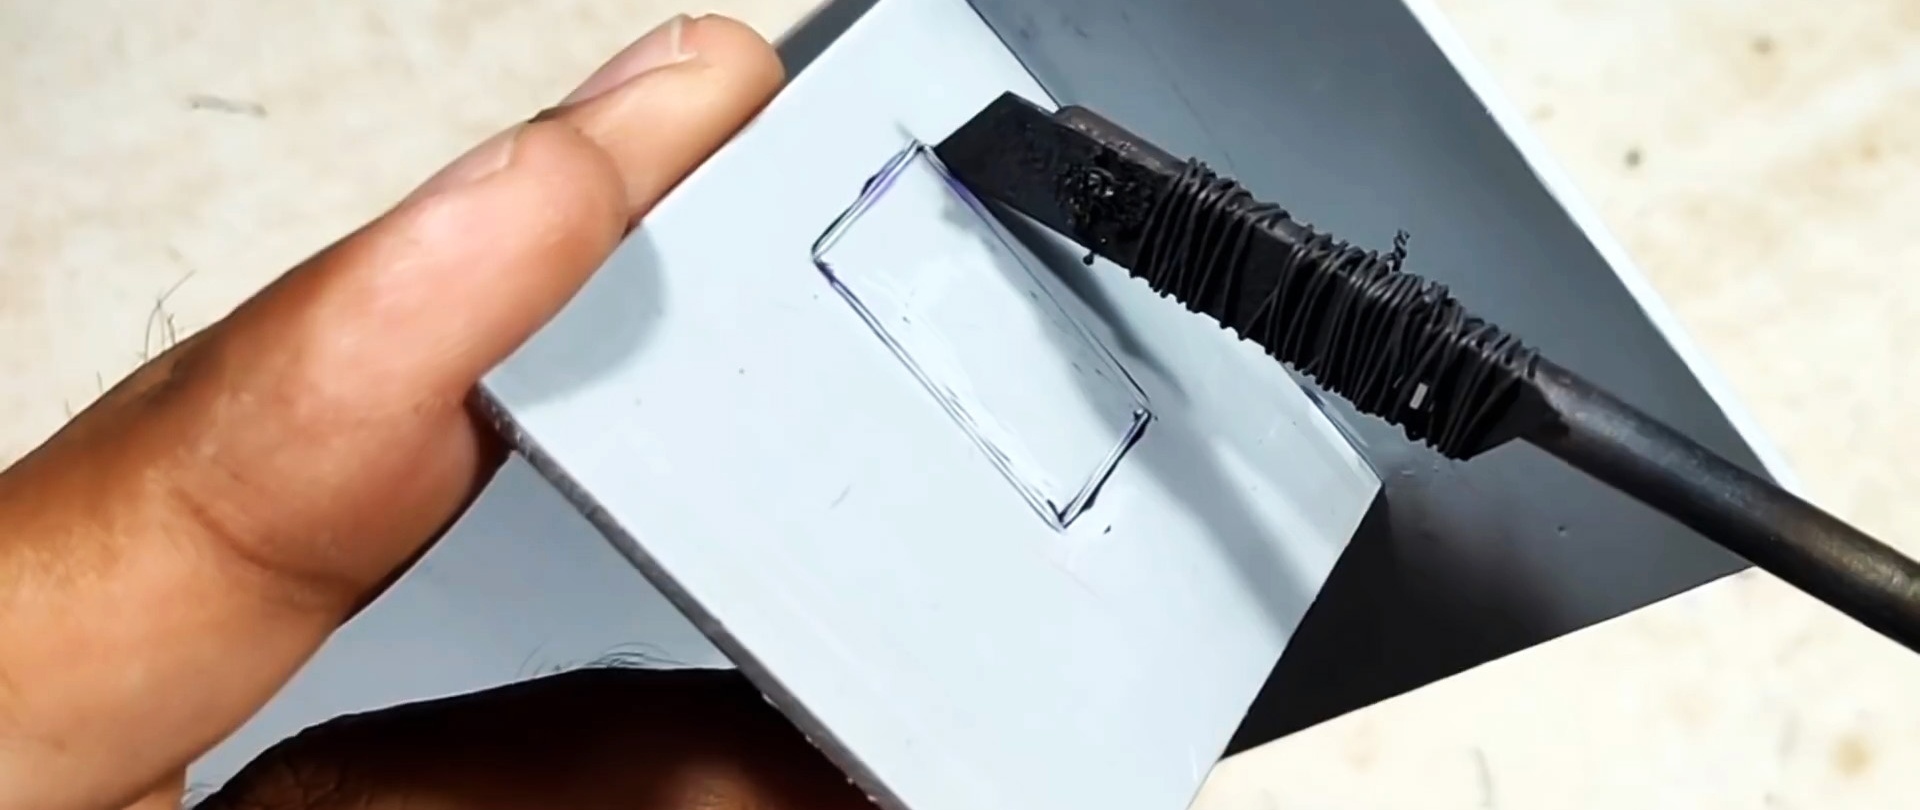
Then the U-shaped body of the device is glued together from sheet plastic.
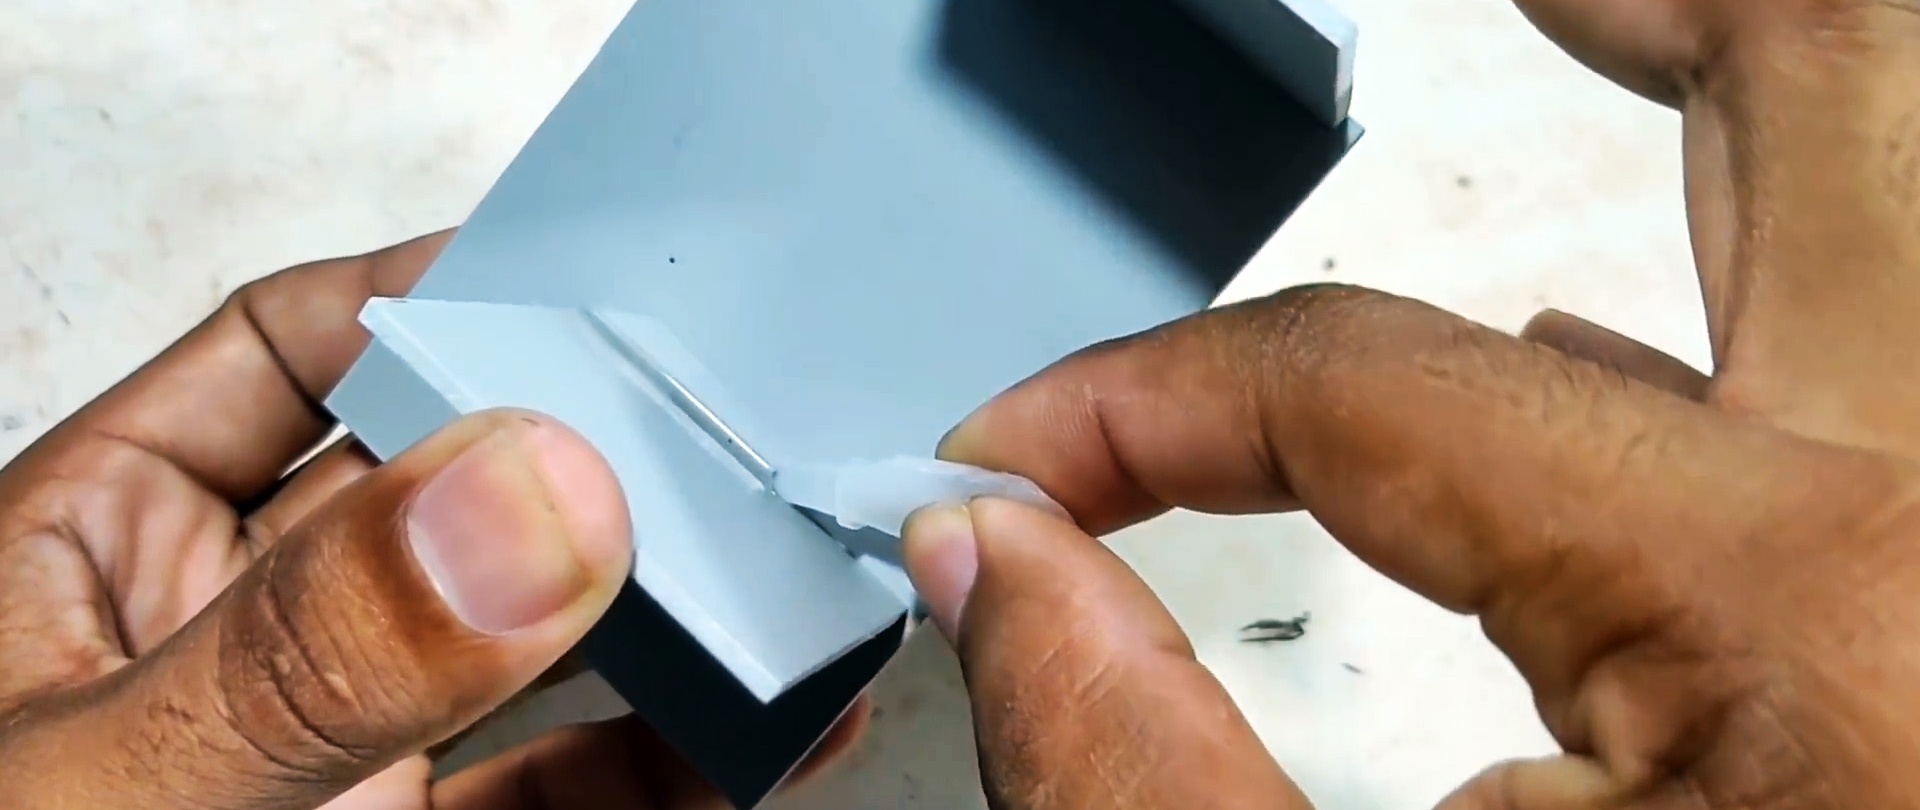
Holes for the engine and drum shaft are drilled in its racks.
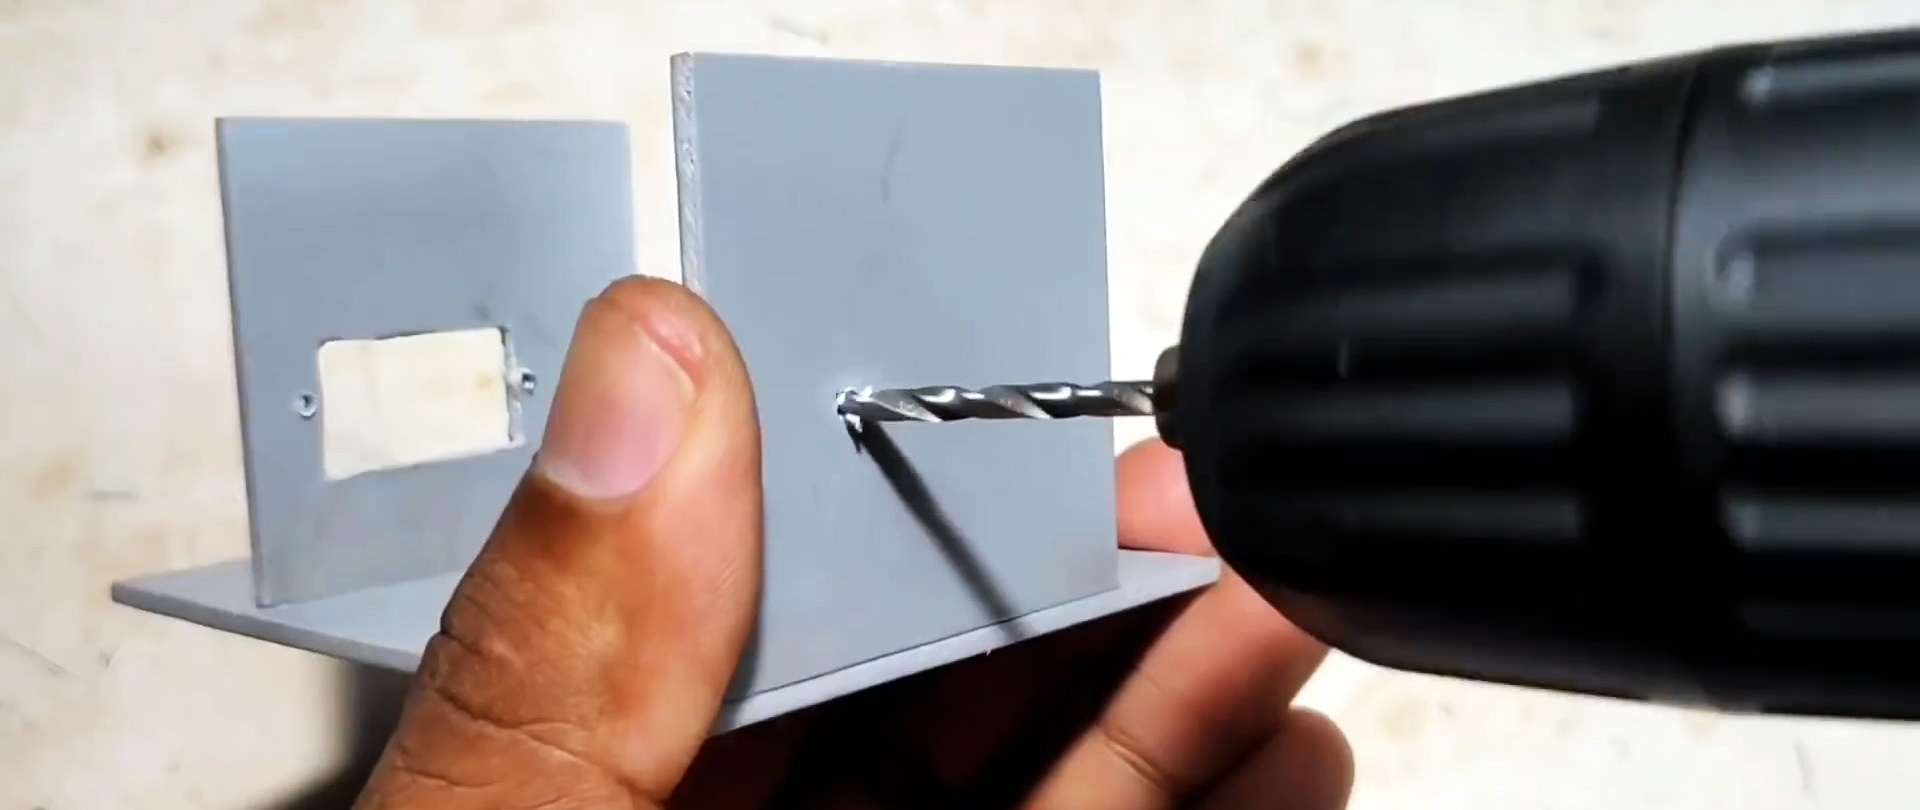
A screw is screwed into the center of the capacitor opposite the glued pulley. You need to achieve alignment. The engine and drum are then secured to the frame.


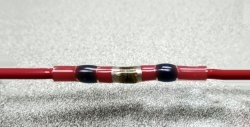
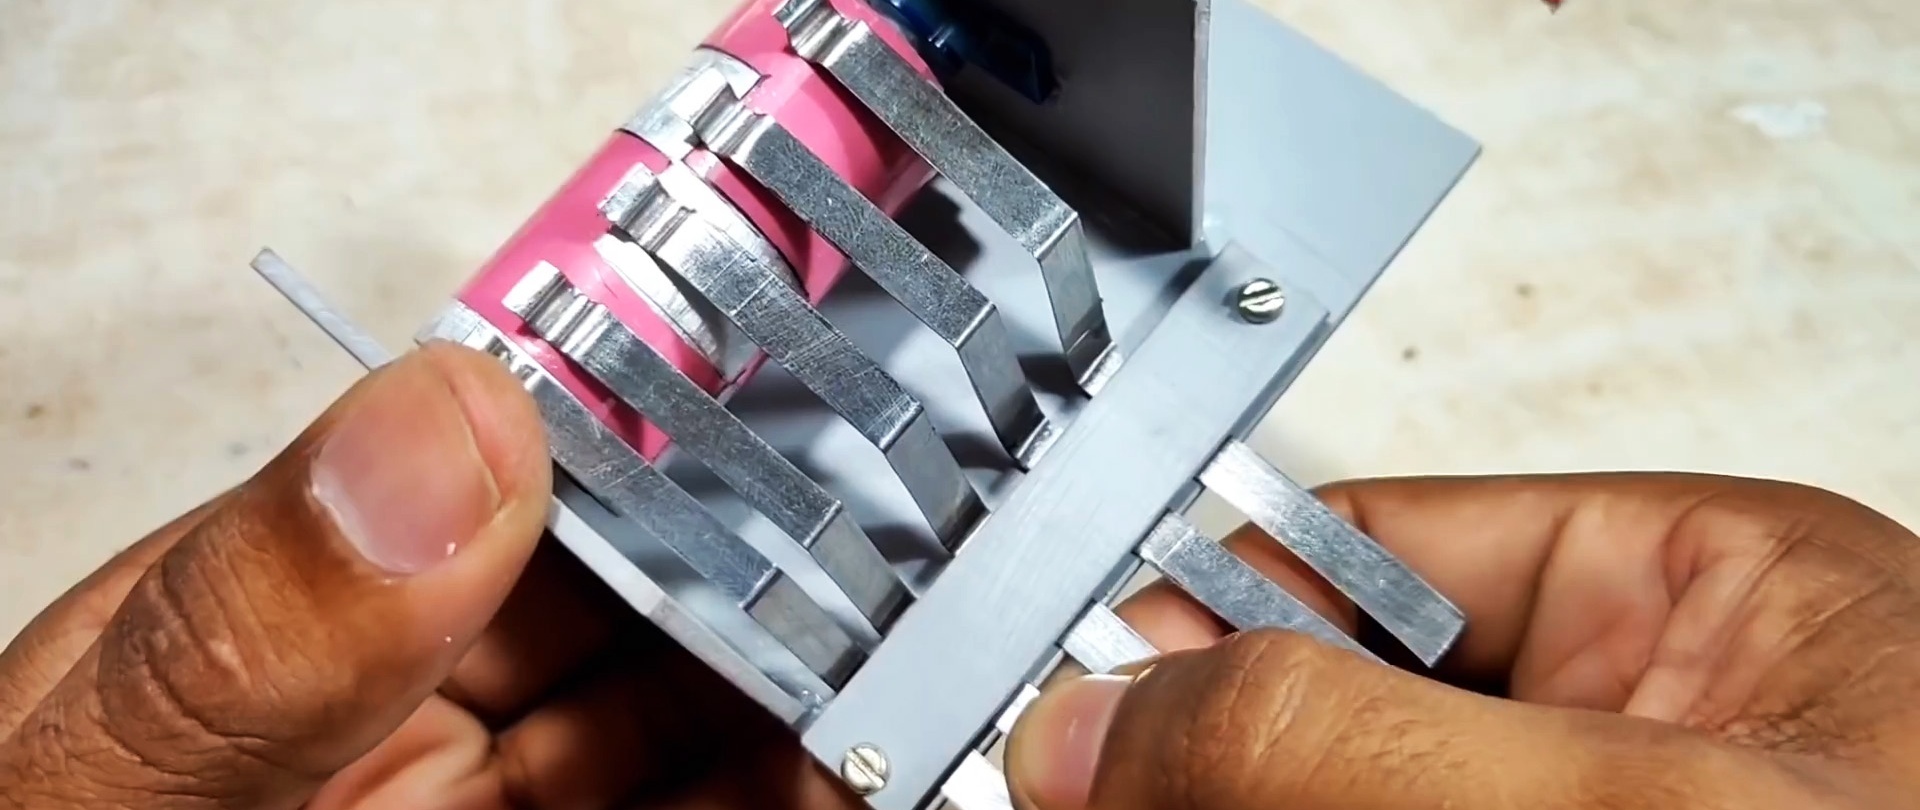
It is necessary to cut narrow strips of contacts from tin.

They bend and are attached to the frame using a plastic jumper. These will be rubbing contacts, each closing the circuit on its own garland.


One contact should be located on the uninsulated part of the drum.
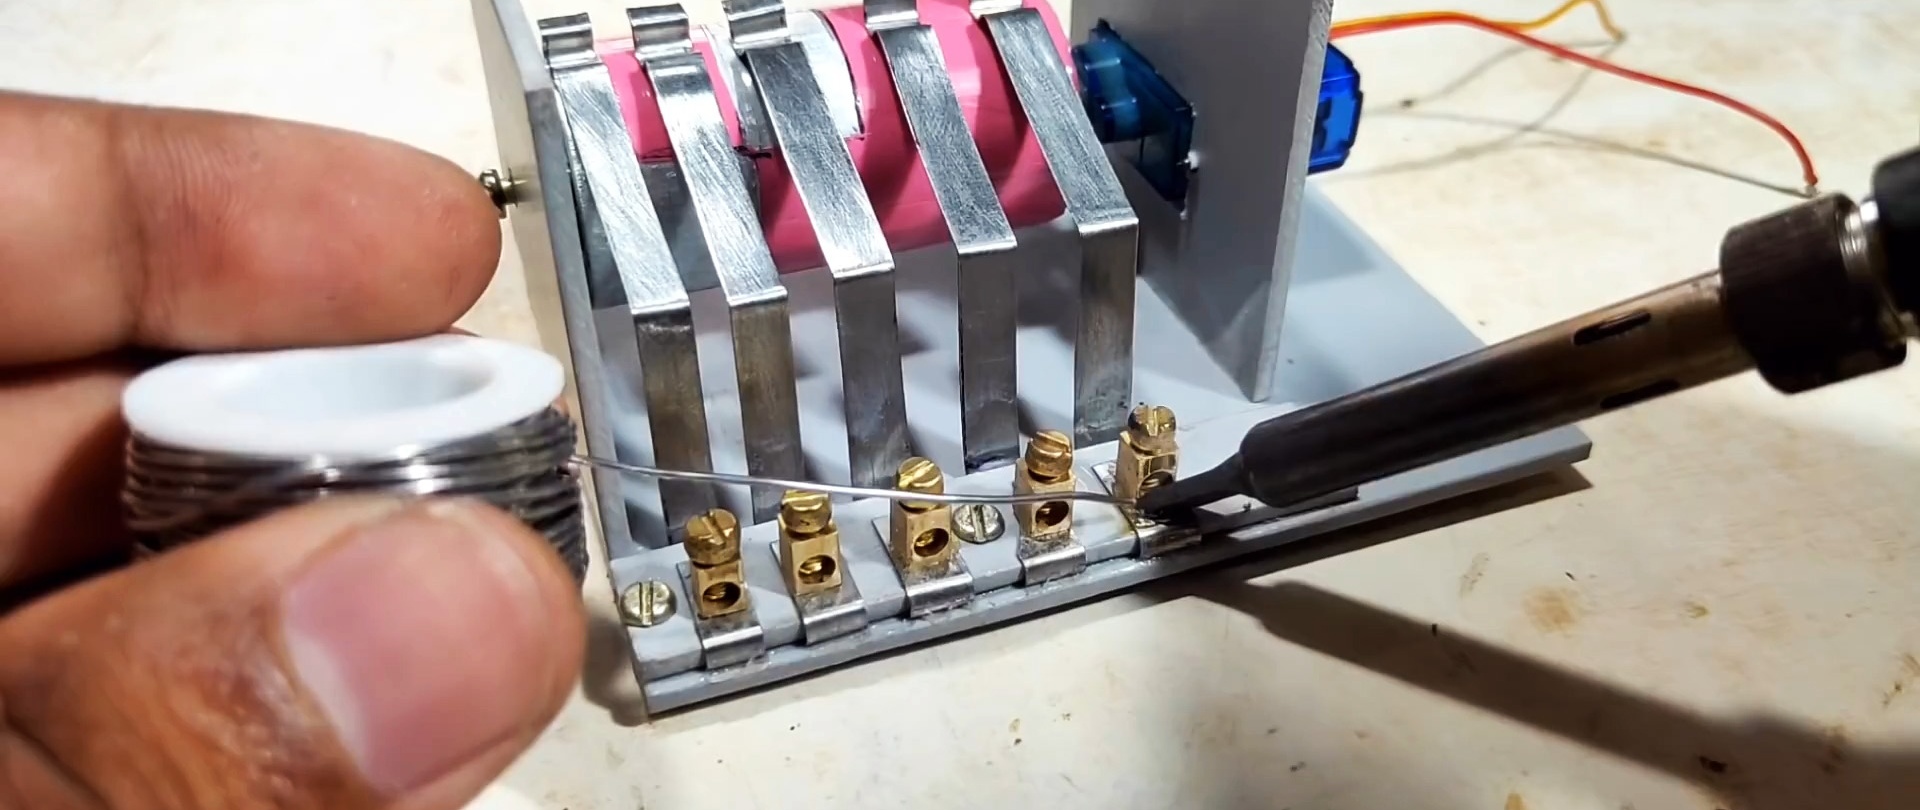
It is necessary to solder terminals onto the contacts.

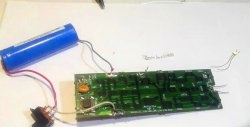
The battery is connected to the motor via a switch.

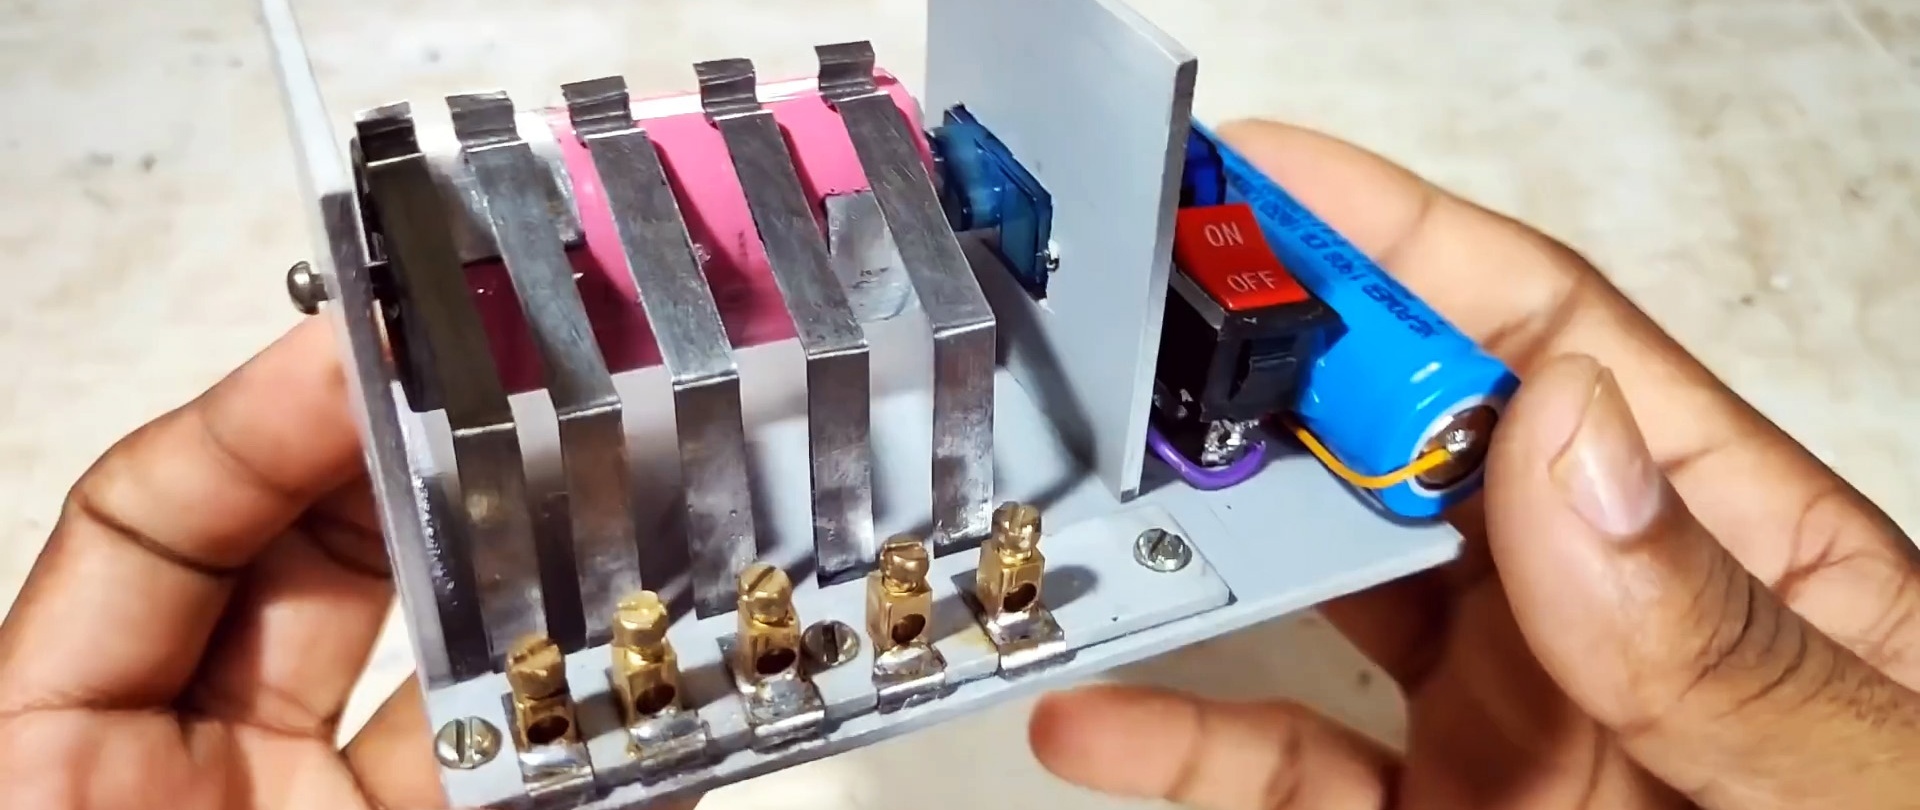
After this, one wire from the power cable must be connected to the outermost contact, which is constantly in contact with the drum. The wiring from the garlands should be connected to the other contacts. The remaining wires are twisted together.

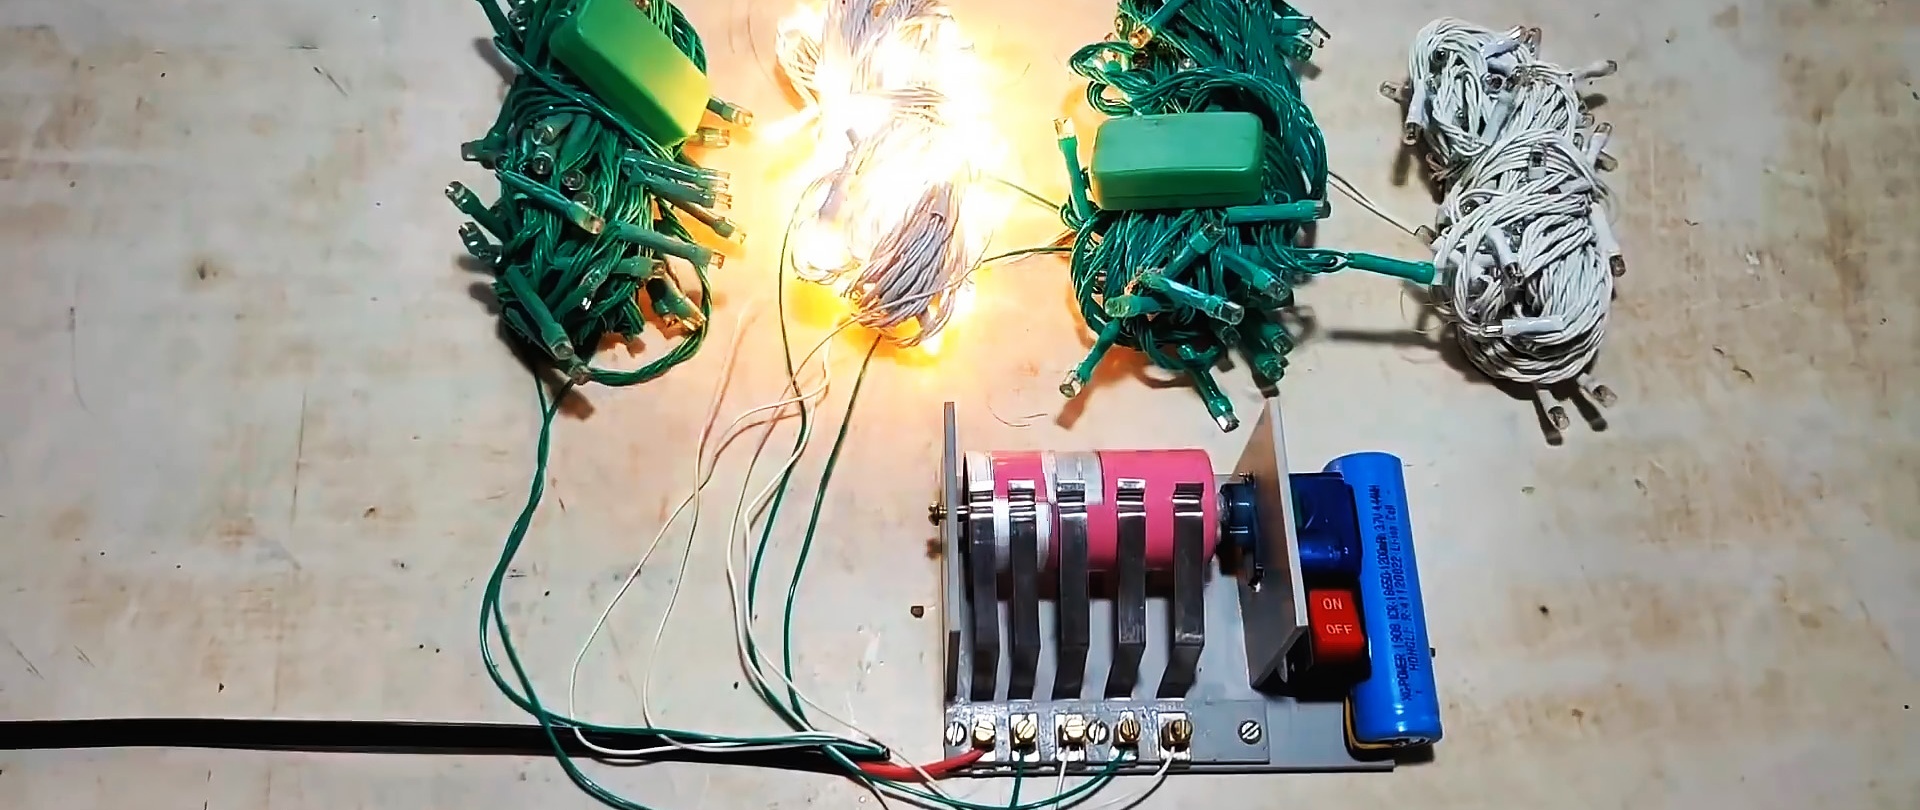
Now when the motor starts, the drum will rotate. In a short period of time, the individual garlands will close and light up. The result will be alternate flickering.