Toys from papier mache – an economical and homely alternative to mass-produced Christmas tree decorations. In addition, joint activities between children and adults develop creativity, fine motor skills, perseverance of the child and will forever remain as pleasant memories.
To make the Snow Maiden you will need:
- the base form of the future product;
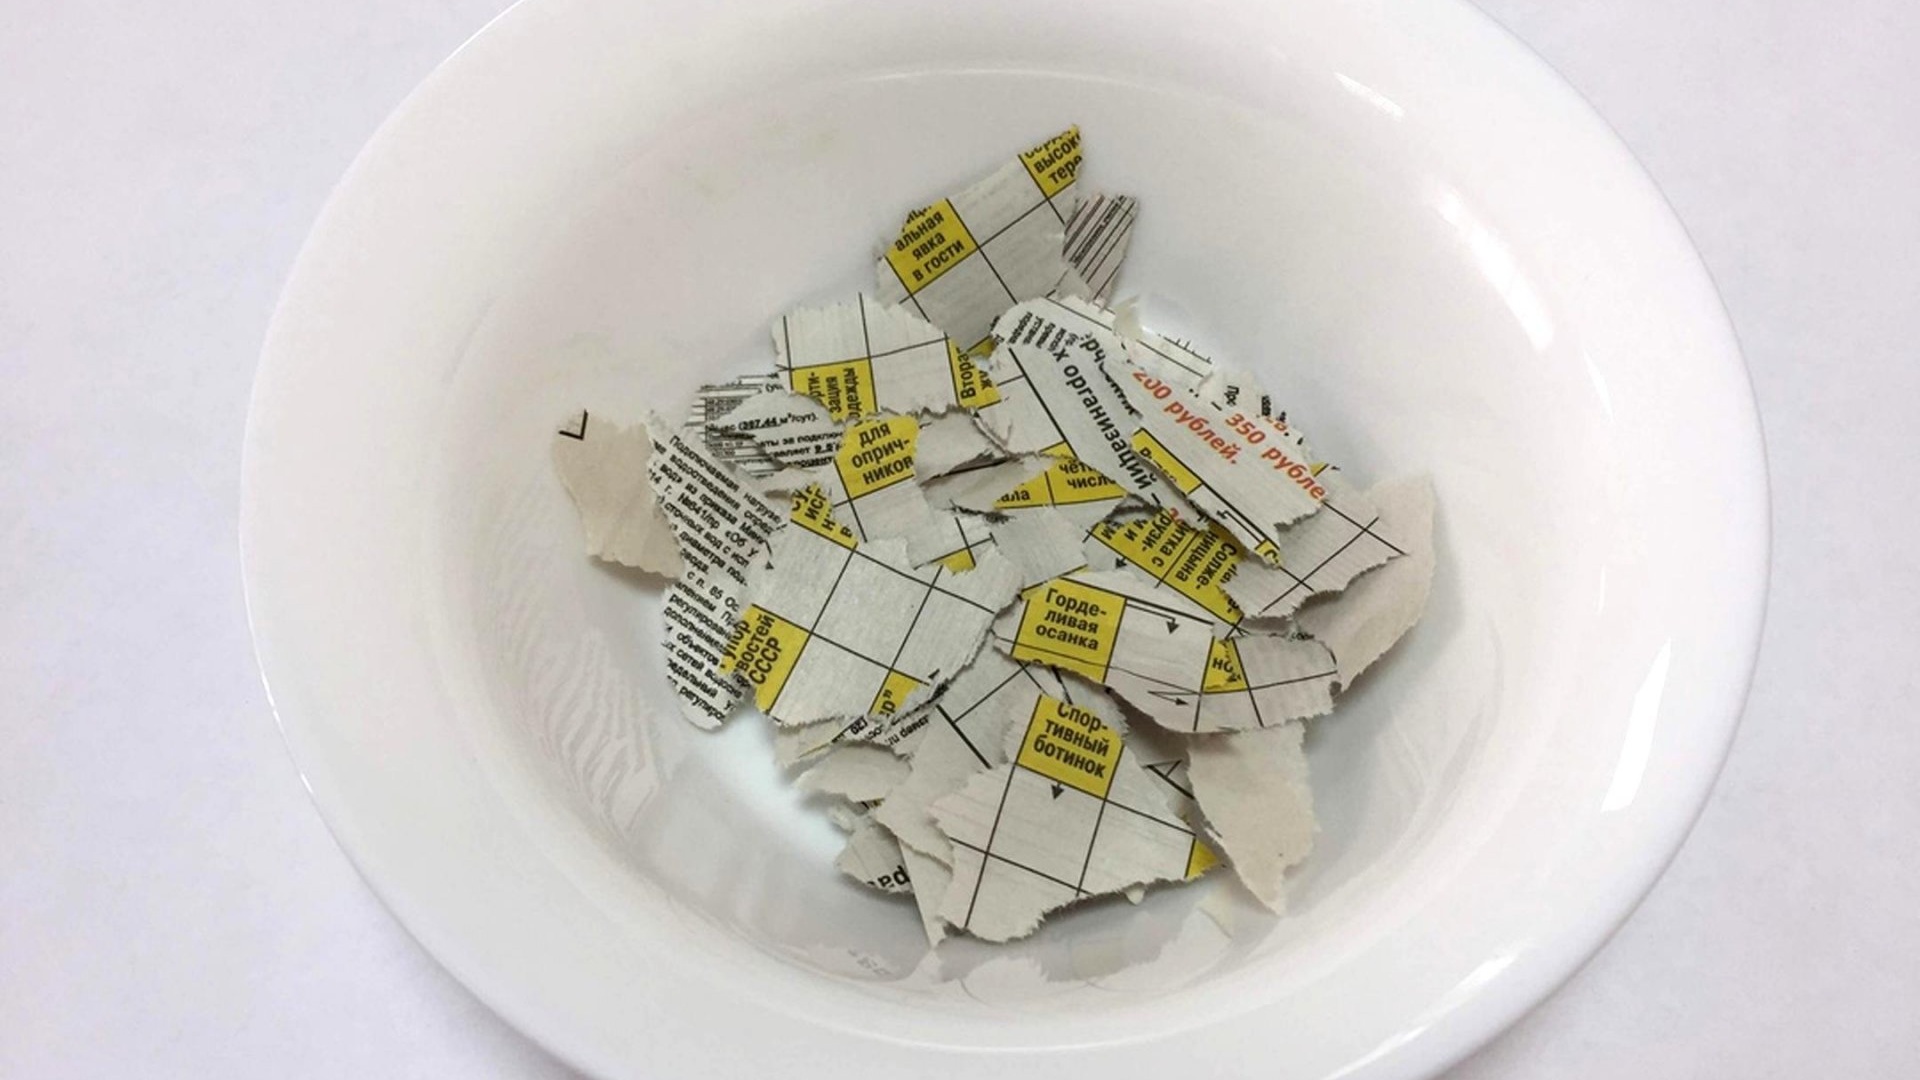
- newspaper;
- a sheet of thin white paper;
- paste or PVA glue diluted in half with water;
- vegetable oil for lubricating the base;
- cord for attaching the toy to the Christmas tree – 20-25 cm;
- acrylic paints or gouache.

Stages of making the Snow Maiden
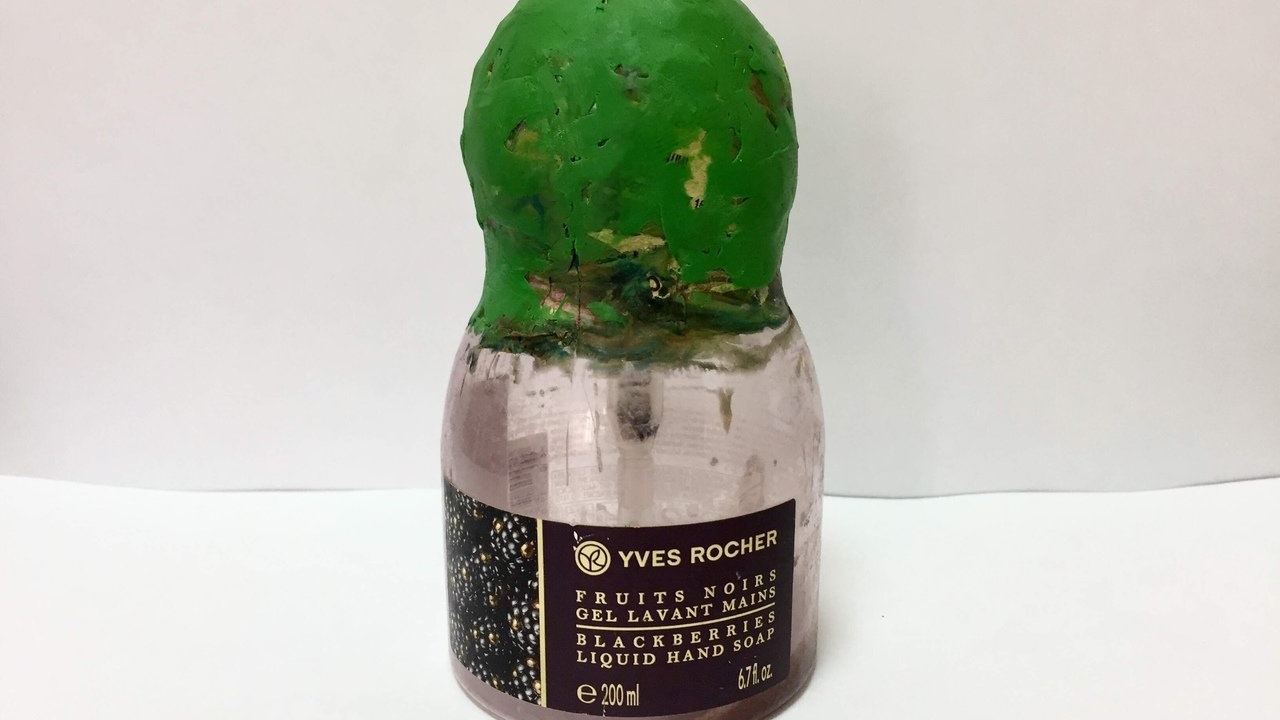
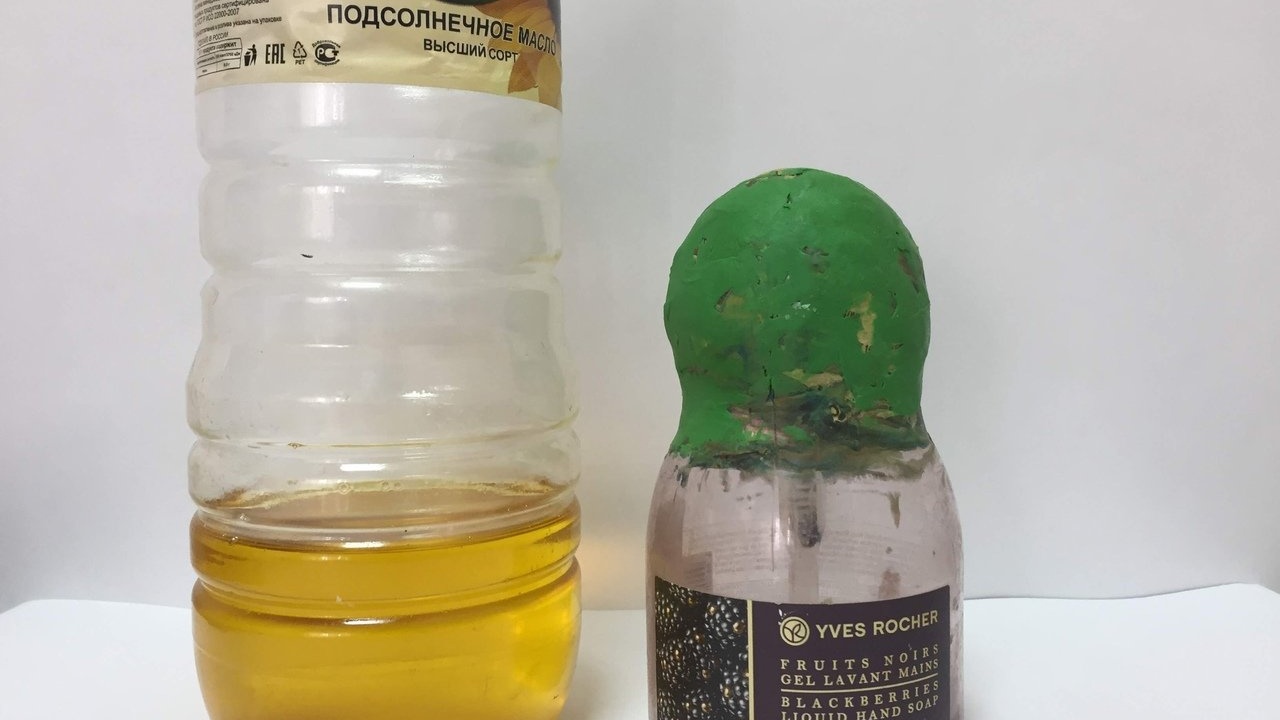
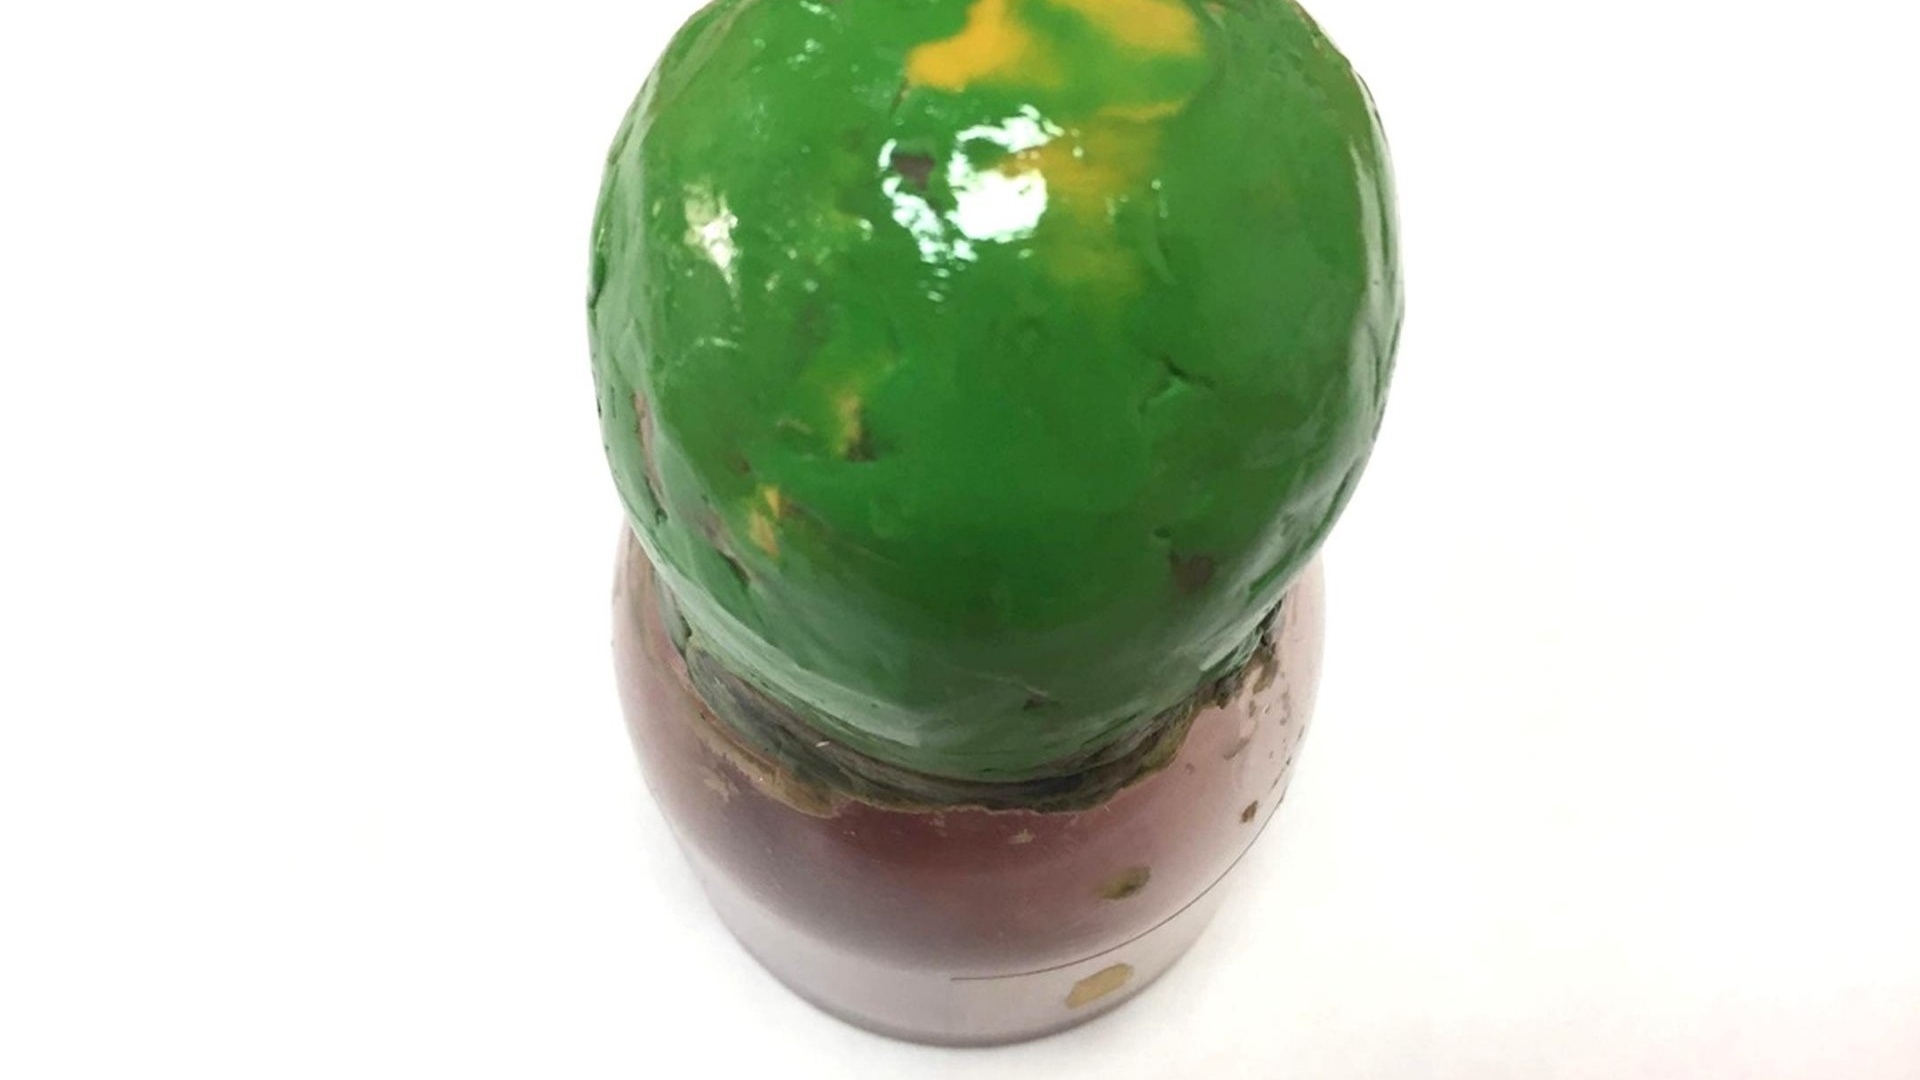
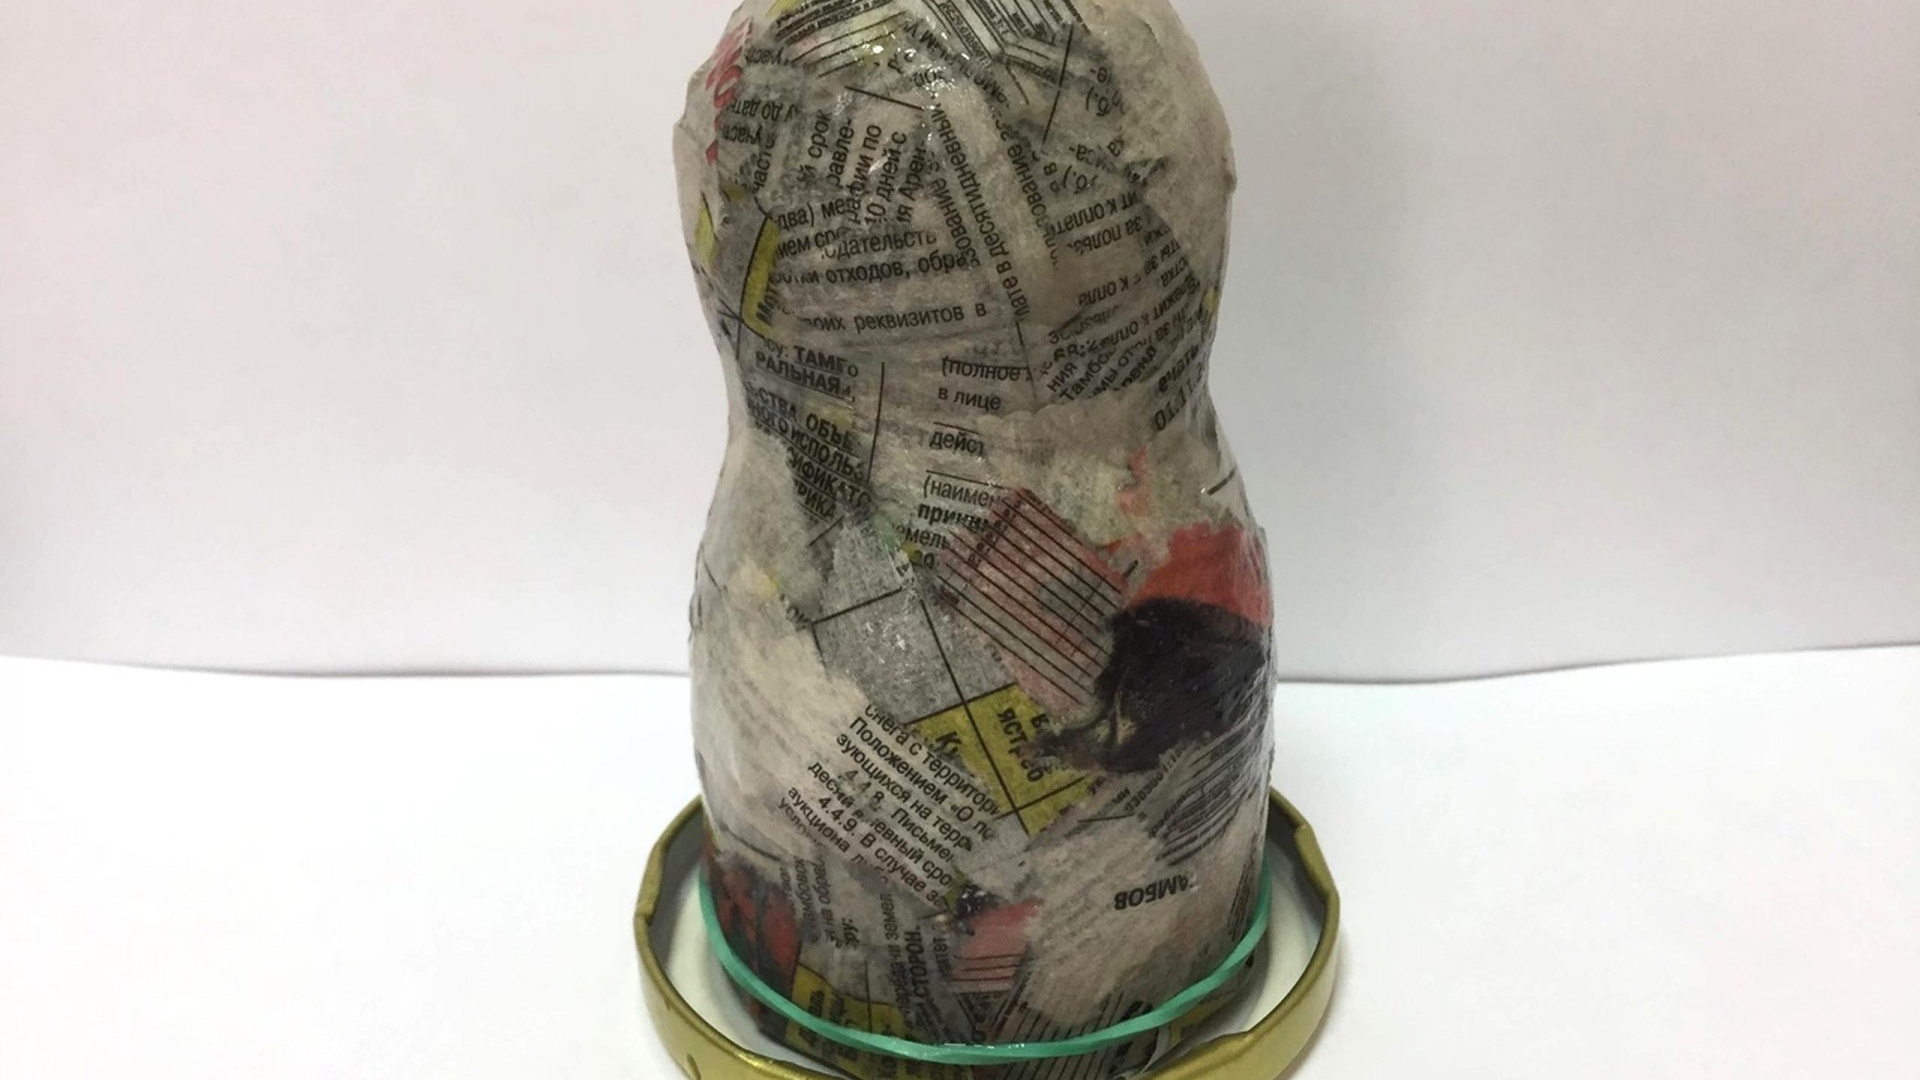
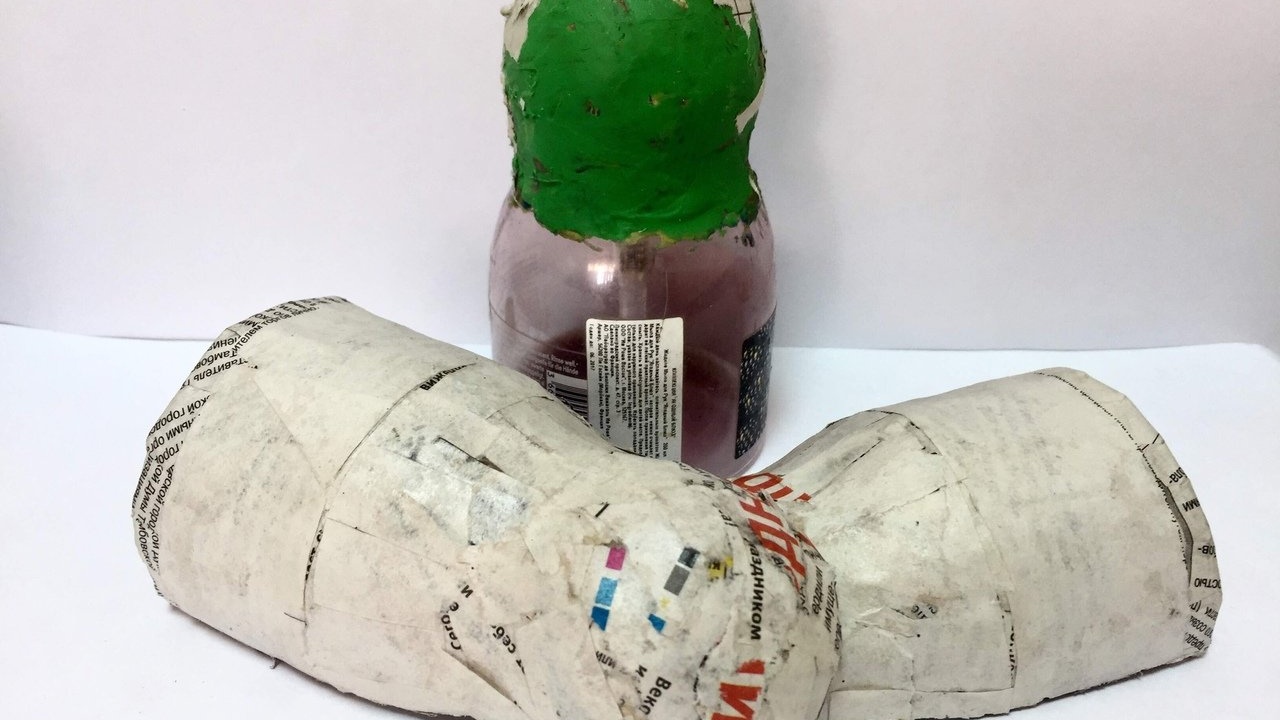
1. Prepare the form. A shampoo bottle or, as in this example, a shower gel bottle with a ball of unnecessary old plasticine attached at the top can be used as a form.
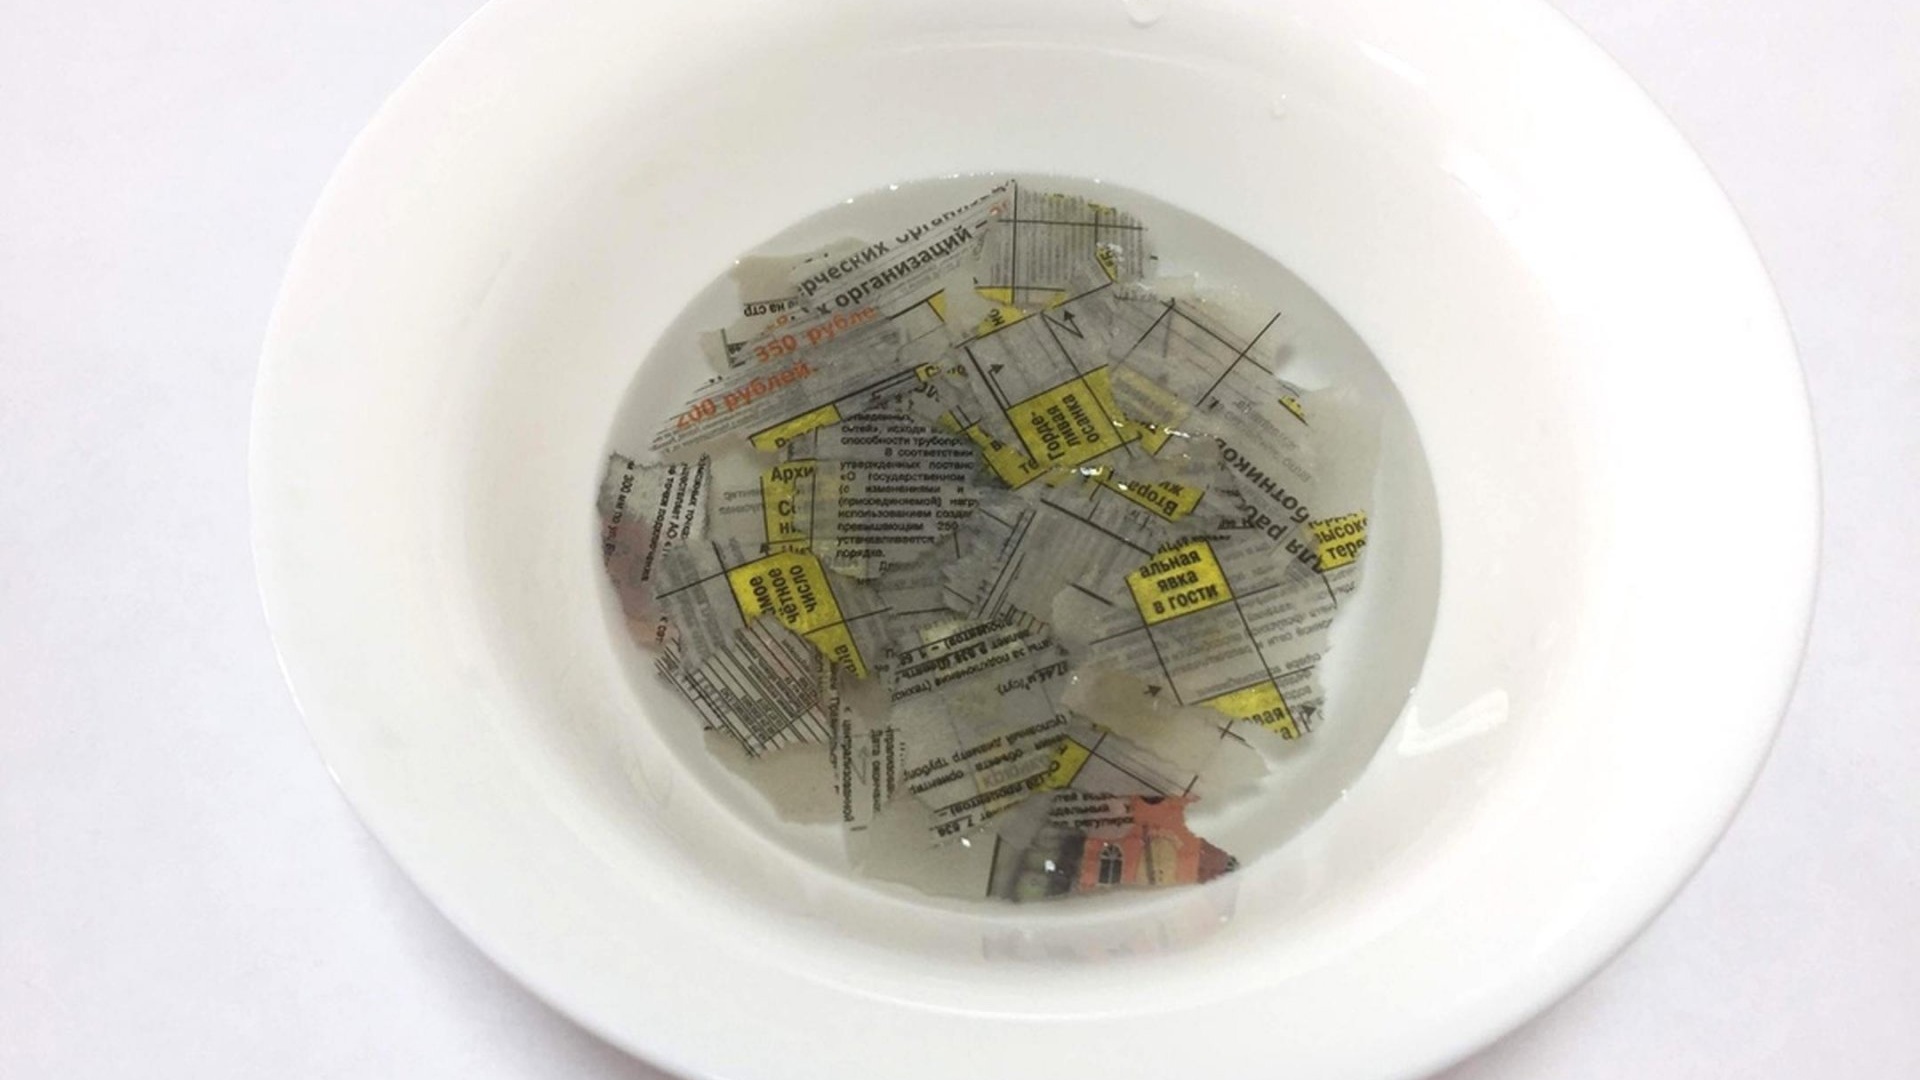
3.Apply the second and third layers of newspaper on top of the first using glue. Give the layers of paper time to dry. Then apply 3-4 layers again and let them dry again.
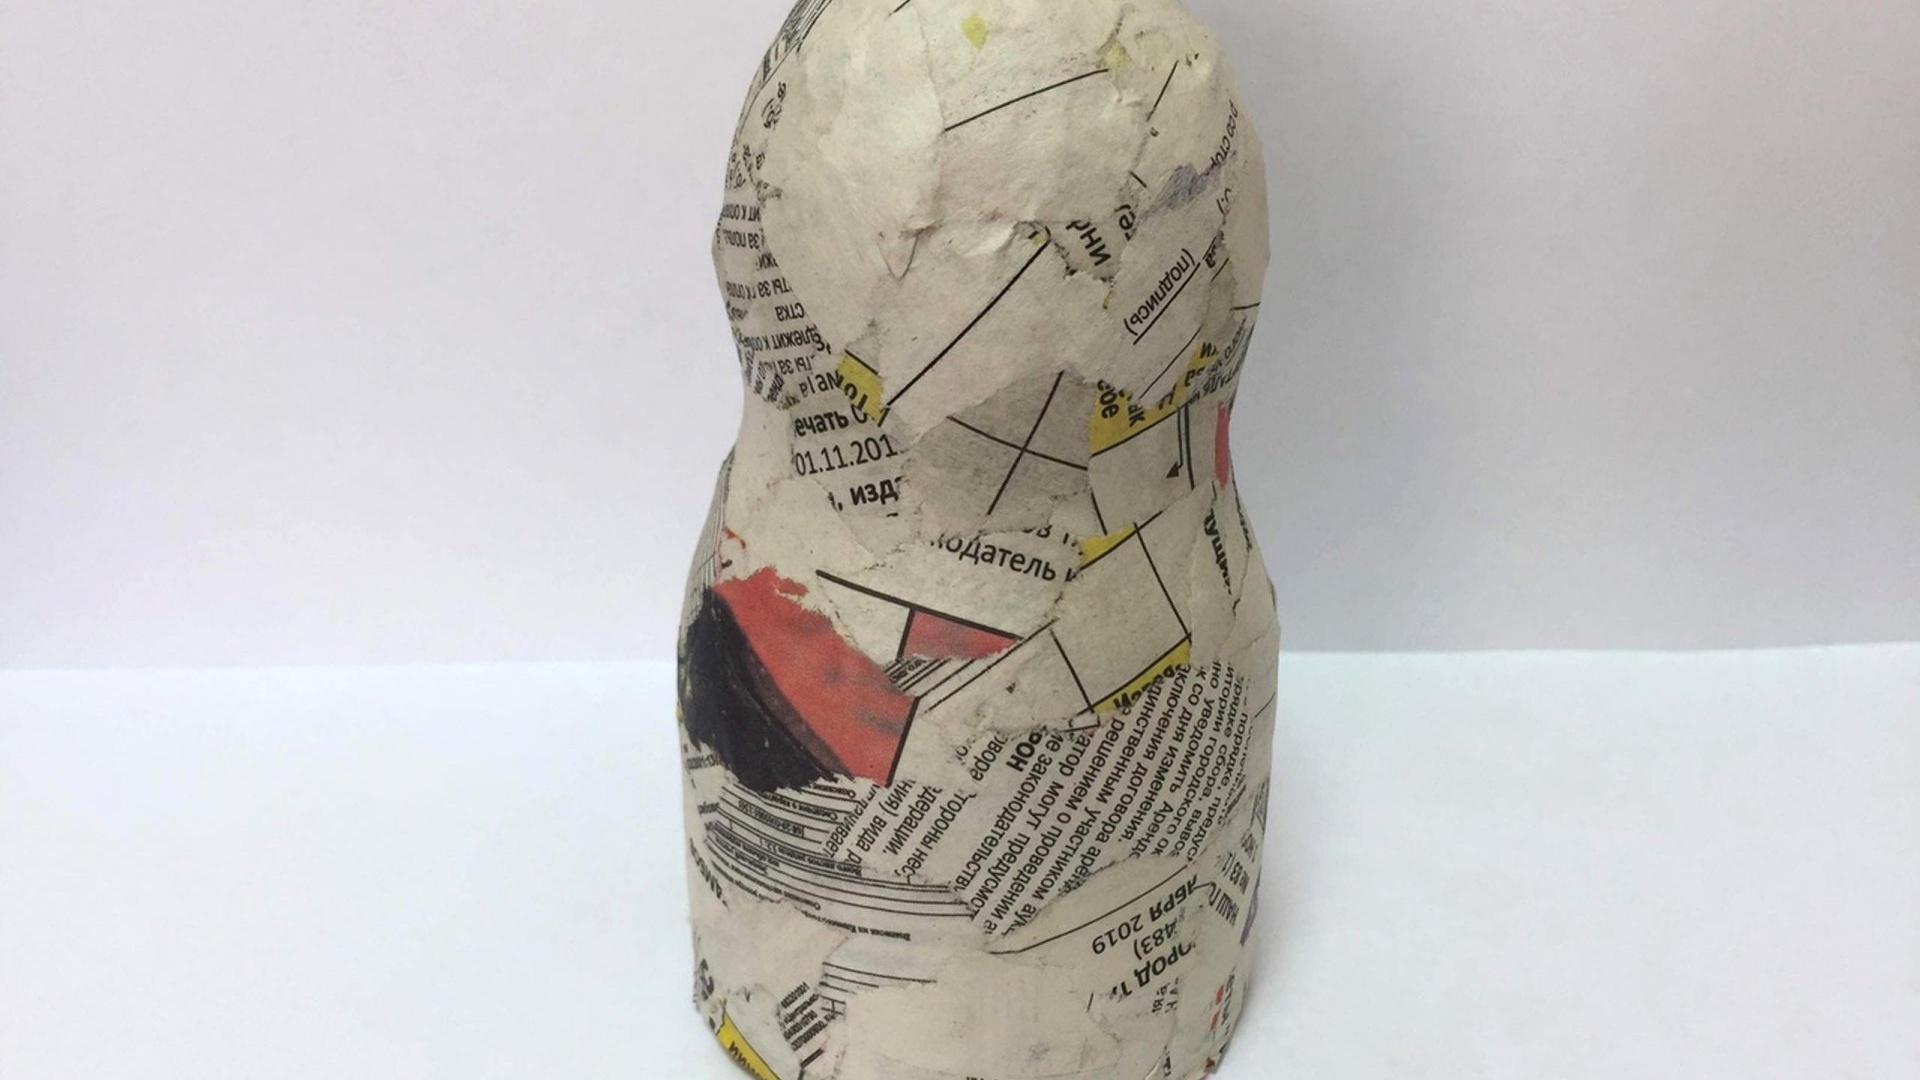
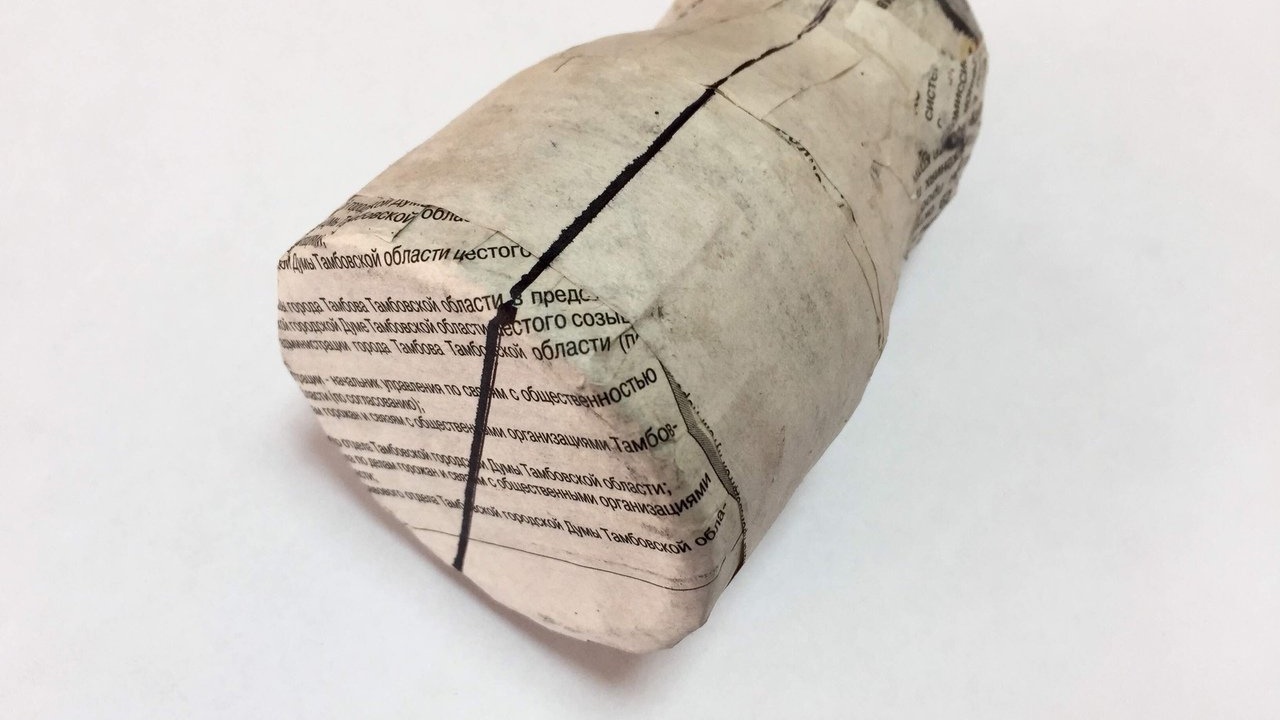
4. When the number of layers reaches 7-8, the workpiece can be removed from the mold.
5. Prepare a loop cord for attaching the toy to the Christmas tree. It is recommended to make a stopper in the form of a clip or button above the knot so that the cord knot does not subsequently jump out of the toy. Place the cord inside, as in the photo, and connect the halves of the mold with a new layer of newspaper.

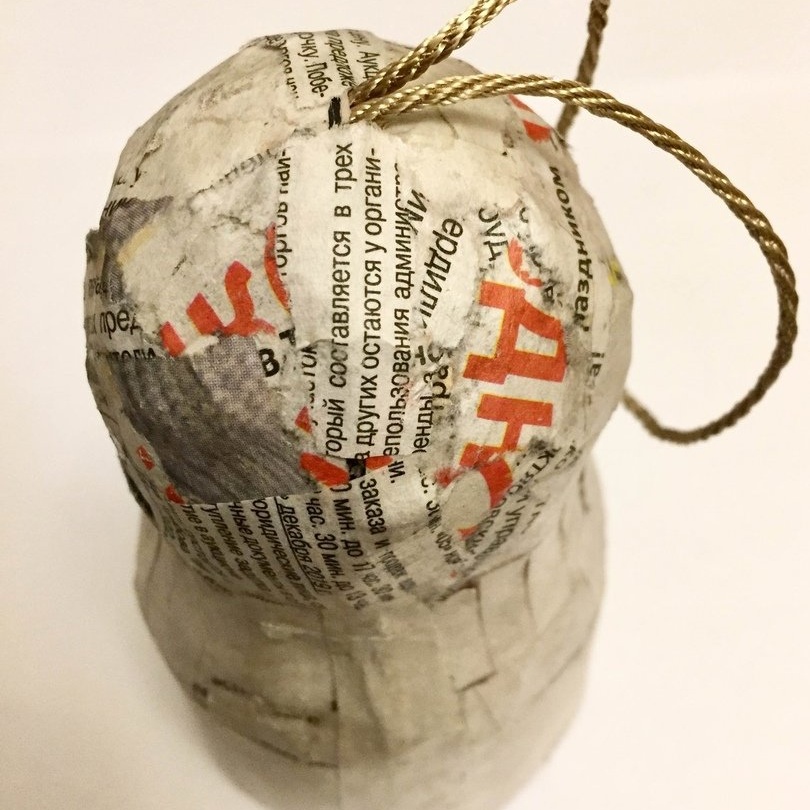
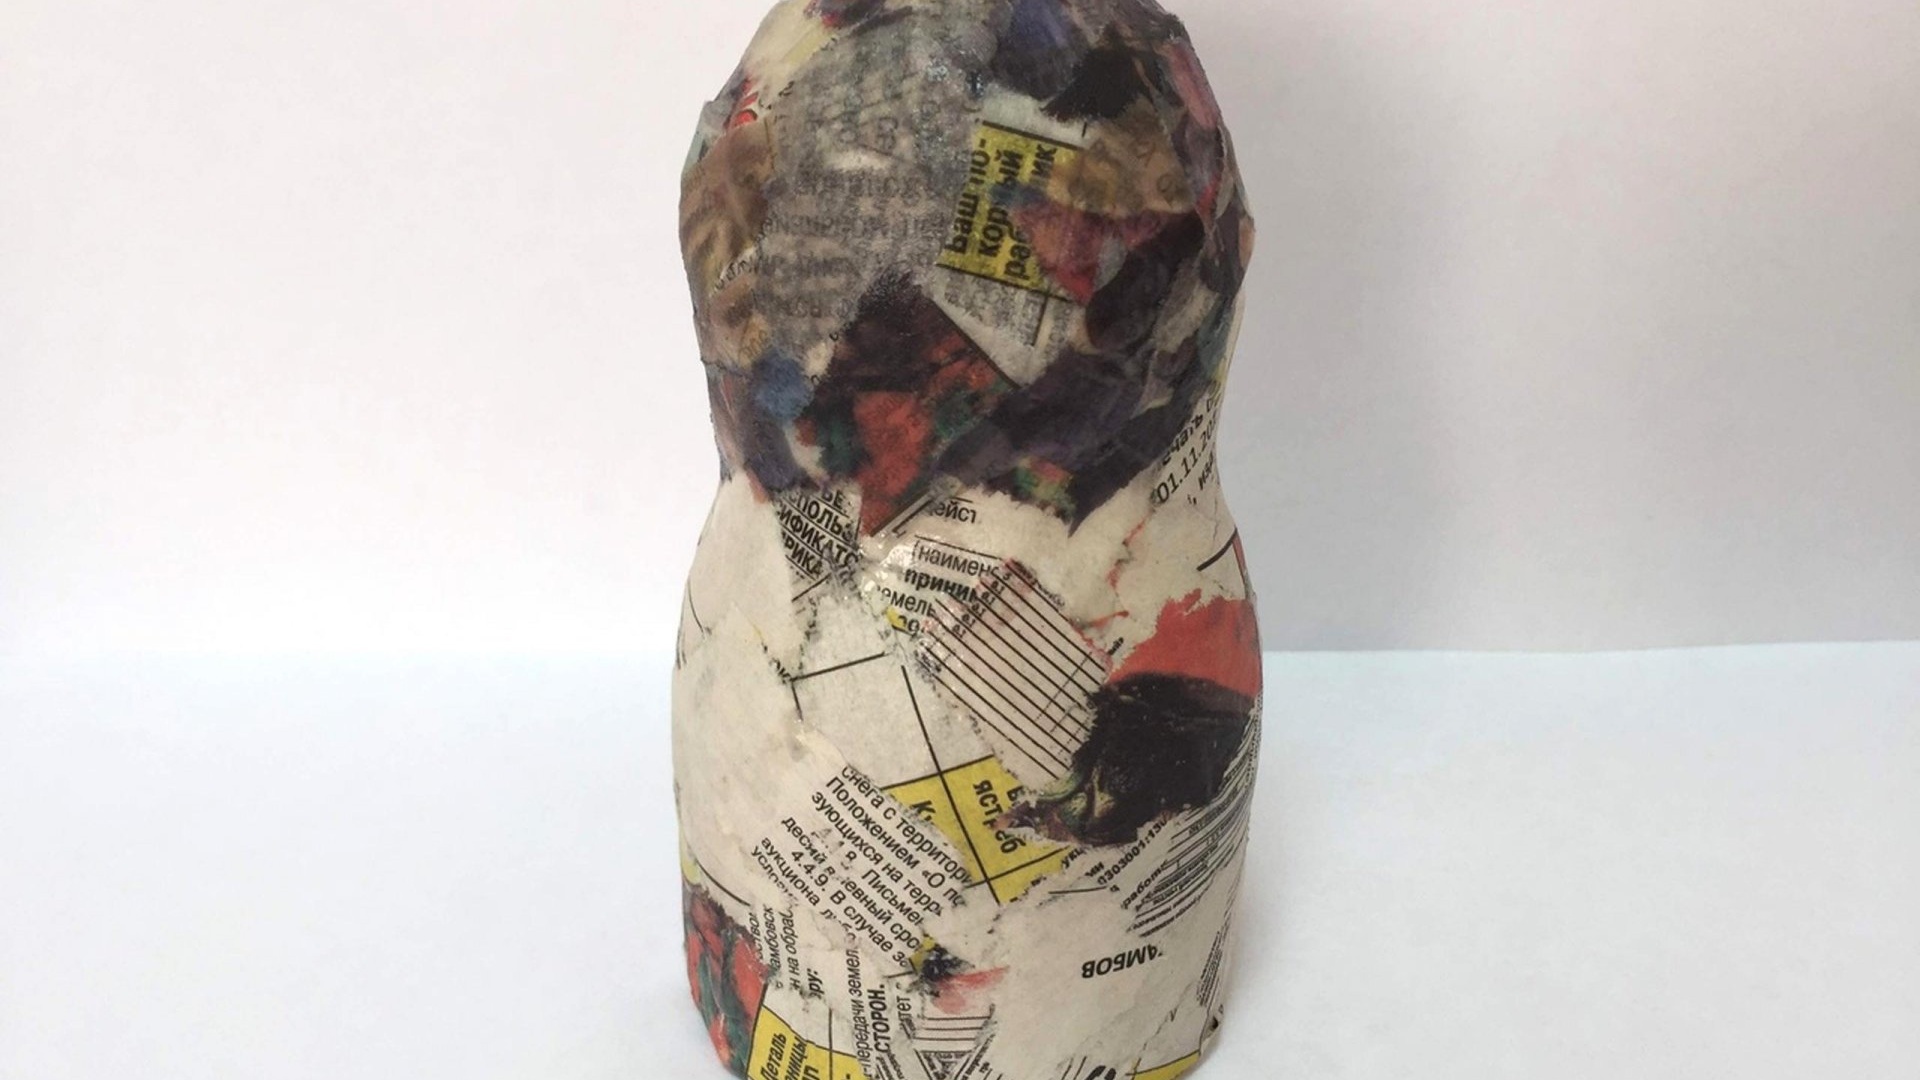
6. The form can be reinforced with a layer of bandage or gauze (this will partially smooth out unevenness in the work and hold the structure together).

For the finishing layer, use thin white paper.
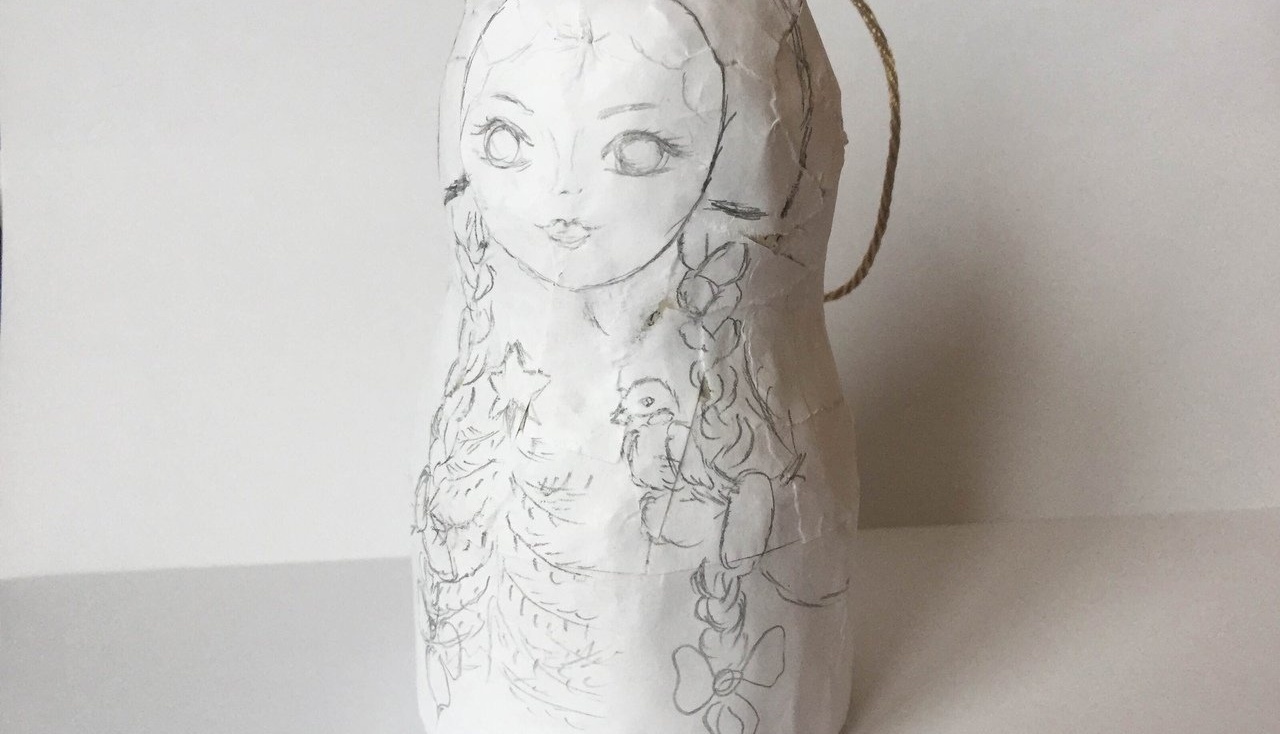
7. Apply a pencil drawing to the toy blank.

Acrylic paints are well suited for painting the product - bright, quick-drying, moisture-resistant.
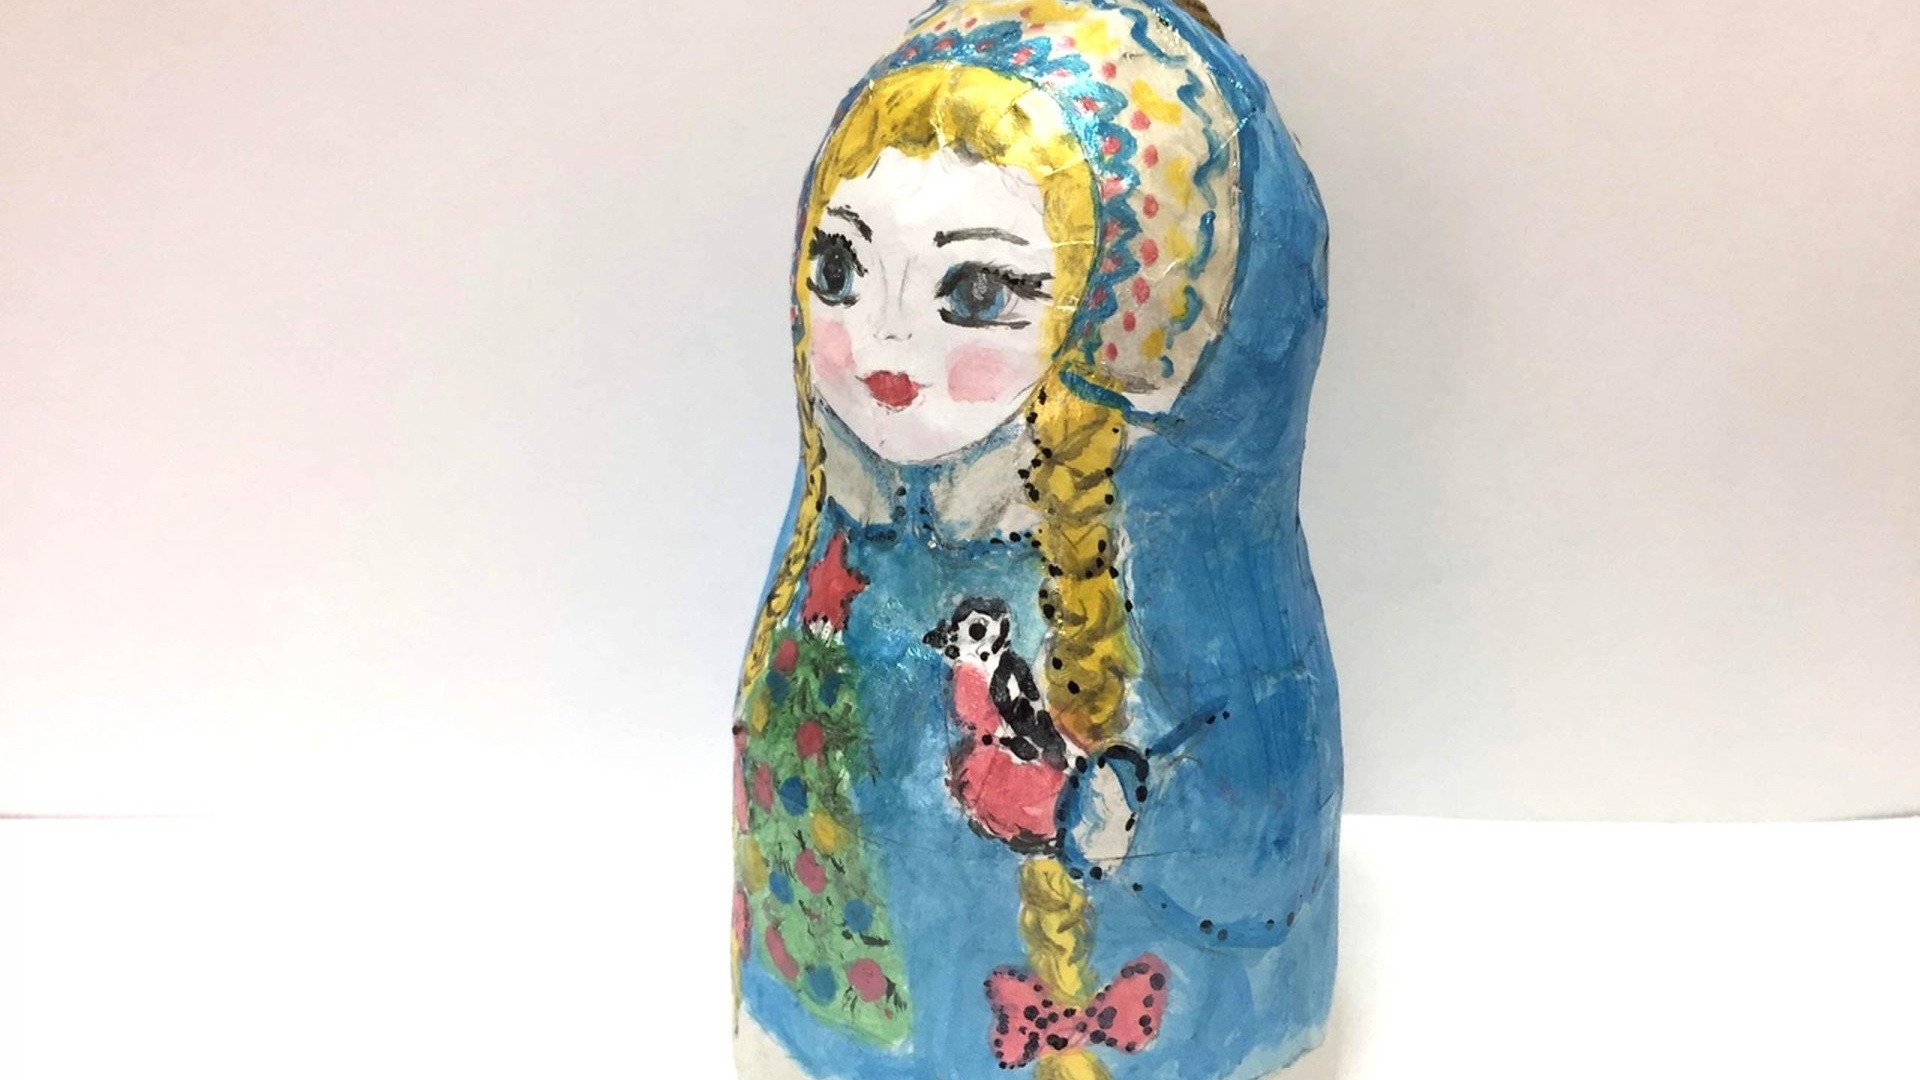
You can use gouache and then apply a layer of varnish to the painting for shine and durability of the toy.
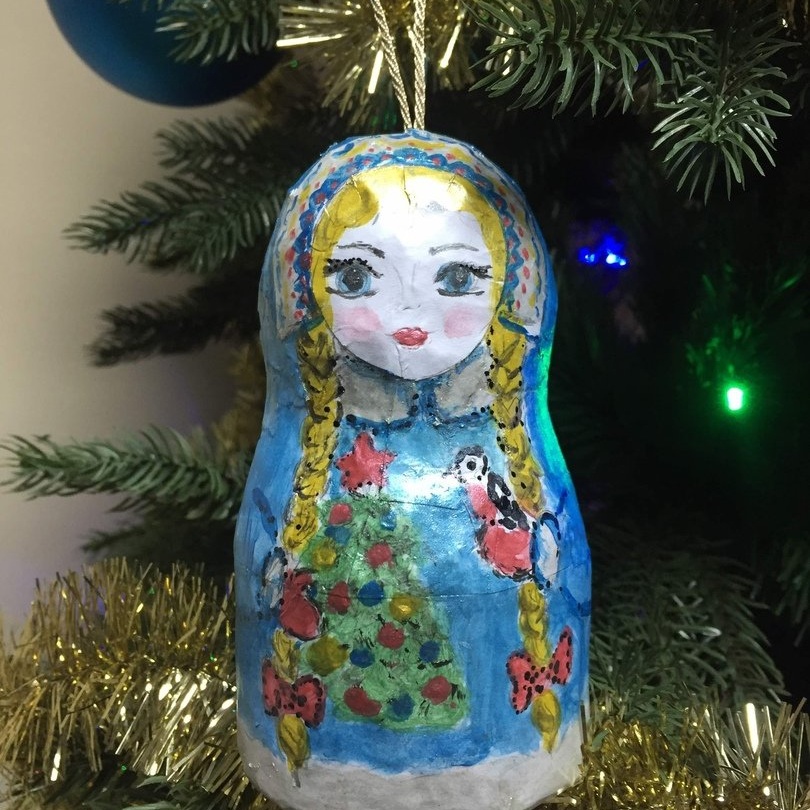
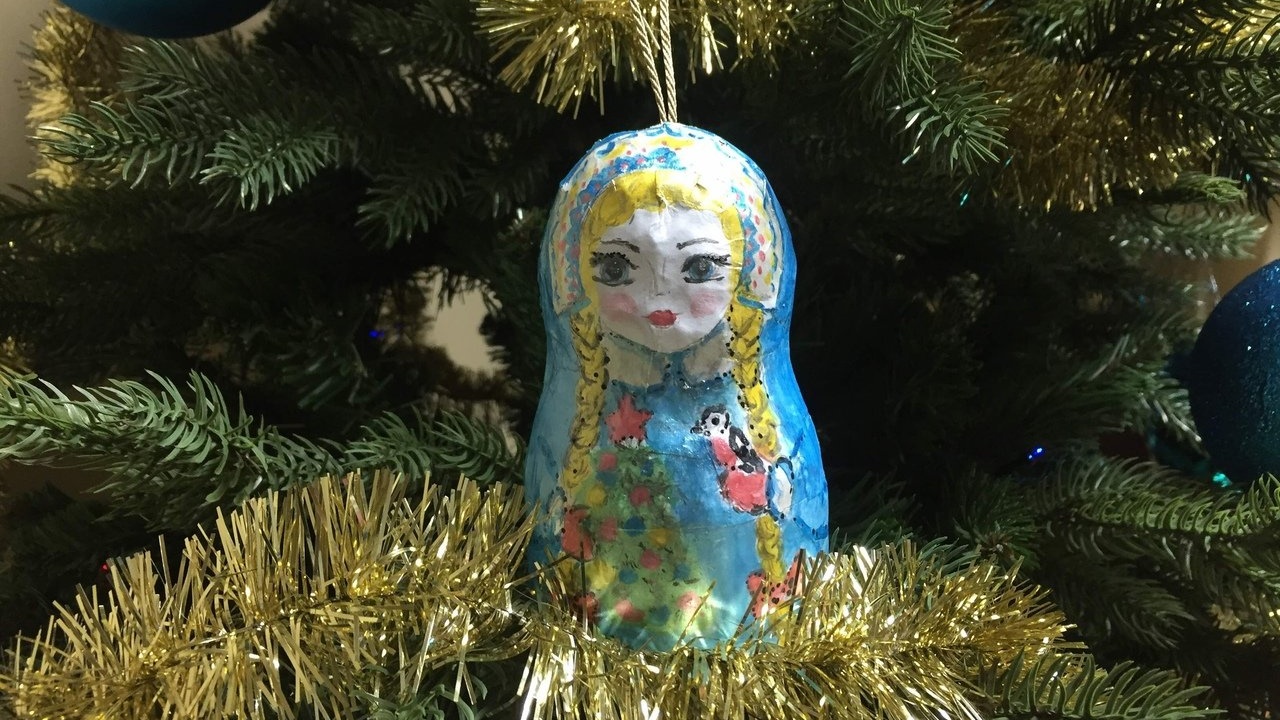
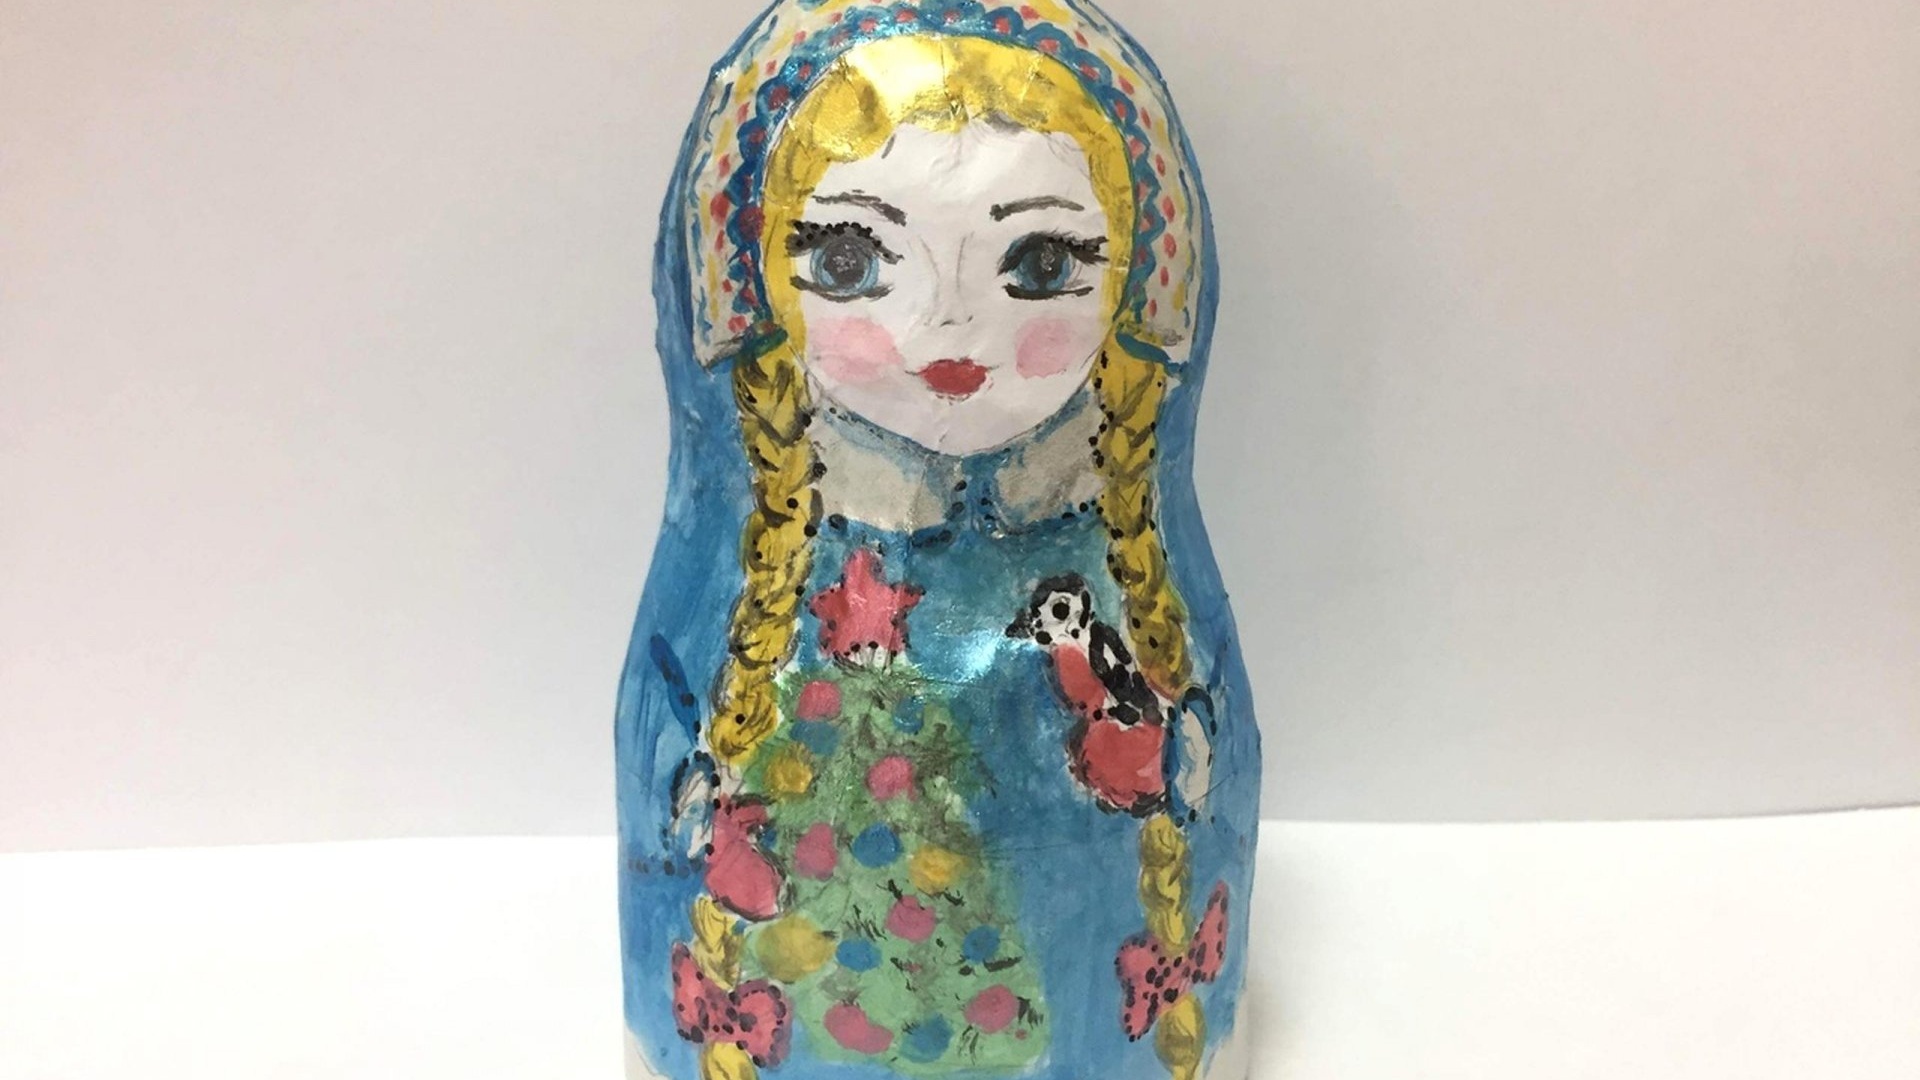
The Christmas tree toy “Snow Maiden” is ready.