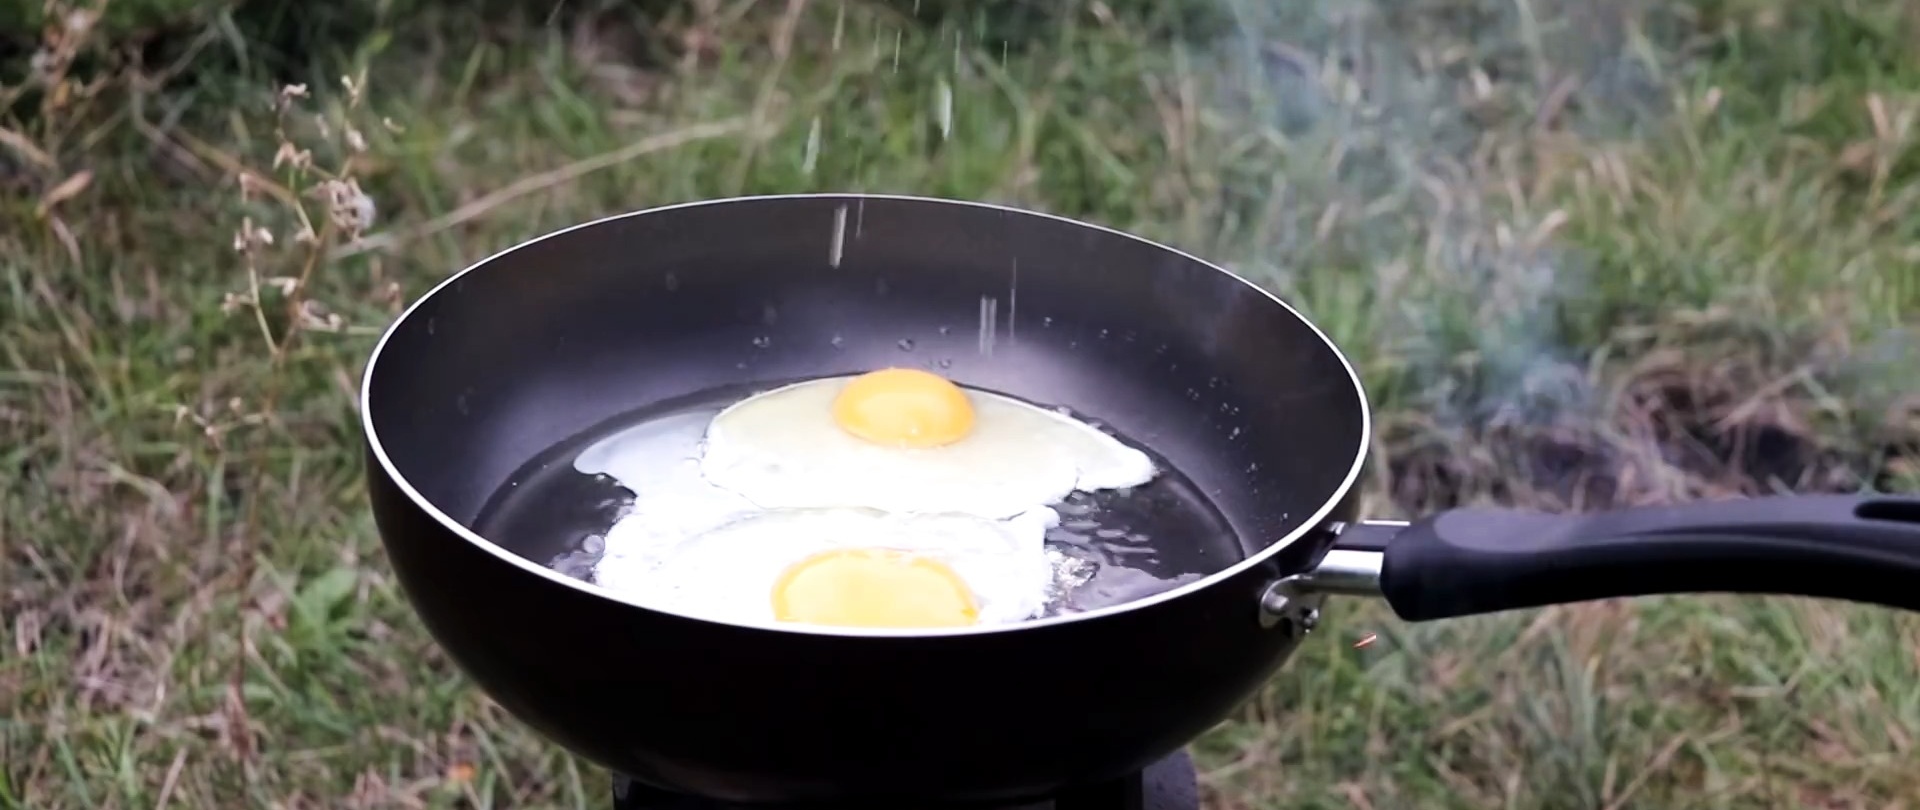
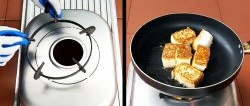
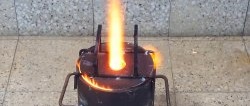
Far from a gas or electric stove, a stove made from an old pipe and a steel sheet will completely replace them, and given that food cooked on it will give off a slightly smoky flavor, its capabilities become simply priceless. Any adult with basic plumbing skills can make such a stove.

Will need
Materials:
- large-diameter thick-walled steel pipe;
- plate steel;
- small diameter steel pipe;
- steel strip;
- bolts, washers and extended nut;
- square steel bar;
- heat-resistant paint.
High-quality and durable drills on AliExpress at a discount - http://alii.pub/5zwmxz
Tools: measuring and marking accessories, grinder, clamps, drill, grinder, welding, tap with crank, etc.
The process of making a wood stove from an old thick-walled pipe and leftover sheets
Cover the pipe tightly with sanding tape and align the ends. Draw a circle line on the pipe and trim the end.We measure 33 cm along the generatrix of the pipe, draw a second circle and cut off the required segment.
We cut out a square from a thick steel sheet with an area larger than the cross-section of the pipe. Drill a hole in the center with a core drill. We mark and cut out a circle from the square equal to the cross-section of the pipe. We trim the roughness on the grinder.
Long-lasting discs for angle grinders on AliExpress at a discount - http://alii.pub/61bjly

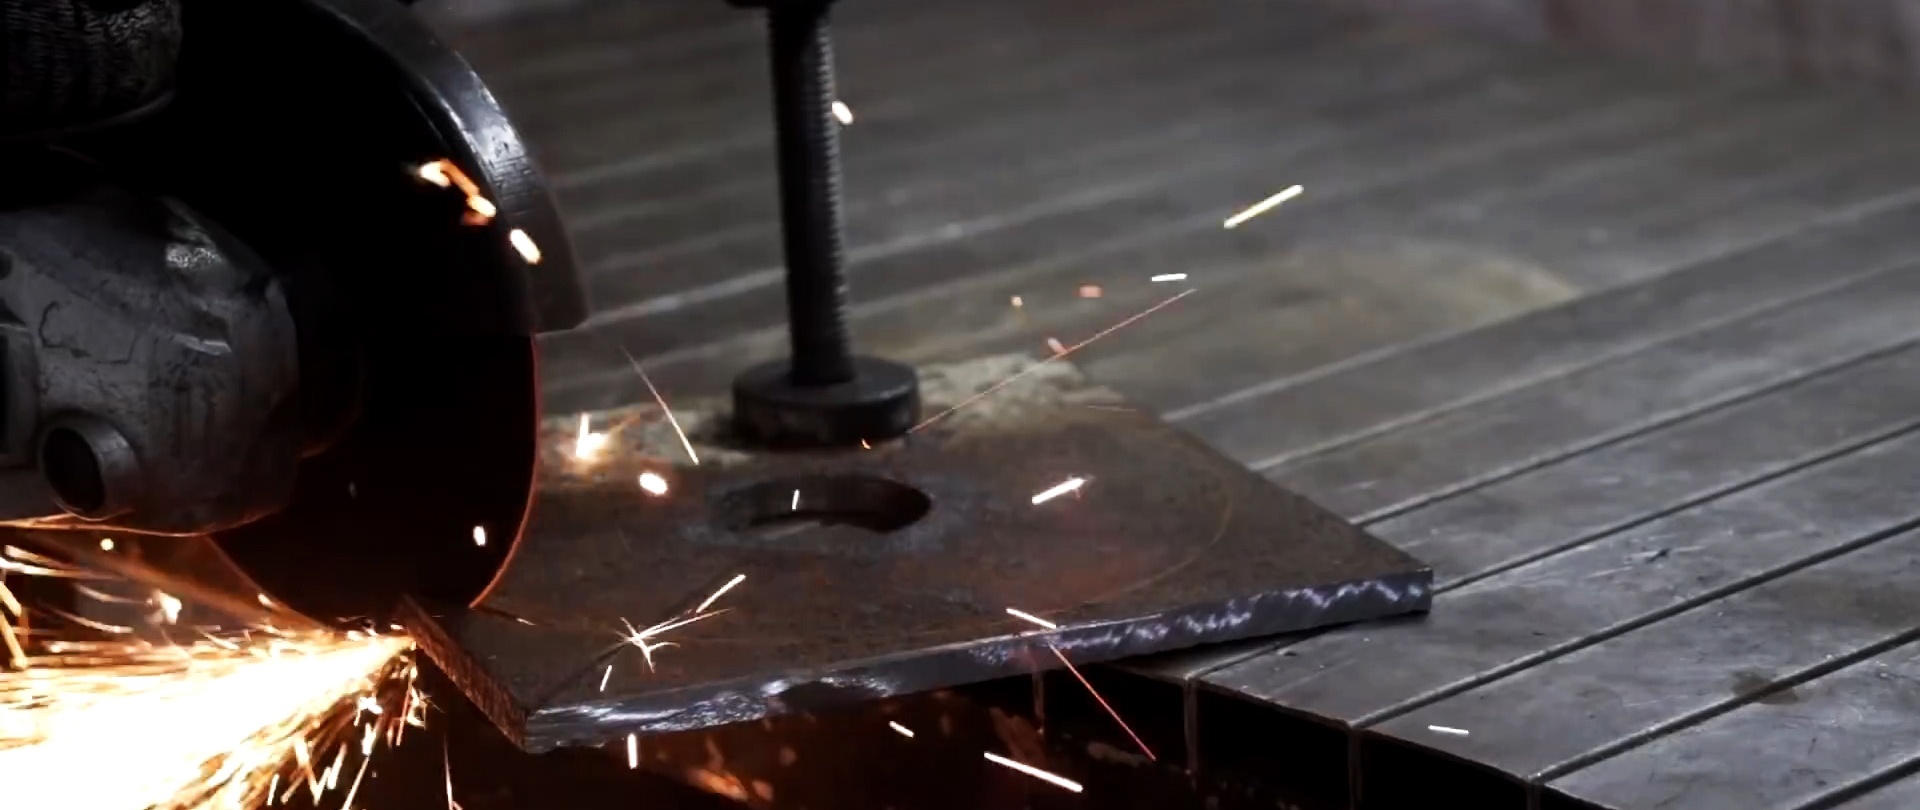
Place the resulting circle with a hole in the center on the end of the pipe and weld it. We grind the welding seams with a grinder.
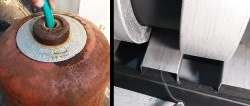
From a round steel pipe with an outer diameter equal to the diameter of the hole in the bottom of a large pipe, cut a piece equal to the length of the same pipe.
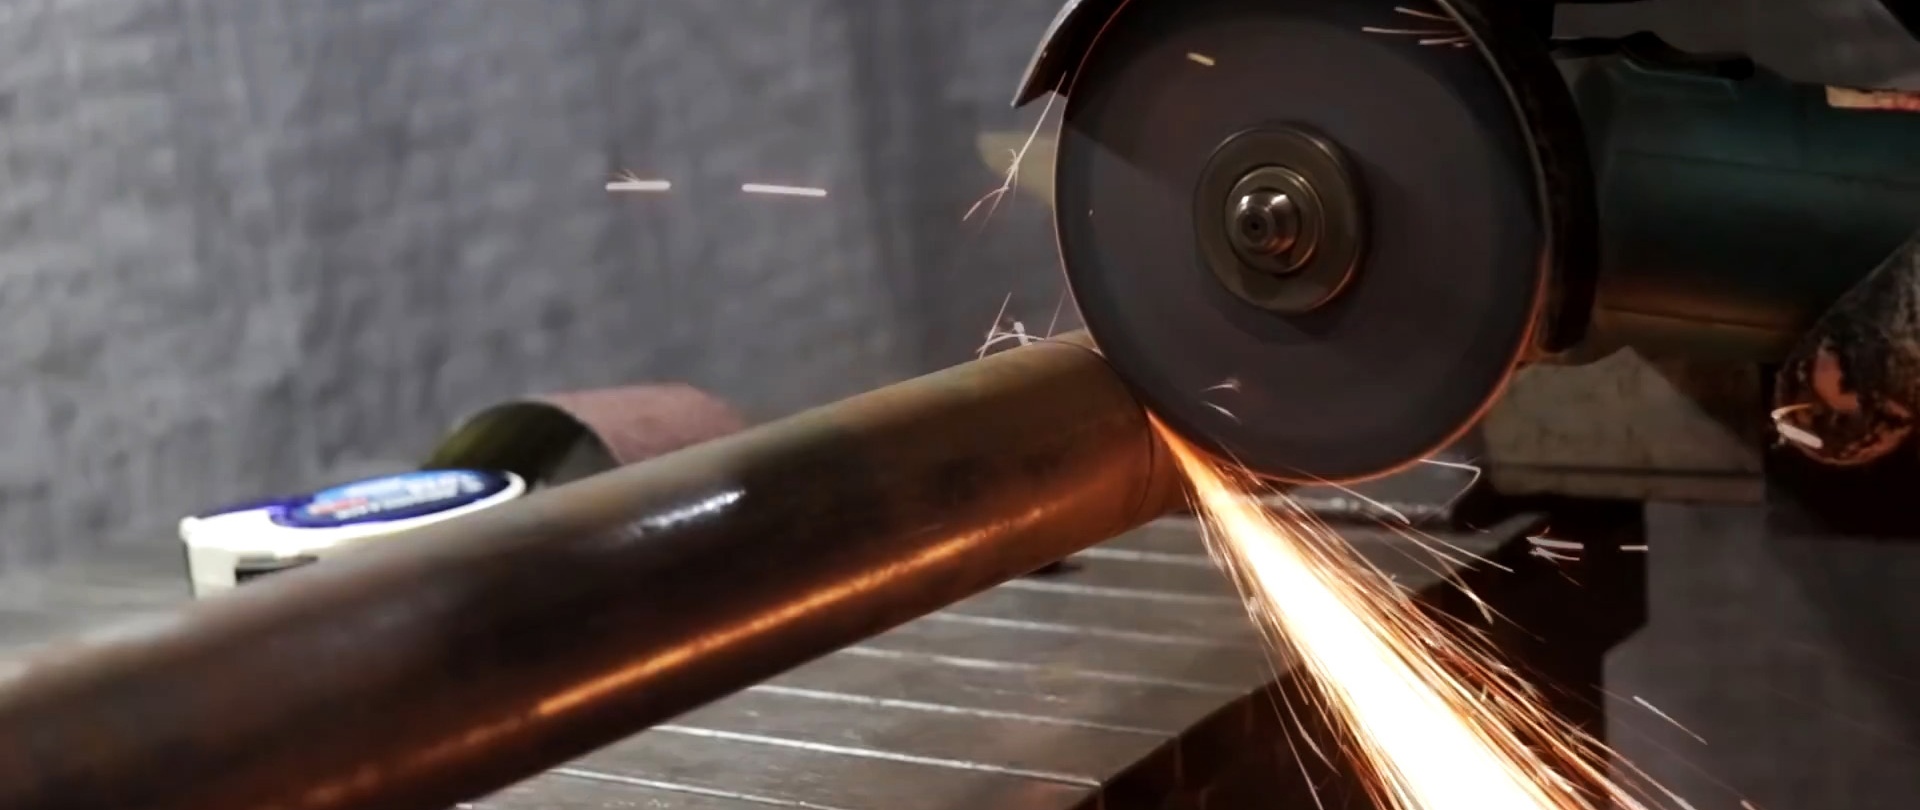
We drill holes on the cylindrical part of the pipe with a smaller diameter, select the metal between them and get 8 pairs of slots equal in width to the diameter of the holes.


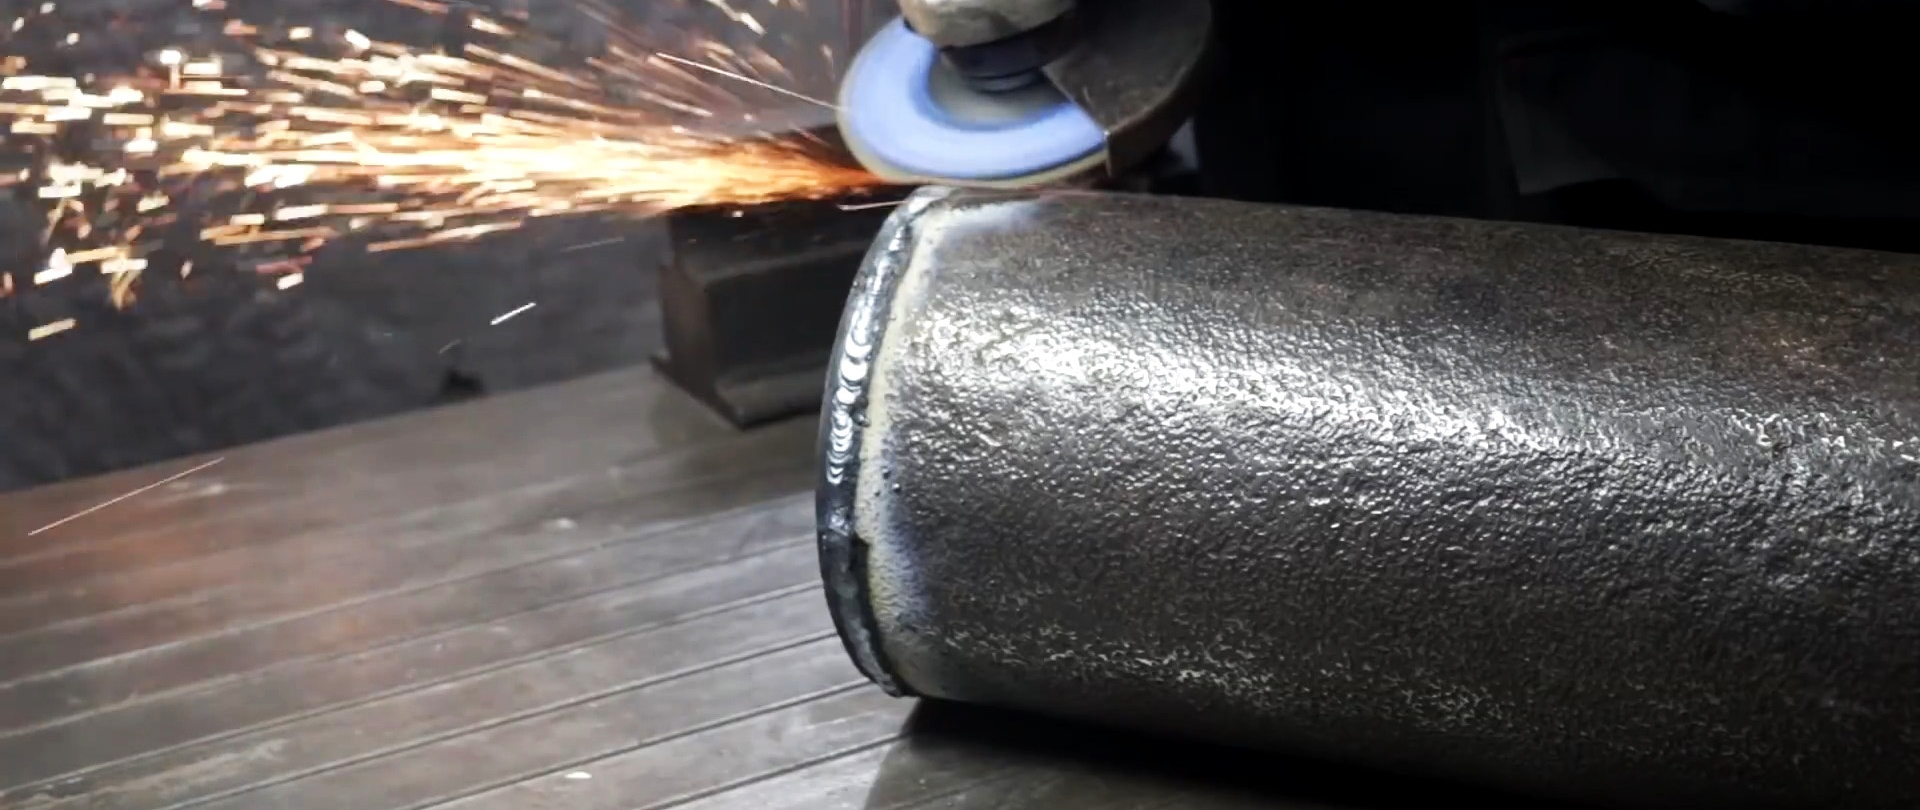
We install the slotted pipe into the hole in the bottom of the large pipe and weld it on the outside. We grind the welding seams with a grinder.

We cut a strip of steel sheet slightly longer than the diameter of the large pipe and wide enough to cover the hole in the bottom.

Drill a hole in the center of the strip. At one end of it, we draw a circle according to the template, and to it - straight lines at a slight angle, reaching the opposite end.
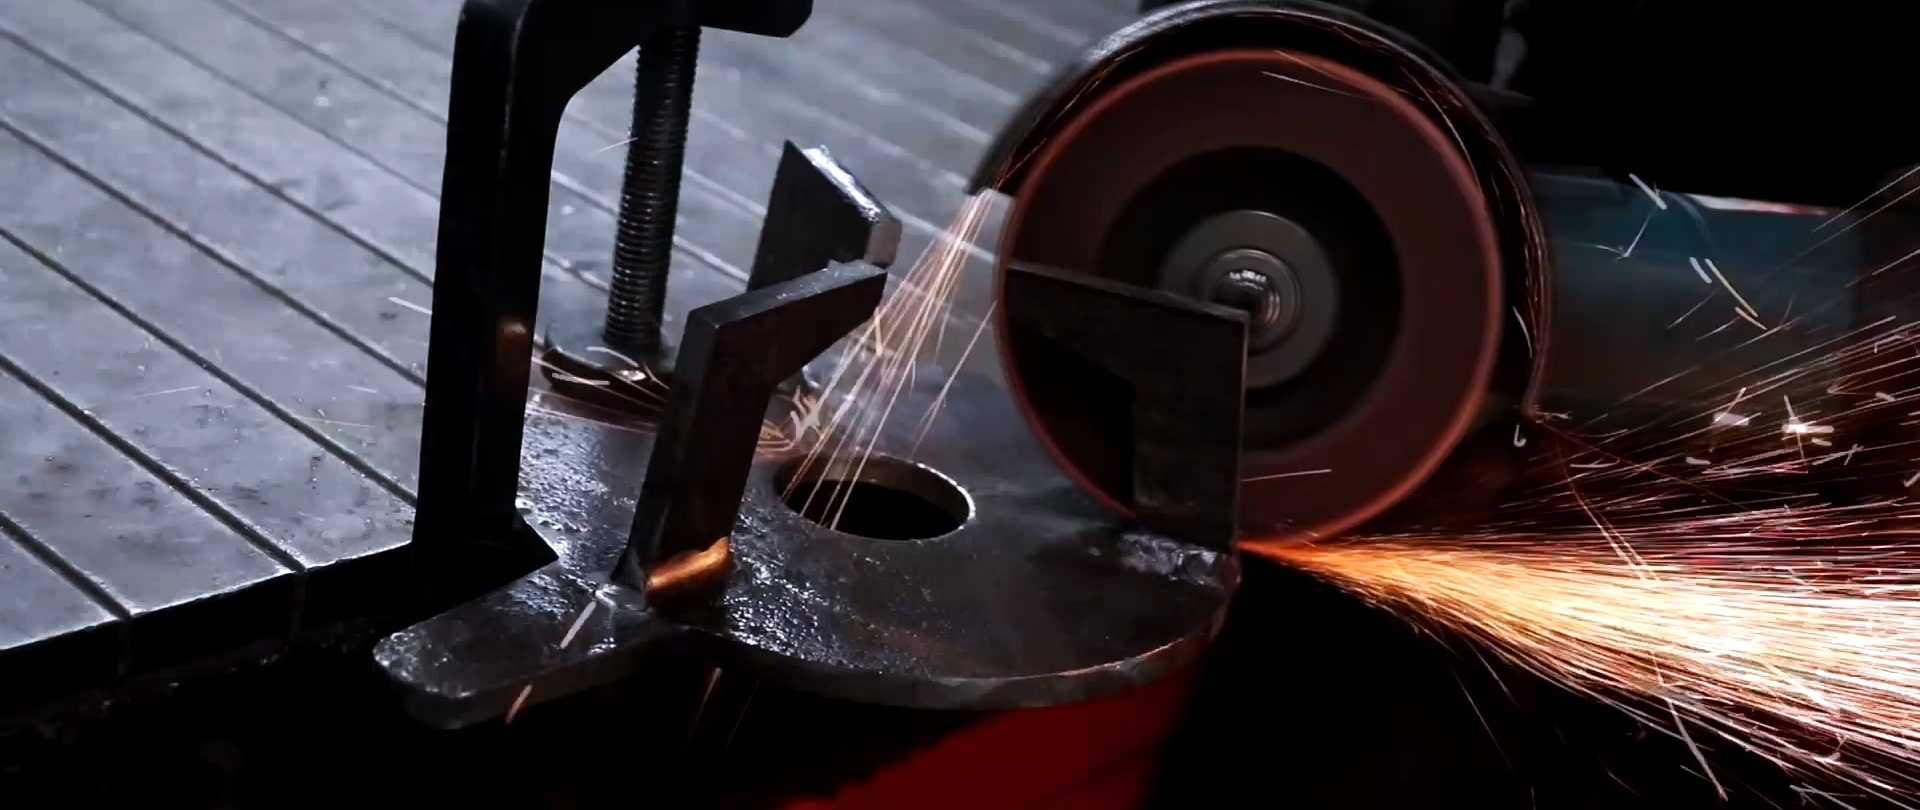
We cut out the resulting figure with a grinder and grind it on a grinder. We lay it with its wide side symmetrically on the hole in the large pipe and transfer the center of the hole to the surface of the bottom of the large pipe.
Drill a hole according to the markings and cut the thread with a tap. We secure the cover to the bottom with a bolt and washer so that it rotates freely around the bolt in both directions.


We make markings on a rectangular piece of thick steel sheet, including using an overlay. We drill two holes: a large one in the center, a small one at the edge.As a result, we get a circle with an eye and a tapering handle - the oven lid.

From a thick sheet we cut out 3 L-shaped parts of the same size, which we weld to the lid in a circle at 120 degrees.

Place the lid on the large pipe. We insert a bolt into the eye hole, and screw an elongated nut from below and weld it to the large pipe. The cover should easily rotate around the bolt in both directions.
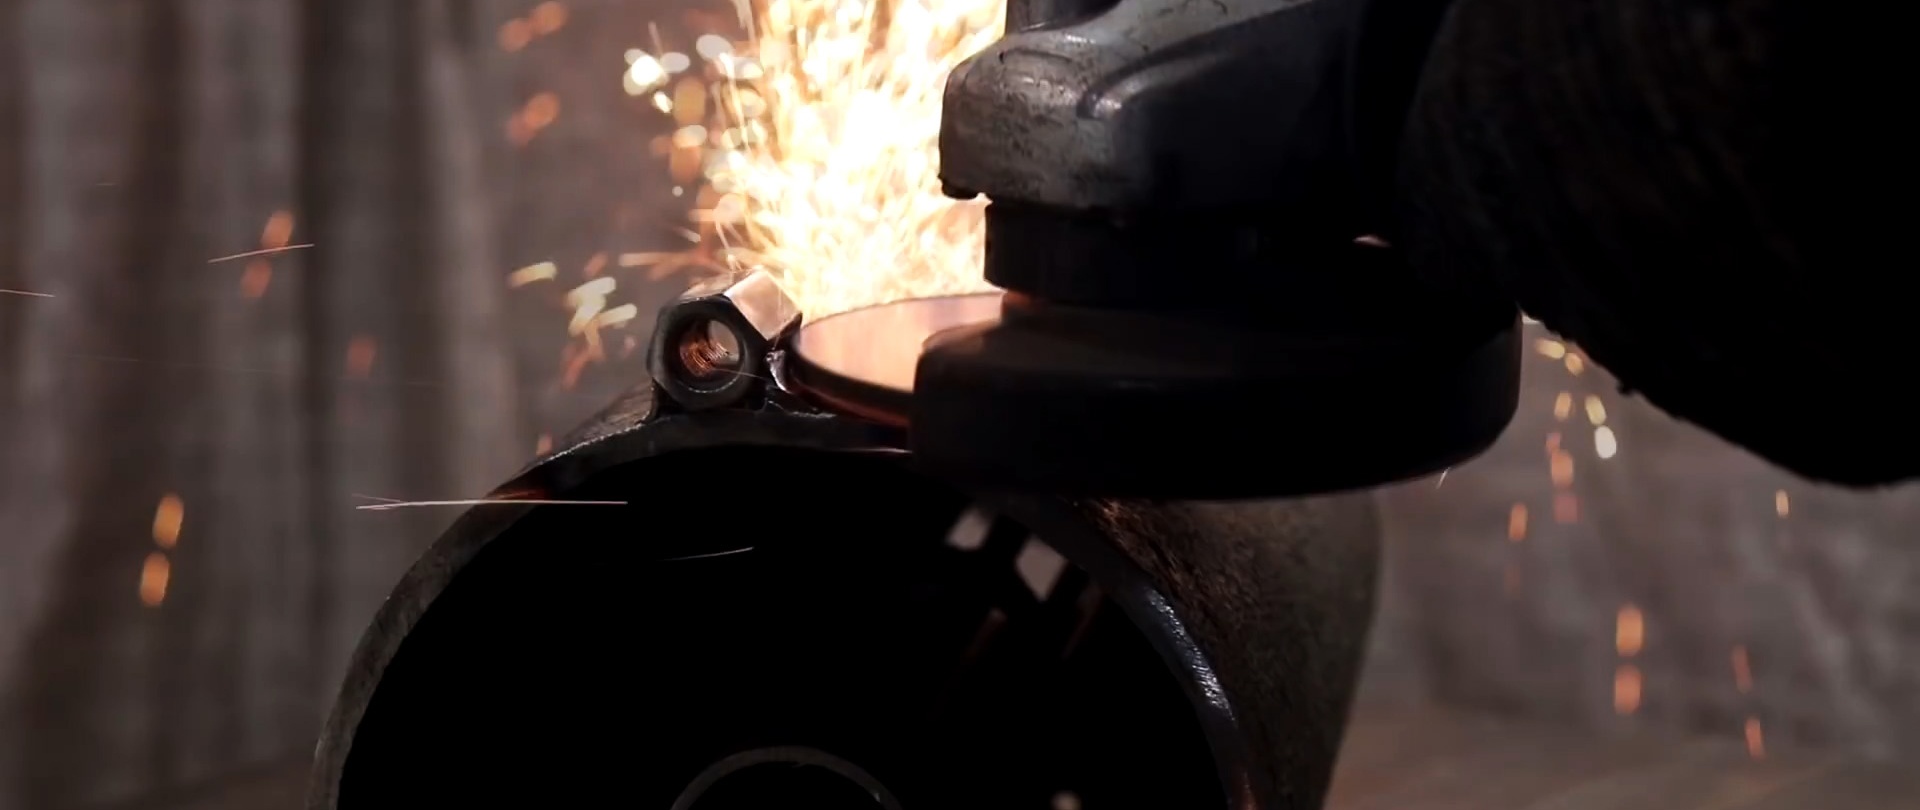
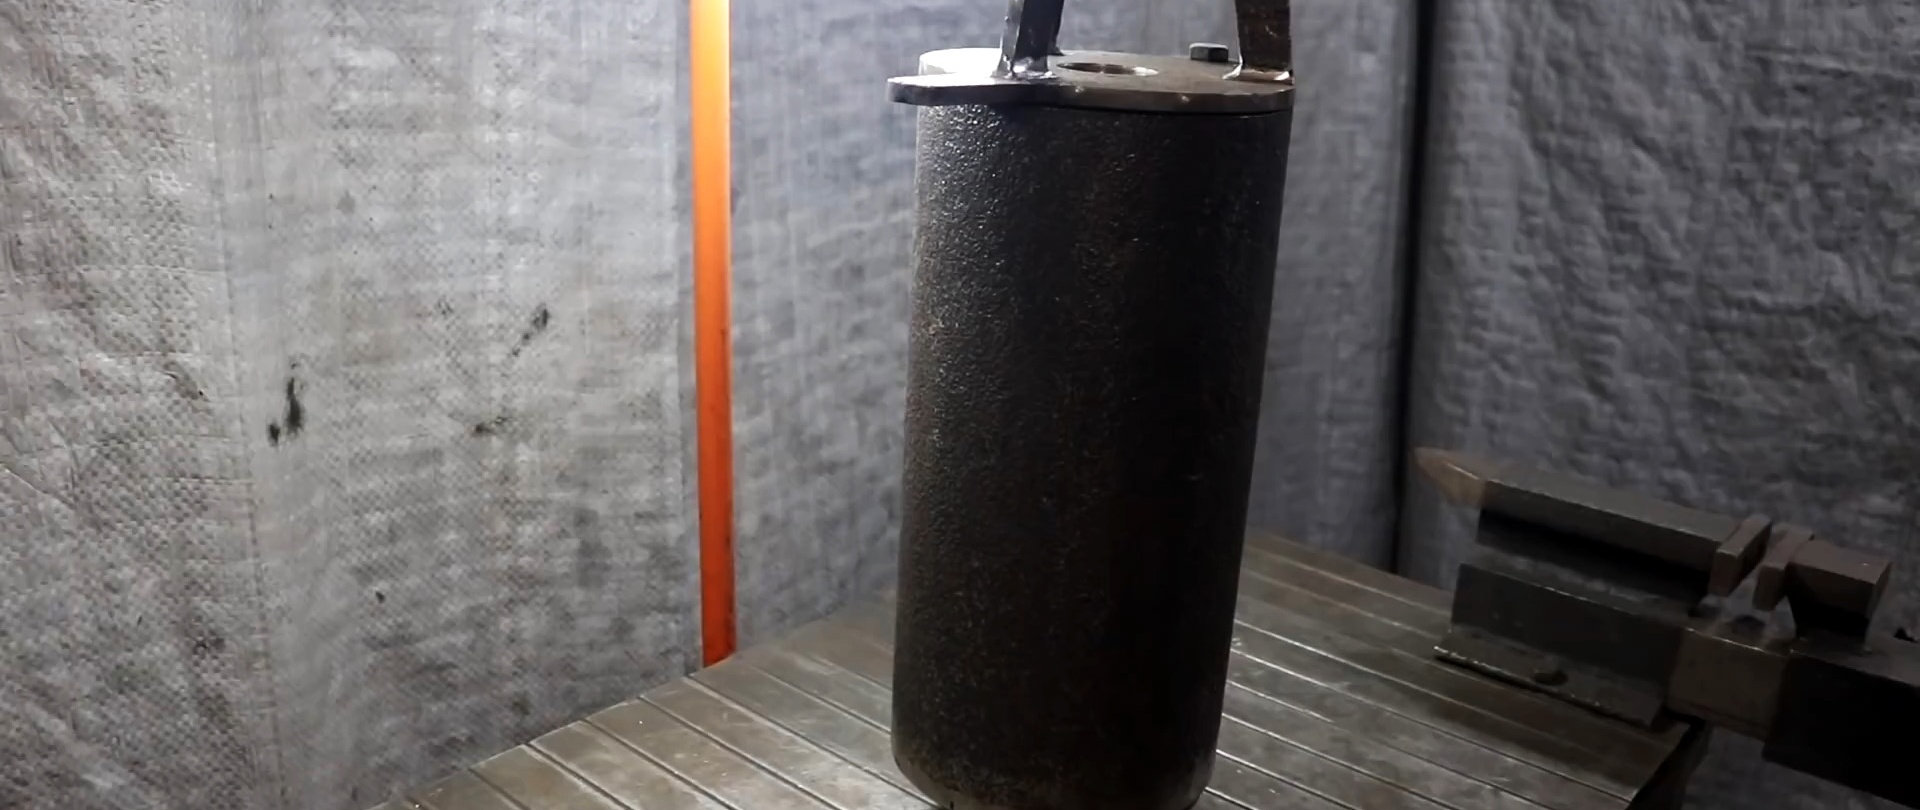
We place the oven bottom on a stand and weld 3 square rod legs bent in a certain way to its lower part at 120 degrees.

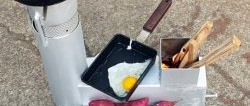
We paint the oven with heat-resistant paint, and it is ready to go.


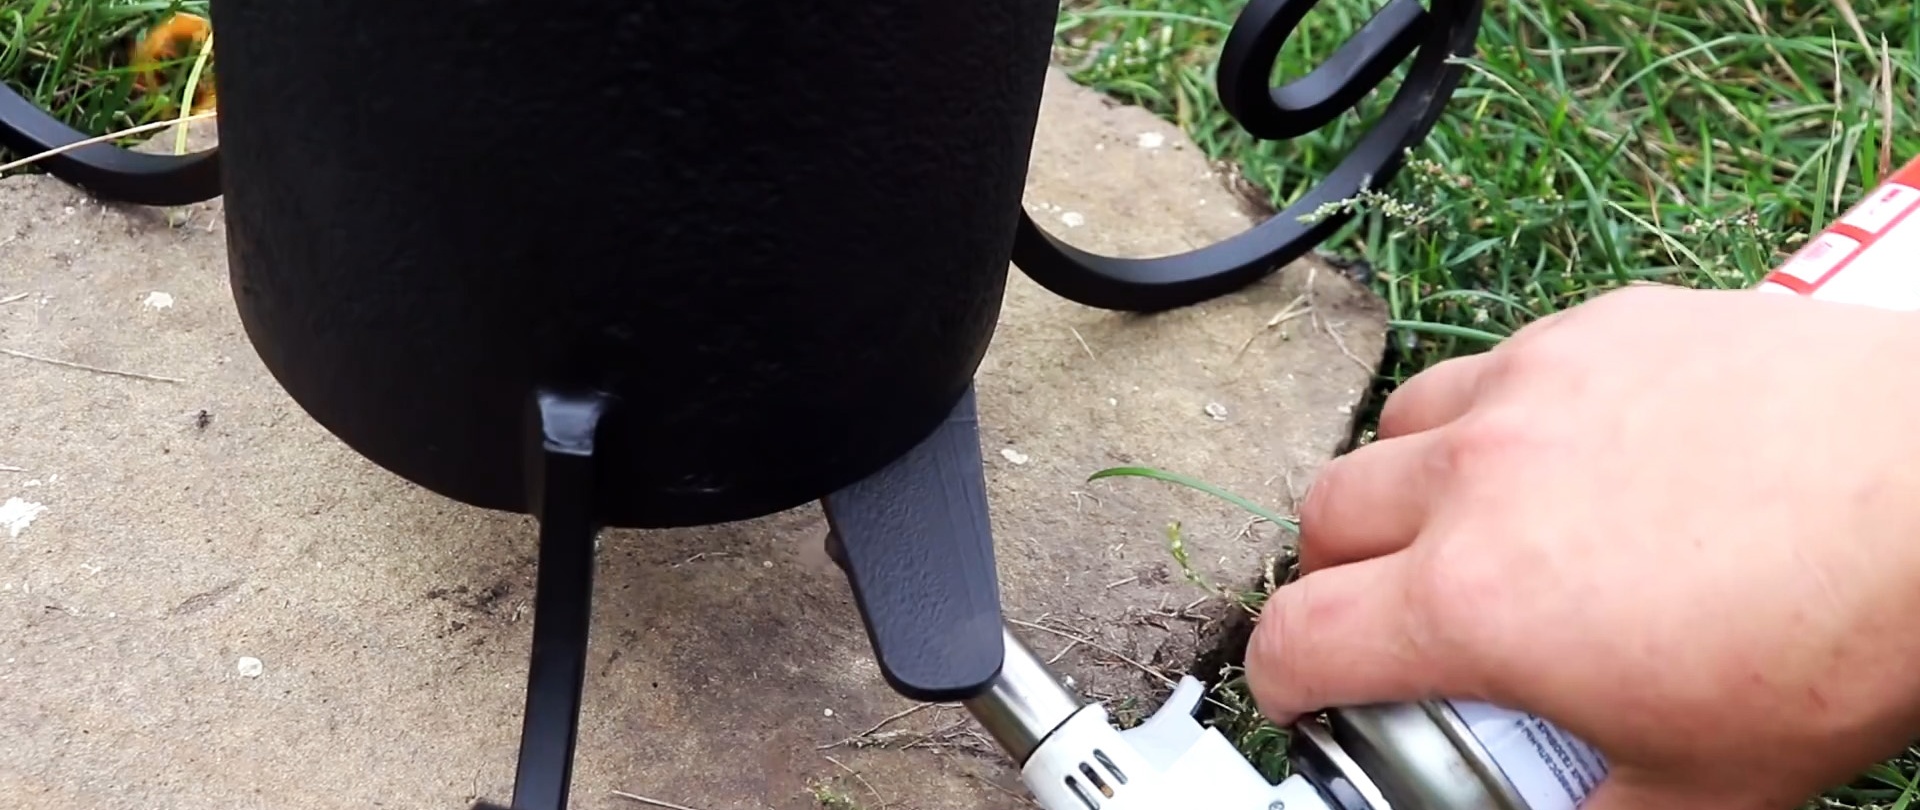
To do this, move the lid and place kindling and firewood between the large and small pipes. We ignite the fuel through the lower hole. By moving the lever, we adjust the draft, i.e., the thermal energy of the furnace.

Welding electrodes for general purposes on AliExpress at a discount - http://alii.pub/606j2h