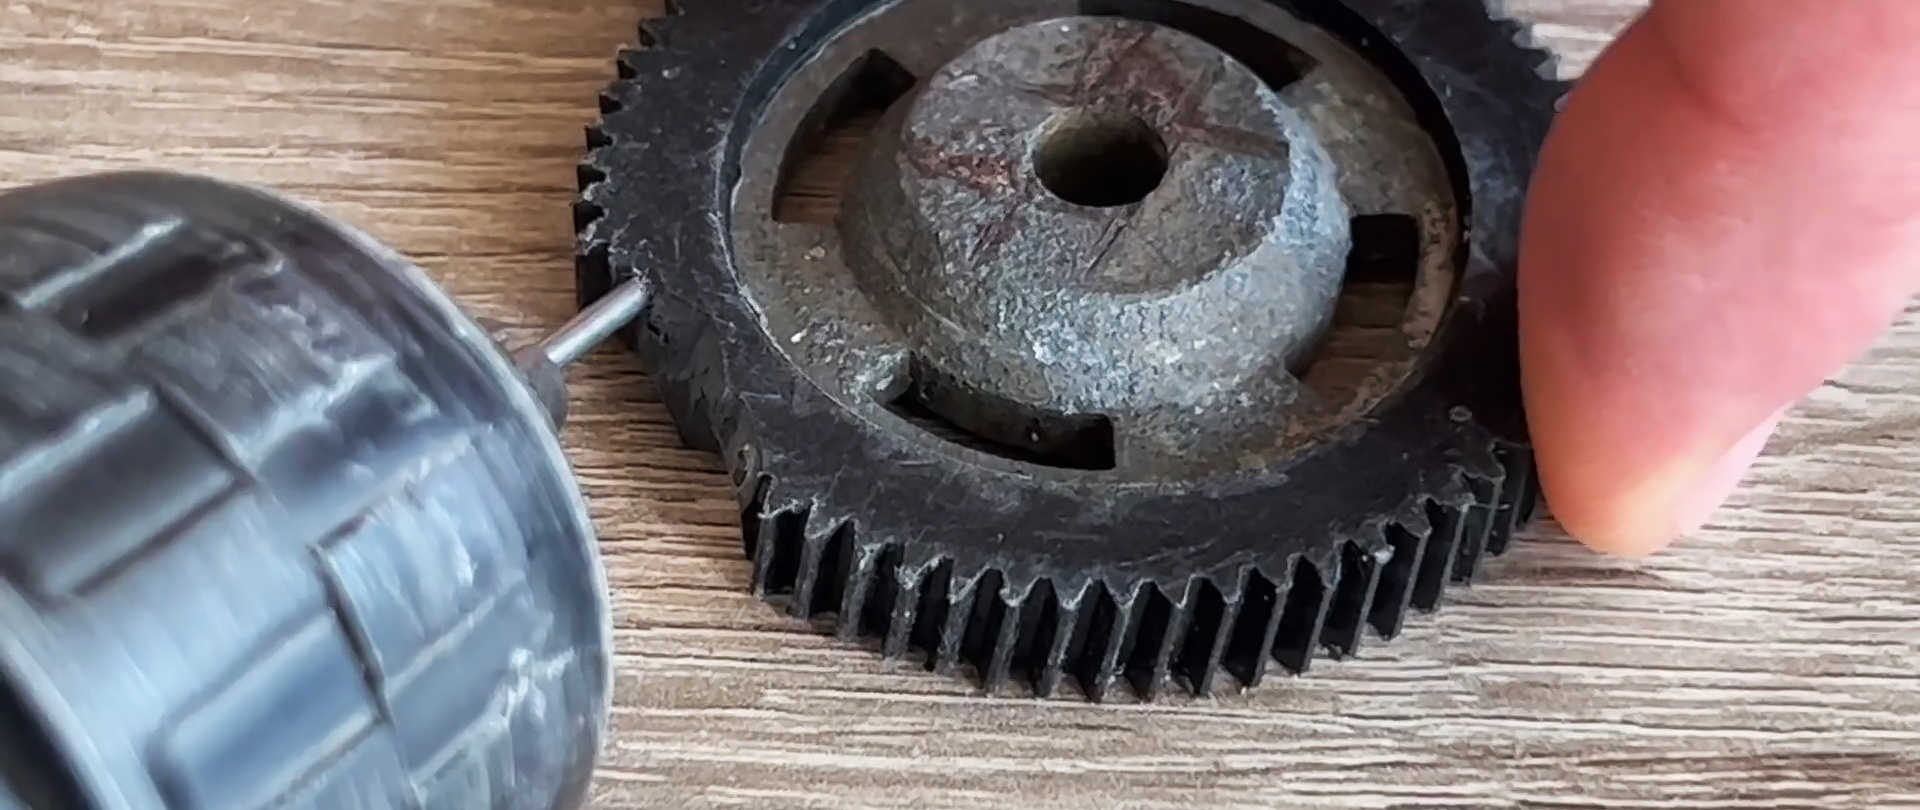
A plastic gear with damaged teeth is easy to repair. A lot of different polymer compositions for repairing plastic are now produced and sold. The problem is to make a suitable shape that copies the teeth. One of the restoration methods, using the example of a damaged helical gear, is discussed in this article.

The main difficulty is making a mold for casting the defective area. In fact, there is no difficulty in this. The mold can be made, for example, from paraffin. Let's get started.
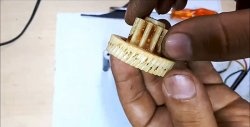
Restoring a gear at home
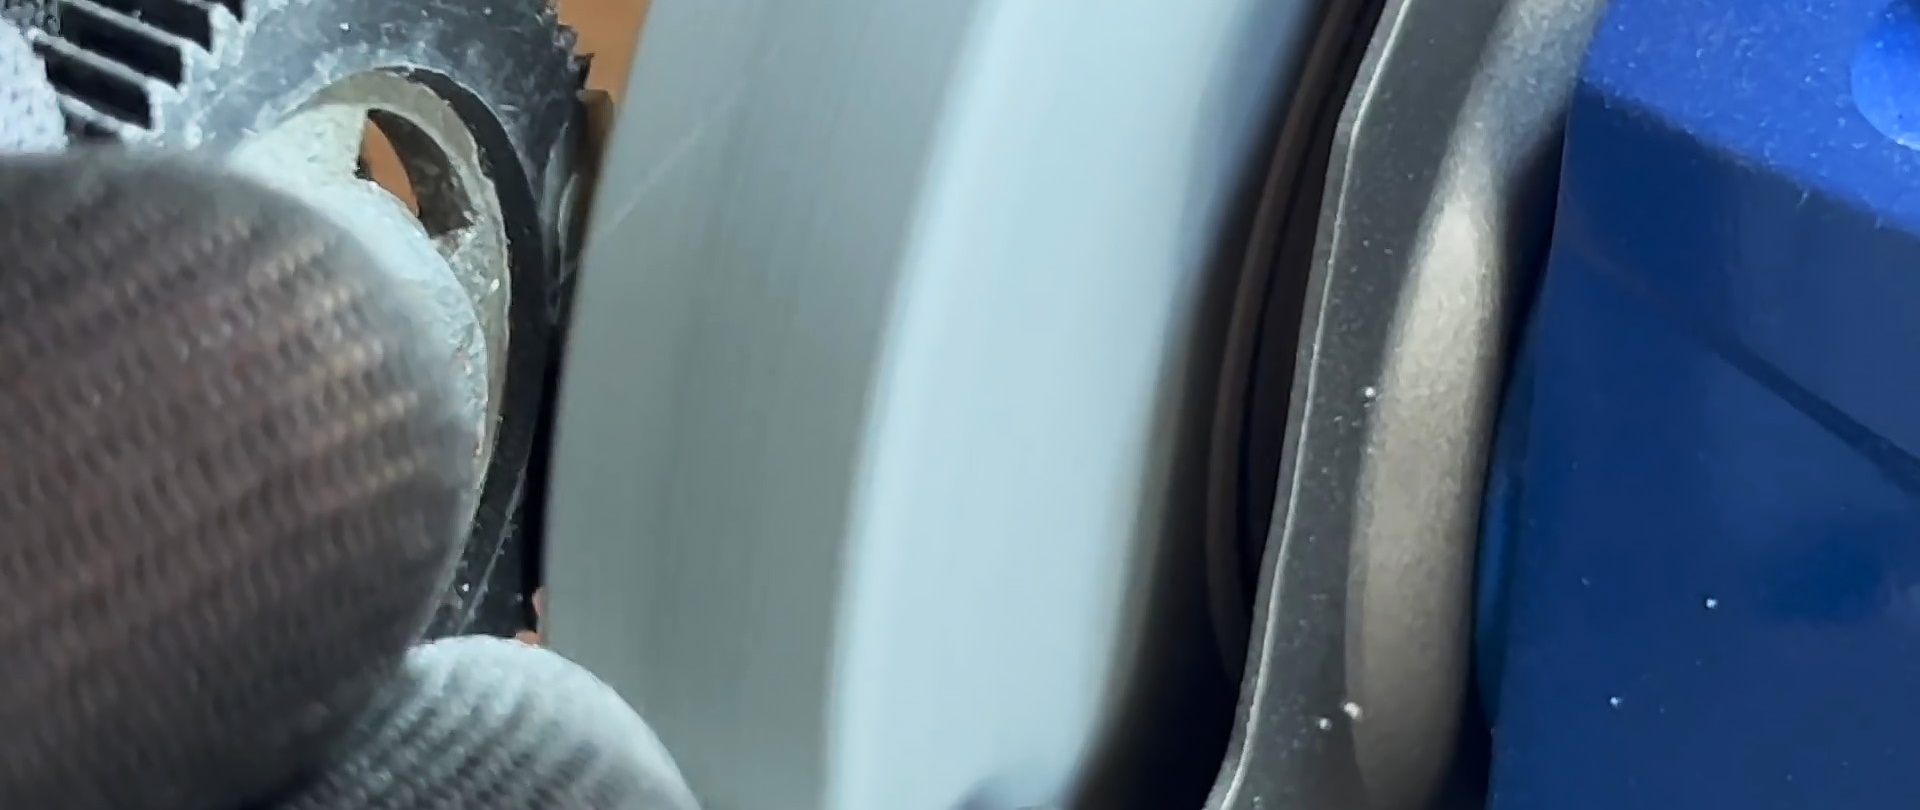
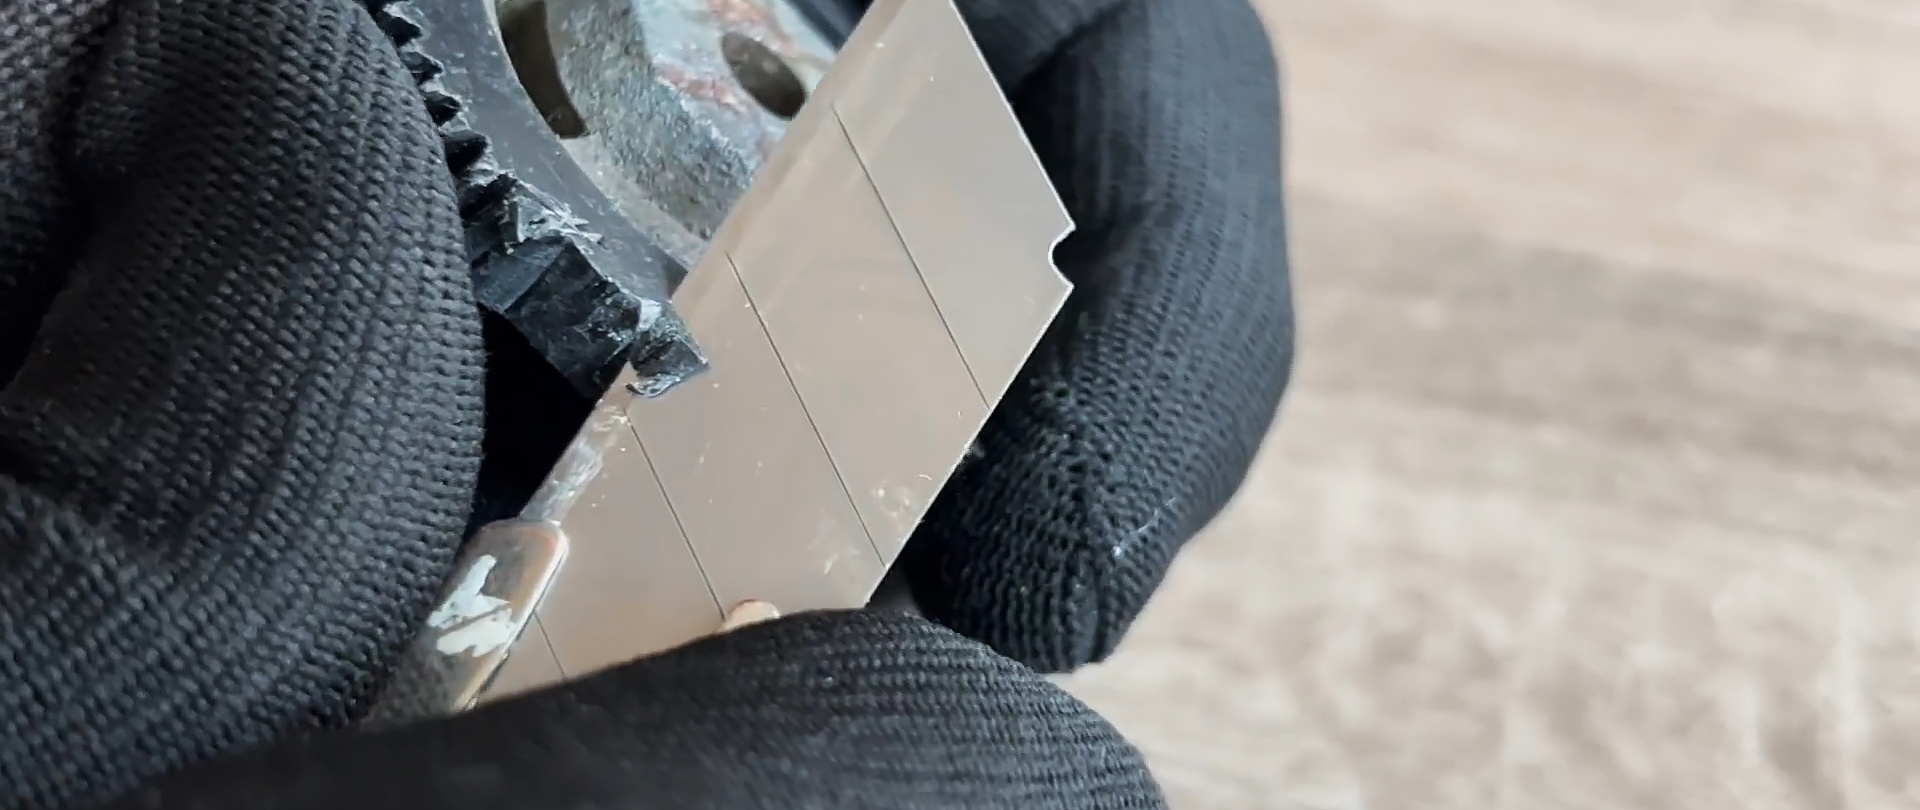
The first thing to do is remove the damaged section of the gear. Since it is plastic, this is easy to do with a regular knife. The cut should be made deeper so that the restored part is more integral and does not “smear” over the surface of the gear.
In order for the restored area to better adhere to the main part, you should drill there are a couple of holes in it.
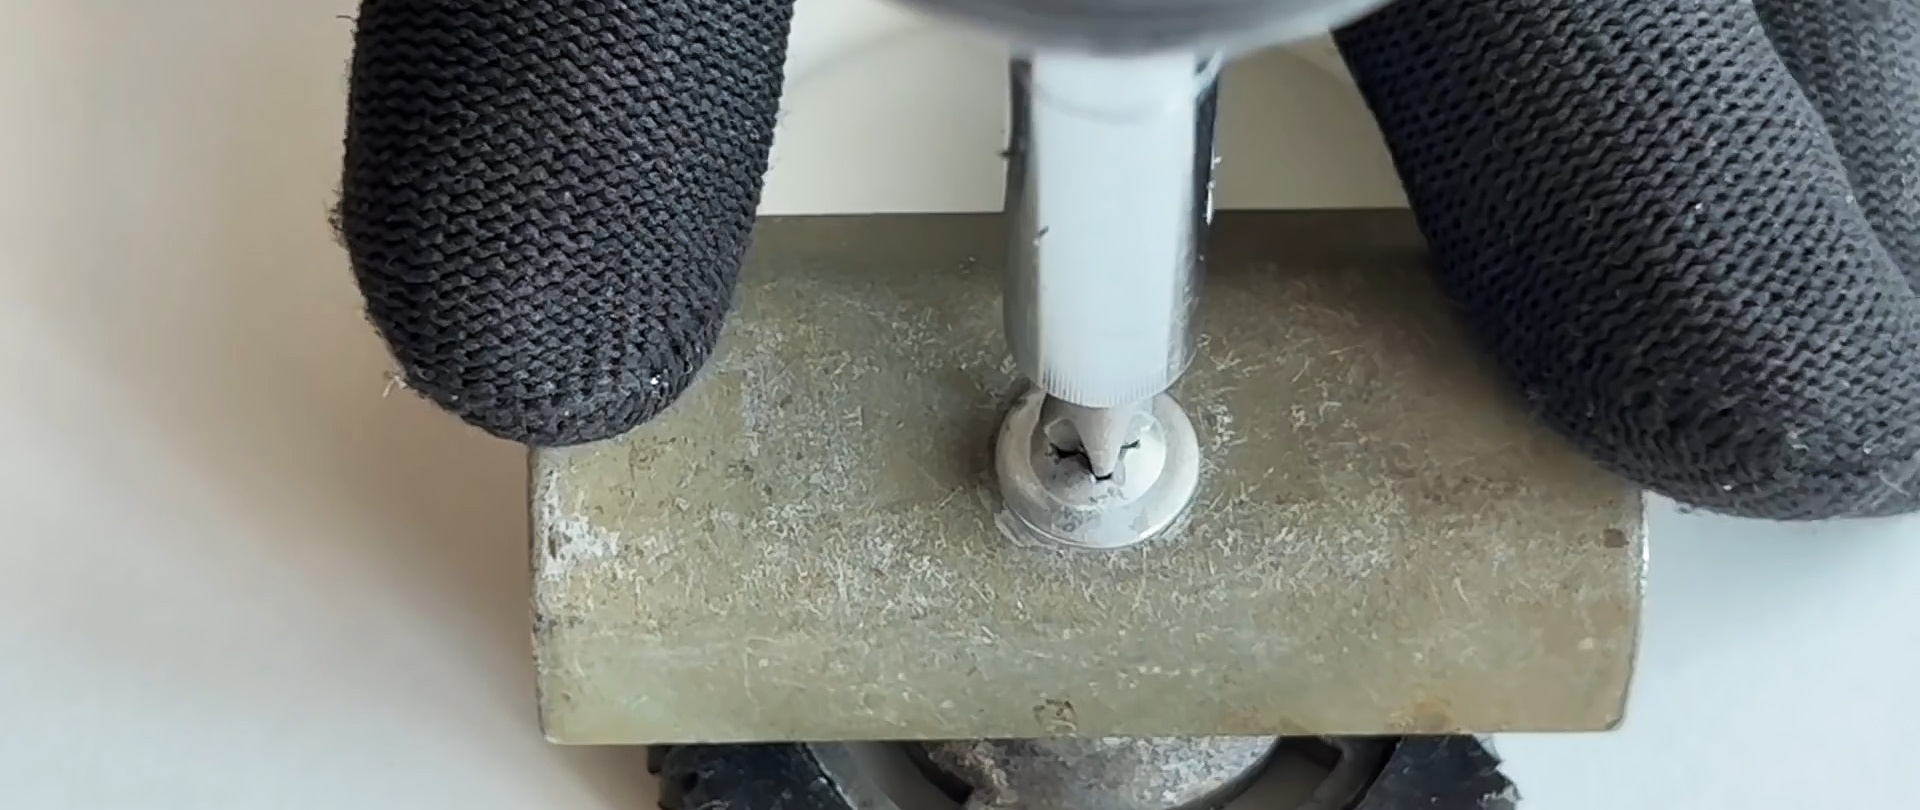
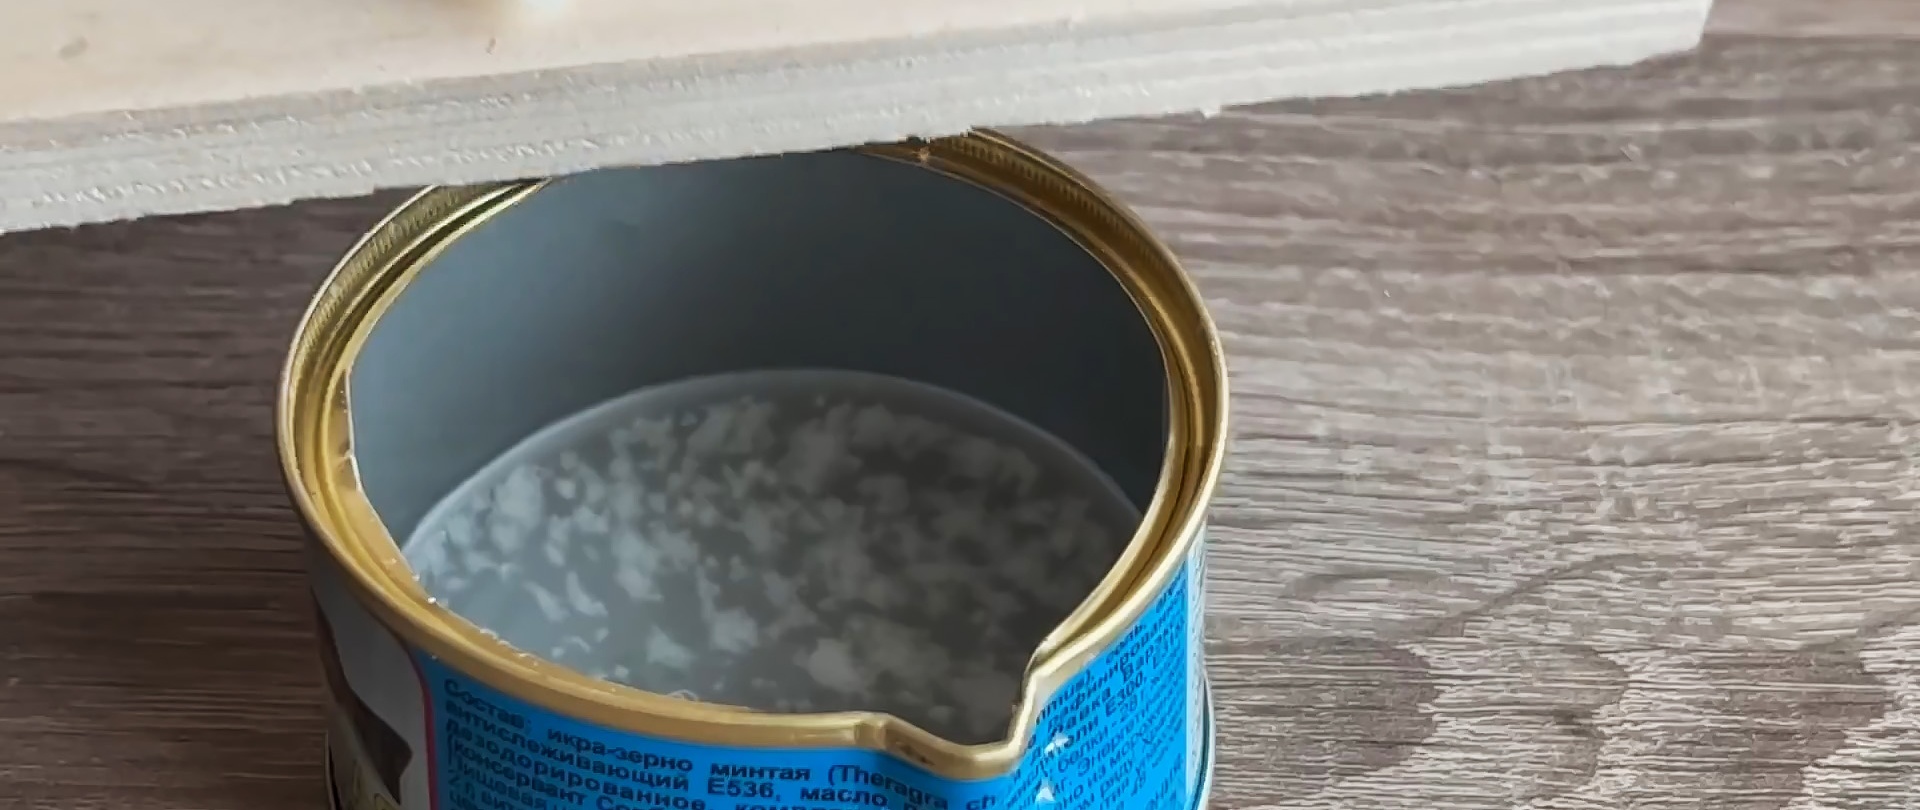
The next stage of work is copying the teeth, i.e. making molds for casting. To begin with, the part must be securely fixed on a flat surface, for example, using a self-tapping screw on a piece of MDF.Some of the teeth from which the mold will be made are limited to a piece of cut plastic pipe.
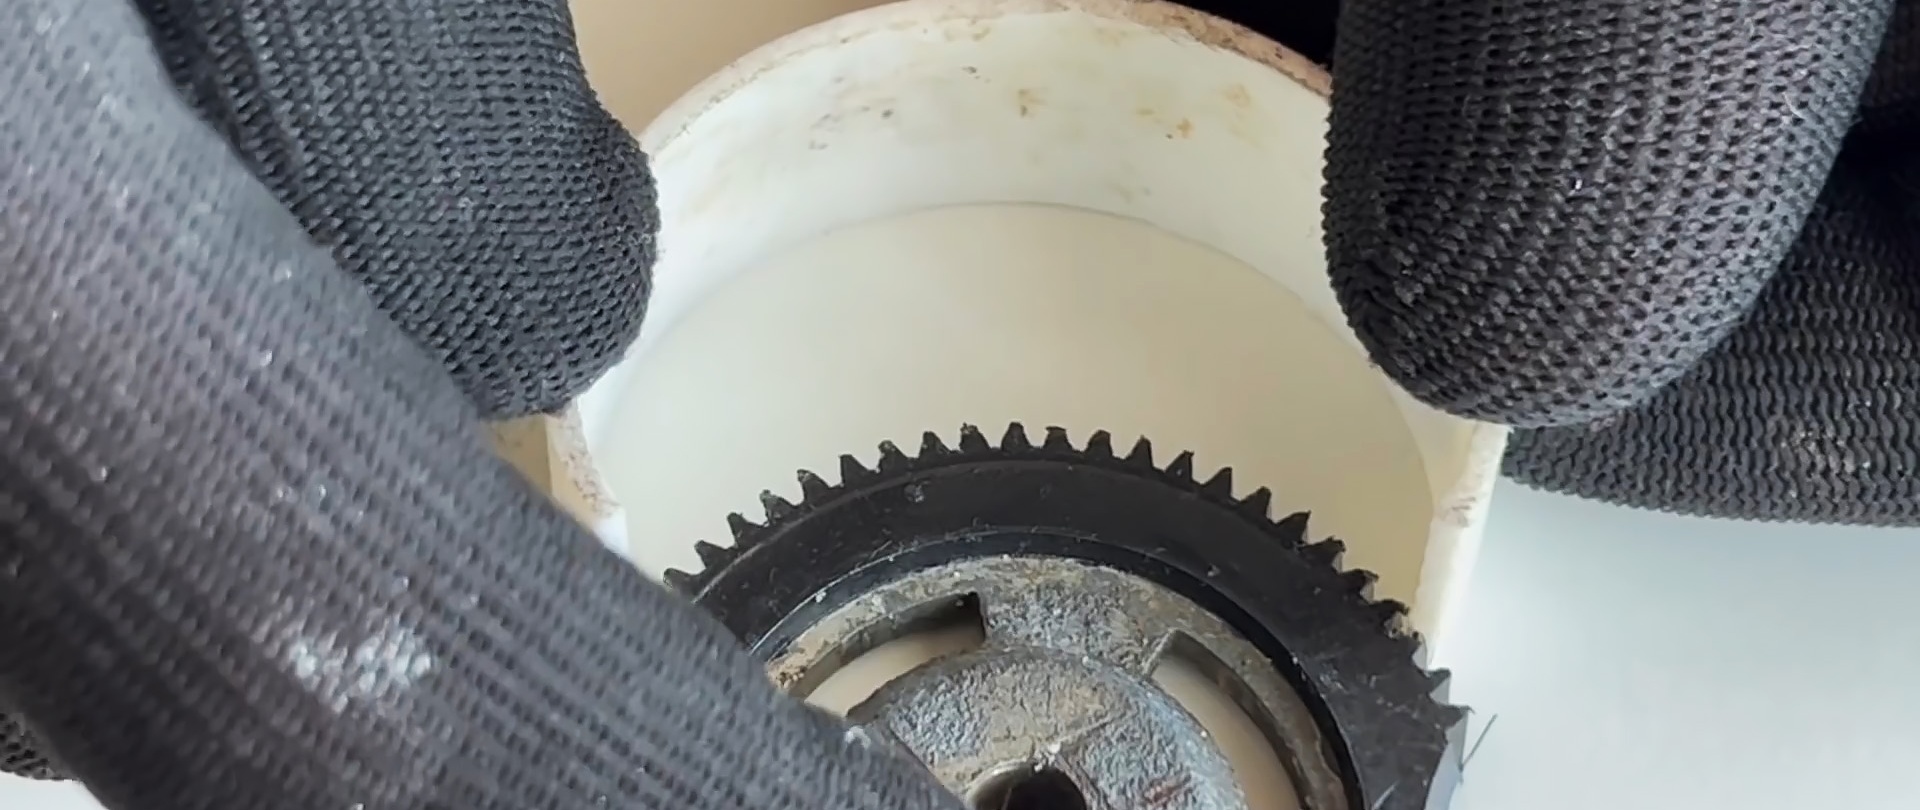
It is additionally fixed to the surface using plasticine. And now molten paraffin from an ordinary candle is poured into this resulting form.
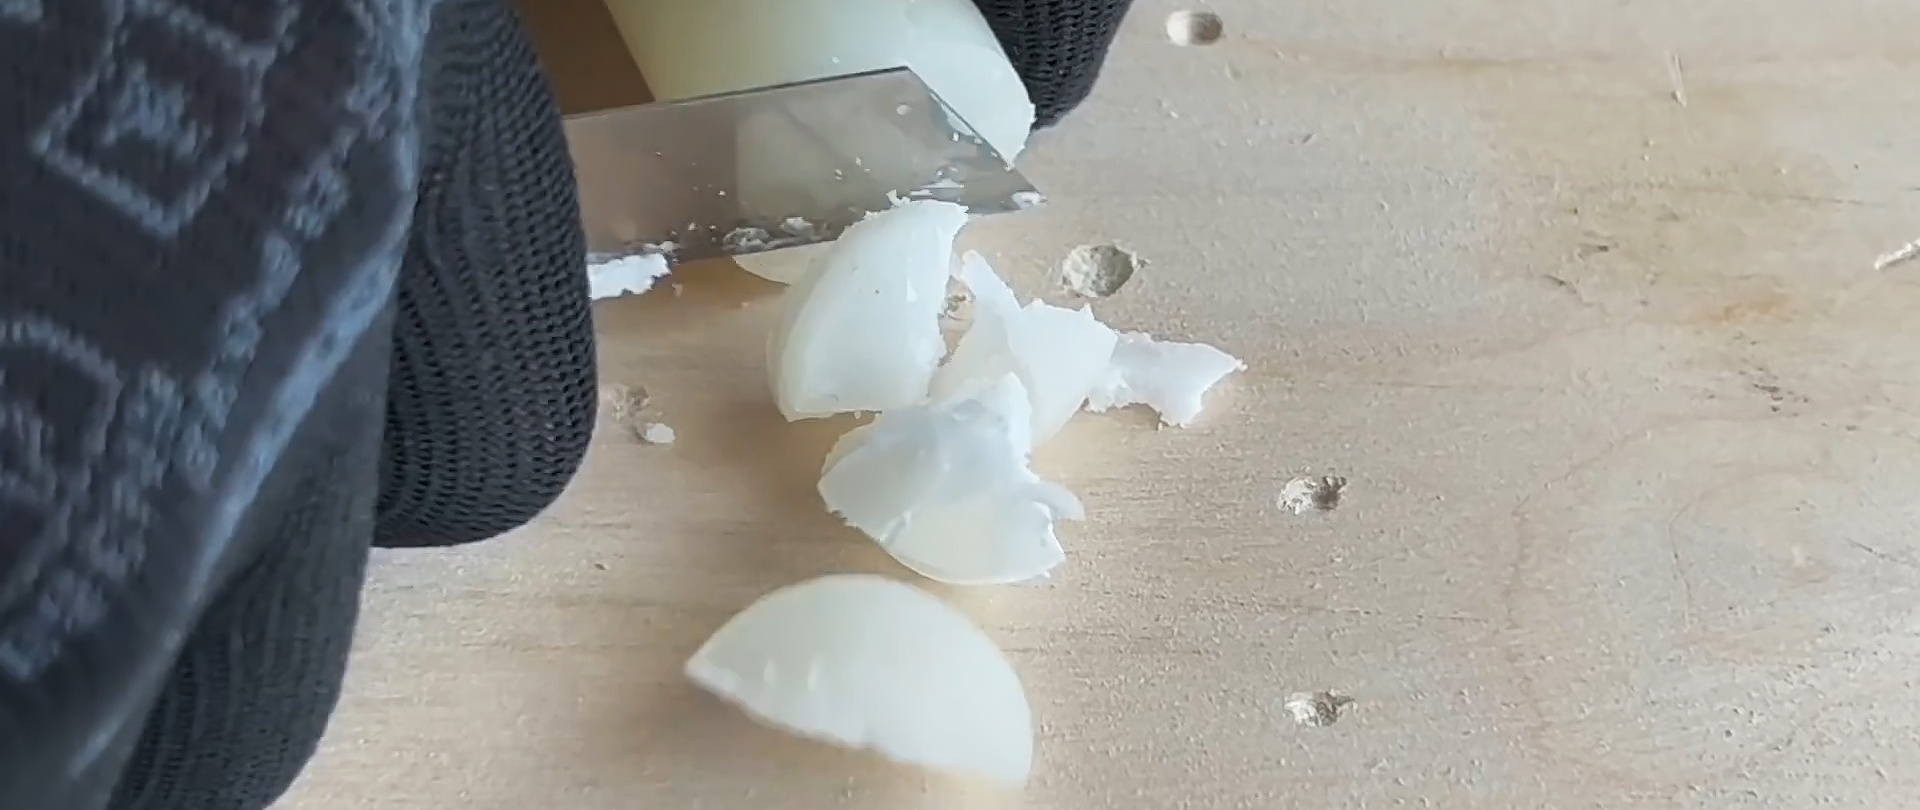
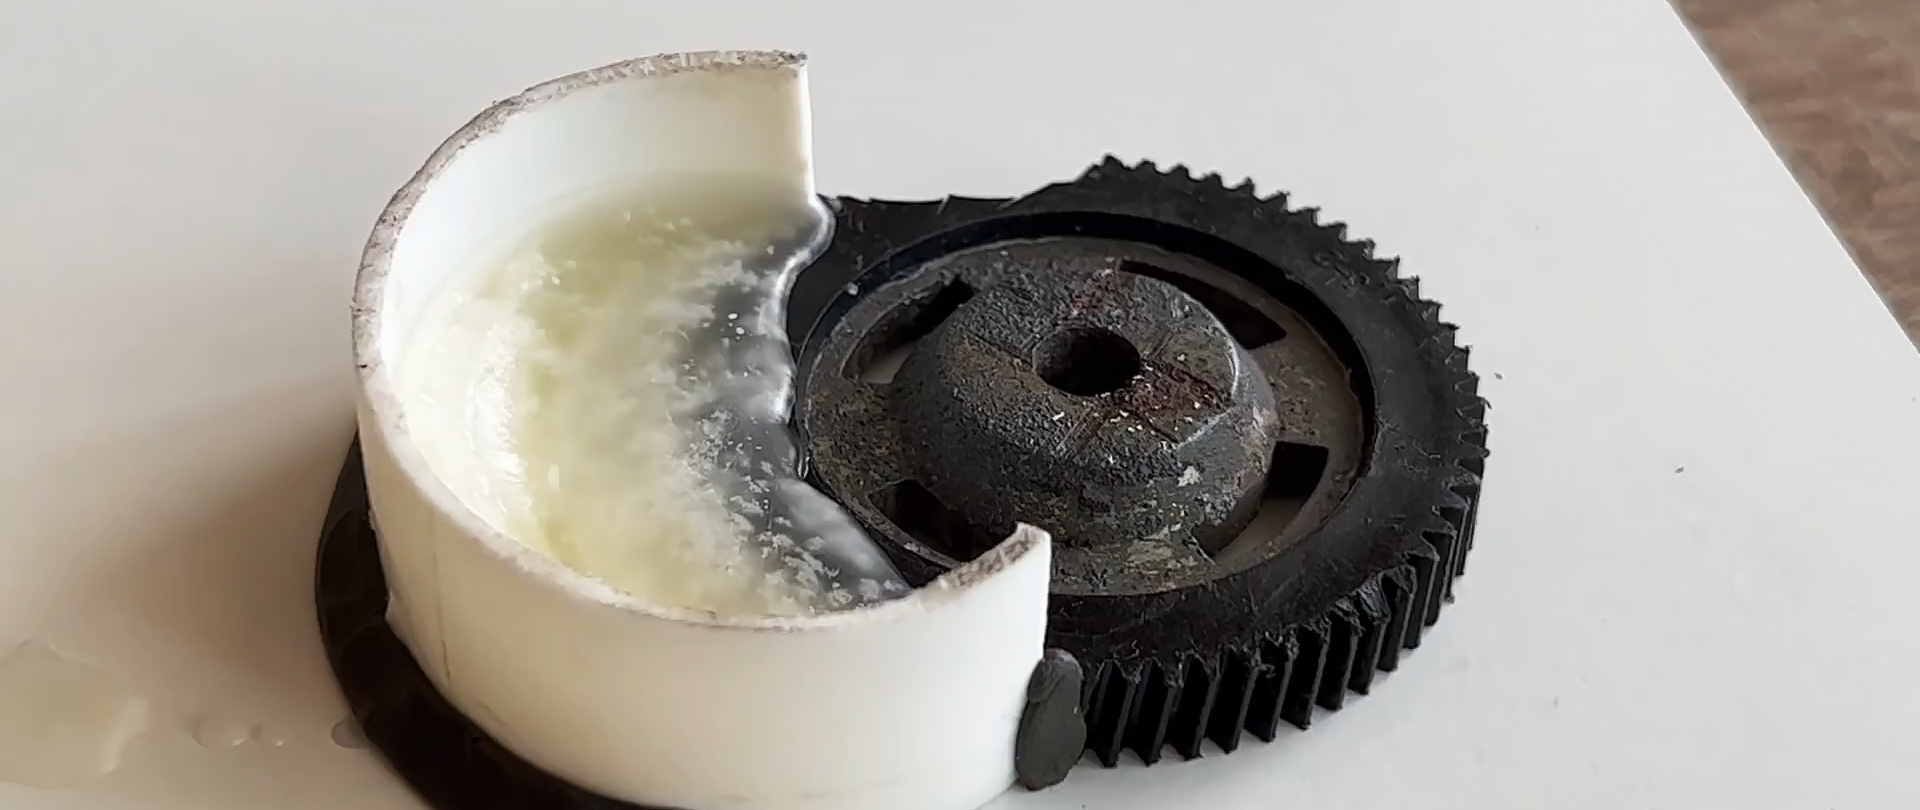
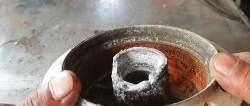
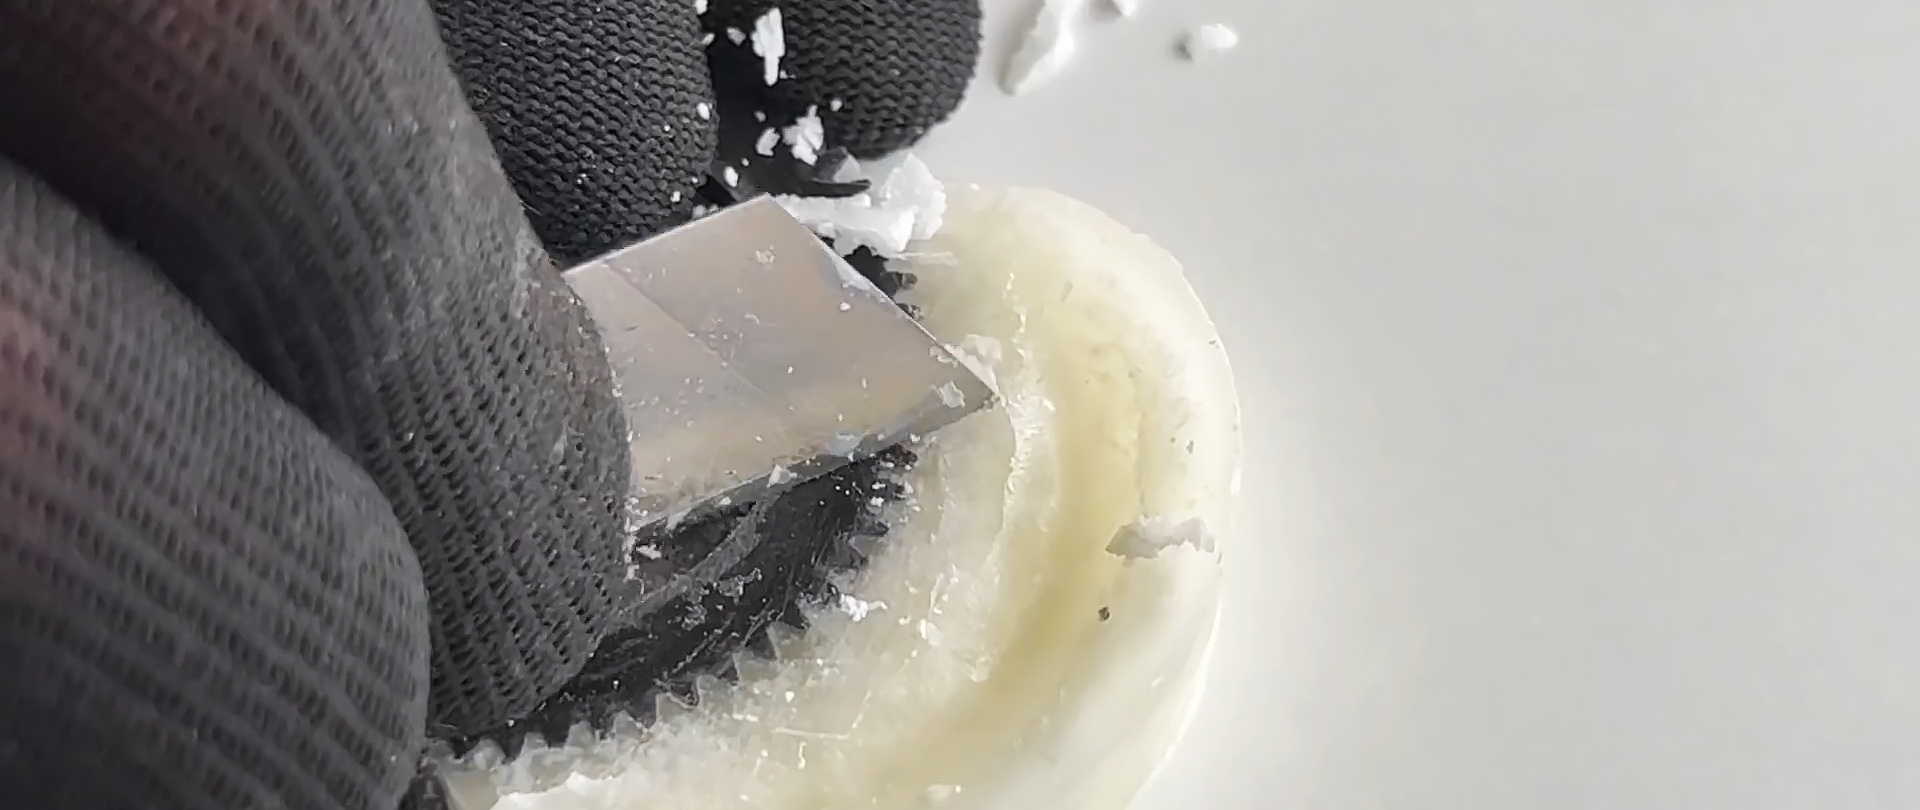
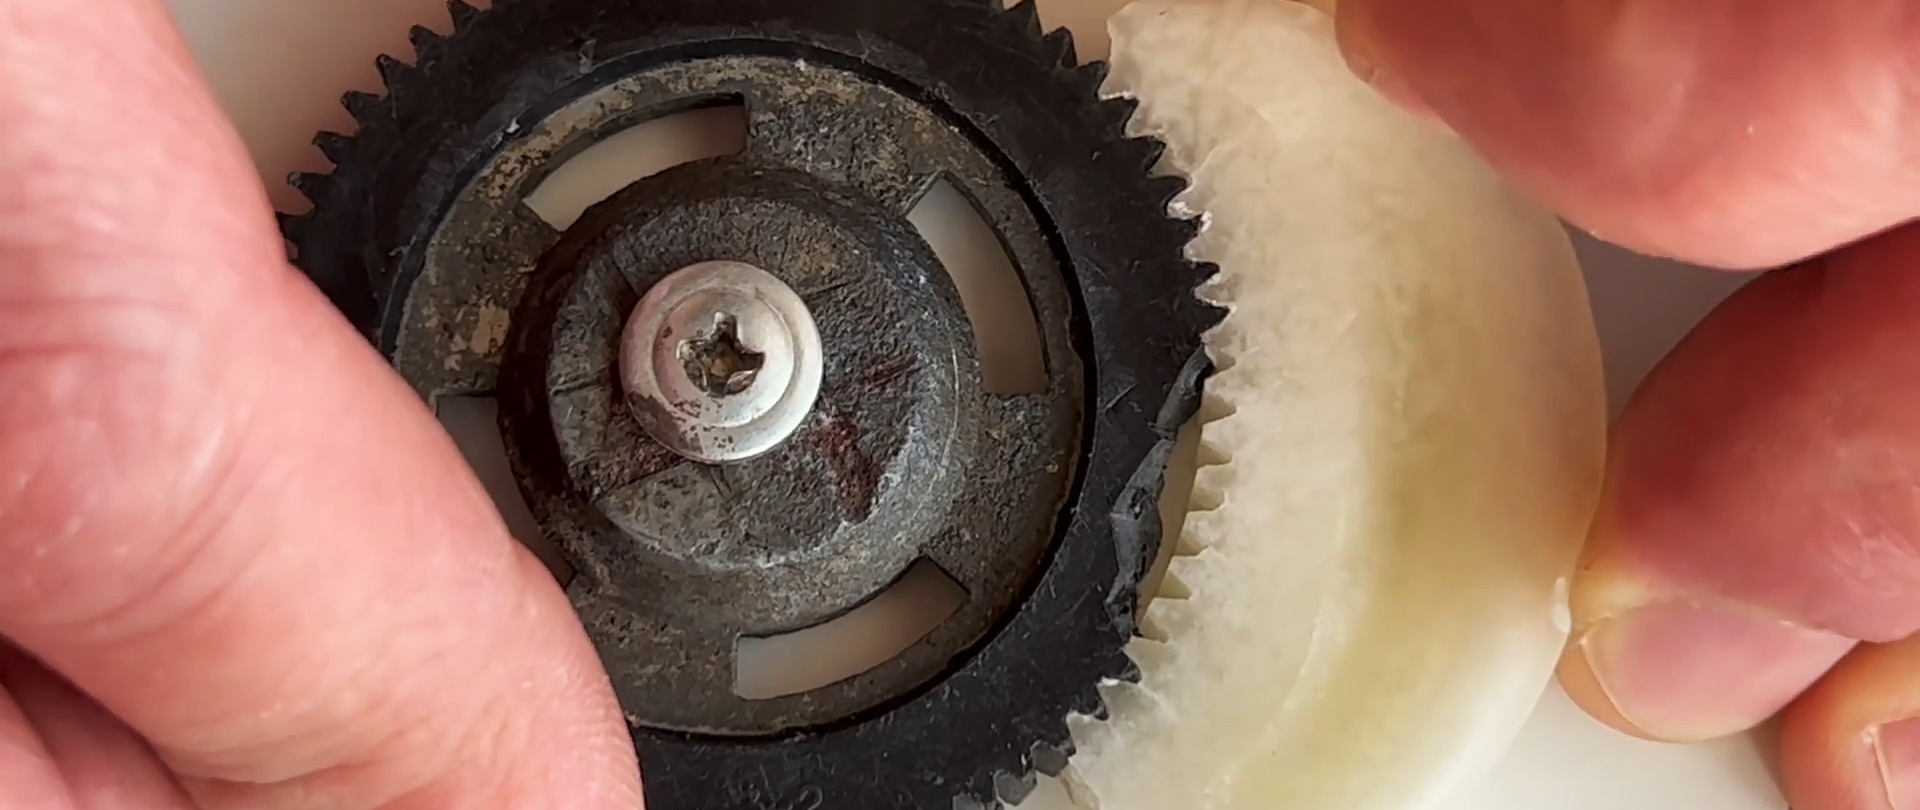
After the paraffin has hardened, the entire structure is disassembled and the excess is cut off with a knife. Carefully, slowly, the paraffin form is separated from the main gear. After checking the quality of the resulting form, we move on to the next stage - restoring the damaged area.
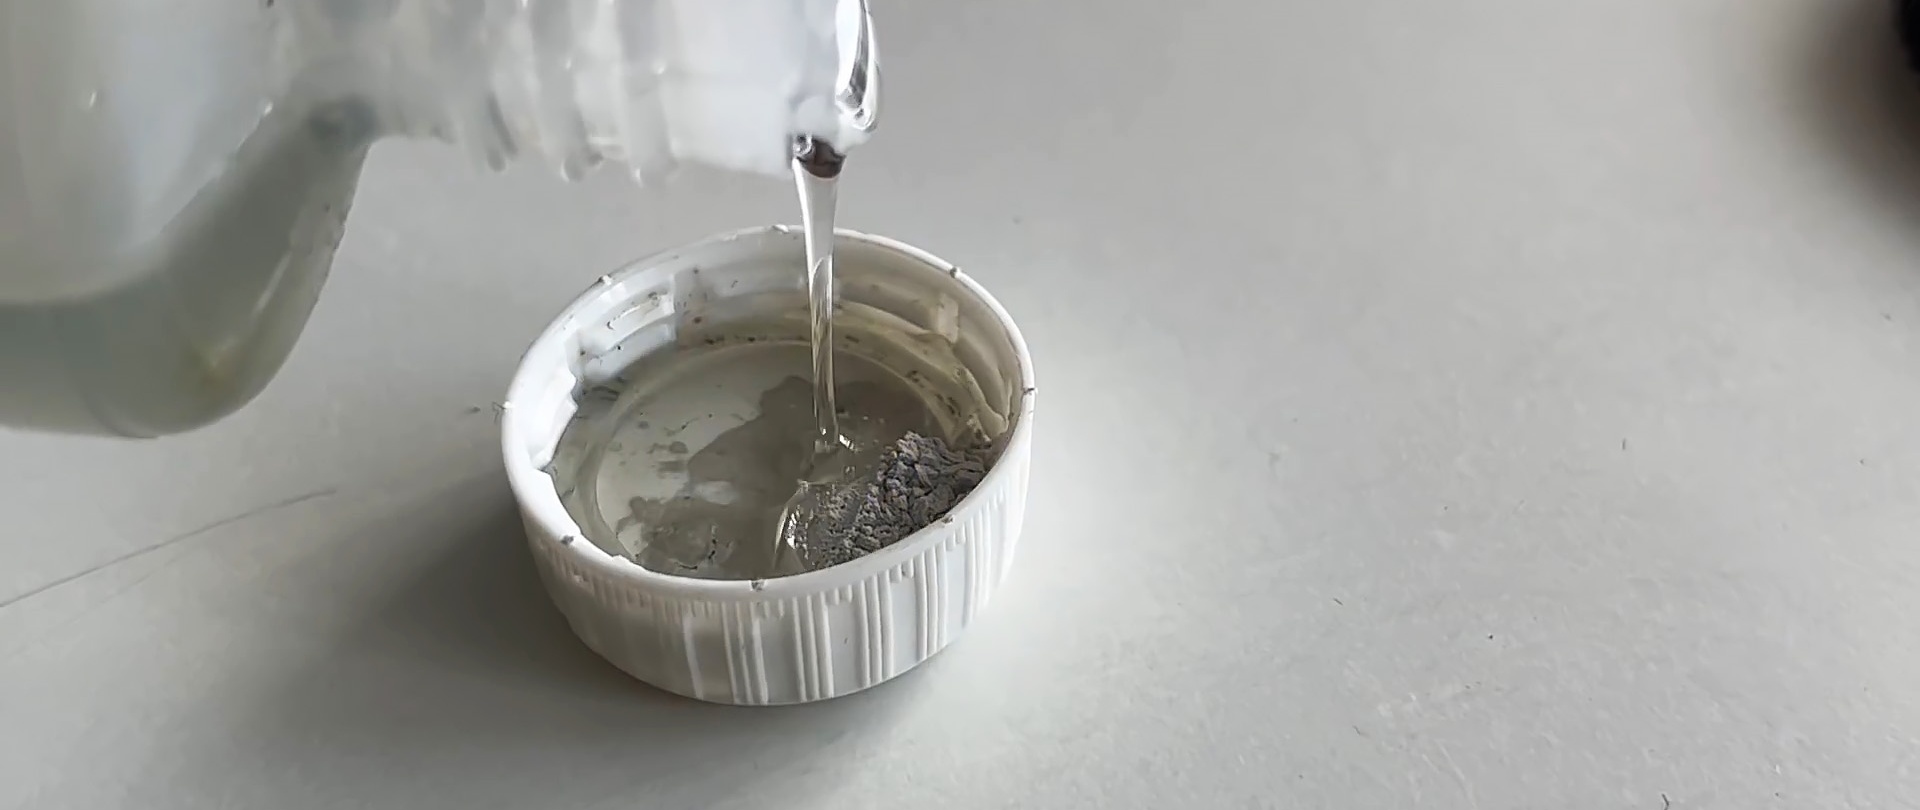
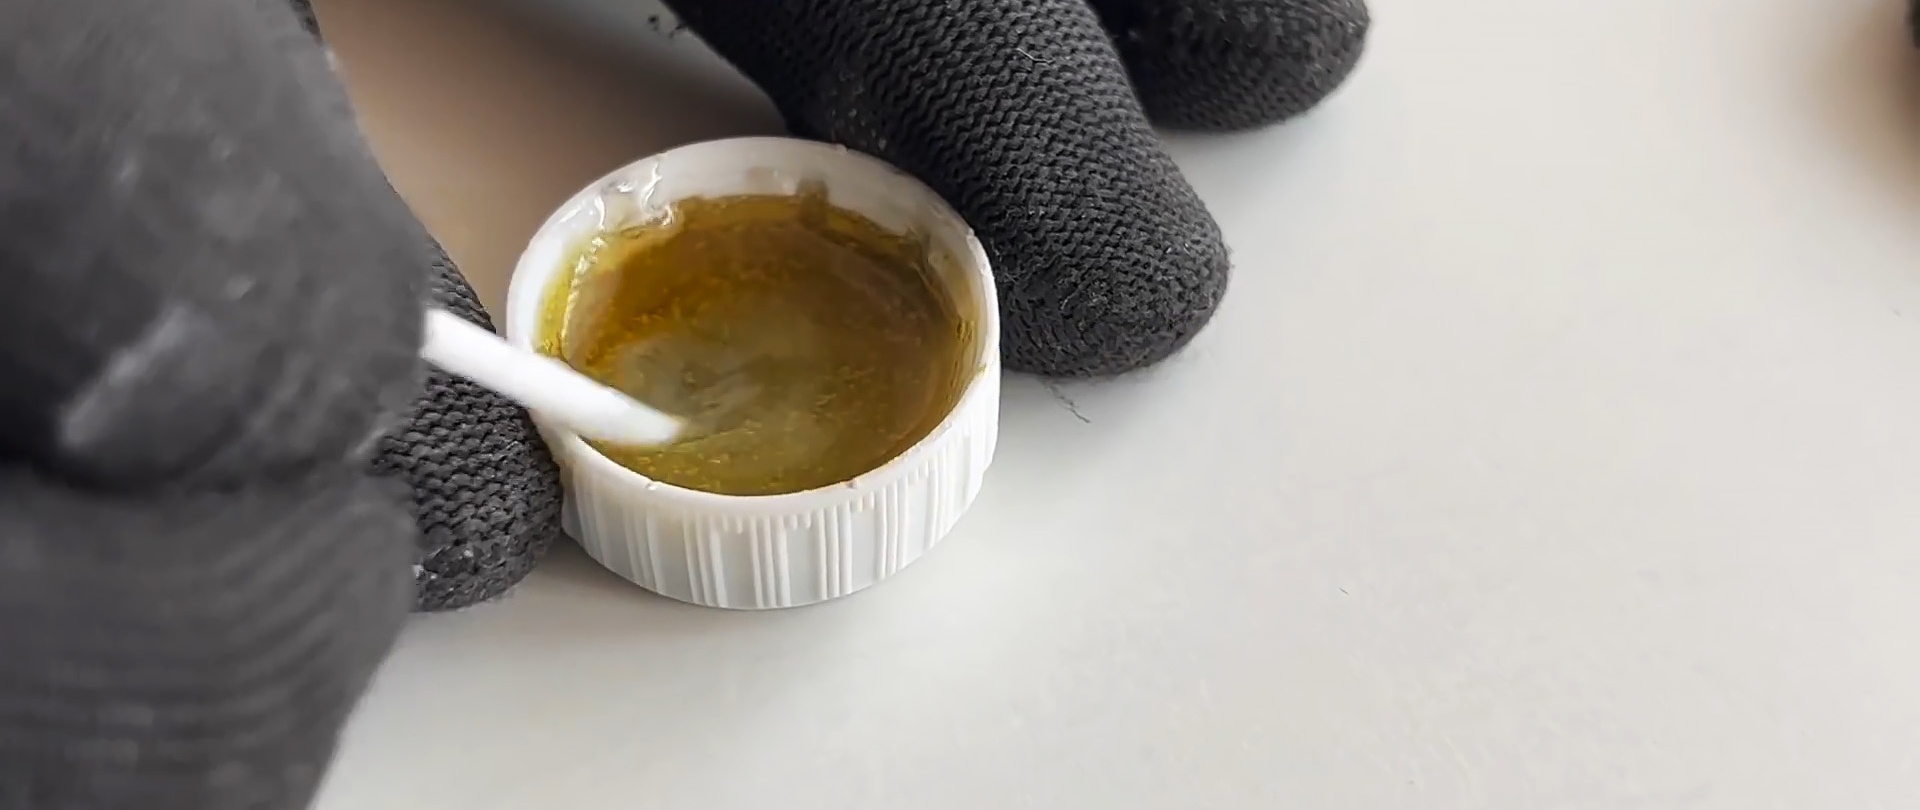
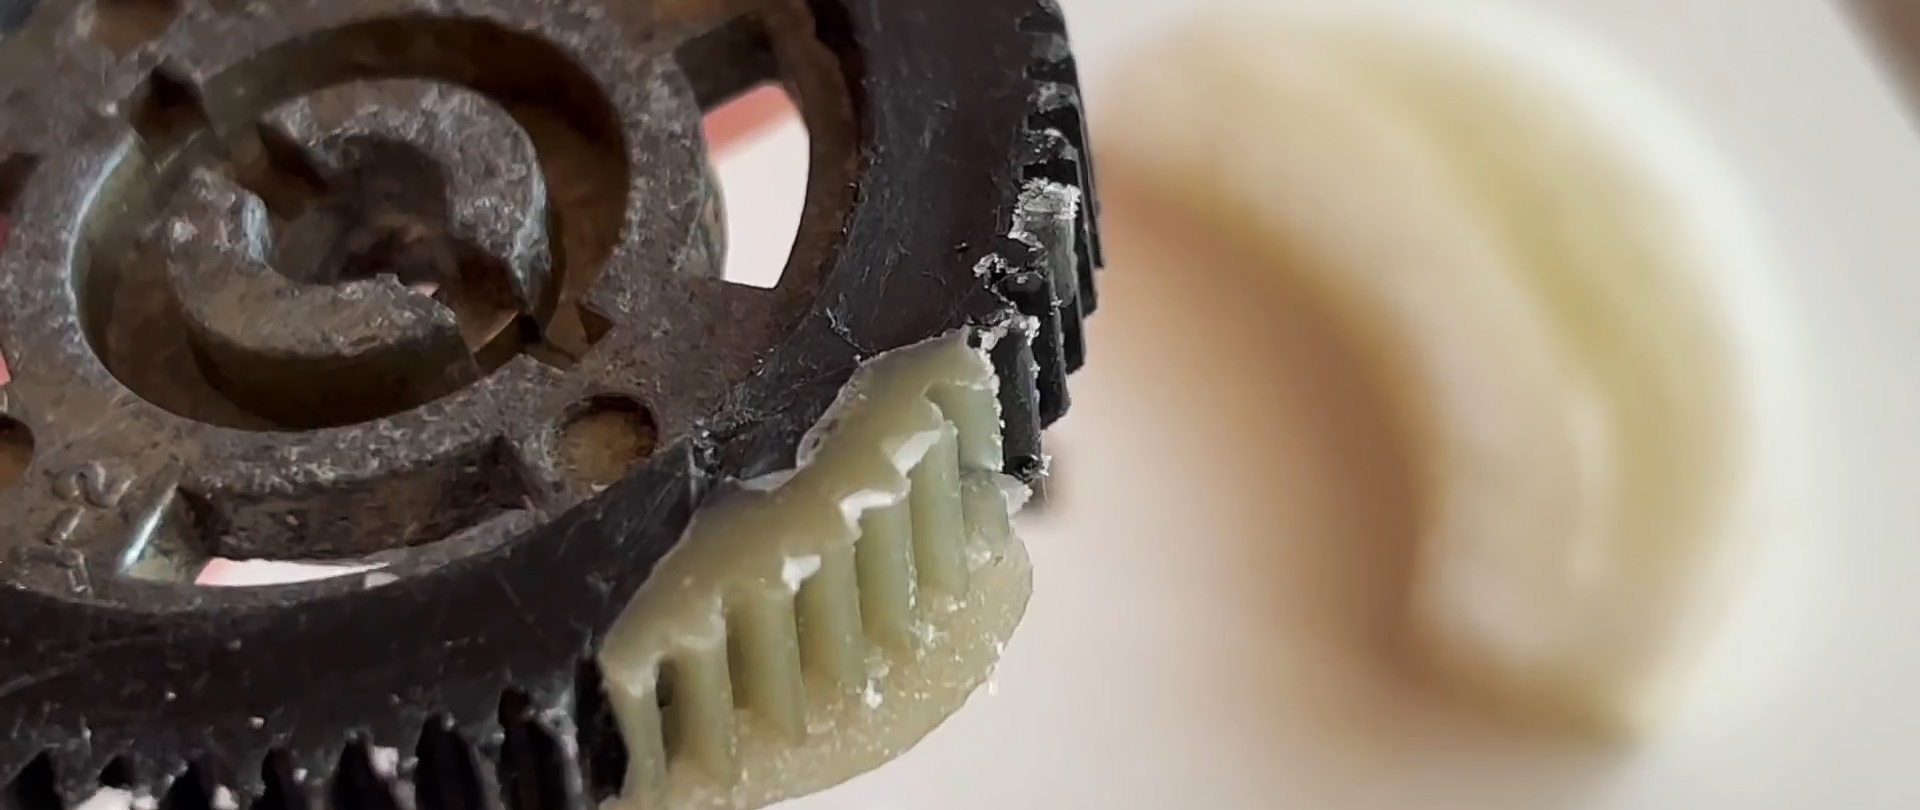
Epoxy resin mixed with white cement will be used to restore the lost gear teeth. The paraffin mold is installed on the part, everything is fixed on a flat surface, and epoxy resin is poured onto the damaged area. After a few hours, the resin will harden and the structure can be disassembled.
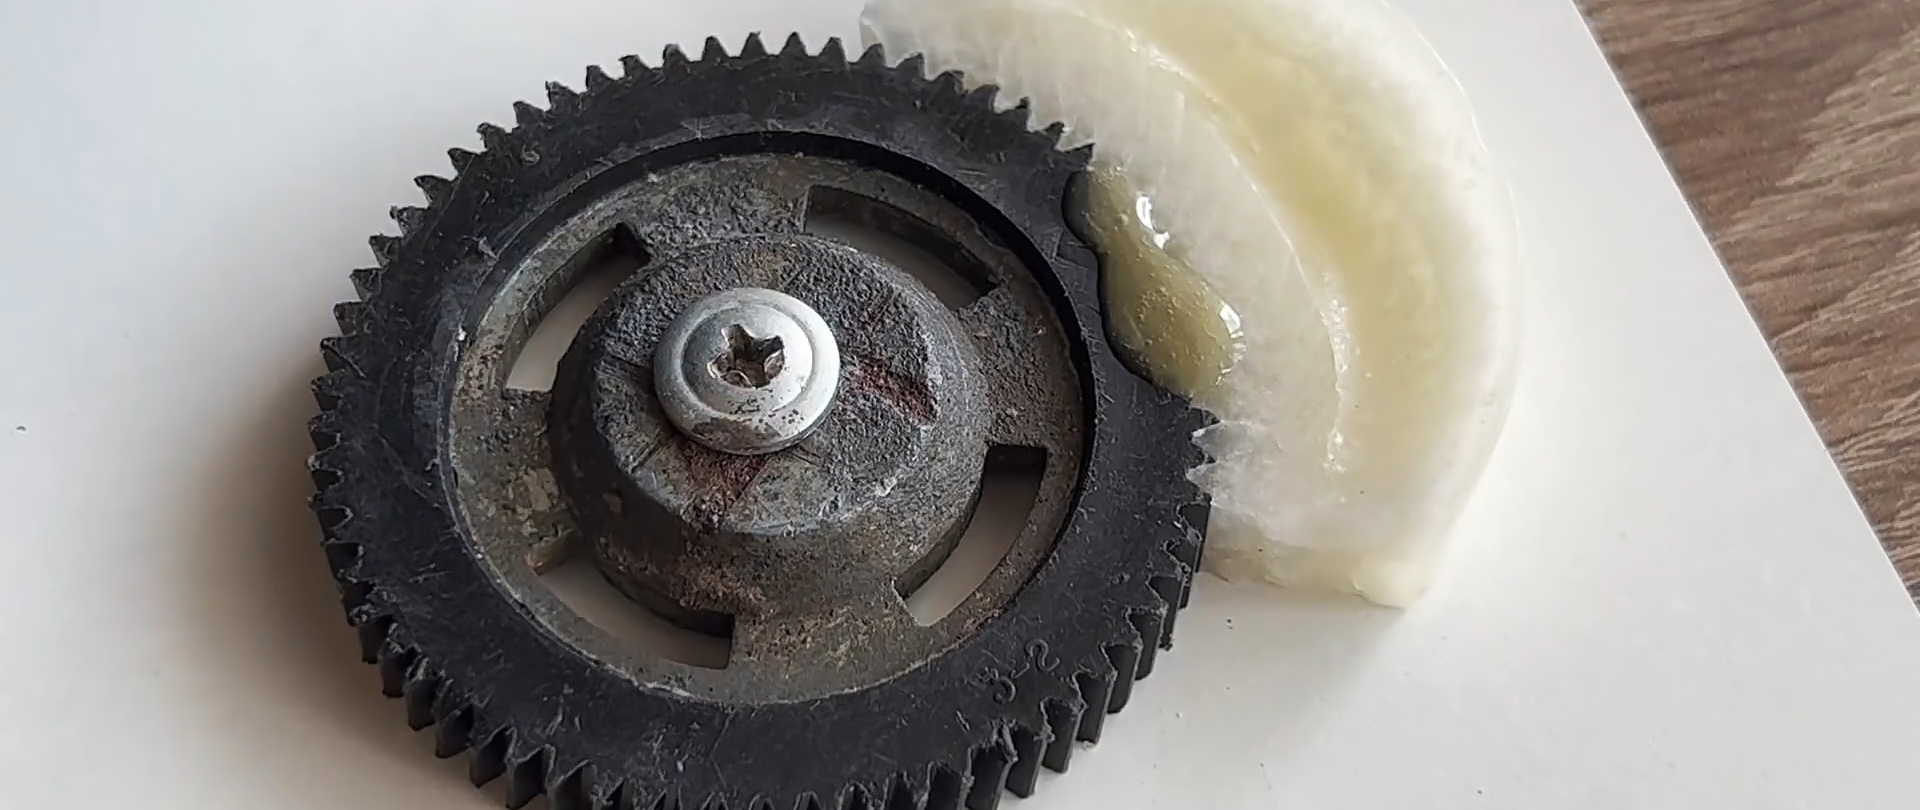
The final processing of the restored gear is carried out using an abrasive wheel and sandpaper.
Job is done.