Using leftover metal and available parts, we will assemble a manual rack-and-pinion jack with a lifting height of up to 75 cm. Any adult who knows how to handle a grinder, drill and welding machine can make such a jack.
Will need
Materials:
- profile square pipes;
- equal angle;
- nuts and rods;
- steel sheet 5 mm thick;
- round bar;
- a piece of round pipe;
- 2 pins and 2 compression springs;
- pipe-lever;
- spray paint of different colors.
Tools: tape measure, ruler and marker, welding machine, grinder, drilling machine, vice, pliers, etc.
The process of making a manual rack-type jack from scrap metal
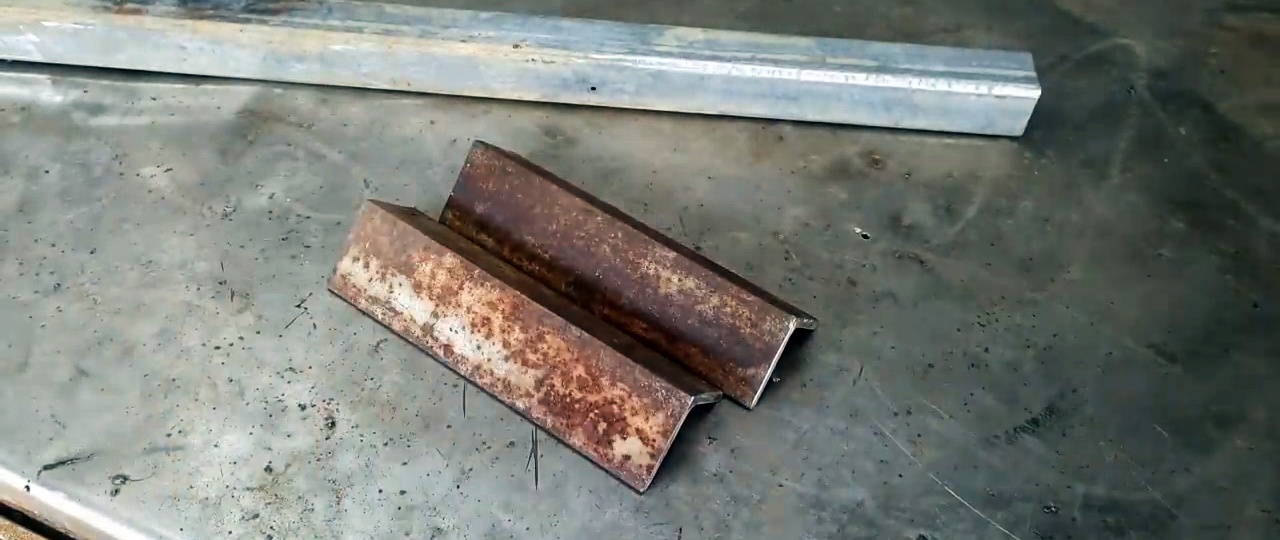
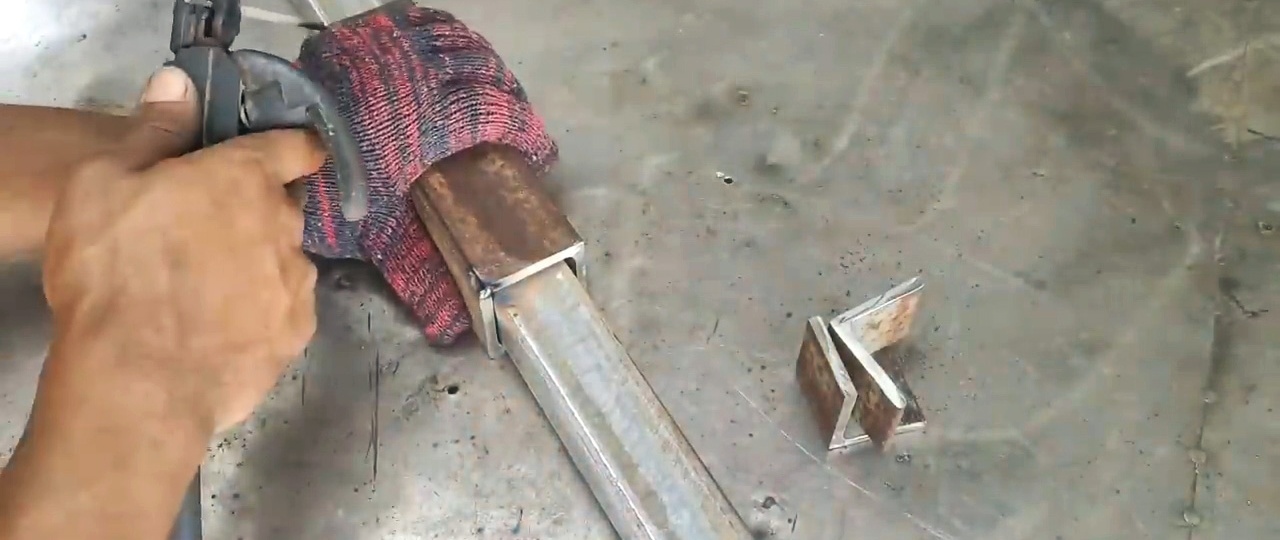
We wrap pairs of corners 19.5 and 4.0 cm long around a square pipe and weld it so that the square pipe moves as if in two guides.
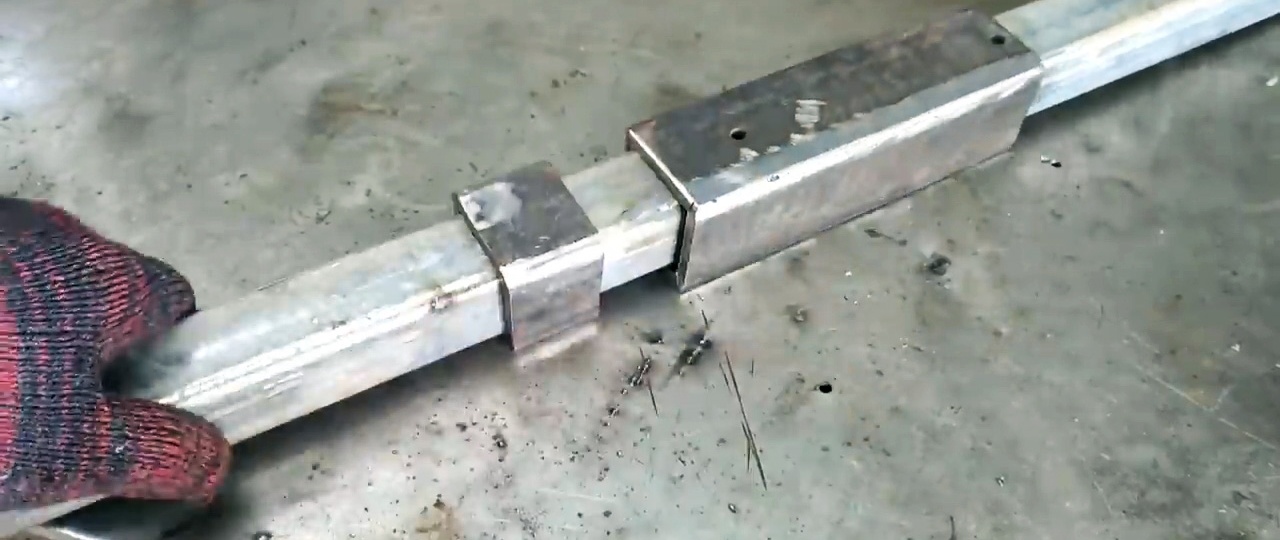
Towards the end of the larger guide weld 2 nuts. We turn the pipe 180 degrees and also weld 2 of the same nuts to the end of the smaller guide in contact with the larger one.
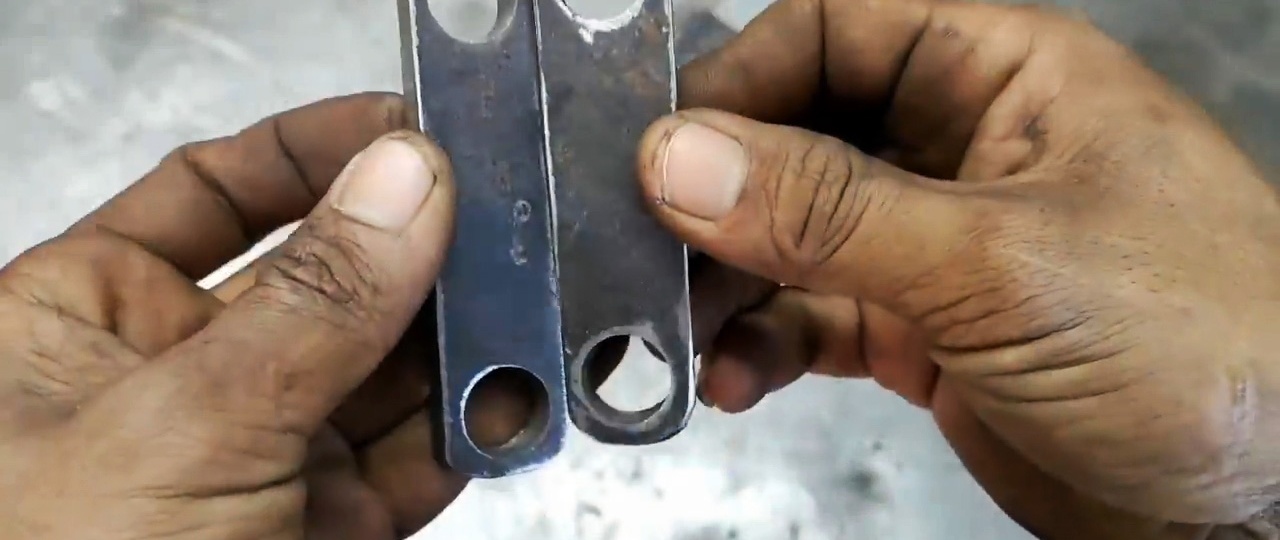
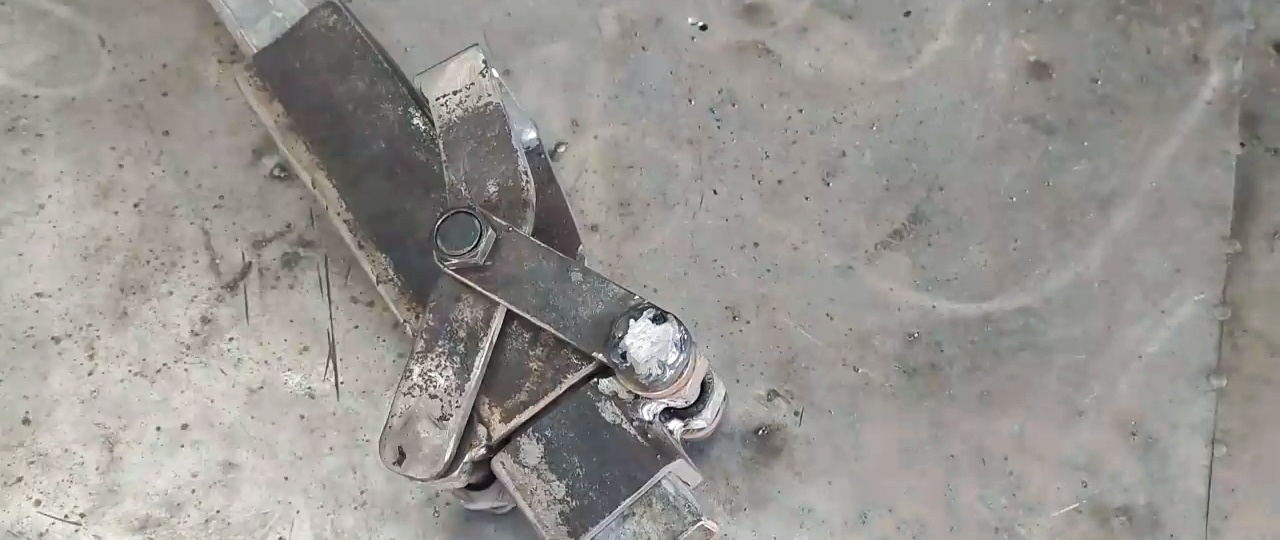
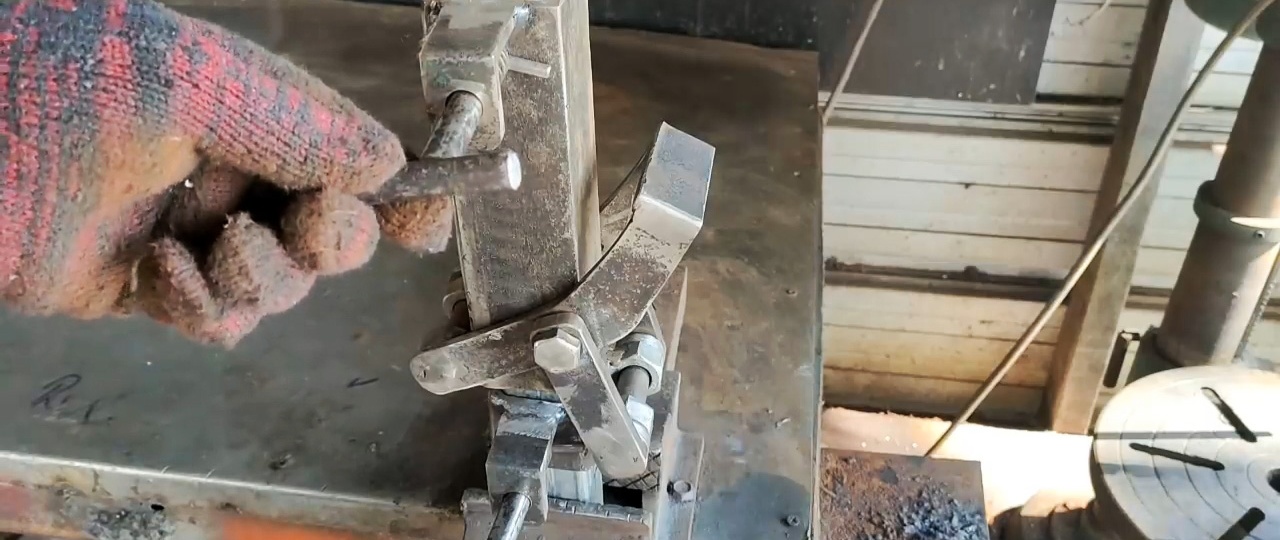
Made from steel sheet 5 mm thick cut out 2 identical flat plates, curved at one end. Drilling in them, closer to the straight end, there are holes with which we put them on the ends of the rod passed through the nuts welded to the larger guide. We weld plates to nuts. Moreover, we direct the curved ends of the plates downwards.

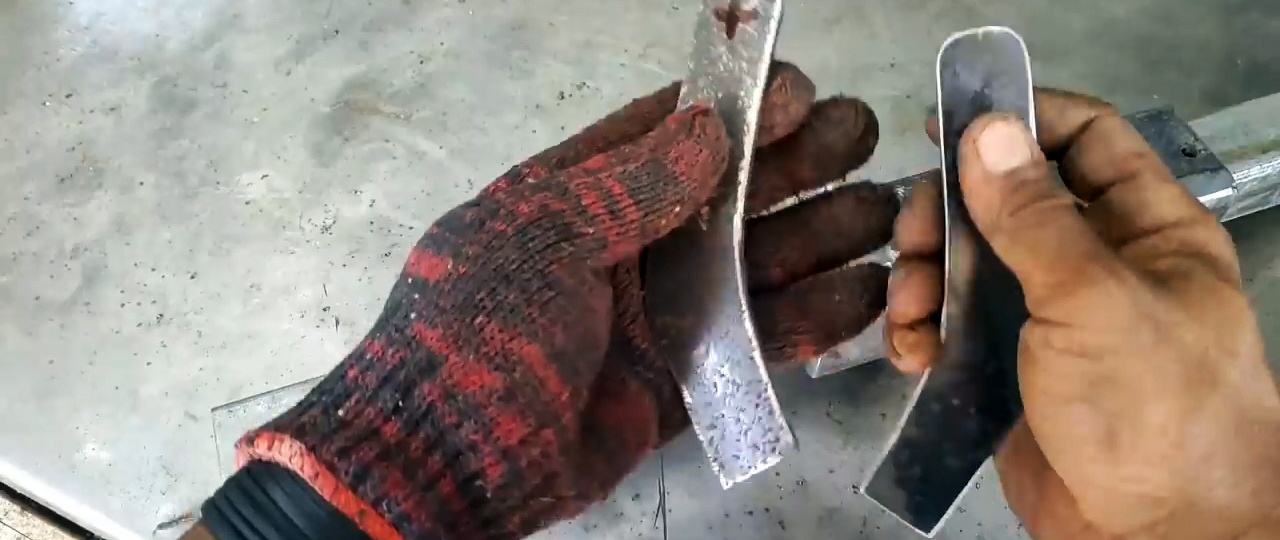
We turn the assembly 180 degrees and weld a rectangular plate transversely to the ends of the curved ends. From the remains of the sheet we cut out two straight plates with rounded corners. At the ends of straight plates drill holes.
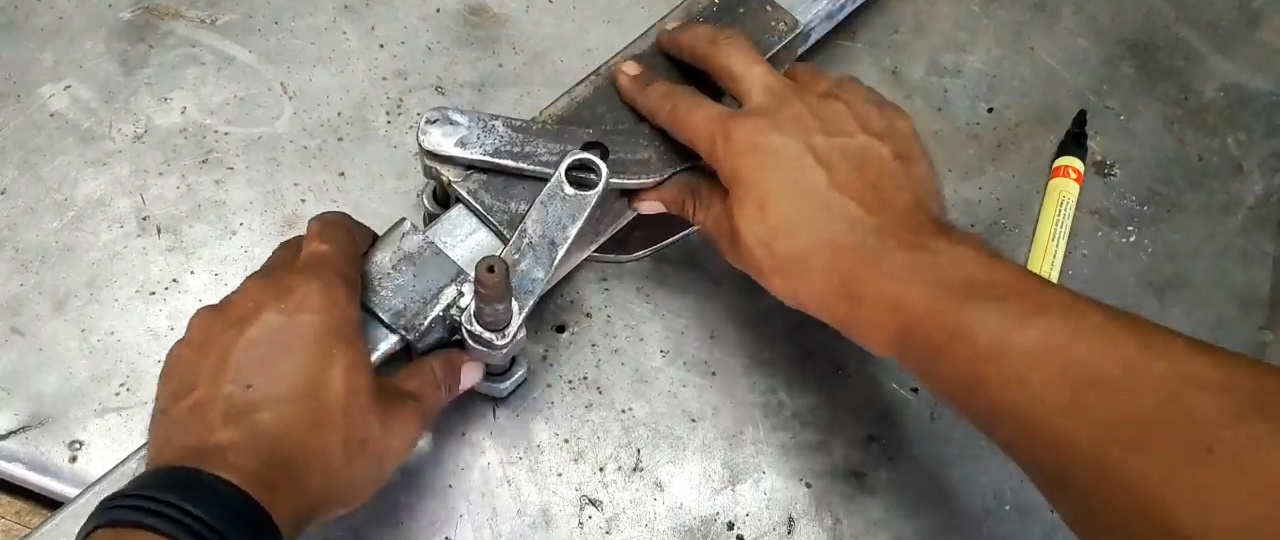
We place straight plates on the ends of a rod passed through nuts on a small guide. We place the second ends on top of the curved plates, in which we drill holes, using the holes in the straight plates as a template.
From the outside, we insert short cylinders into the holes of the curved plates and weld them to the holes. We put straight plates on them from the outside, alternate the second ends with two rings, throw them on the ends of the rod passed through the nuts on the small guide, and weld them. We put suitable nuts on the ends of the cylinders protruding from the straight plates and also weld them.
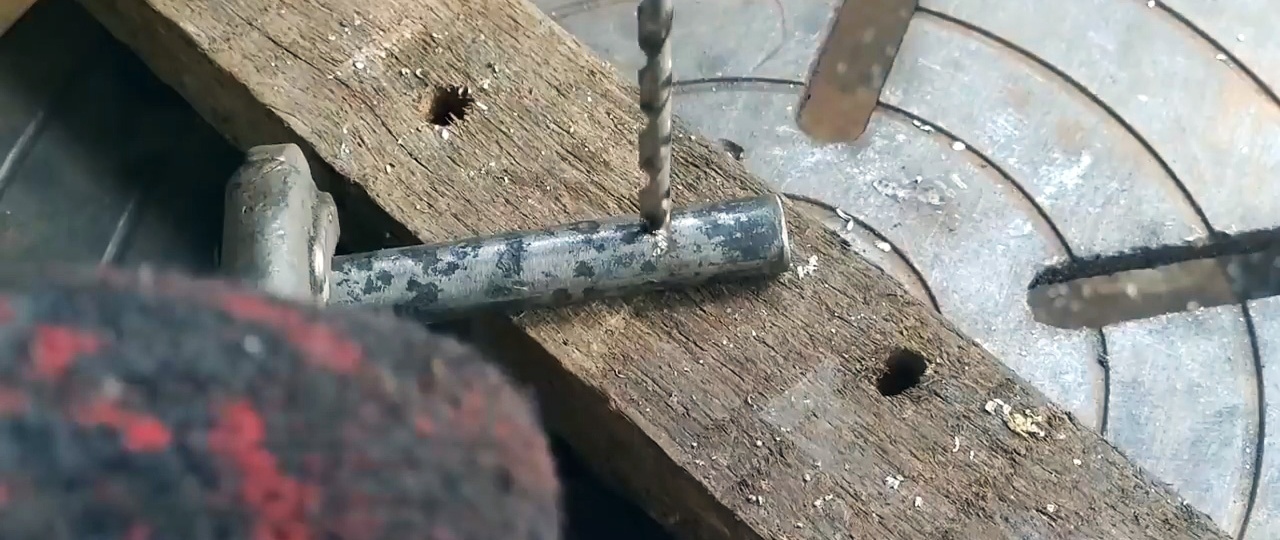
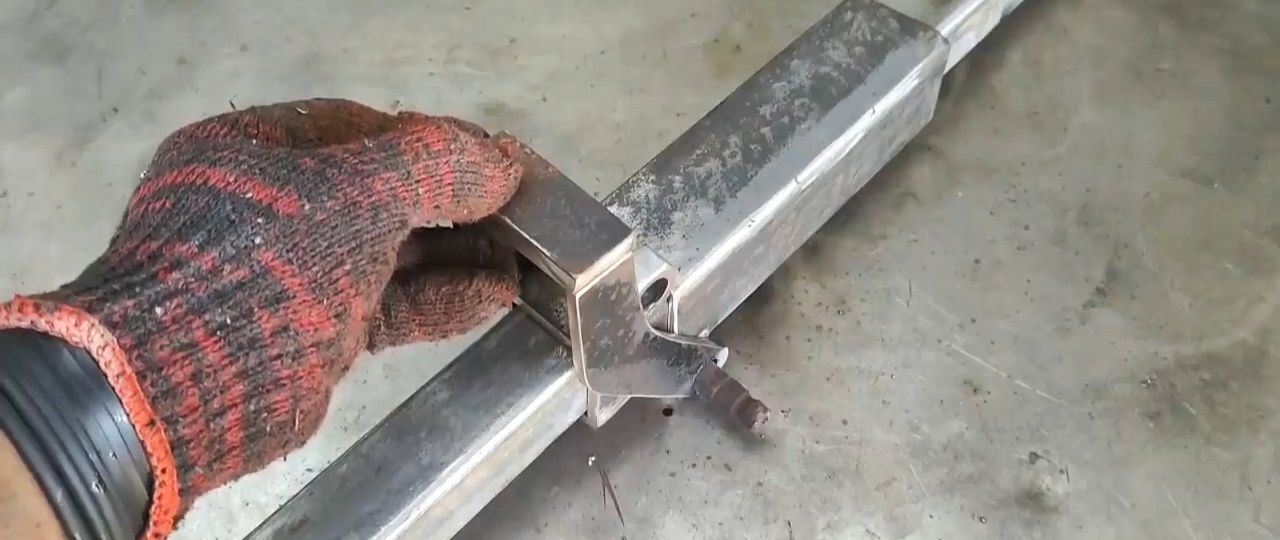
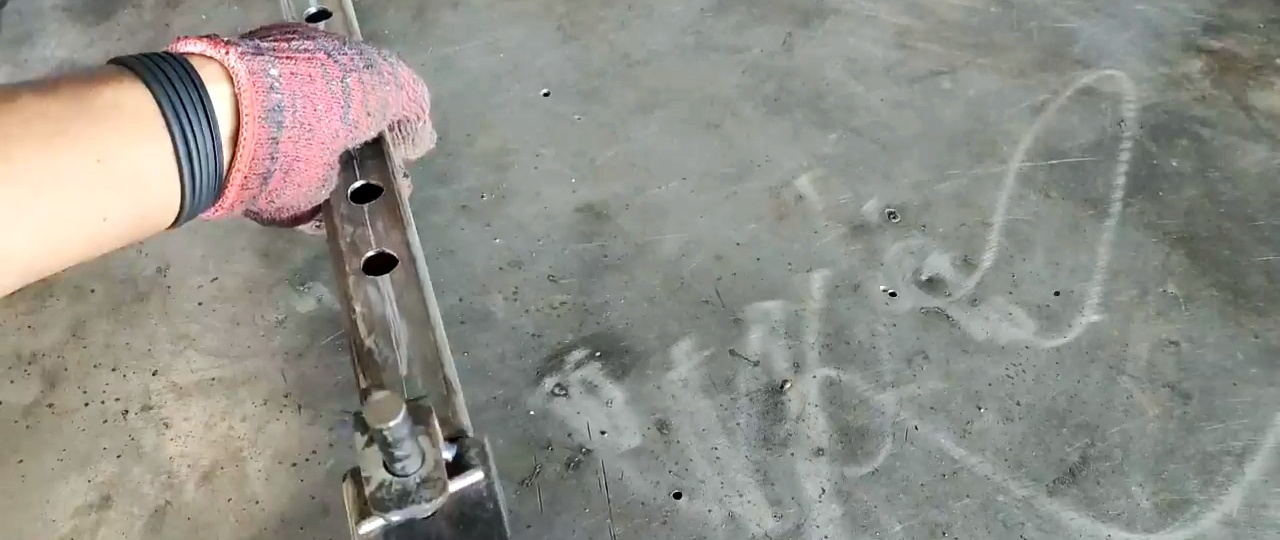
In one of the shelves there are two fragments of an equal-angle angle drill holes. We insert rods into them and mark places for drilling transverse through holes located closer to one end. It is these ends that we grind at an angle of approximately 45 degrees.

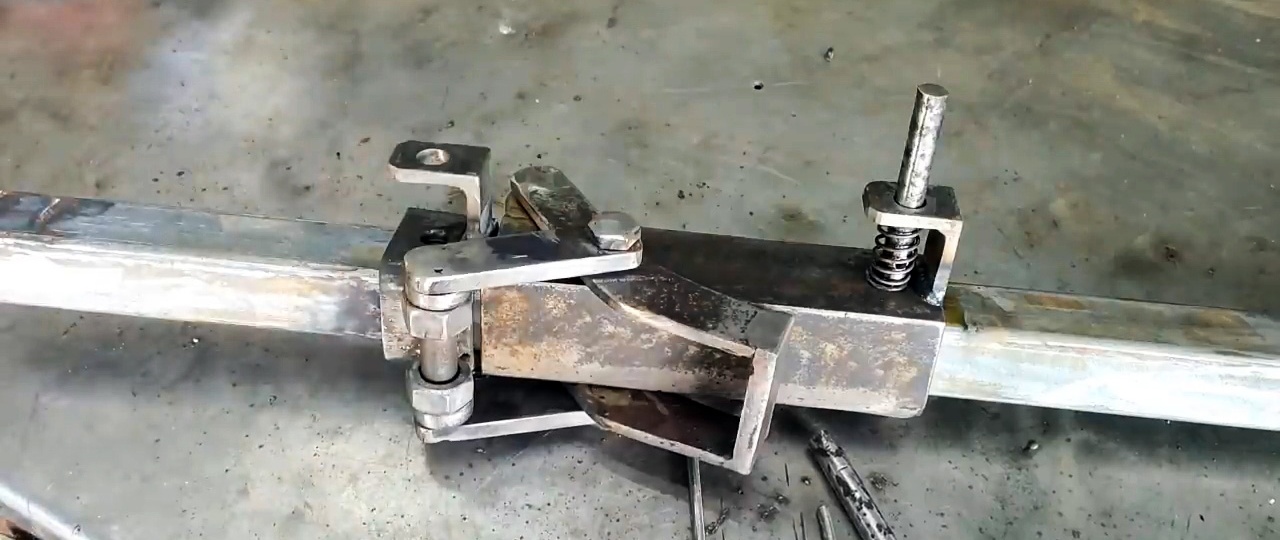
Using fragments of the corners as a template, we drill holes in the guides. Then, using rods and magnetic squares, we fix the fragments of the corners above the guides so that the holes in them and in the guides coincide vertically and weld the corners to the guides.
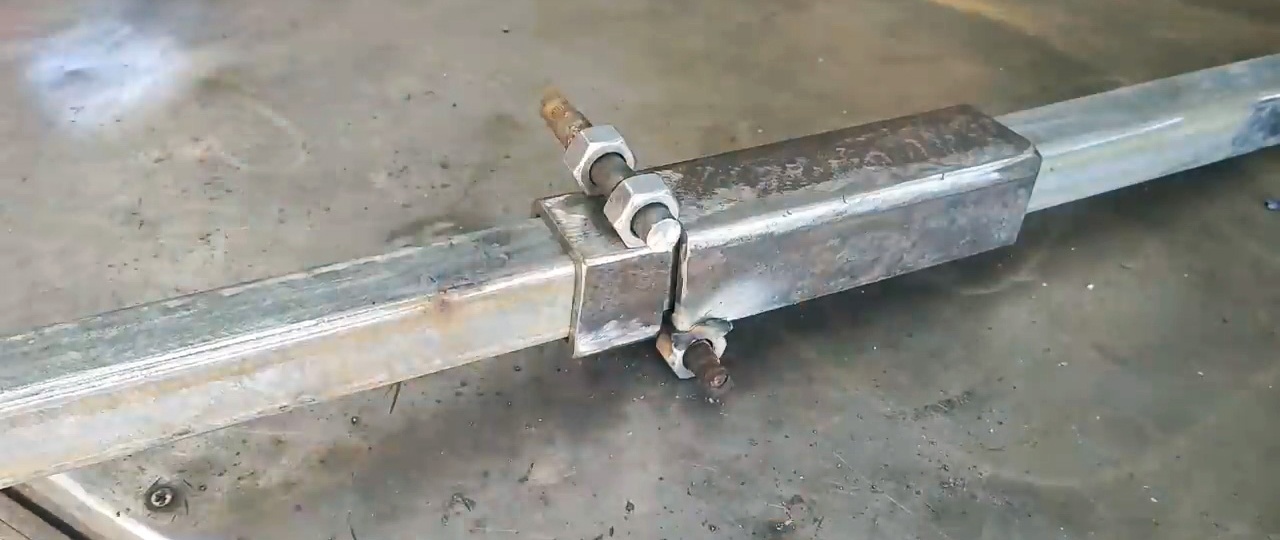
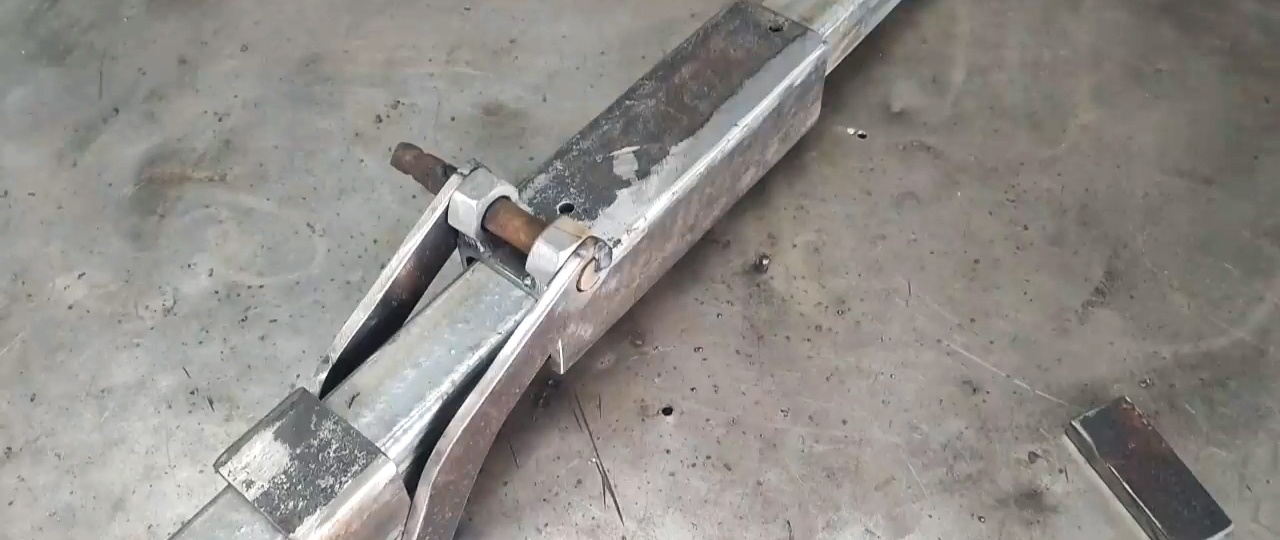
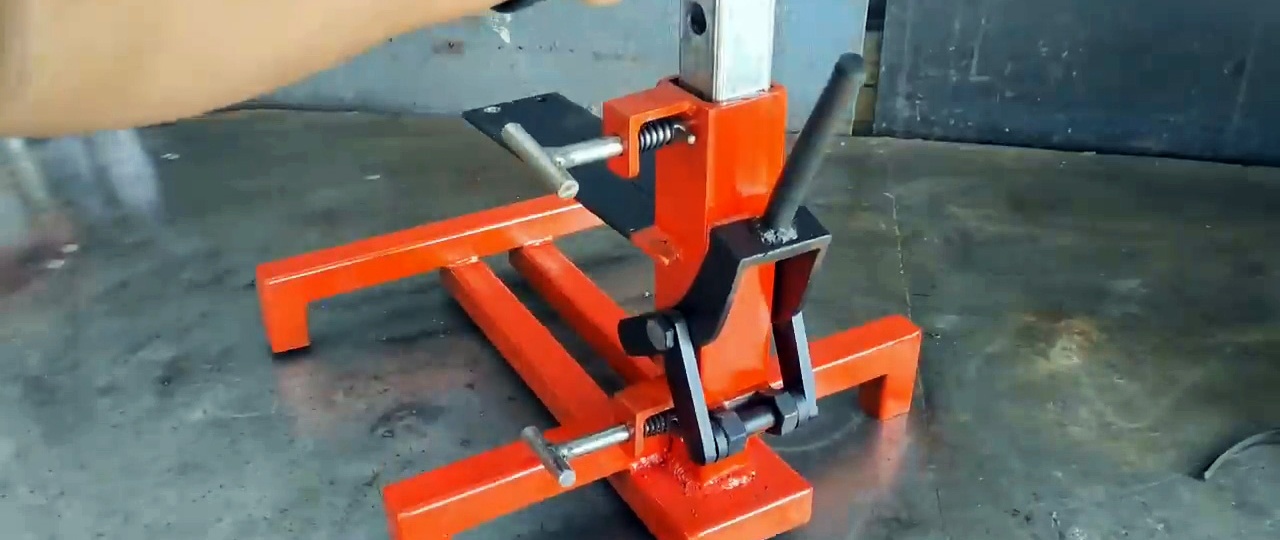
We place compression springs between the corner flanges and the guides.We insert the rods into the holes from above with the transverse holes down. Compressing the springs, insert the pins into the transverse holes.
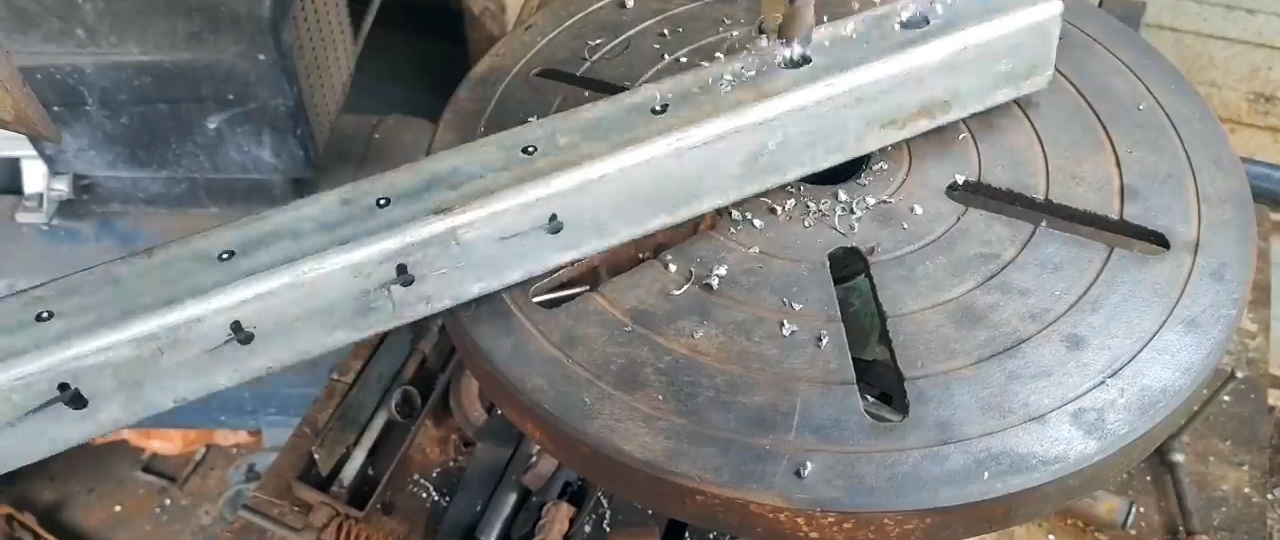
On the vertical stand we drill 15 holes every 5 cm. Again we put on it first the long and then the short guides so that the rods rest against the rail with the holes.
Towards the ends of the rods across weld short rods for ease of movement. We weld the rod needed to use the lever to the transverse plate connecting the 2 curved plates.

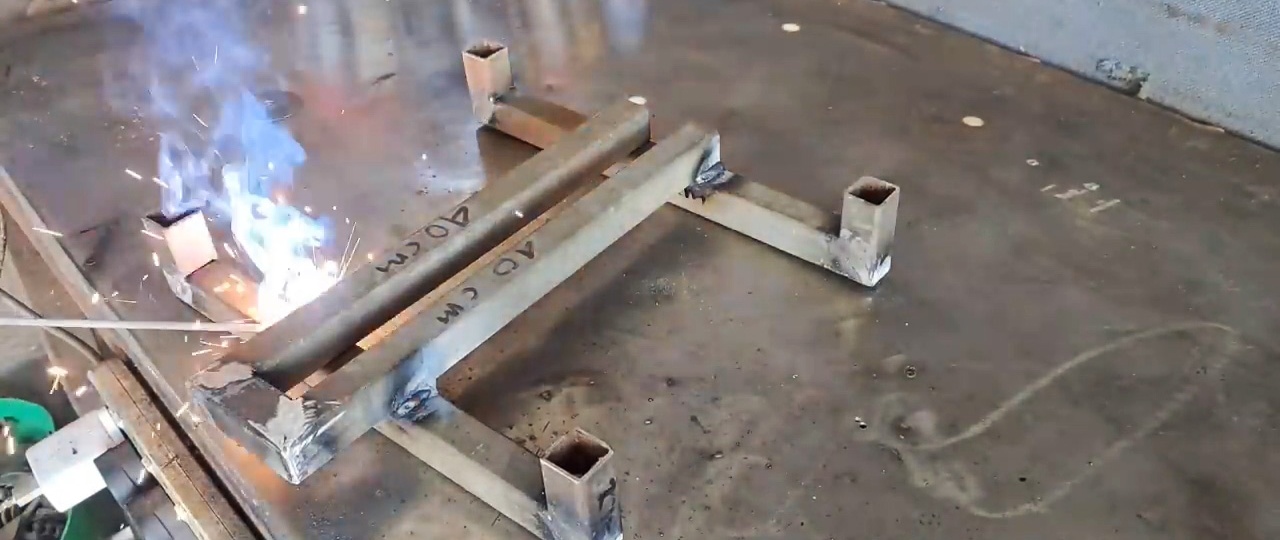
We weld 2 equal-angle angles with cutouts at one end in the middle of the larger guide at a right angle.
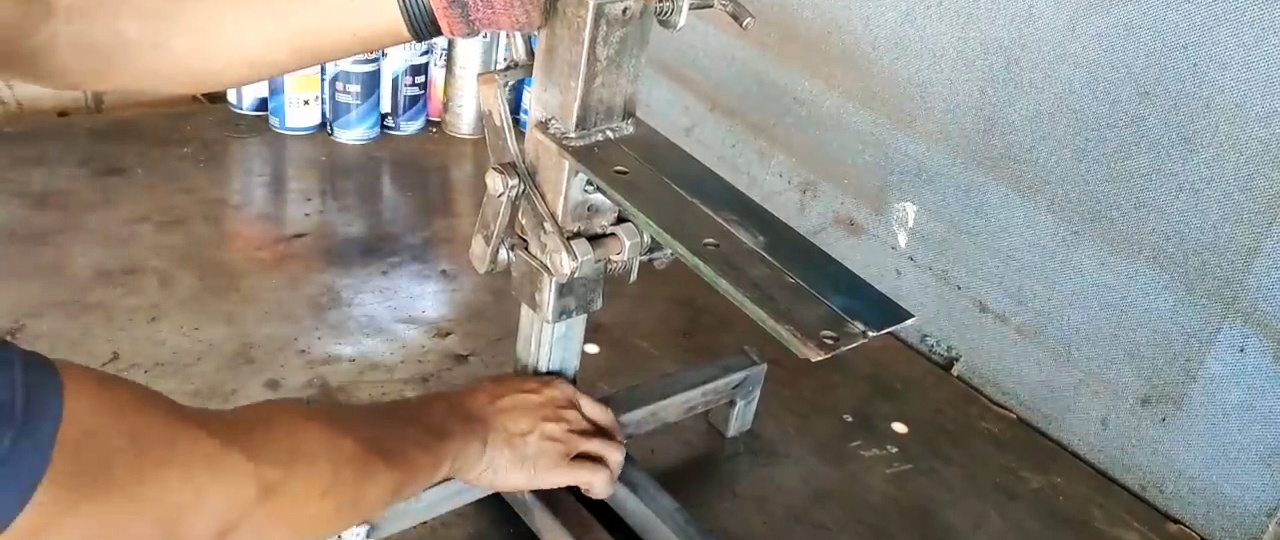
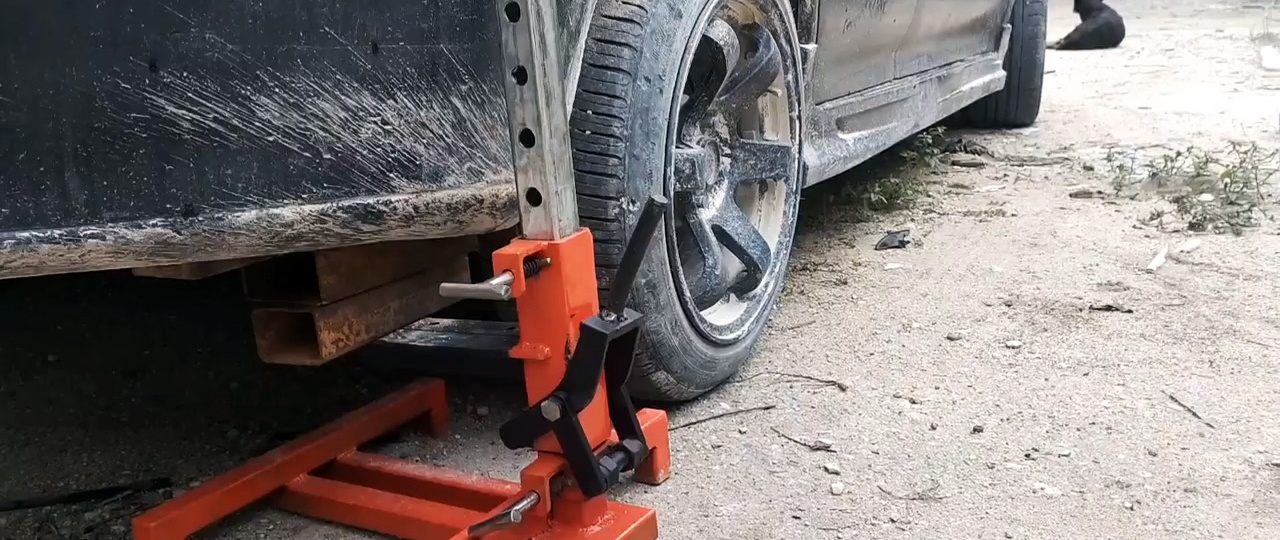
We weld a support platform from profile square pipes 40 cm long. Vertically install the stand with guides on the cantilevered central part of the support platform and weld it. We paint the jack components in different colors.
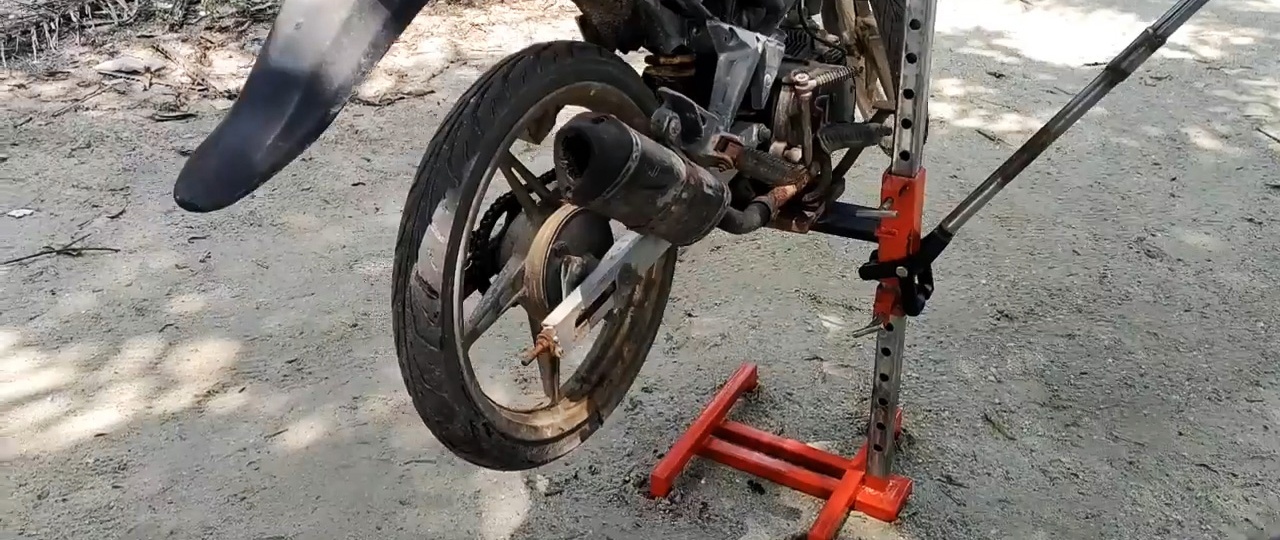
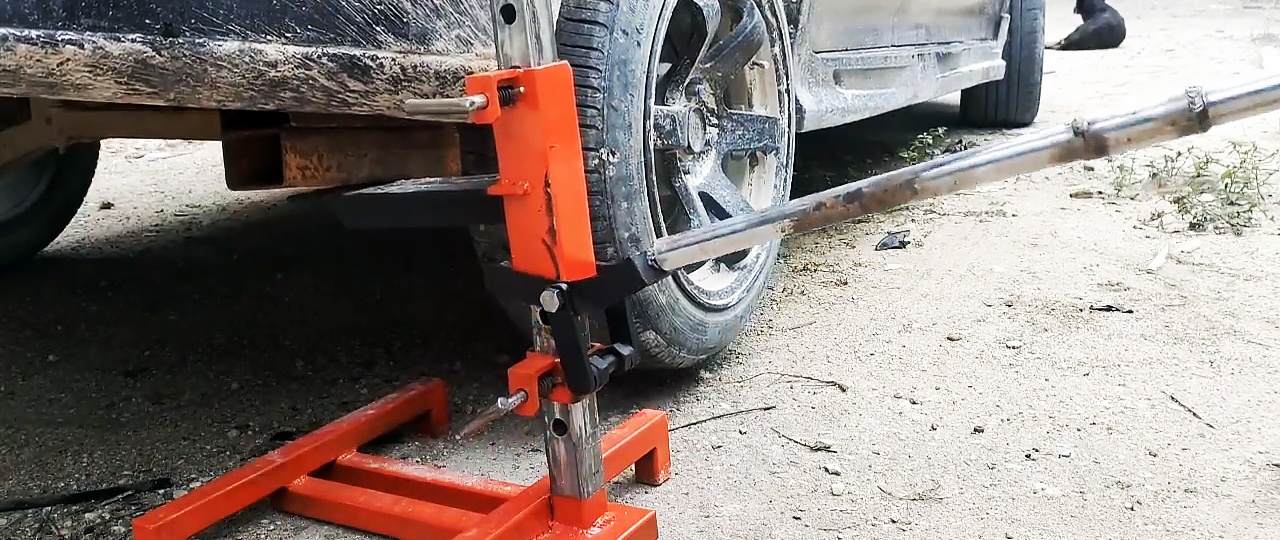
We make sure that the bevels at the ends of the fixing rods “look” up. This jack can be used to lift various equipment, including tractors, cars and motorcycles.
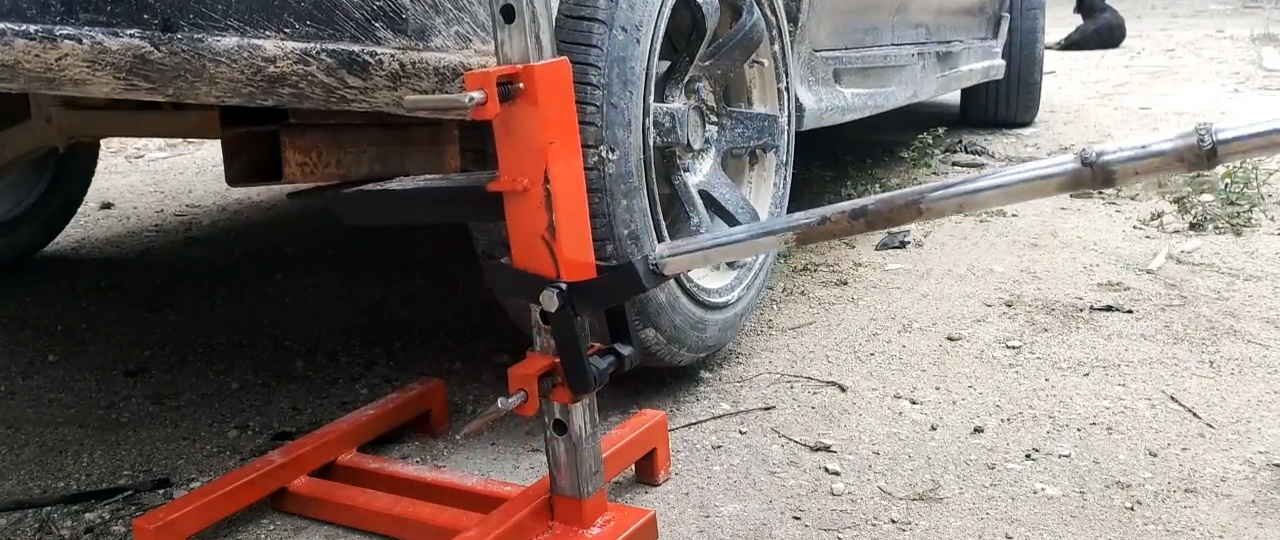
Moreover, the lifting of the load occurs continuously, and to lower it, you need to hold the lever and alternately pull the rods out of the holes in the rail.