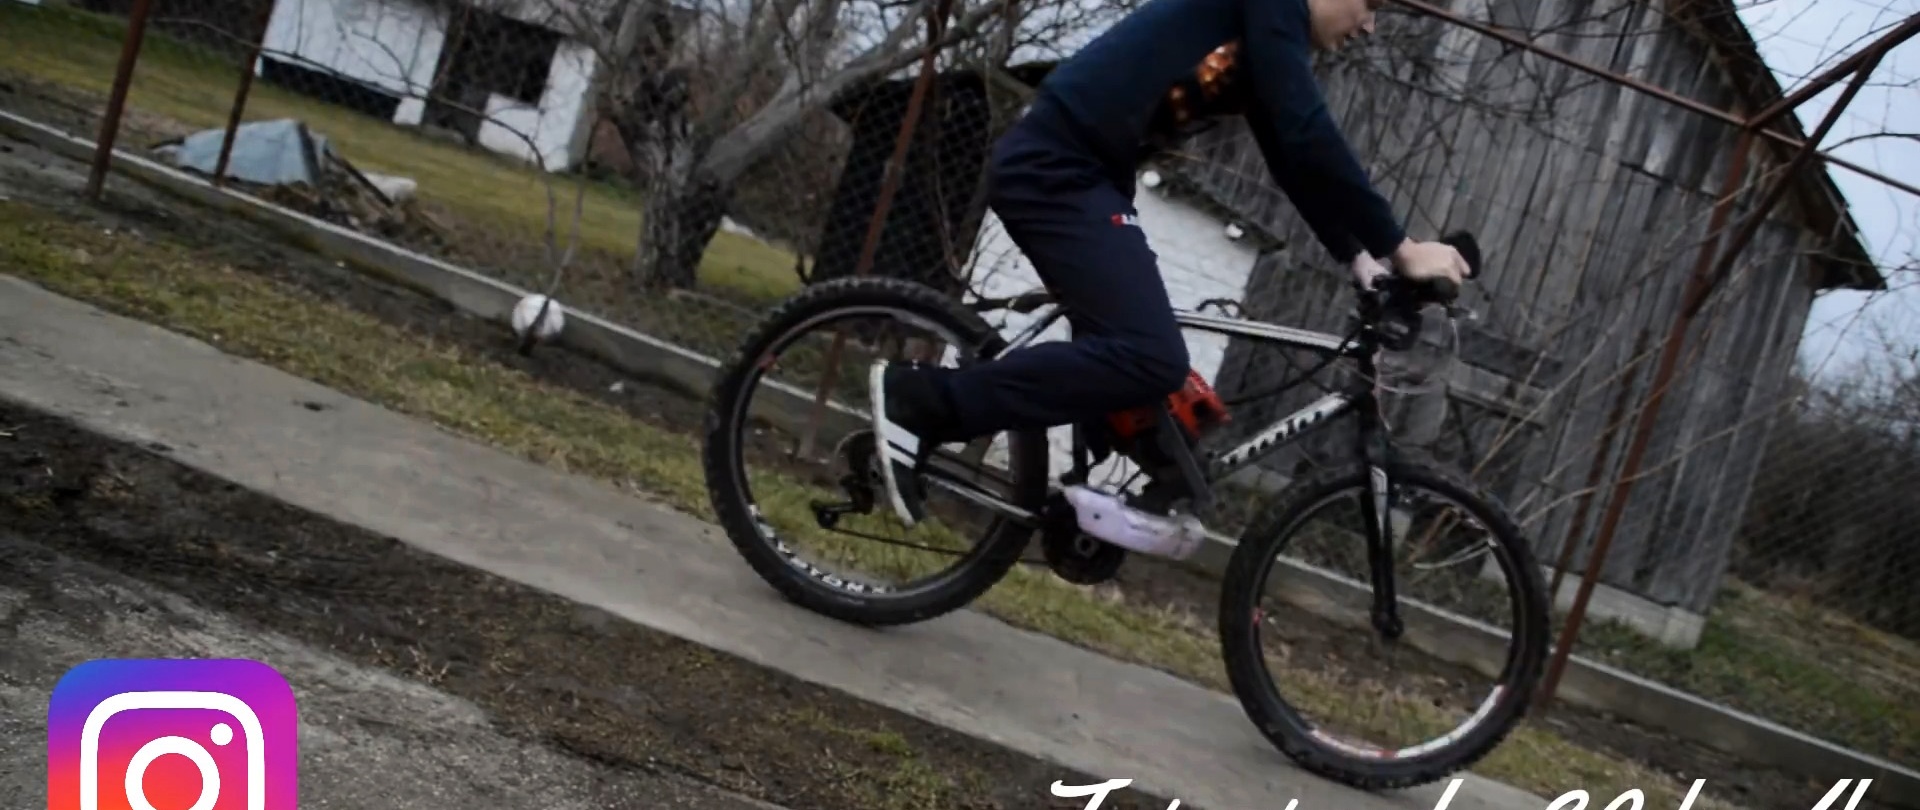
Installing an engine on a bicycle with your own hands
Because after installation on a bicycle as a drive motor from a brush cutter There is no need for pedals, then we simply remove them. We also remove the unit that serves as the base from the motor.
Instead, we make a new base, which is an almost square plate with vertical supports welded in the transverse direction and parallel to each other, also from sheet metal with cylindrical and rectangular recesses on top.

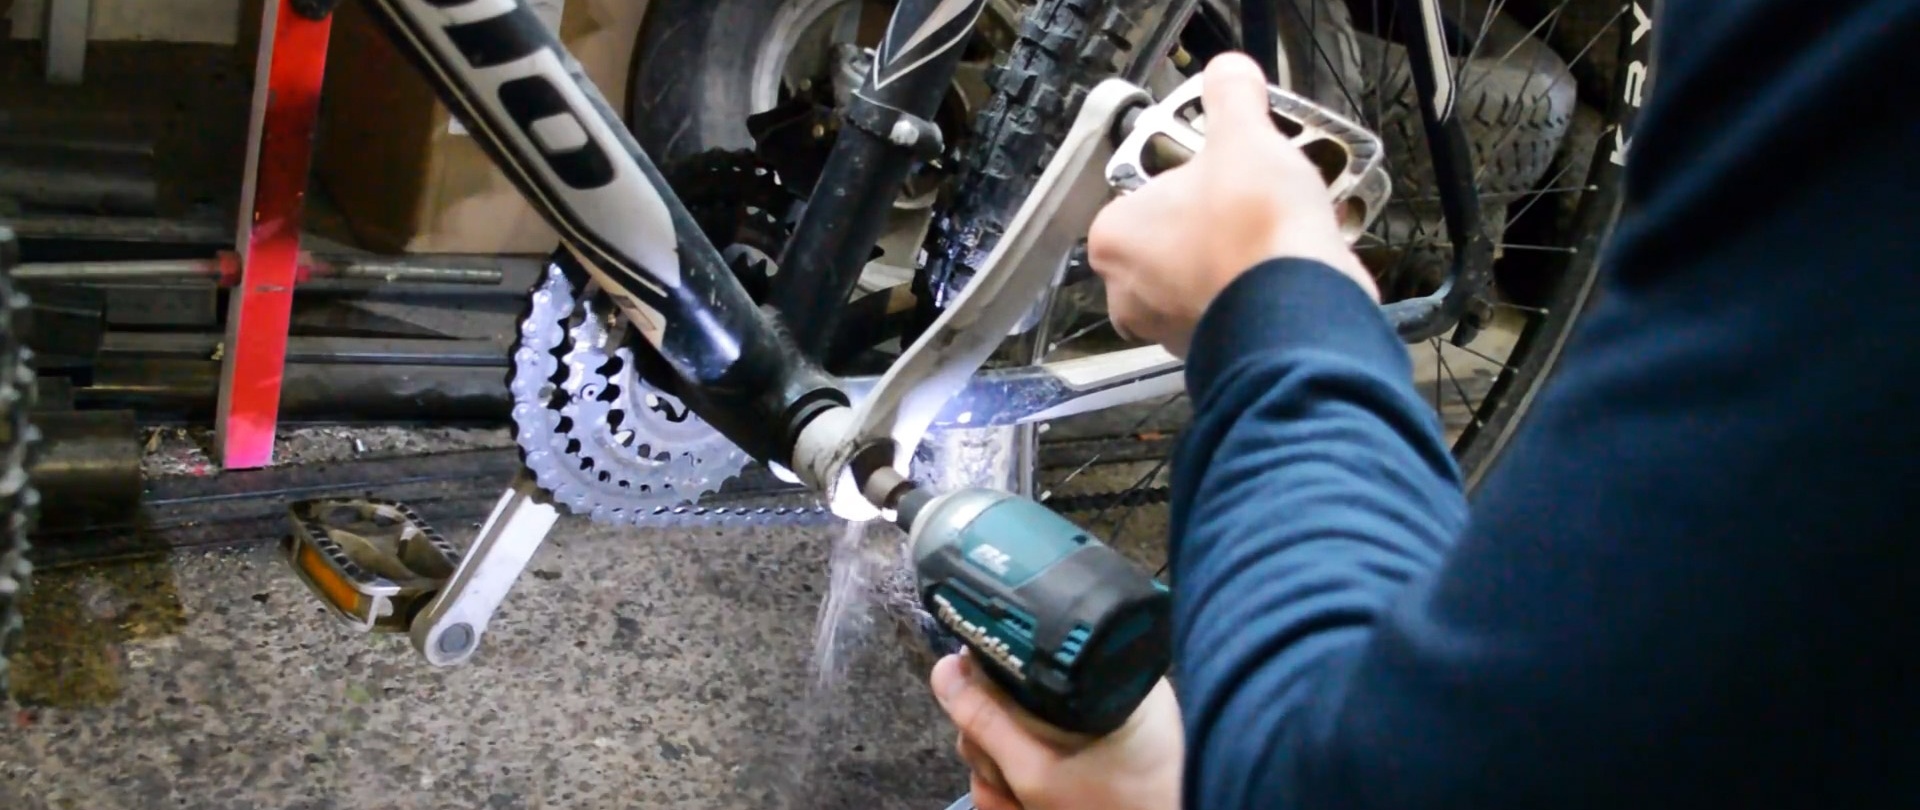
We fasten the new base with two bolts to the bottom of the inclined tube of the bicycle frame. We disconnect the variator housing, insert into it the shaft with the splines of the collet chuck of a drill or screwdriver and, having welded its end, return the variator to its place.

We cut off a ring from a round pipe, cut out a fragment in it, and from the remaining part, squeezing, we get a split ring of a smaller diameter.

Place a bolt with two screwed nuts across the cut of the reduced ring and weld them to the ends of the ring. The result is a clamp with a tightening bolt.
From a profile square pipe we weld a right angle with sides of different lengths. Weld the short side of the corner to the base plate engine from below so that the larger side of the angle is perpendicular to it, directed upward and has a distance between itself and the base plate.

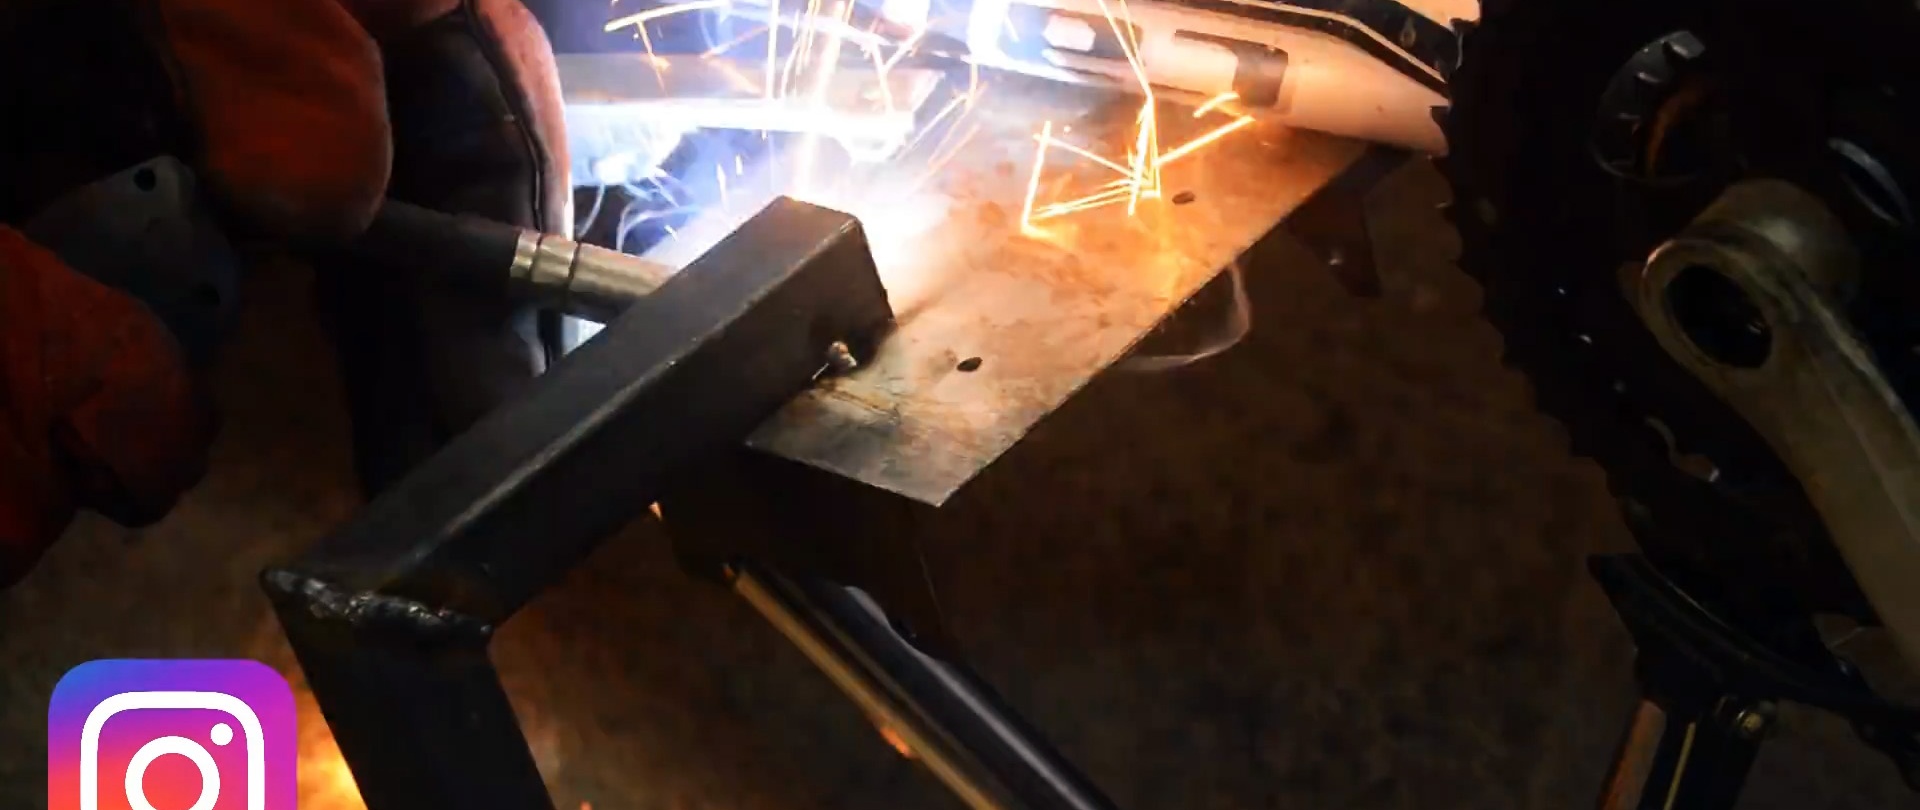
We fix the homemade clamp on the horizontal pipe of the bicycle frame in the right place and firmly tighten the coupling bolt. Between the clamp and the end of the corner side we place a piece of profile square pipe and weld it on both sides.

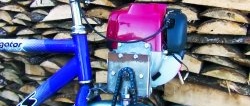
After these steps, the base under engine acquired the required strength and rigidity. We install the motor on it and fasten it with bolts at all points.

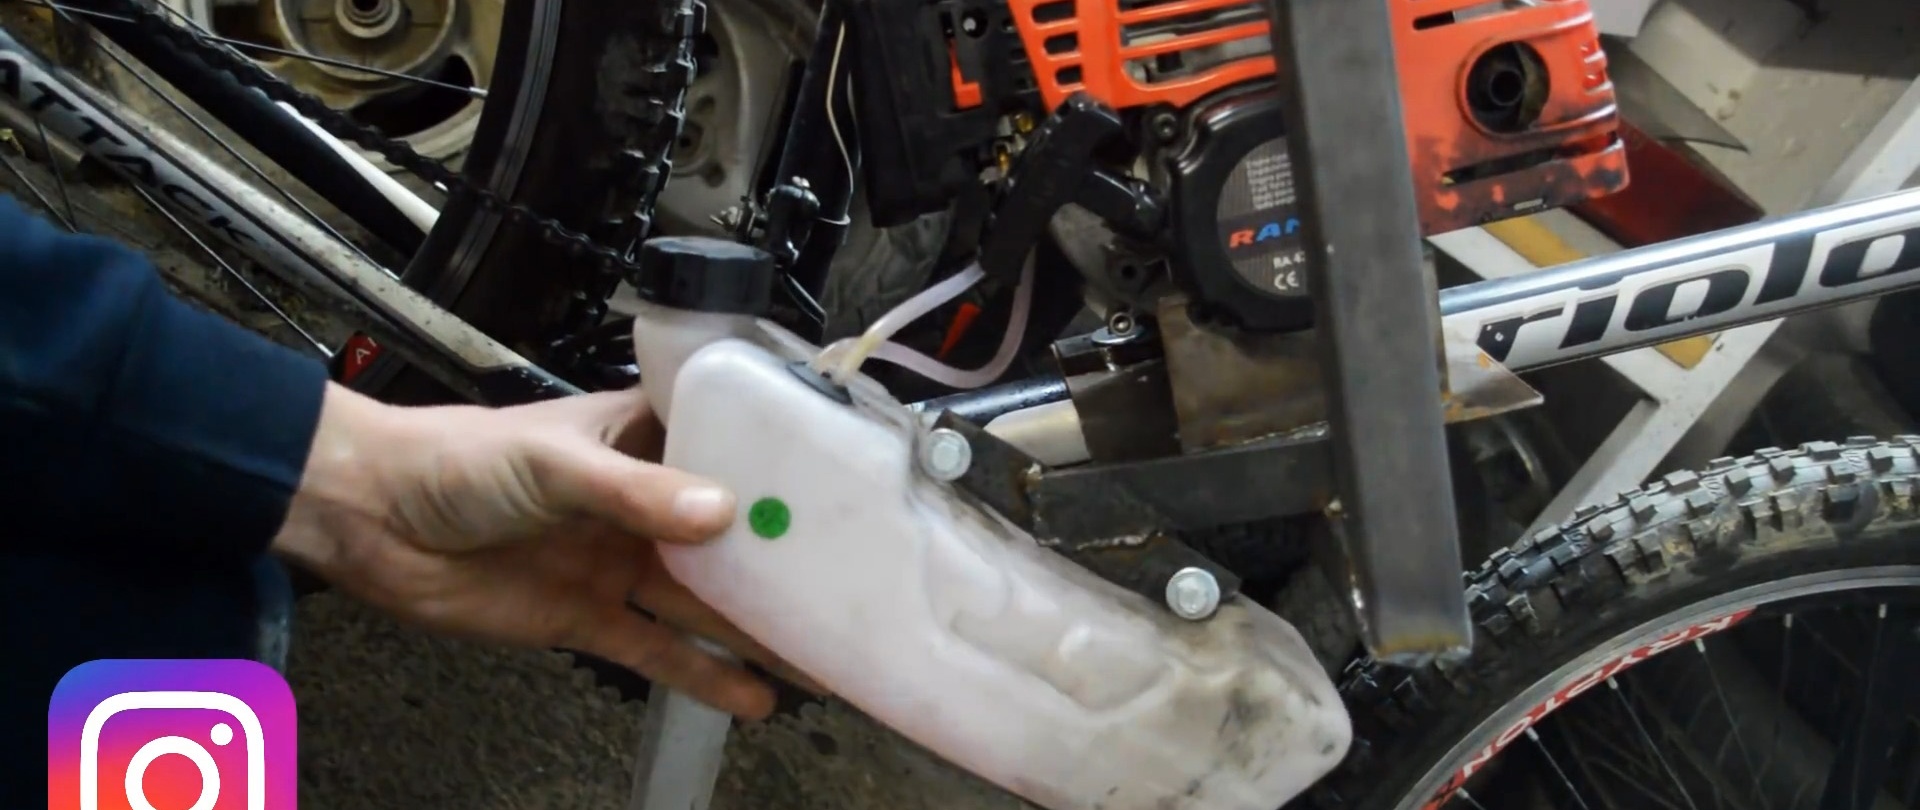
We fix the gas tank with two bolts to a separately assembled bracket, which we weld to the vertical square pipe of the base trim motor.
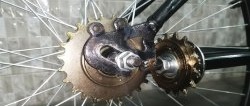
We remove the sprockets from the old bicycle.


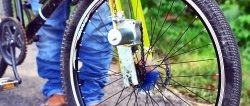
We weld the small one to the end of the drive axle of the gearbox, and the large one to the bolt screwed into the threaded hole of the pedal shaft of the bicycle carriage. We cut off the protruding part of the bolt with a grinder.

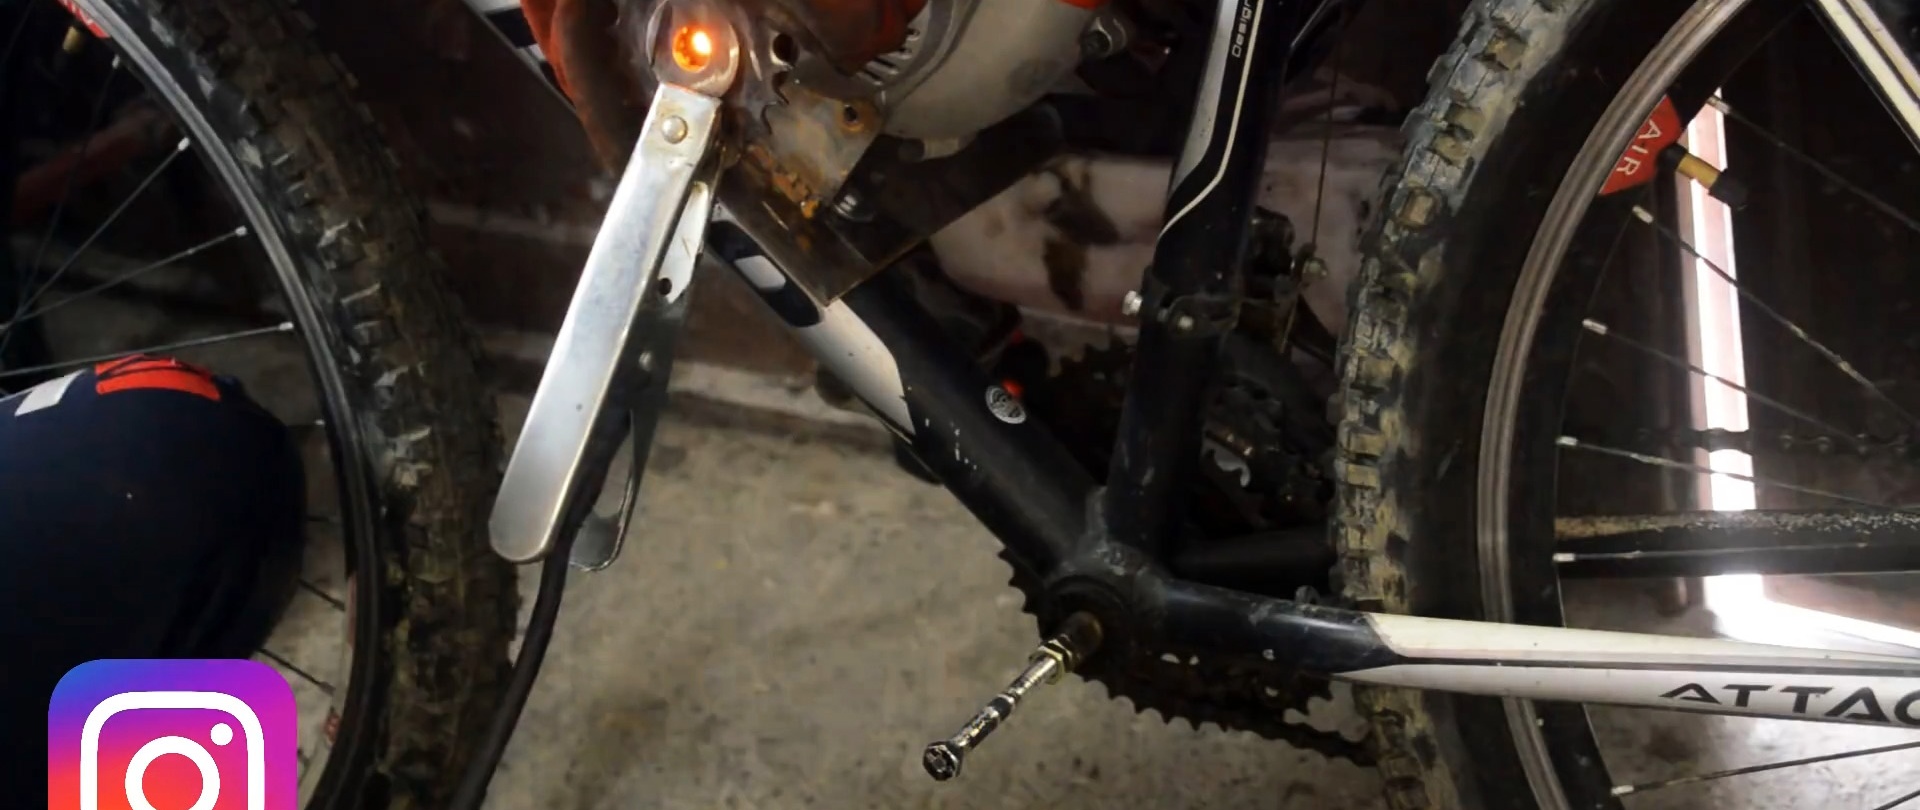
We connect the sprockets with a bicycle chain with a slight slack. To tension it to the bicycle frame, we attach a roller on bearings with a bolt and nut, which presses the chain from the outside so that it does not fly off the sprockets during rotation.

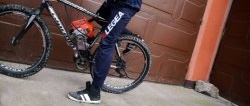
We screw 2 pieces of round pipe to the rear axle of the bicycle wheel on both sides, which will serve as footrests.

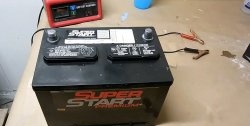
We fill the tank with gasoline, start the engine, adjust the engine speed using the remote control and we can hit the road at speeds of up to 30 km/h.