Do it yourself
Life hacks, master classes, useful tips, recipes.
home » How to fix a water leak in a toilet in literally 2 minutes without replacing parts

Fixing water leaks in the toilet with your own hands

We unscrew the button on the toilet cistern, but do not turn off the water supply yet, since we need to make sure that the water leaks through the drain gasket and not through the top of the overflow tube. To do this, remove the tank lid and make sure that the water level in it is below the top of the overflow tube.

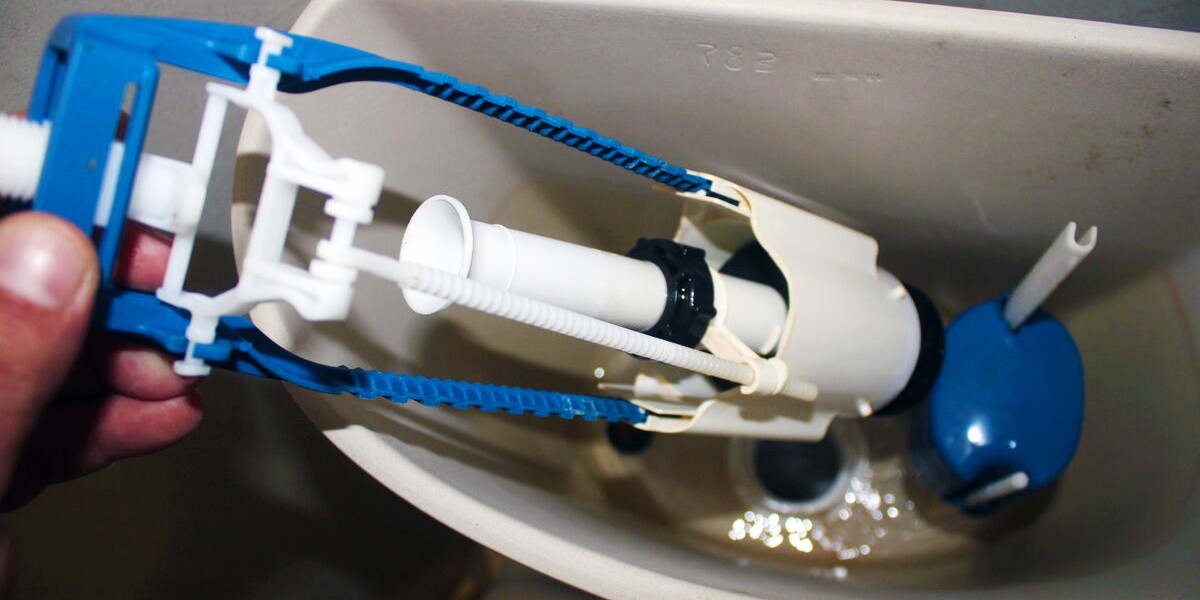
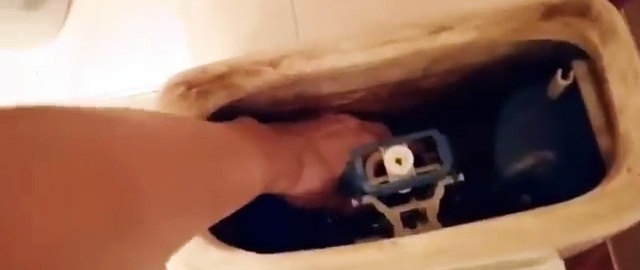
After this, we shut off the water supply and drain the liquid accumulated in the tank. We pull out the drain mechanism by turning it counterclockwise half a turn until a distinct click appears.

How to fix a water leak in a toilet in literally 2 minutes without replacing parts

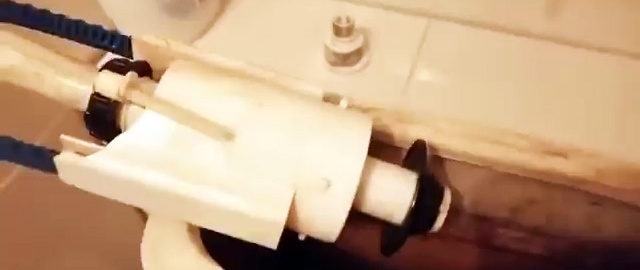
We carefully examine the rubber gasket to find out its condition and the absence of defects in the form of cracks, tears, warping, chips, etc. Outwardly it looks intact, but due to long-term use it has acquired a cone shape and has become quite rigid. For these reasons, it does not fit tightly to the hole in the bottom of the tank and allows water to pass through.

How to fix a water leak in a toilet in literally 2 minutes without replacing parts

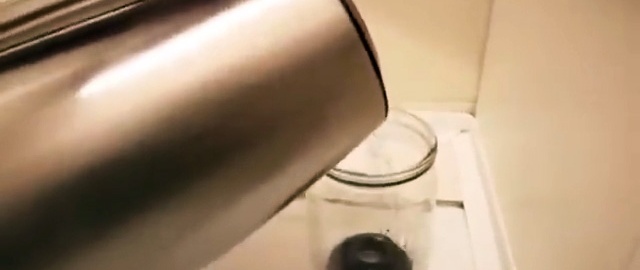
We remove the gasket and try to soften it. To do this, place the rubber product in a glass jar, pour boiling water into it and leave for about 5 minutes.

How to fix a water leak in a toilet in literally 2 minutes without replacing parts

During this short time, the rubber gasket softens and takes on almost its original geometric shape.To soften it even more and give it a final look, we knead it a little with our hands.

How to fix a water leak in a toilet in literally 2 minutes without replacing parts

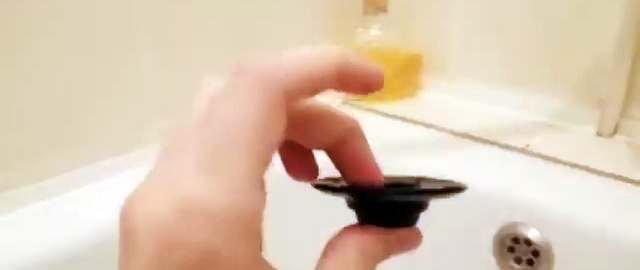
We install the restored gasket in its original place, fixing its bottom on the stops. Return the mechanism to the drain tank by turning it half a turn clockwise until you hear a distinct click.

How to fix a water leak in a toilet in literally 2 minutes without replacing parts

We open the water, fill the tank and during the filling process we make sure that there is no water leakage. We drain the water and fill the tank again, the result is the same: there is no leakage. Replace the tank cap and screw in the button. The defect has been completely eliminated.

Watch the video

come back
Comment
  • bowtiesmilelaughingblushsmileyrelaxed relaxedsmirk
    heart_eyeskissing_heartkissing_closed_eyesflushedrelievedsatisfiedgrin
    winkstuck_out_tongue_winking_eyestuck_out_tongue_closed_eyesgrinningkissingstuck_out_tonguesleeping
    worriedfrowninganguishedopen_mouthgrimacingconfusedhushed
    expressionlessunamusedsweat_smilesweatdisappointed_relievedwearypassive
    disappointedconfoundedfearfulcold_sweatperseverecrysob
    joyastonishedscreamtired_faceangryragetriumph
    sleepyyummasksunglassesdizzy_faceimpsmiling_imp
    neutral_faceno_mouthinnocent
4 minus one =
Comments (0)

Growing tomatoes using the I.M. method Maslova

2 simple and useful homemade attachments for an angle grinder

Bear made of threads | Do it yourself

How to pierce a glass bottle with a nail

«Do it yourself - with your own hands» - a site of interesting homemade products made from scrap materials and items at home. Step-by-step master classes with photos and descriptions, technologies, life hacks - everything a real master or just a craftsman needs for needlework. Crafts of any complexity, a large selection of directions and ideas for creativity.

We recommend reading

Washing machine error codes