Simple DIY knife sharpening
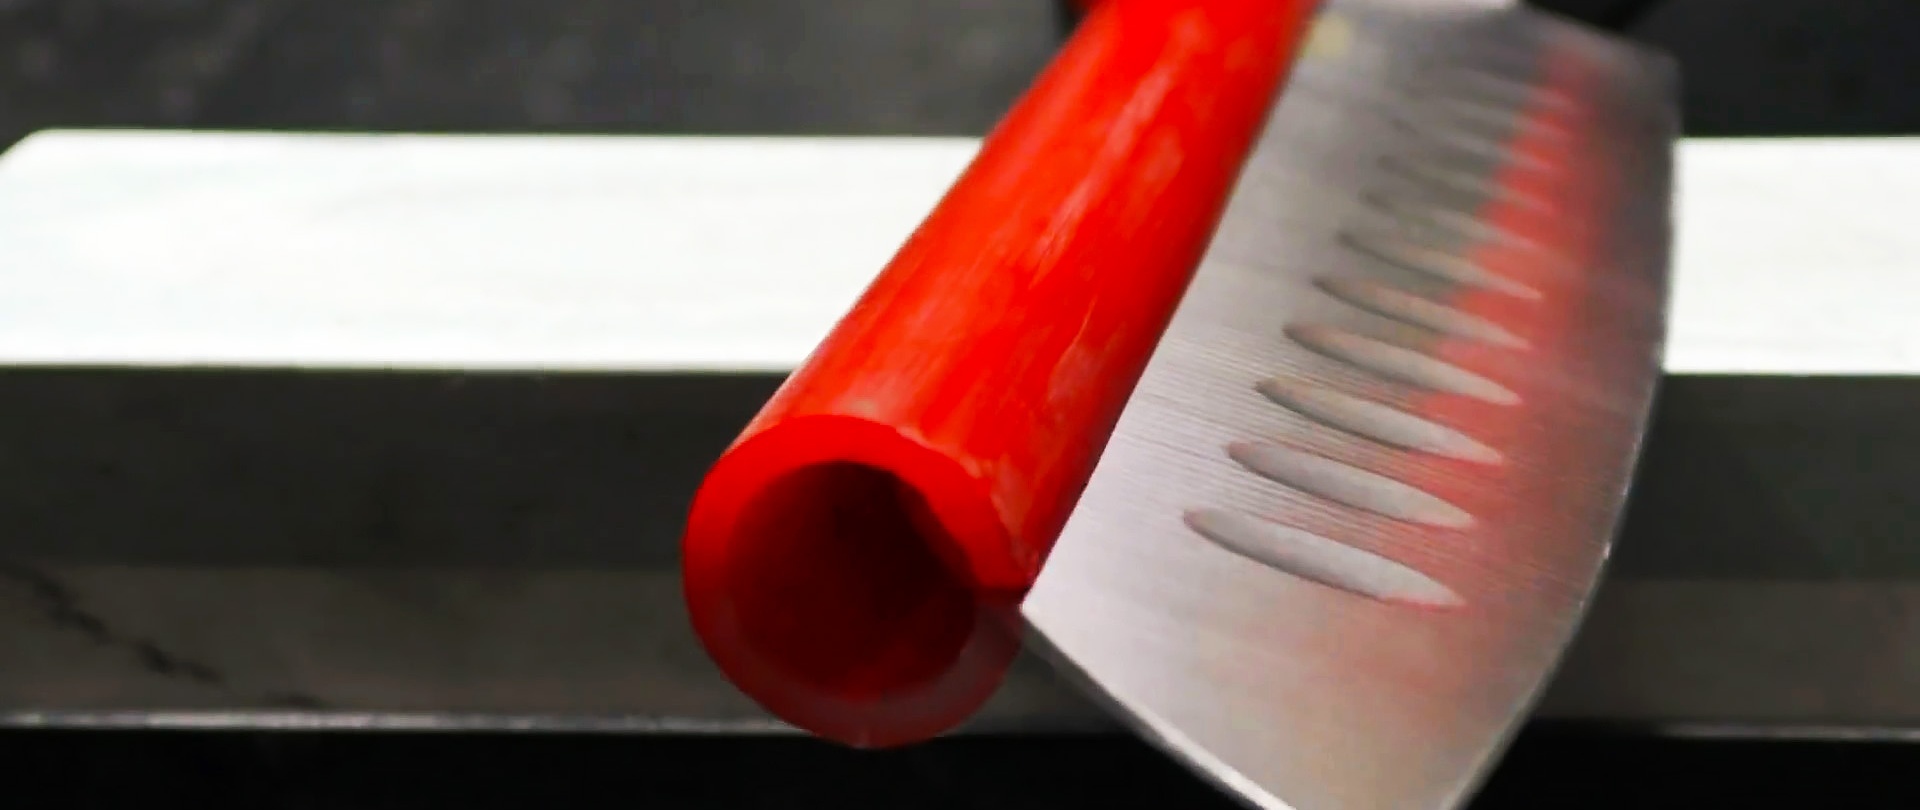
To sharpen a kitchen knife, we will use a double-sided stone with a grit of 1000 and 4000. In order for the knife to cut well, first of all, it is necessary to ensure a correct and constant sharpening angle along the blade.
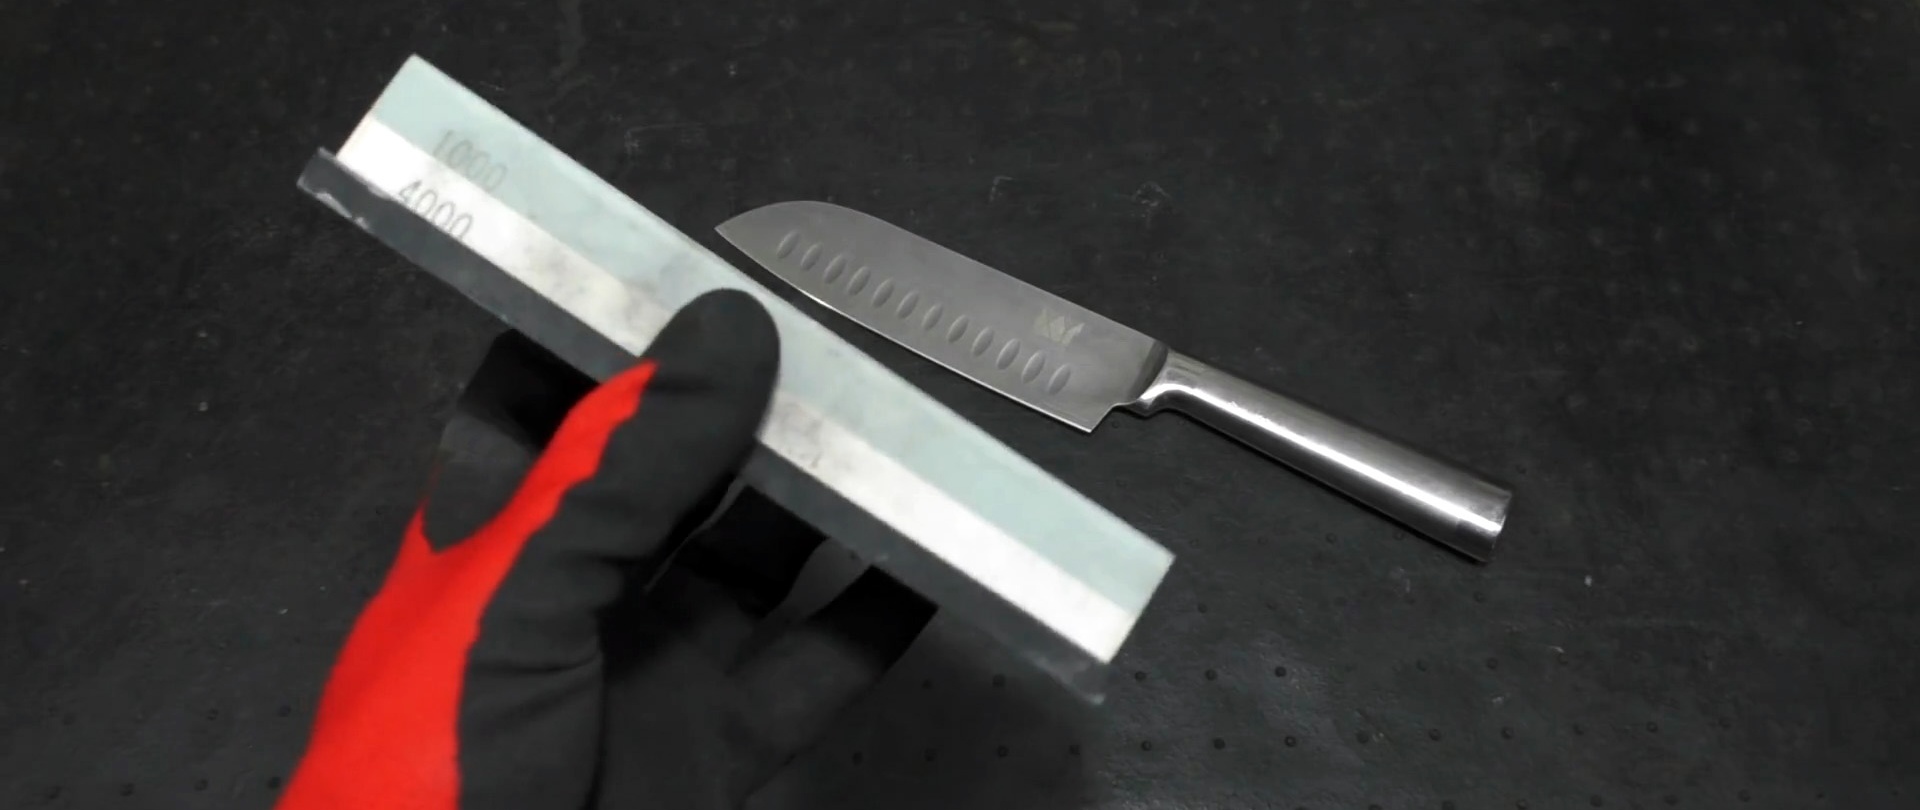
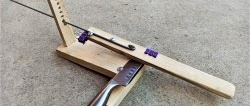
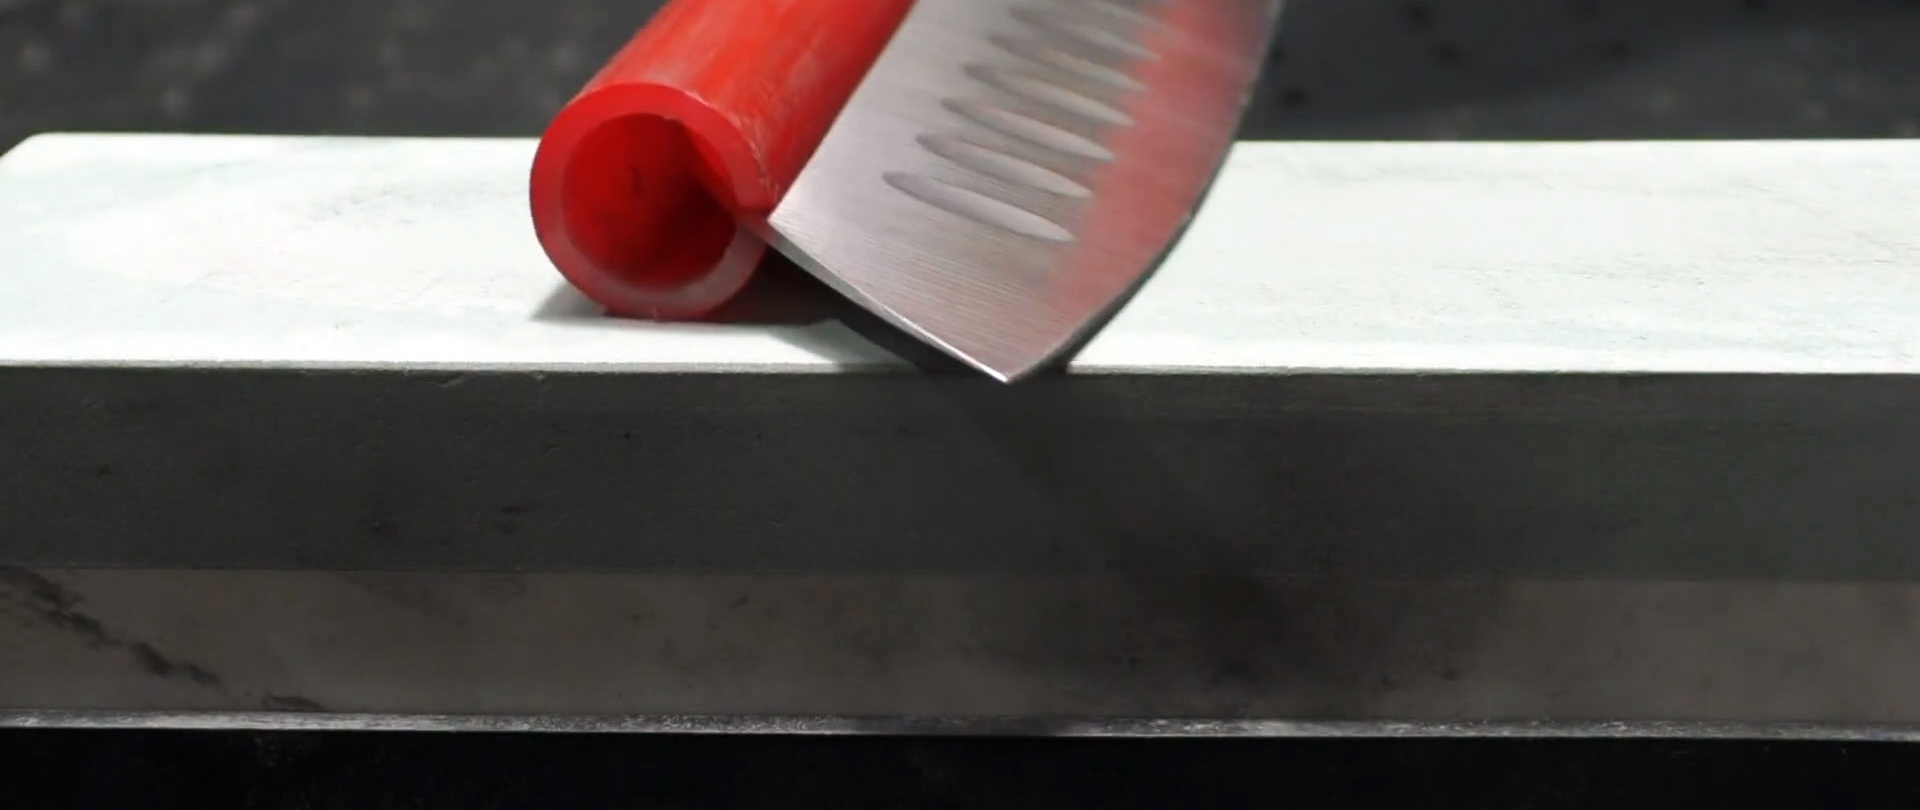
Not every person manages to ensure the correct sharpening angle during this work, so many are not able to ensure their knife is well sharpened. To ensure control of the desired sharpening angle, we will use a plastic tube for heated floors with a diameter of 16 mm.
Cut a piece about 15 cm long from the pipe. Cut it with a knife along the generatrix along the entire length. Before sharpening, check the condition of the knife by cutting a sheet of writing paper. A dull knife will usually slip along the edge of the sheet or tear it.

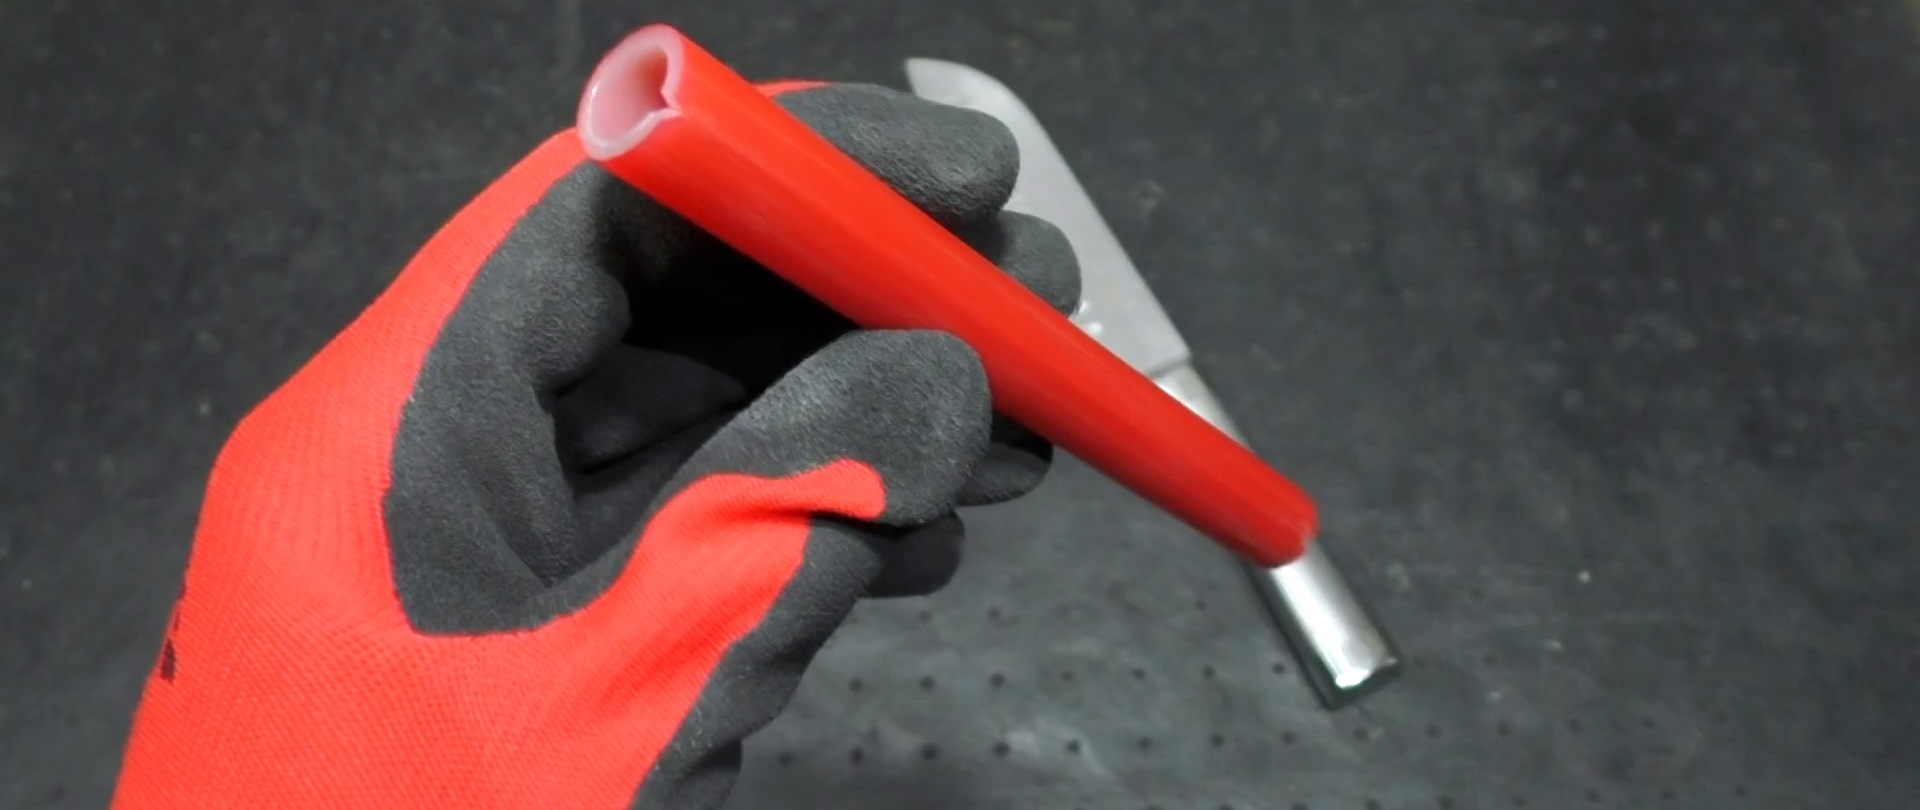
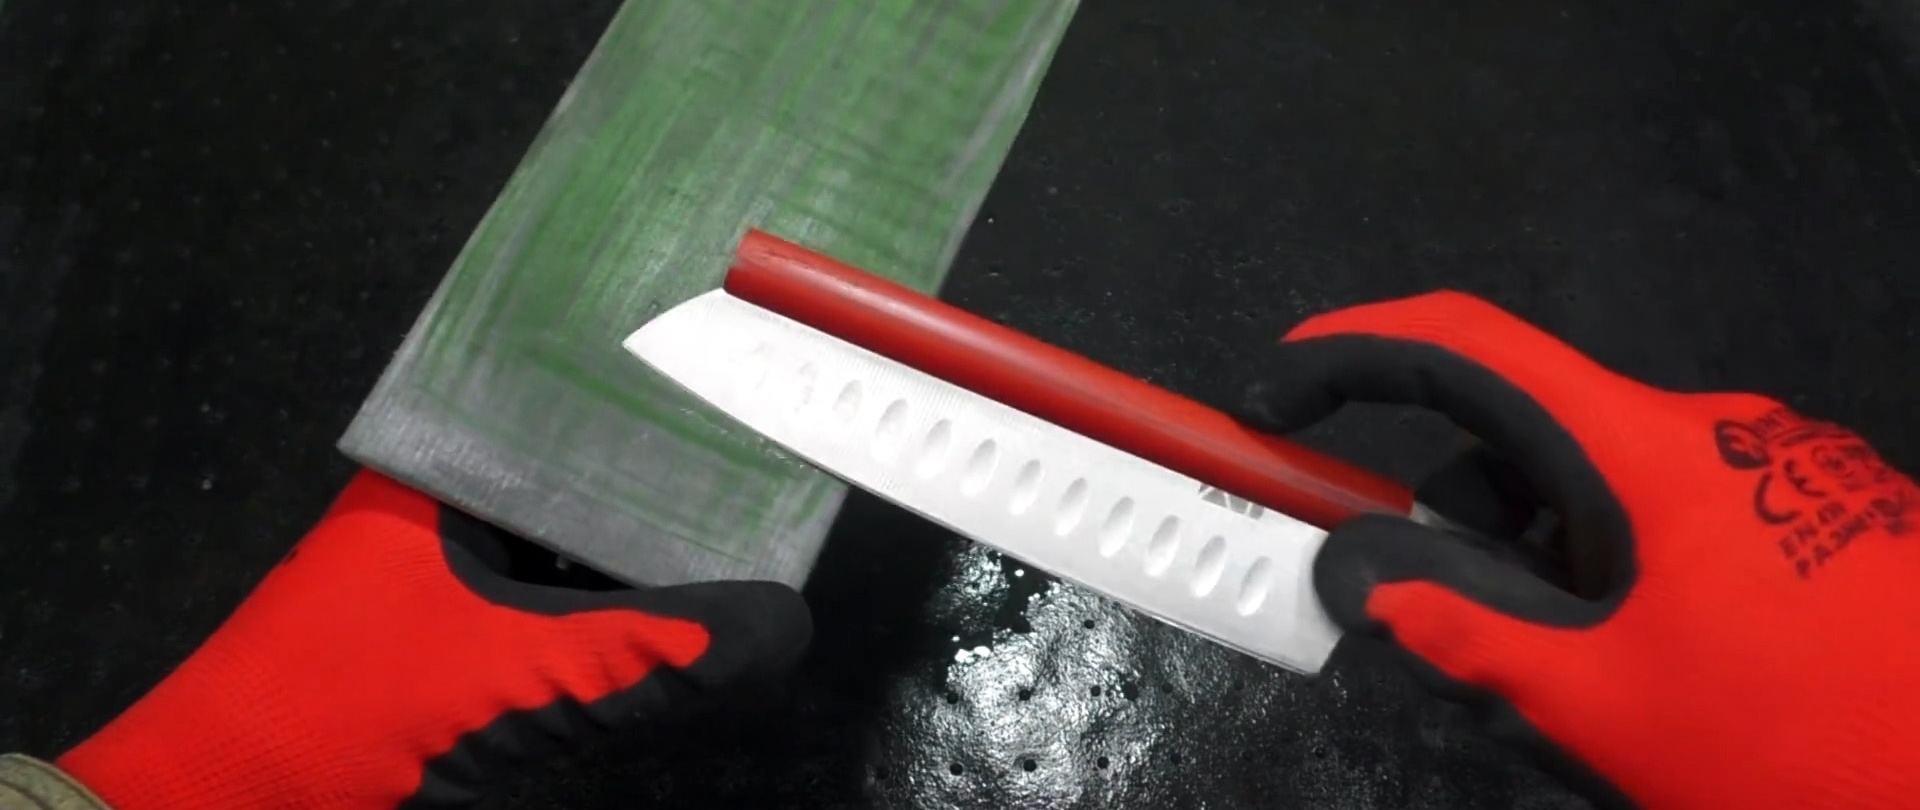
We put the tube, cut longitudinally, onto the butt of the knife. Now, during the sharpening process, the tube slides over the surface of the stone and ensures the same sharpening angle of the blade on both sides. Sharpening a knife turns into a simple task that even a housewife can handle.
First, we sharpen the knife with that part of the stone that has a coarse grain.Then we turn the stone over to the other side and continue sharpening with fine grain. The result is a very sharp cutting edge and the knife is ready for use.
But in order to bring the knife to razor sharpness, the blade must be polished using GOI paste. To do this, apply the paste to the working surface of a paint float and repeat the movements as when sharpening on a stone.
We check the degree of sharpening by repeating the cutting of a sheet of paper while hanging. It turns out very simple and easy. In this way, using a sharpening stone, a piece of pipe, a construction float and GOI paste, you can sharpen both new and old knives. The result will always be positive.