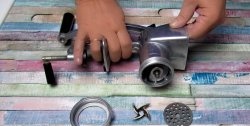
Not everyone knows how to properly sharpen meat grinder knives. And it’s not a matter of skill at all, but the correct sharpening technique. It's the knives, not the knife. Many people mistakenly believe that there is only one knife in a meat grinder - that star-shaped thing that rotates on a shaft. However, the round grate from which the crushed product comes out is also a knife. Paired with a star-shaped knife, they work on the principle of scissors. Many “craftsmen” sharpen the sprocket with fine-grained sandpaper on a flat surface, and then are sincerely perplexed; why meat fibers clog the round grid so quickly and wrap around the sprocket. The thing is that the surface of both knives is not perfectly flat, and if there is even the slightest gap between them, they will chew meat fibers, like dull scissors chewing paper. Today I want to show you how to properly prepare an abrasive and sharpen both knives at the same time, and at the same time grind them against each other in order to avoid the appearance of gaps.
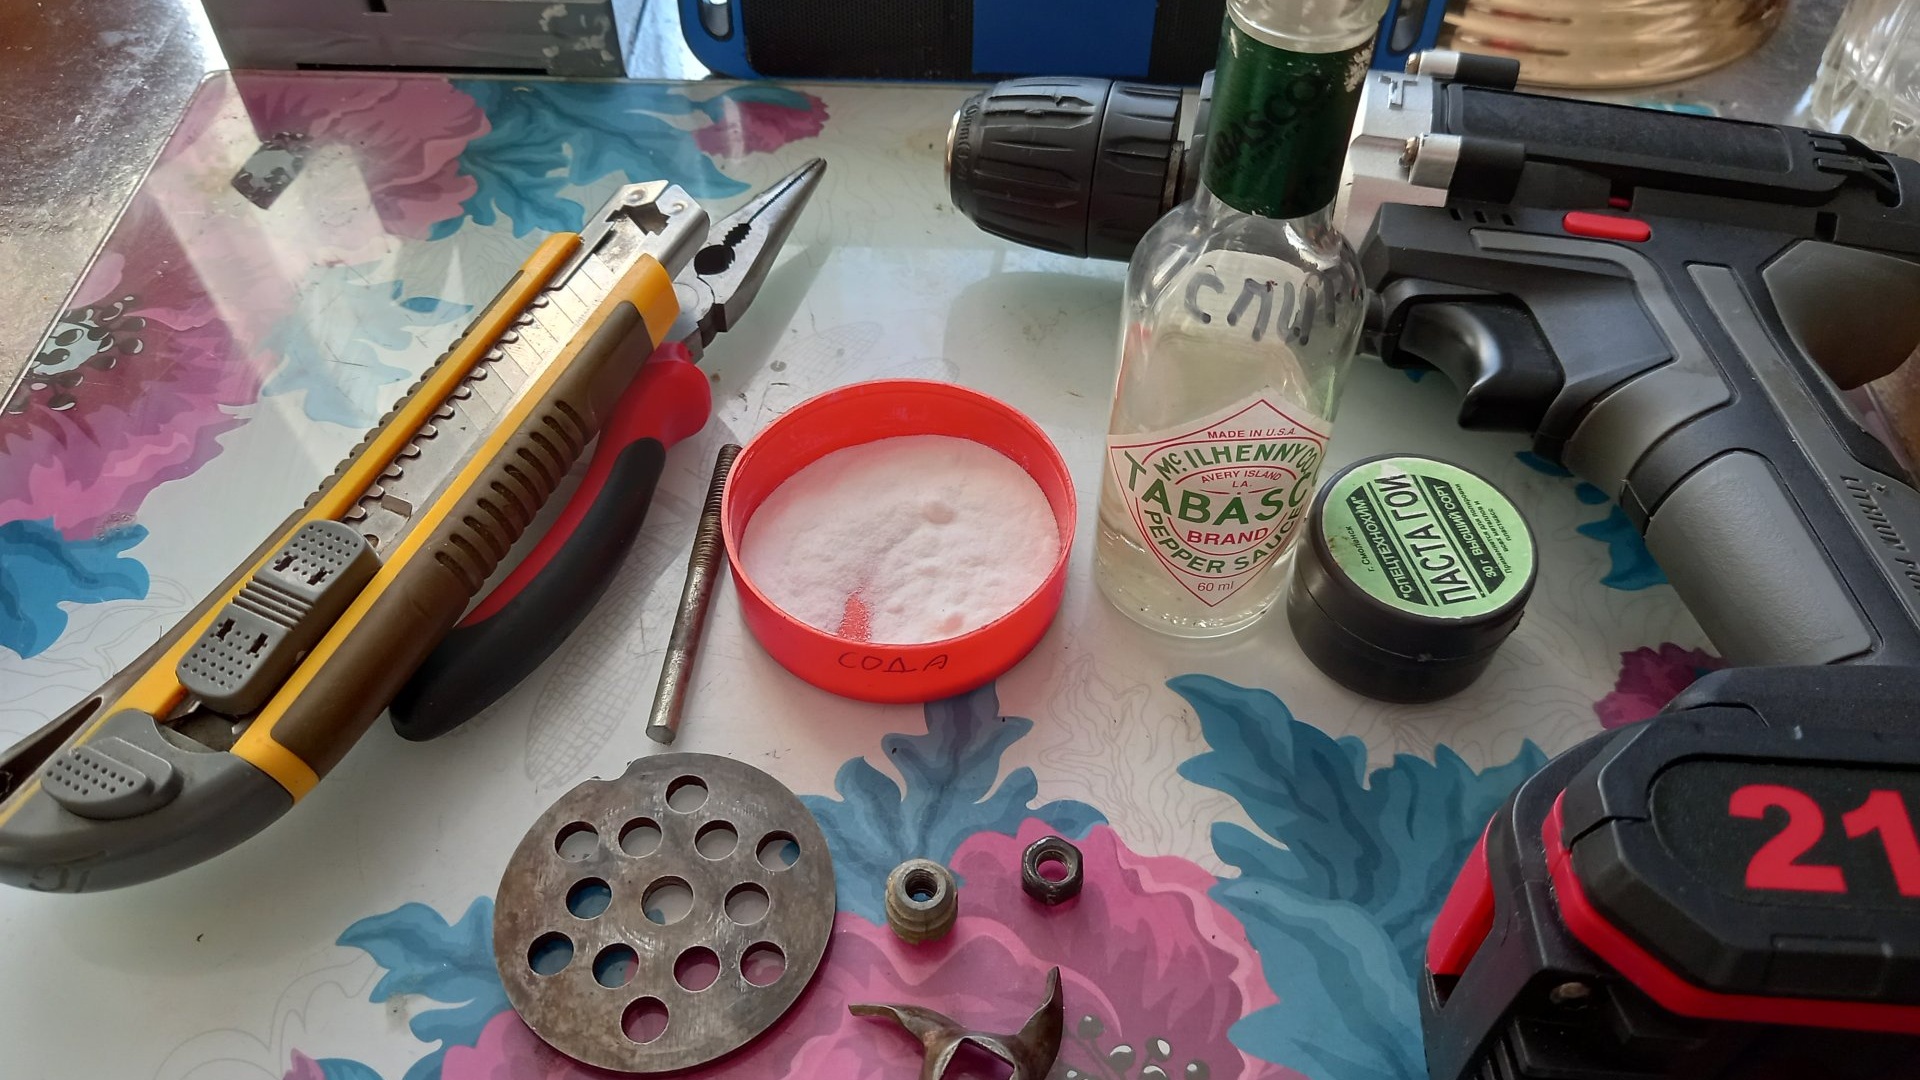
Will need
- Soda, two teaspoons.
- Paste GOI.
- Medical alcohol (you can use vodka).
- Teaspoon.
- Screwdriver.
- Threaded pin for the central hole of the grille.
- Two nuts, for threaded studs.
- A clean cloth napkin.
- Knife.
Sharpening meat grinder knives
First of all, of course, you need to prepare an abrasive paste. For this we need soda, goyim paste, and medical alcohol. You can, of course, use other strong alcohol, such as vodka, but then you will have to be patient, since the goyim paste dissolves a little longer in vodka. So, scrape or finely chop the goyim paste into a container with soda (two teaspoons). About half a teaspoon.
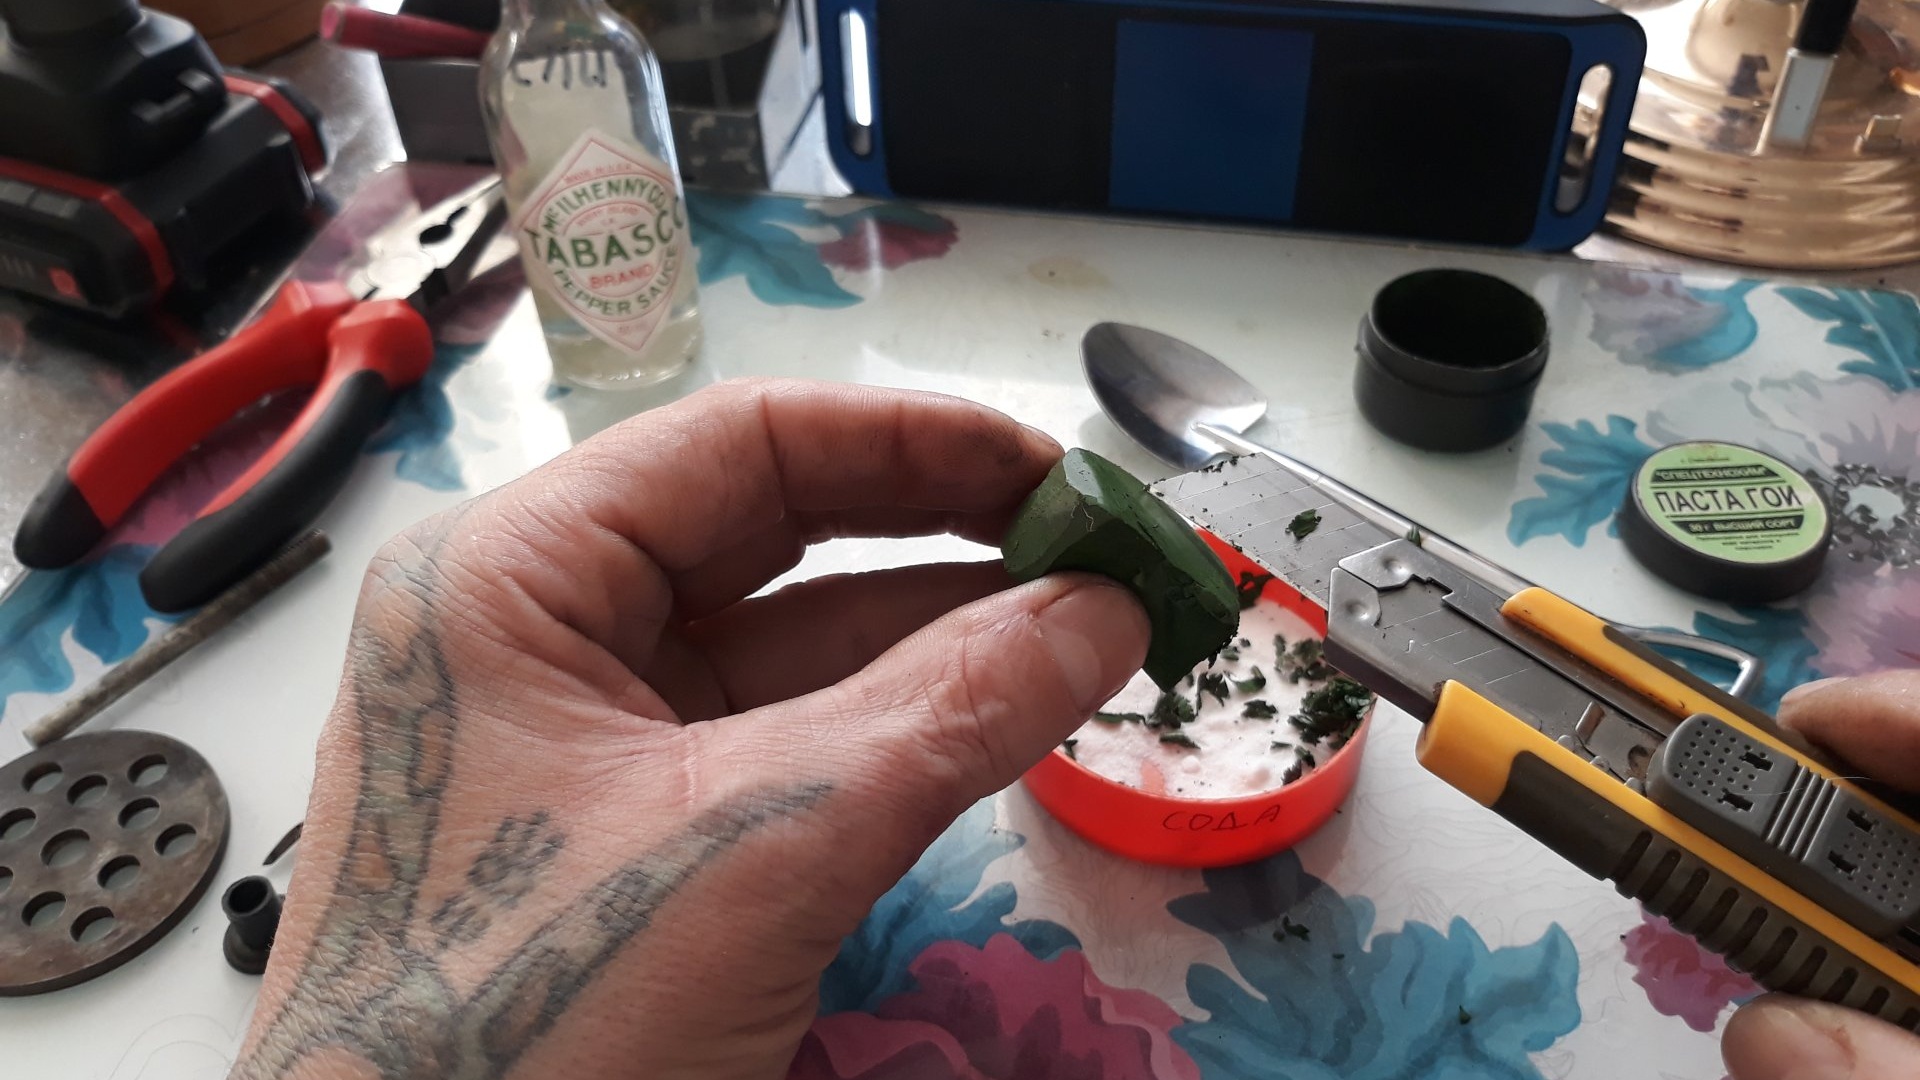
Mix everything together and add a couple of teaspoons of medical alcohol.
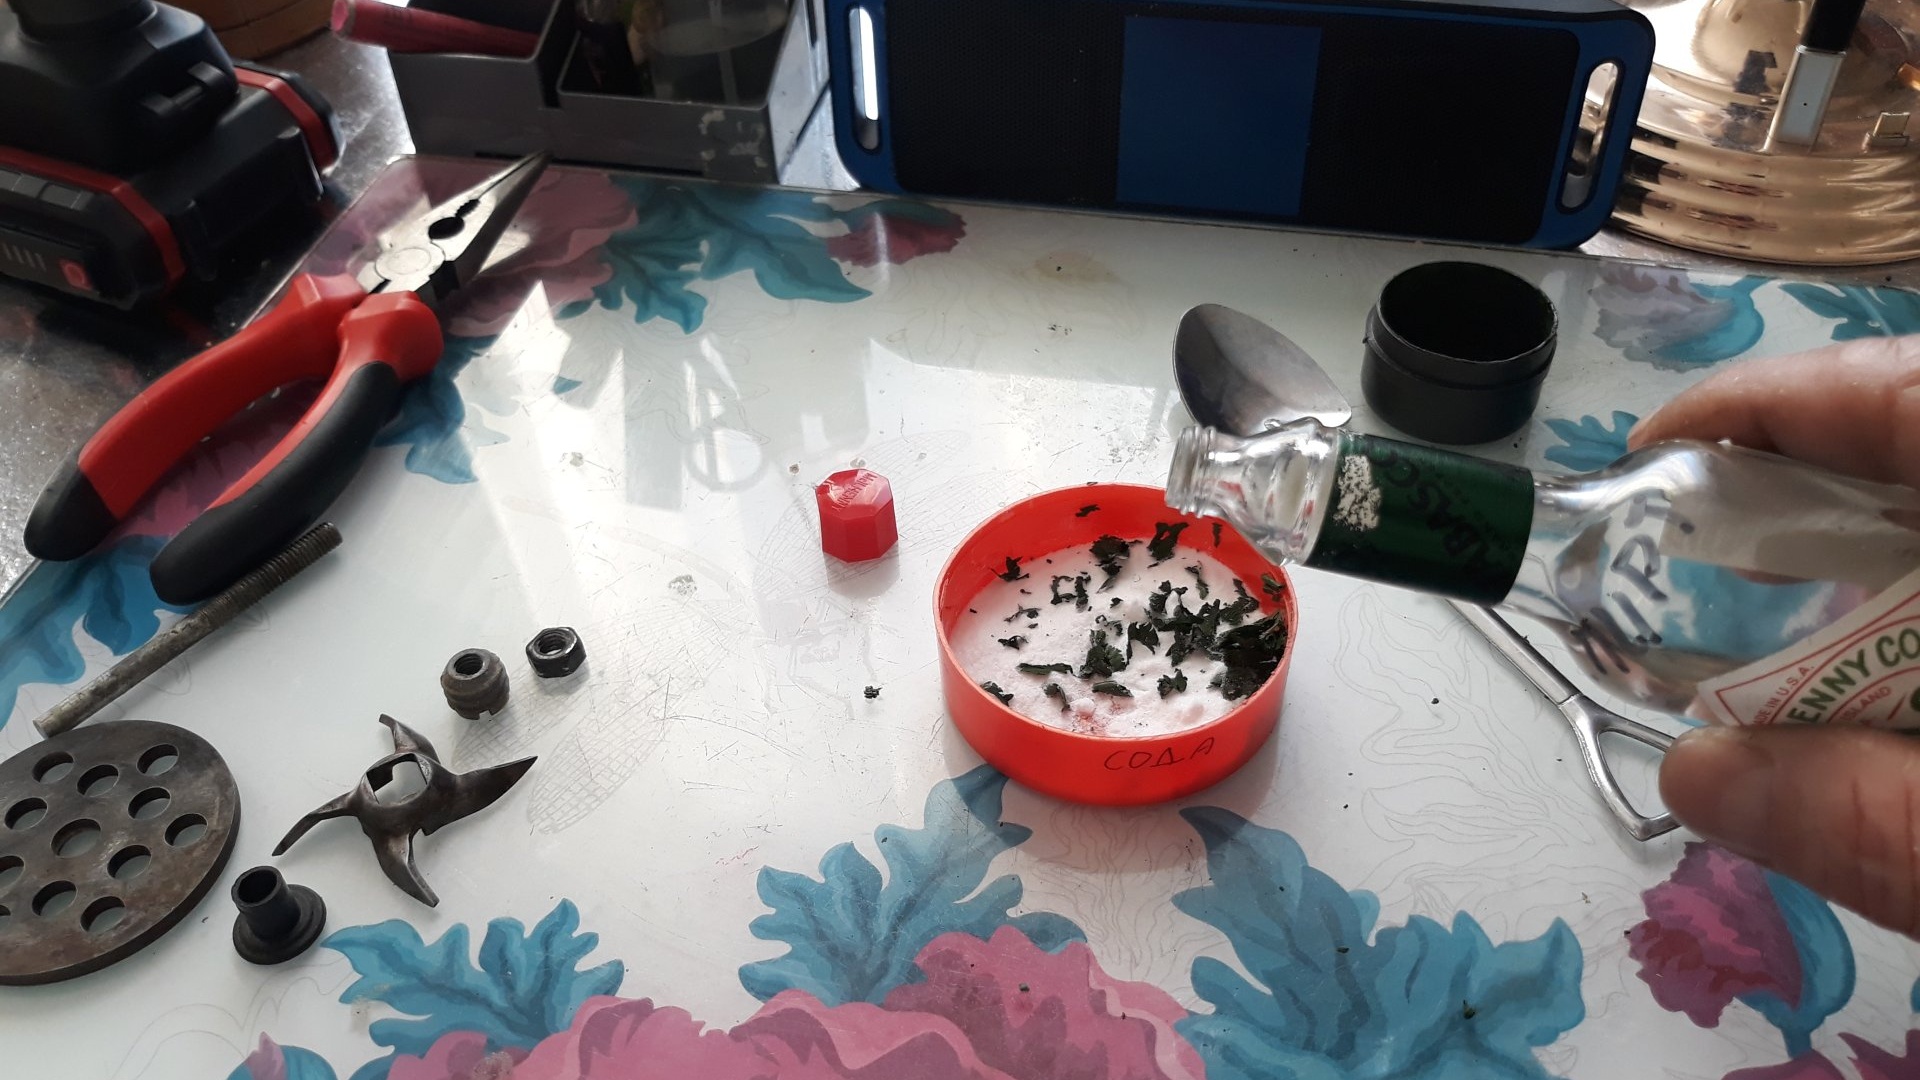
Continue stirring thoroughly until the goyi paste dissolves in alcohol and the soda turns green.

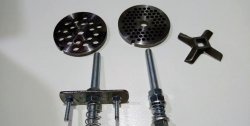
Now let’s leave the abrasive for a while and start preparing the star knife. To do this, screw one nut onto the stud, a couple of centimeters, then thread the sprocket, and use the second nut to tightly fix the sprocket. We clamp the entire structure, with the free end, into the screwdriver chuck. Like this:
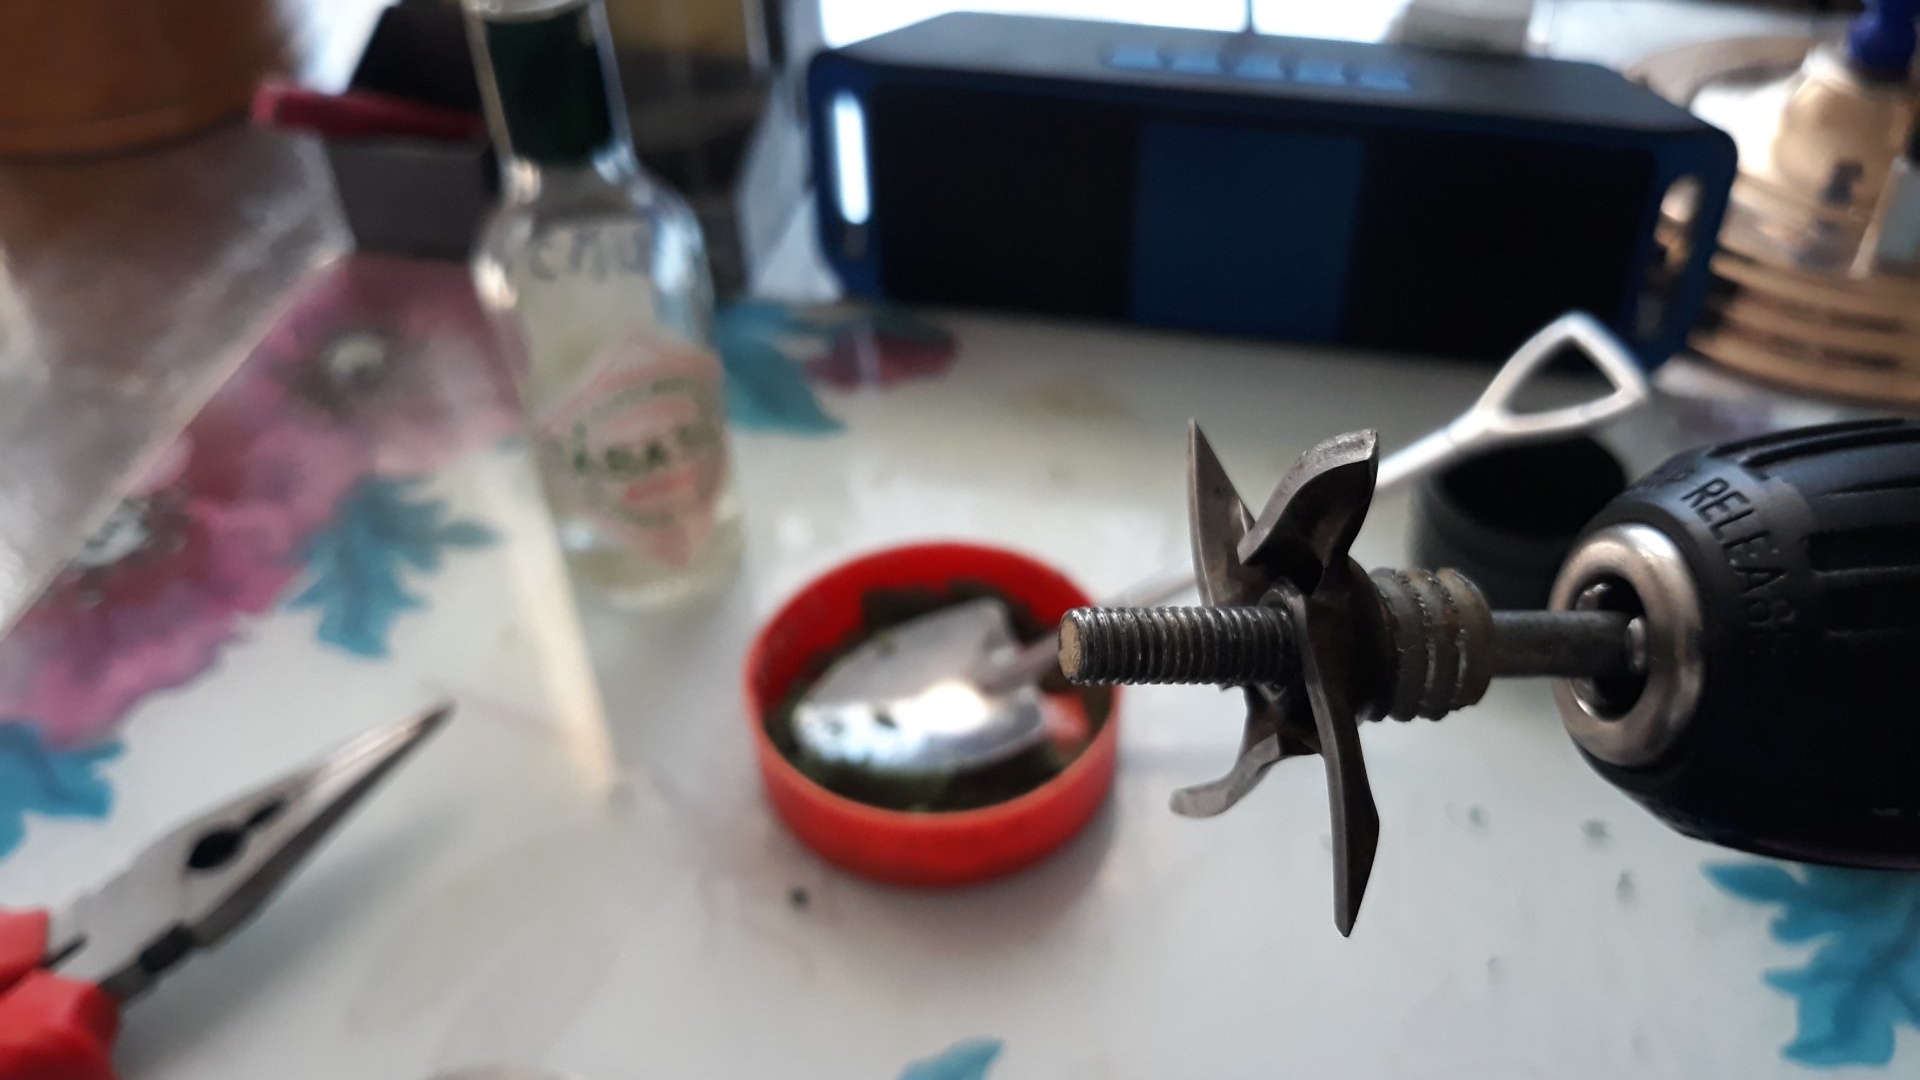
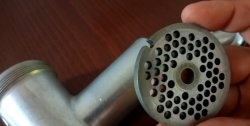
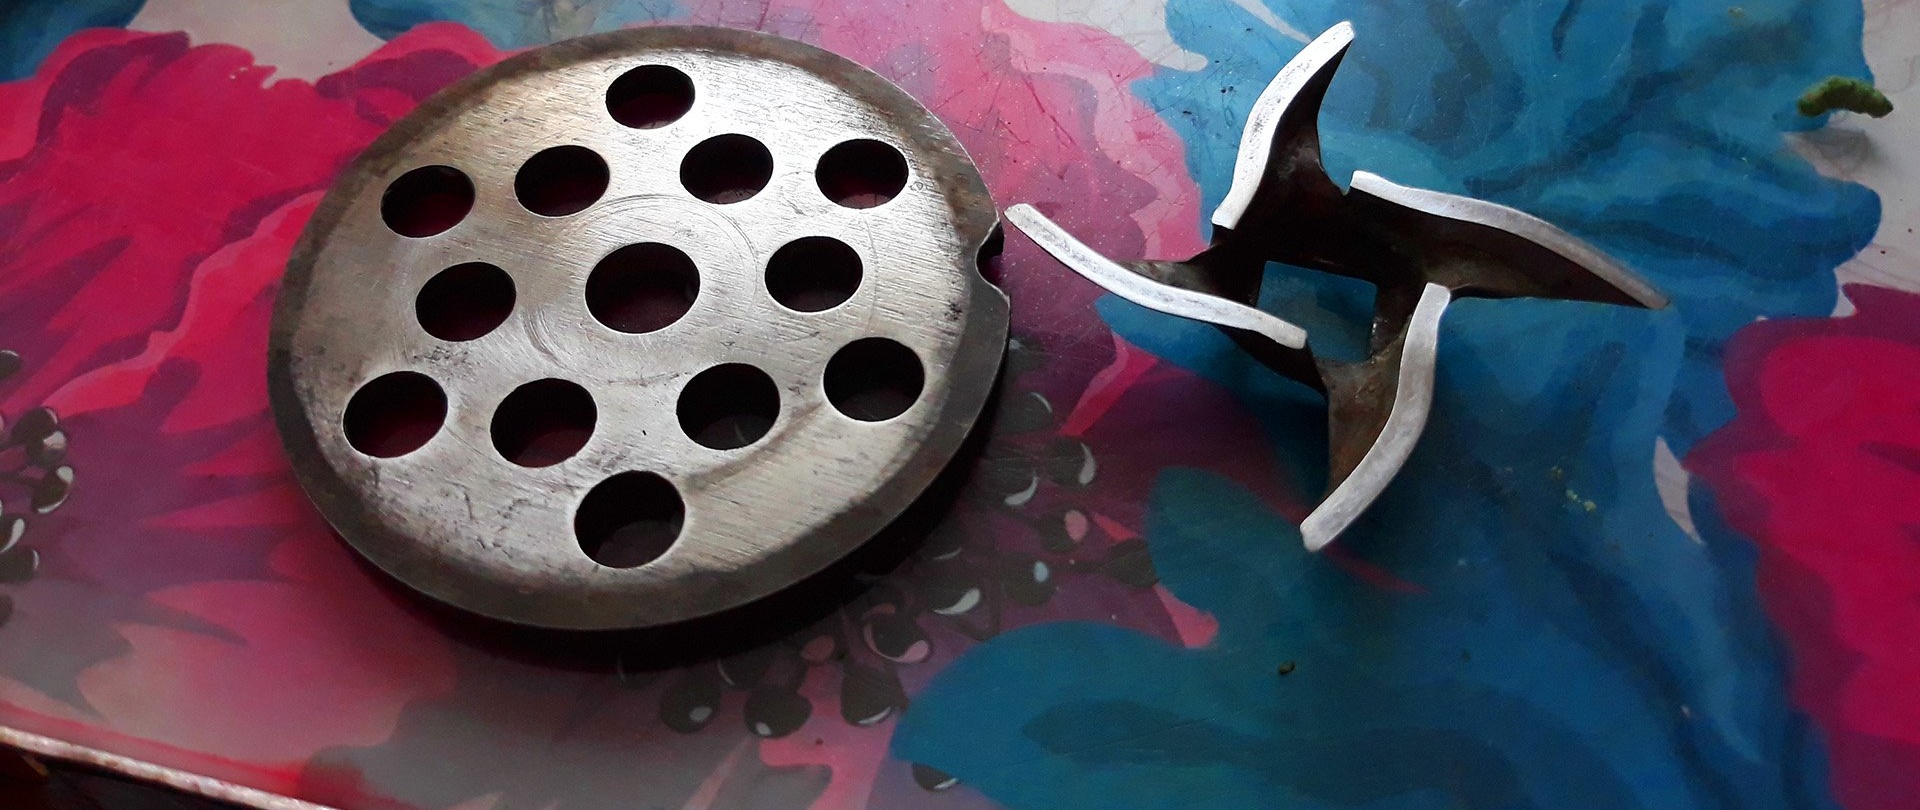
Let's try on a lattice knife.
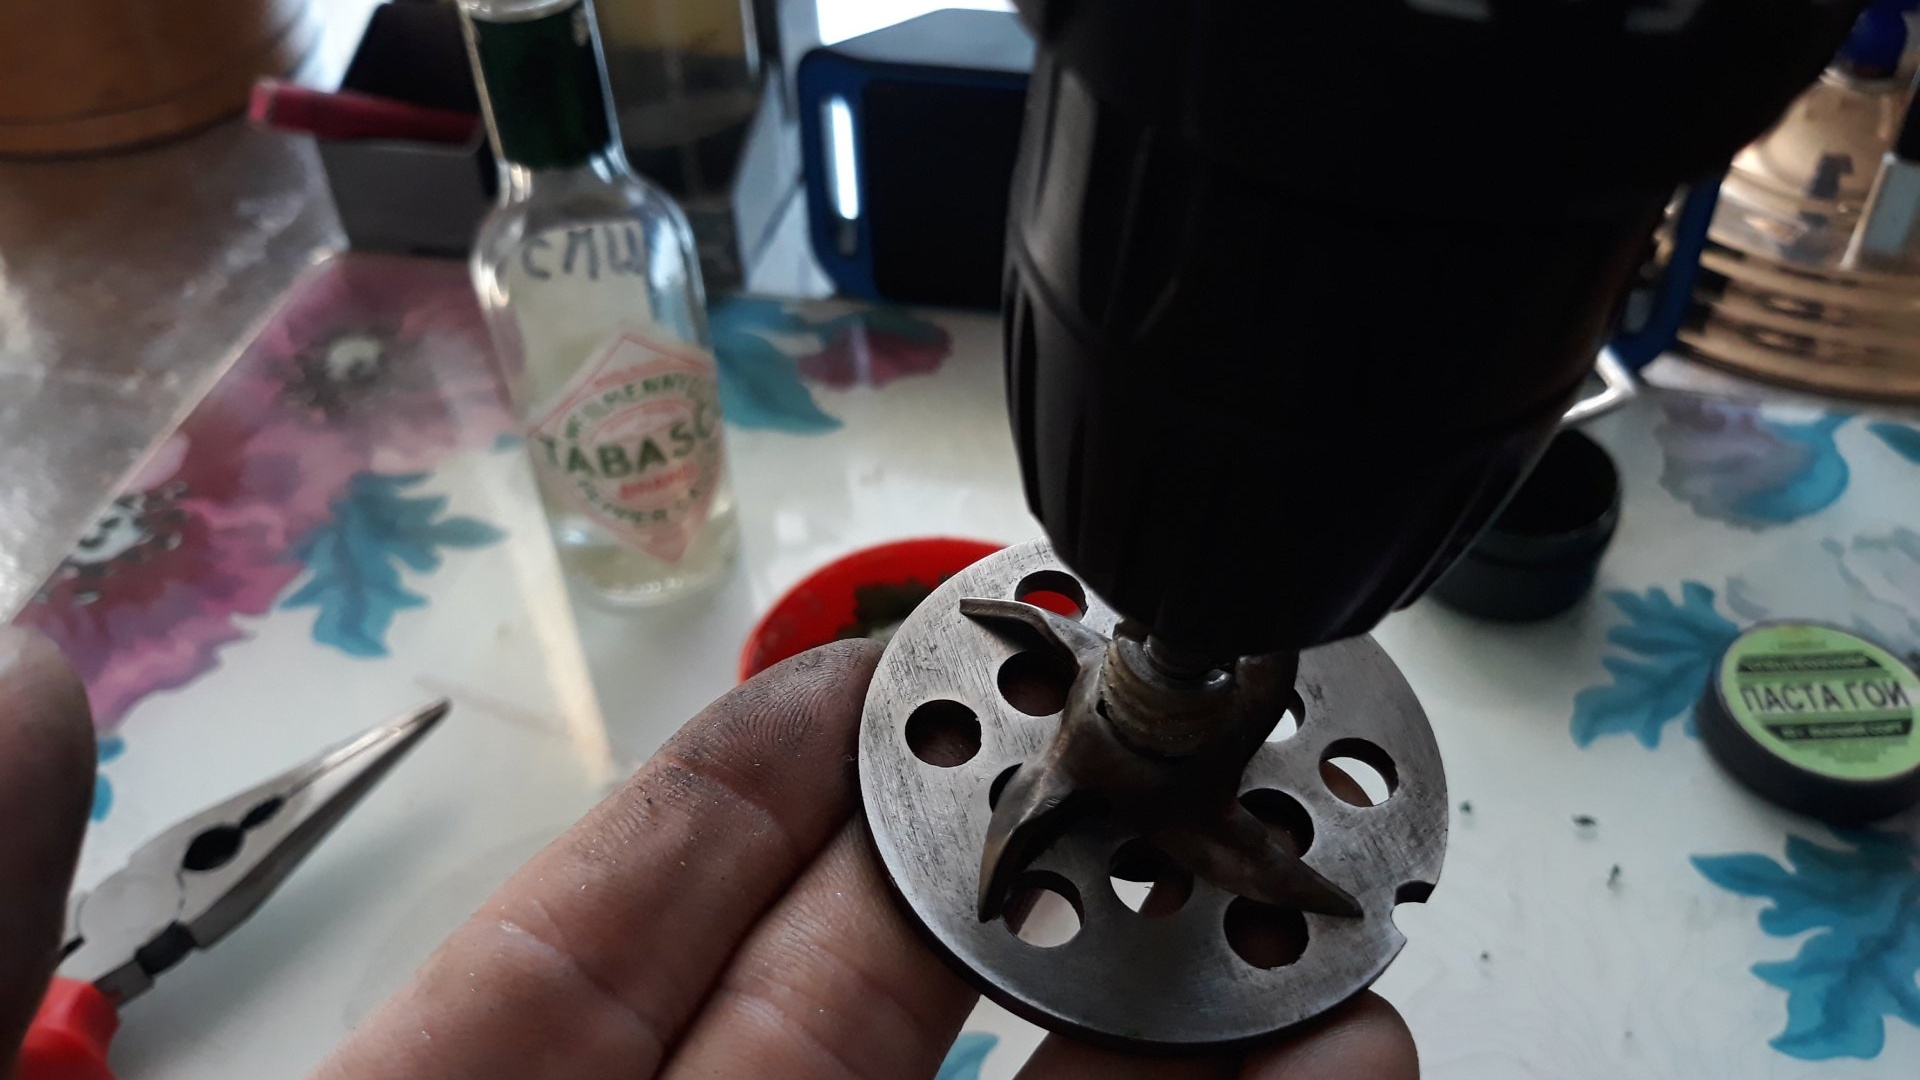
Next, add more medical alcohol to the abrasive, bringing it to a semi-liquid state. Approximately to the consistency of sour cream. We apply the resulting abrasive to the lattice knife and, holding the lattice knife in our hand, thread the end of the pin with an asterisk into its central hole. So that the blades of the star are in close contact with the grille. Holding the grille suspended, apply low speed to the sprocket.
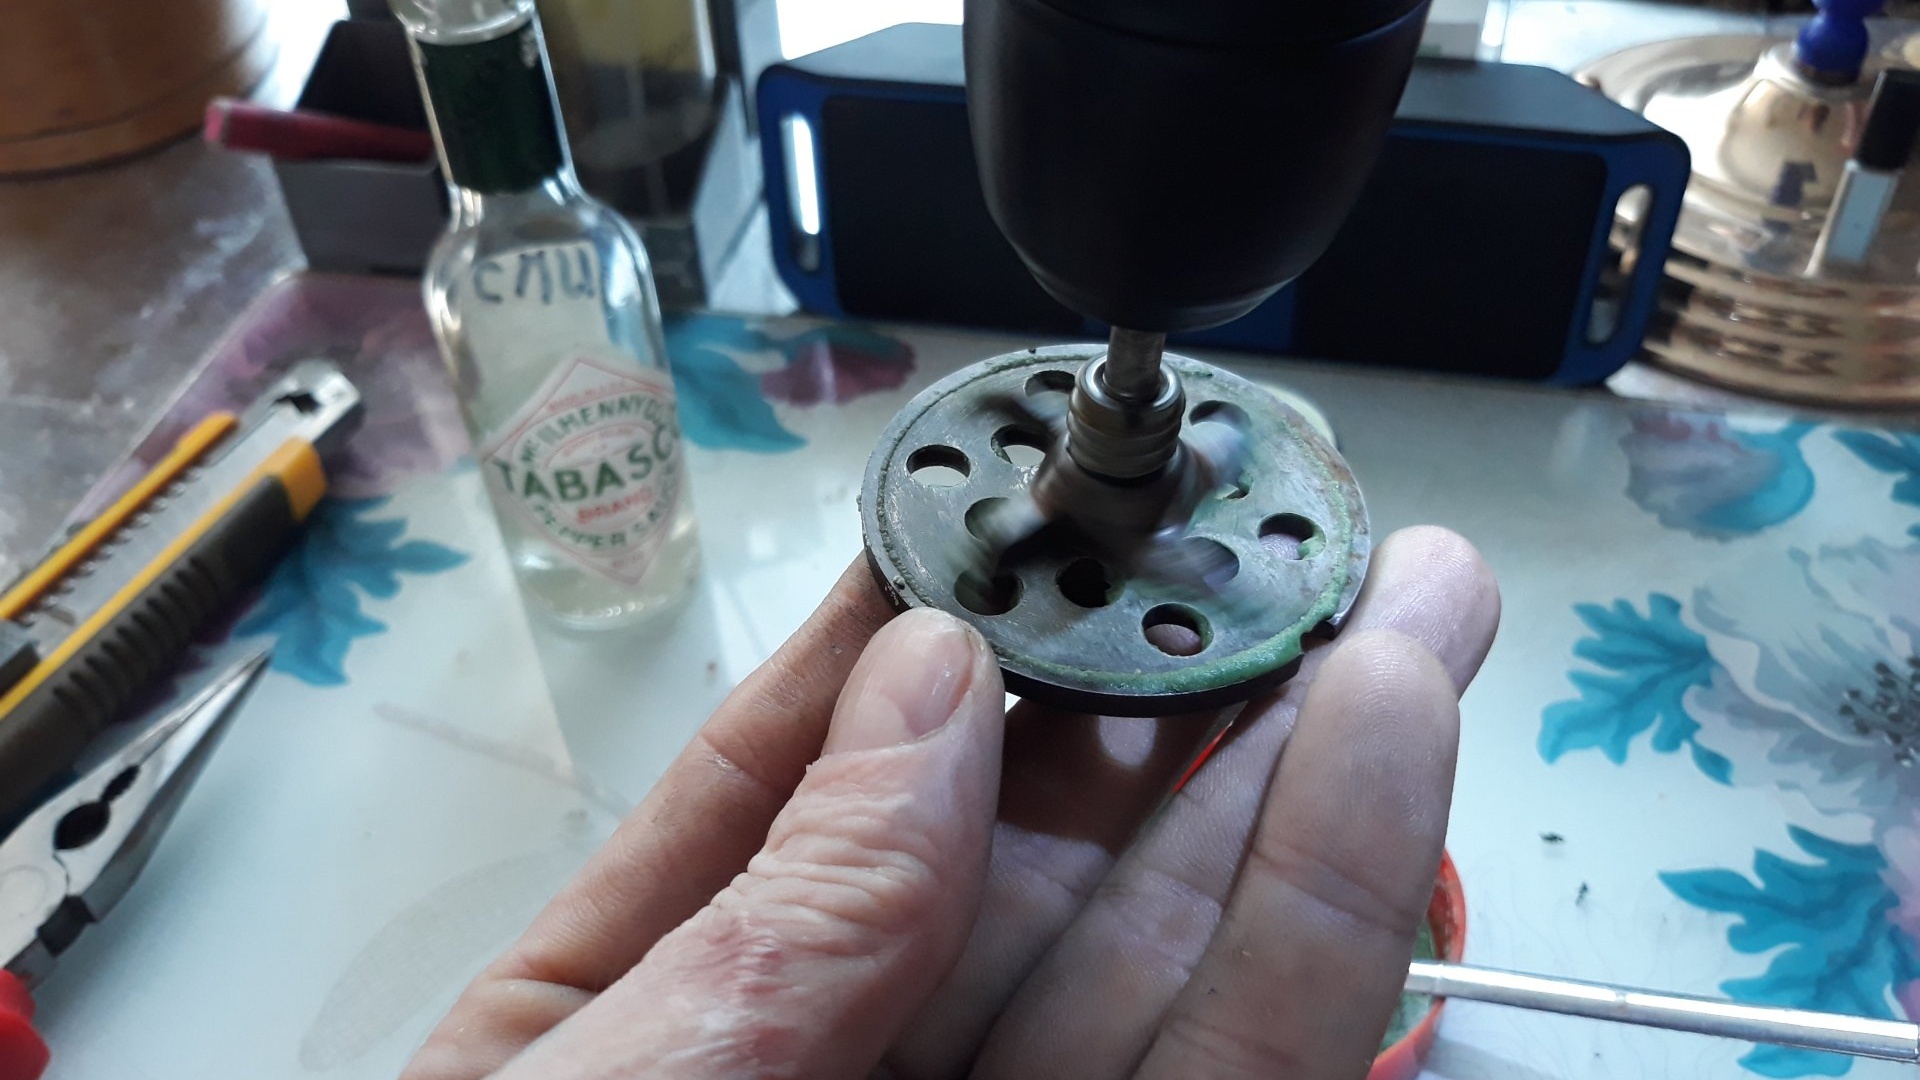
Do not accelerate to avoid injury. After turning 10-15 revolutions, turn on reverse and repeat the procedure with the same number of revolutions. We continue sharpening at this intensity for 3-5 minutes. This technique for sharpening meat grinder knives is similar to the technique for sharpening scissors by cutting fine-grained sandpaper. After completing the procedure, thoroughly rinse the grille and sprocket with running water.Using a cotton swab, wipe each hole in the grate with alcohol to clean it from the goyi paste. Let all parts dry.
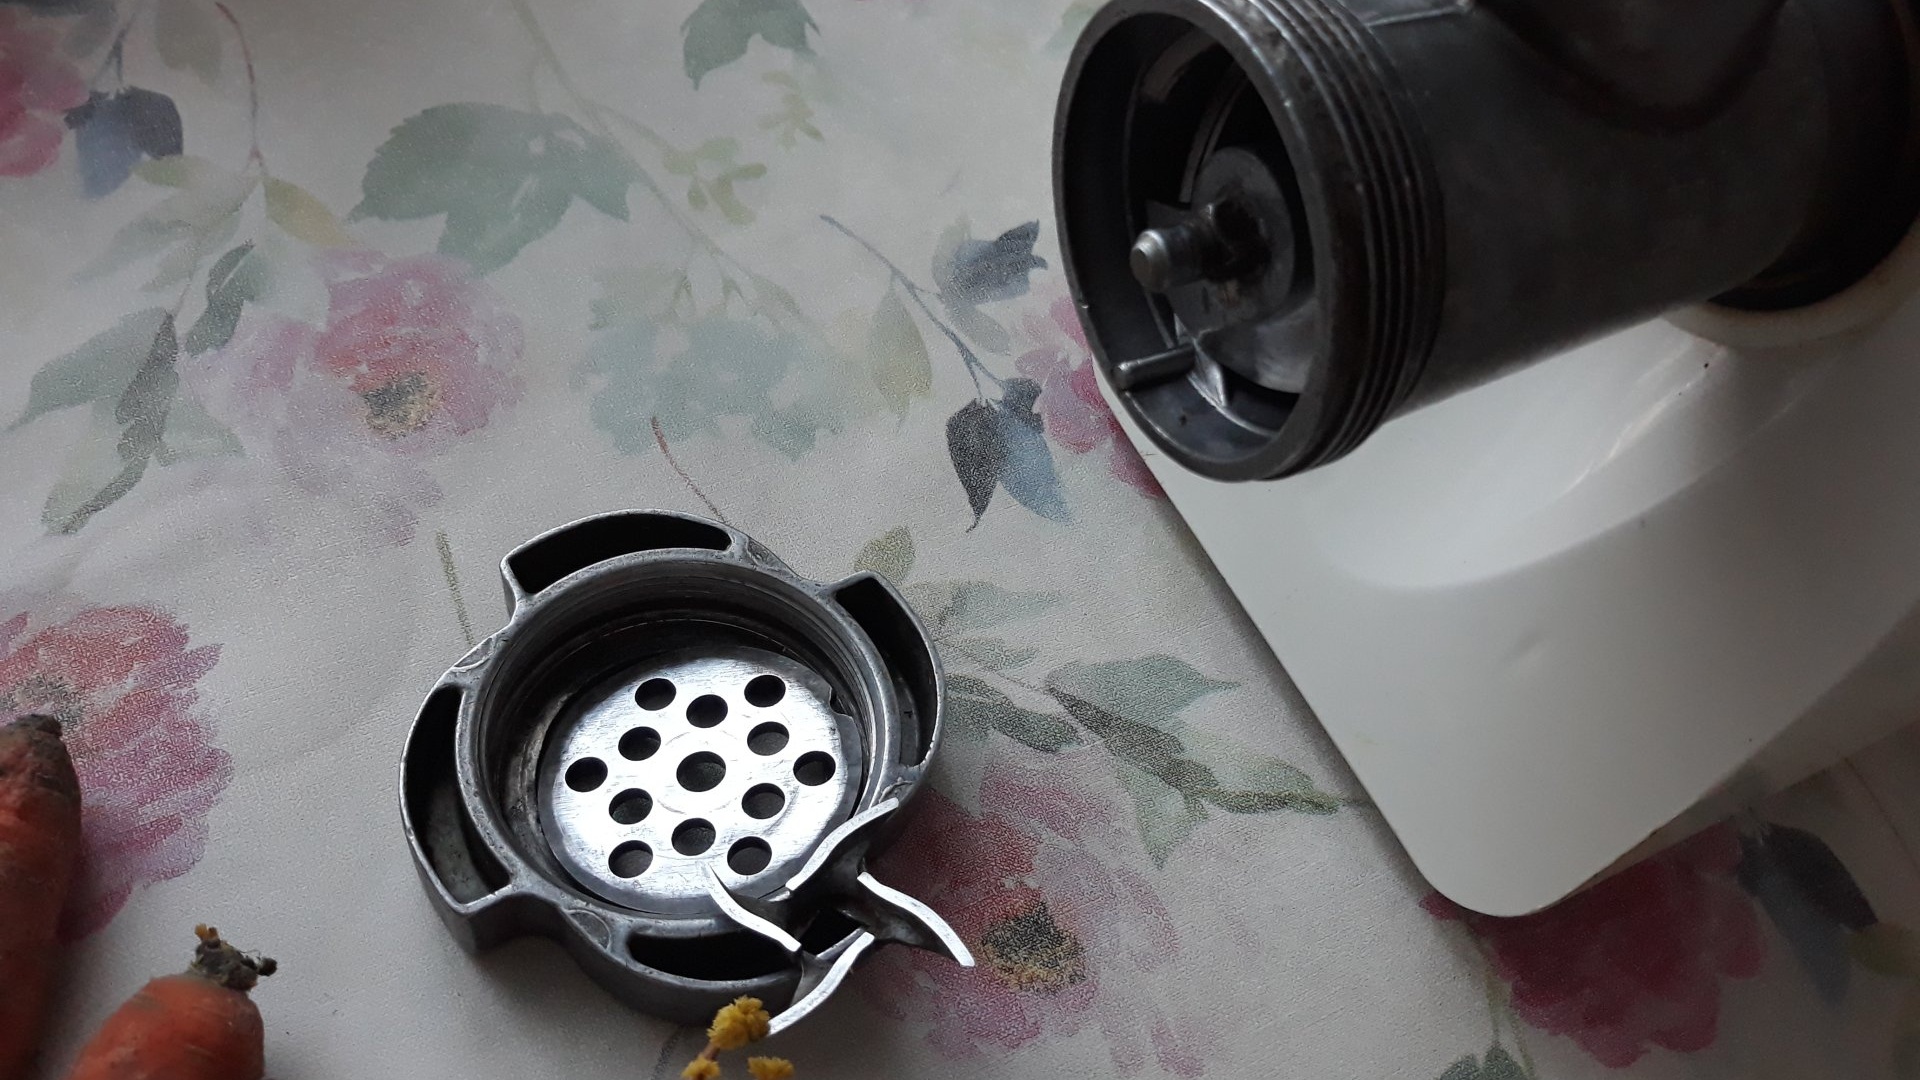
This completes the sharpening. We assemble the parts of the meat grinder in the correct sequence.
Now it remains to check the quality of sharpening. Unfortunately, I didn’t have any raw defrosted meat, so I’ll test it on carrots.
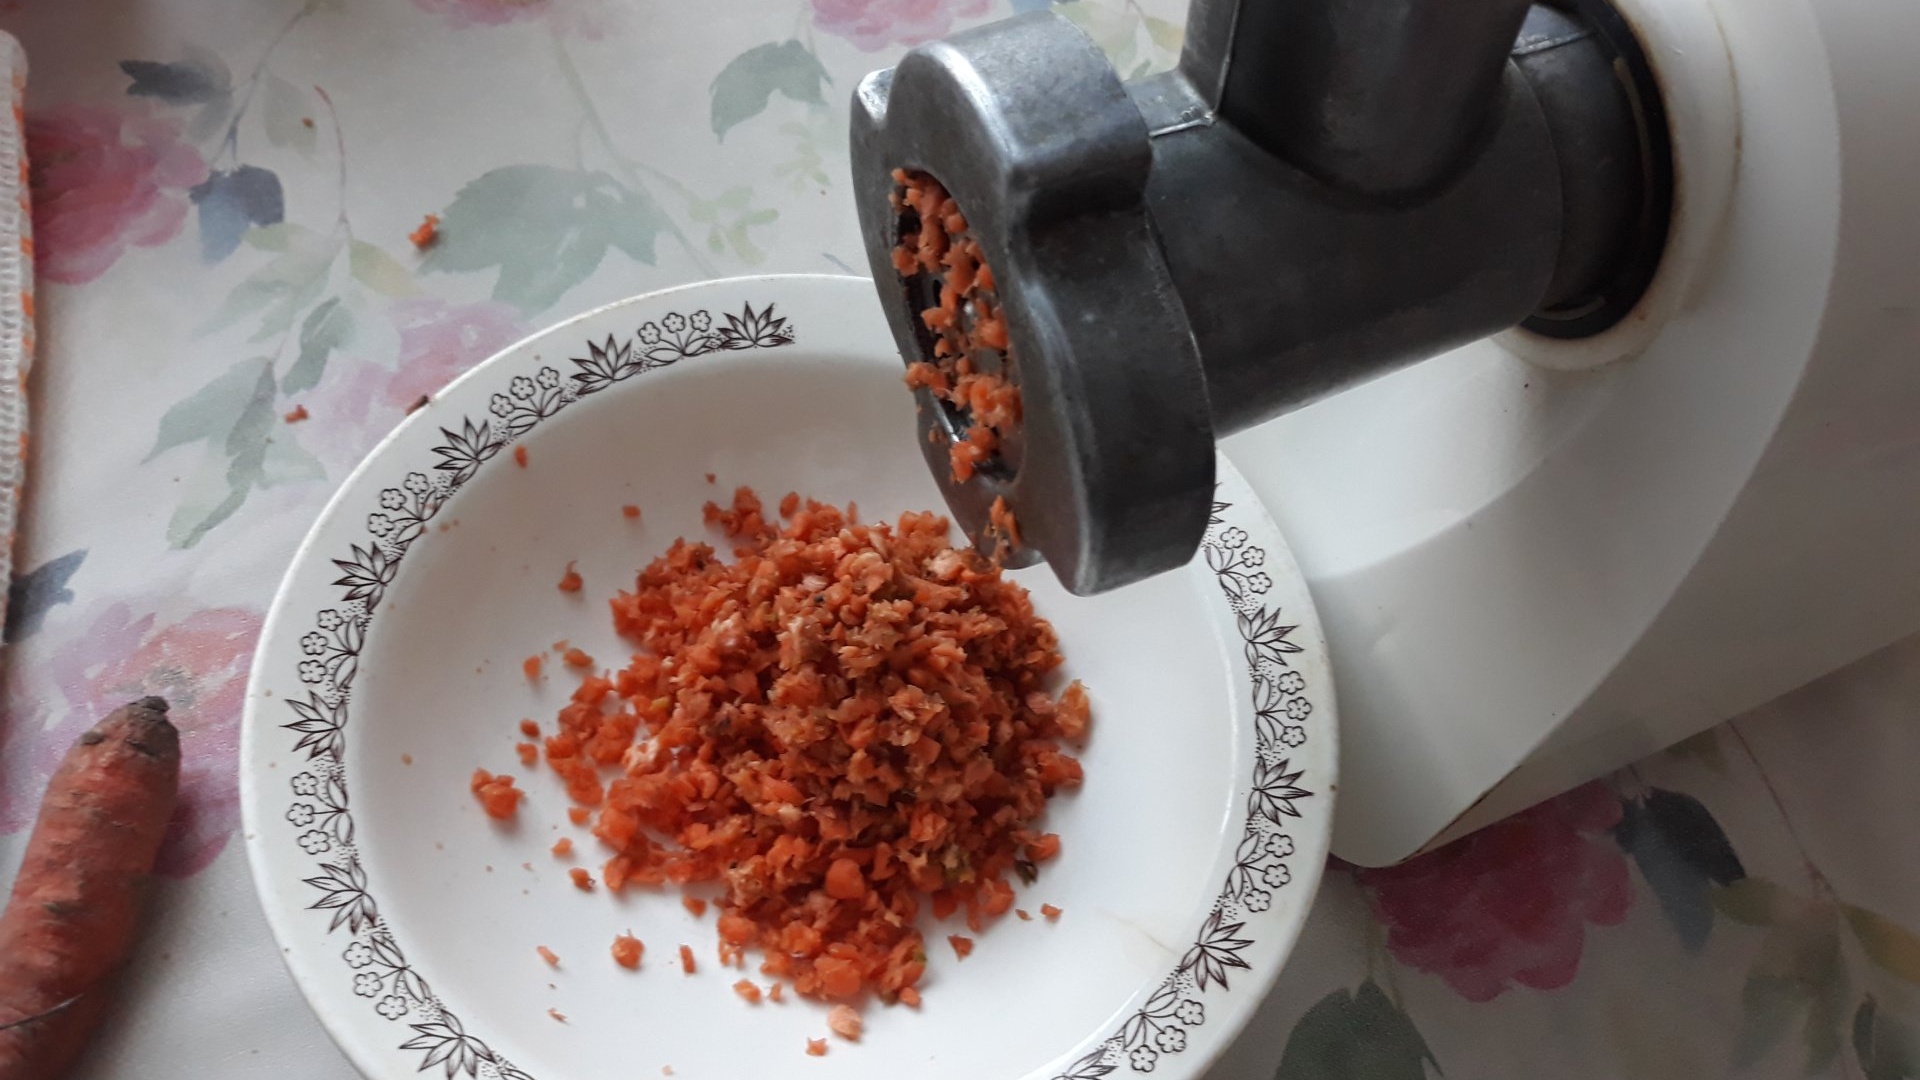
It's a completely different matter! Even from the sound of the running engine, you can feel that the meat grinder is working much more easily. In a good way, you should sharpen the knives of a meat grinder after every accidental hit of bones or any other hard objects, and then your meat grinder will last you longer, saving you from spending money on new spare parts or repairs.