So, to get started, we need to choose a frame without glass that will match the size of your battery. You don’t have to fly on the wings of enthusiasm to a chain of construction hypermarkets; it’s quite possible that your grandmother has a perfectly suitable specimen in her attic, gathering dust idle. So you need to go through grandma’s treasured chests and closets with an audit. Once you have found the frame, consider it 50% done.
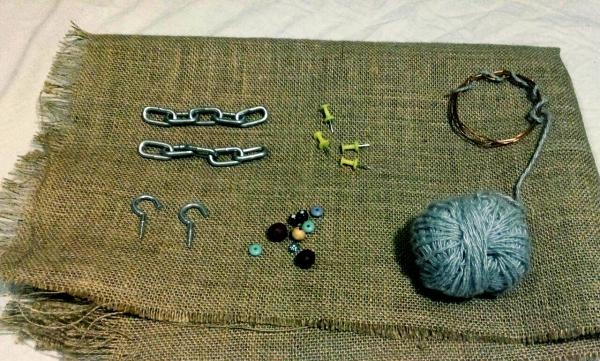
In addition to the frame, we will also need: burlap or any fabric with a dense structure (2.5 times the area of the frame), a ball of thread, buttons, four hooks with self-tapping screws at the end and two chains measuring approximately 10-15 cm, beads (diameter corresponds to the thickness of the thread), ribbons and other items to decorate the frame to your taste. All this can be easily bought at any store around the corner or easily found at home.
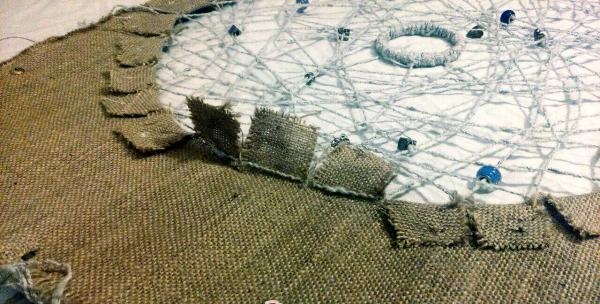
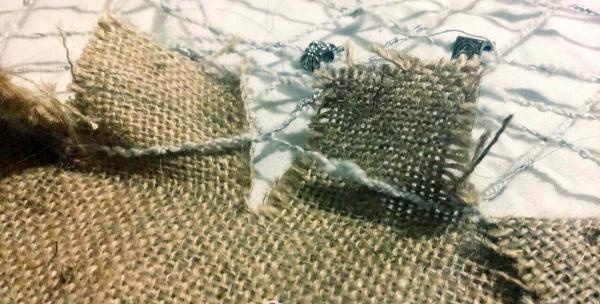
1. Take the fabric (burlap) and cut it into two rectangles that are slightly larger (about 3-4 cm) than the edges of our frame. In one of the pieces we cut a round hole to the size of the desired “heat catcher”, in the center.
2. Next, we make sunburst cuts in the fabric of the same length towards the edges of the frame. We got flaps, bending which we get a hole in the fabric, larger in diameter, but with peculiar valves around the perimeter of the circle. We need to fasten them in the manner of straps that hold the belt in trousers and thread a thread through the resulting holes, tying it in a closed circle.
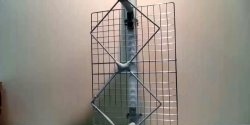
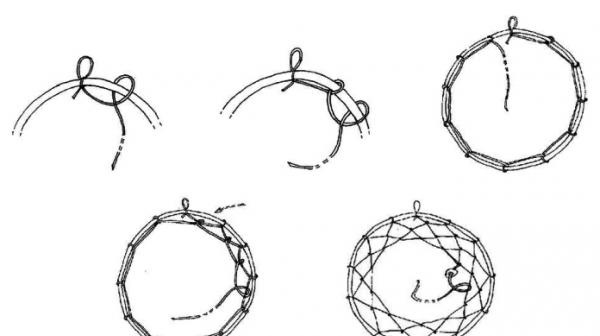
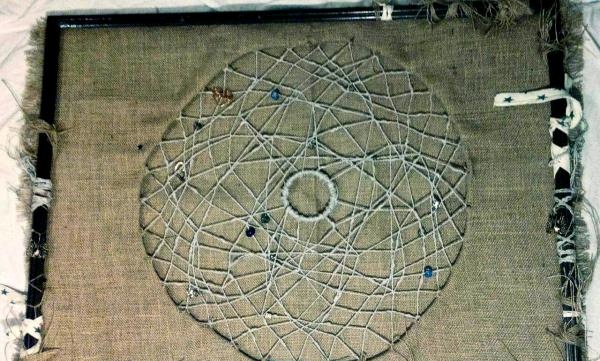
3. As a result, we got a round frame stretched with fabric (or fabric stretched with a round frame, as you prefer). We attach a thread with beads strung (in advance!!!) on it and begin our “spider business”. The weaving method is shown in the diagram.
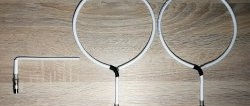
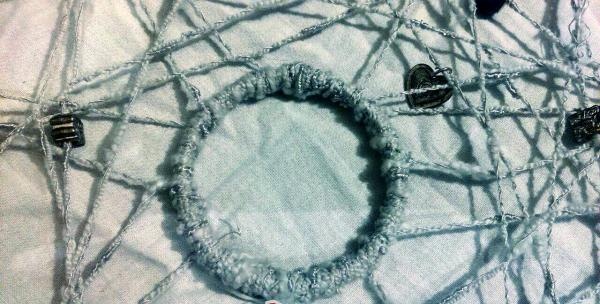
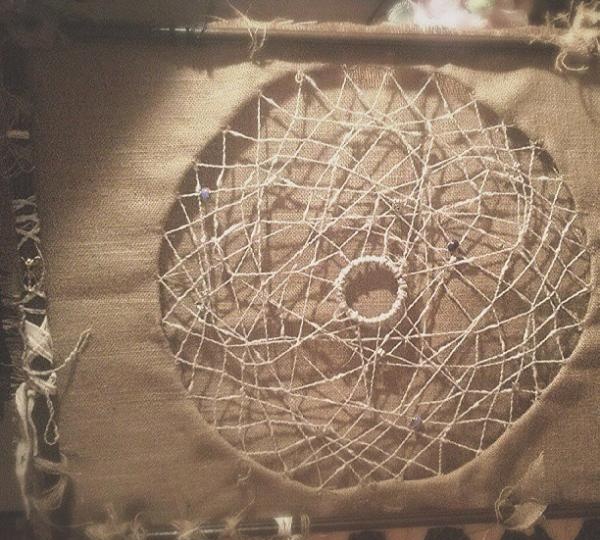
4. Closer to the center, we begin to tangle the thread in a chaotic manner, leaving beads in some sectors of the catcher. It is imperative to leave a round hole in the center of the catcher, which we make by weaving into the catcher in the center of a round frame, prepared in advance and braided, from wire of an arbitrary diameter.Thus, when approaching the center, we simply secure this braided ring with loops around the perimeter, moving closer or further from it in the weaving pattern.
5. It just seems complicated, but once you start you will immediately understand that even a child can cope with this simple pattern. It is advisable to keep all threads in light tension.
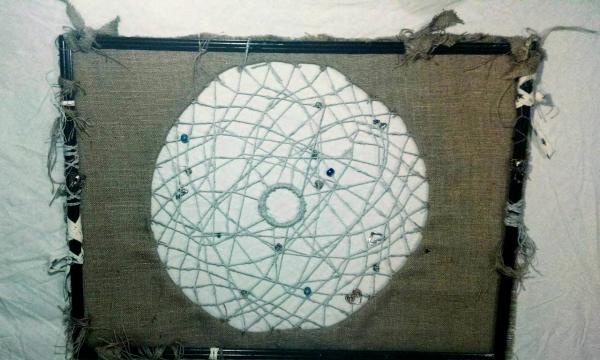
6. We have an almost finished screen, you just need to decide whether you want to leave it transparent so that the heat from the battery passes through it in winter, or cover the catcher from behind with a second piece of fabric (burlap) in order to cover the battery completely. To do this, we attach a single layer to the back of the frame, like a background, onto the buttons.

7. Final design. The frame can be decorated with threads, ribbons, badges, old brooches or broken and incomplete earrings can be attached to the fabric. Whatever your imagination is ready for will find a place on this screen.
8. Now we screw the hooks into the window sill and into the top corners of the frame and hang our work of art on a chain of the length you need.
9. Done! You are an unsurpassed master of design!
Live creatively and never cease to amaze your guests with fashionable and cool ideas!