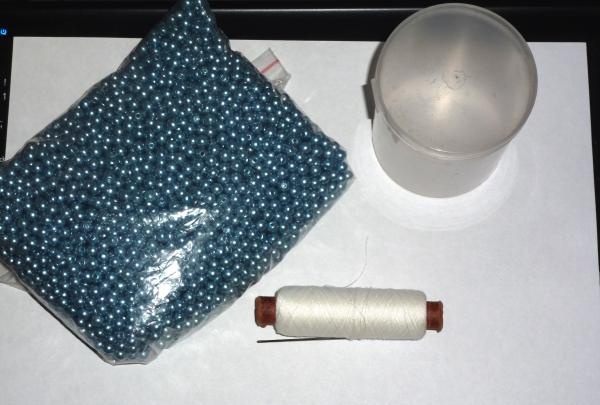
To make it I needed:
- beads;
- regular thread with a needle;
- a jar of suitable size;
- glue "moment crystal".
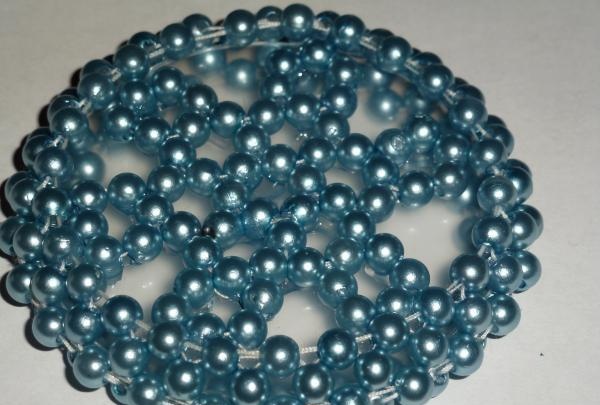
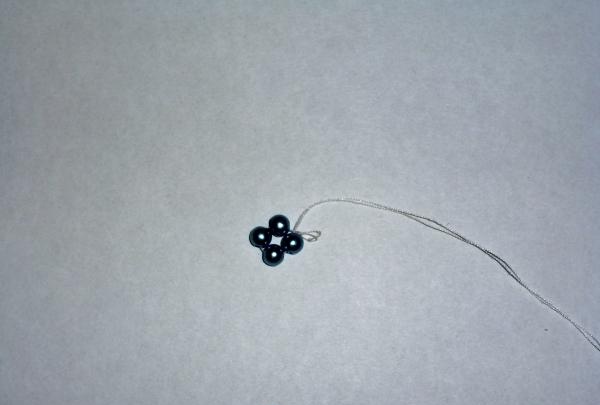
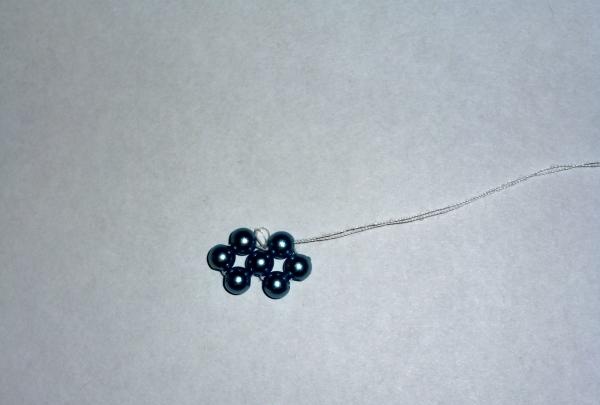
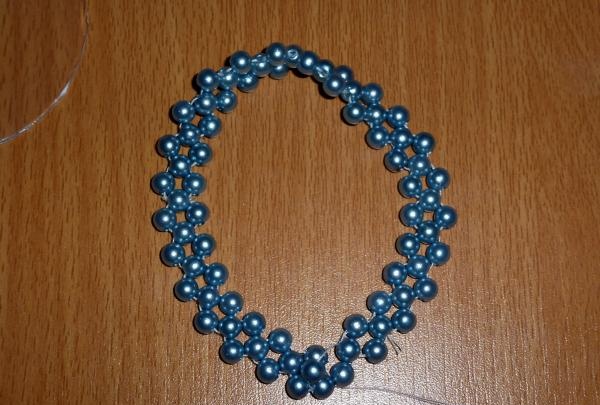
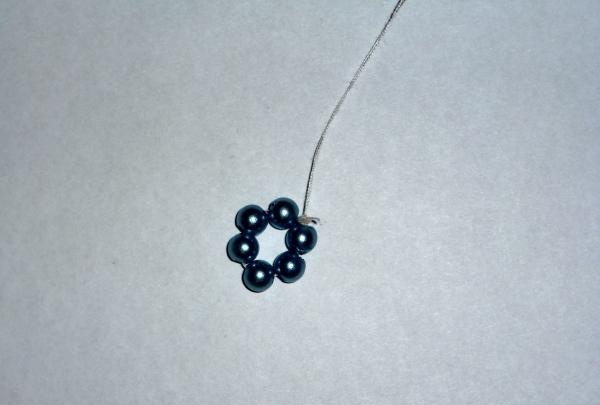
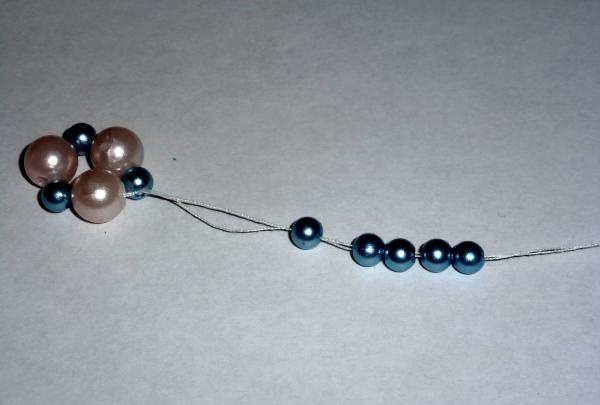
Since I didn’t have any strong thread on hand, I decided to just use double thread. First of all, we put 4 beads on the thread and pull the needle through them 2 times to secure them into the ring.
Now we string 3 more beads and thread them through the bead from which the thread came out, but on the other side, to make a loop.
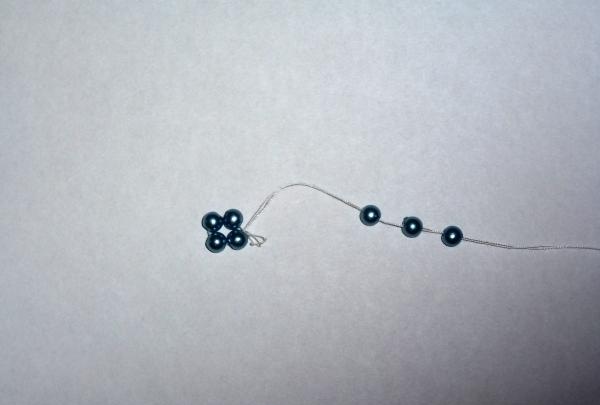
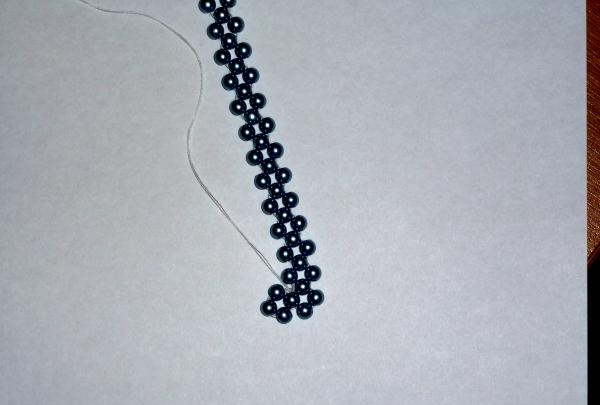
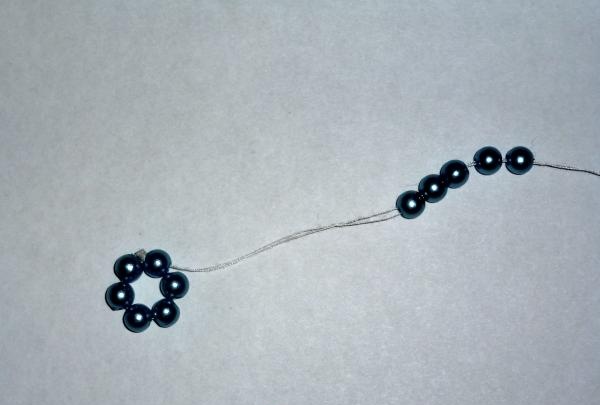
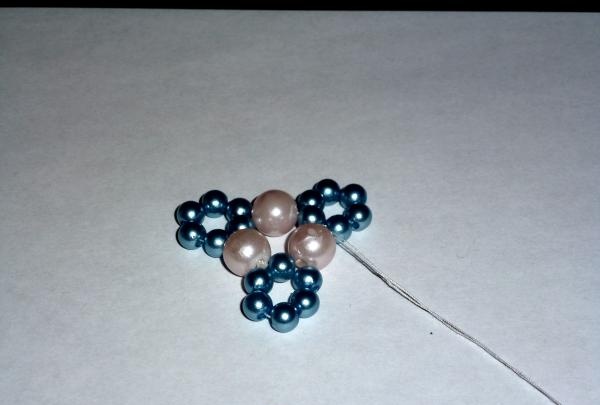
Next, we put 3 more beads on the needle and thread them through the last bead, as if repeating the second loop. Thus, a chain of loops is obtained. It must be continued to be weaved until its length becomes almost equal to the circumference of the jar.
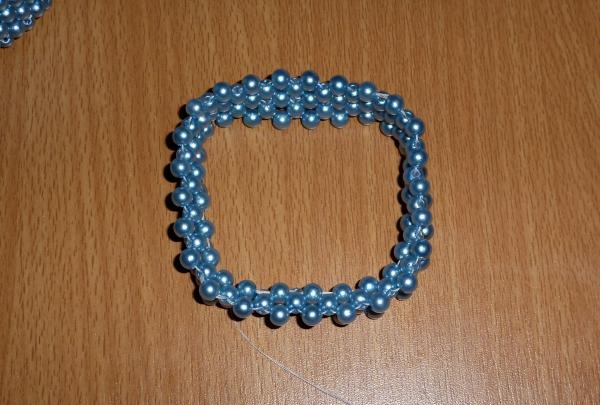
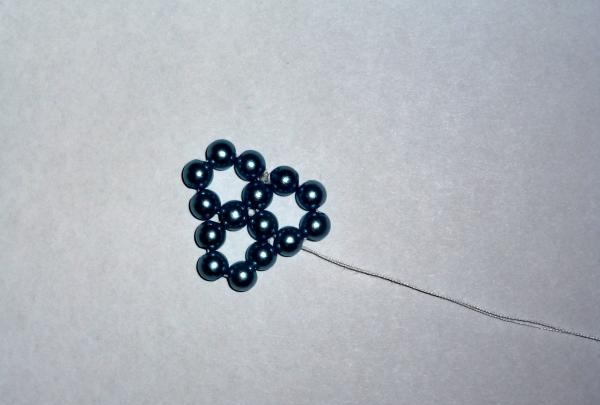
When the required length is woven, we turn around and begin to weave the second row.
Now you will need to add not 3, but two beads each, since now the side beads of the first row are also used. So, row by row we weave the fabric until it becomes much higher than our jar.
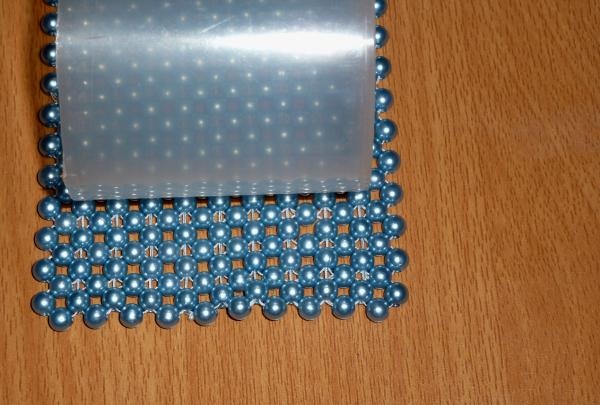
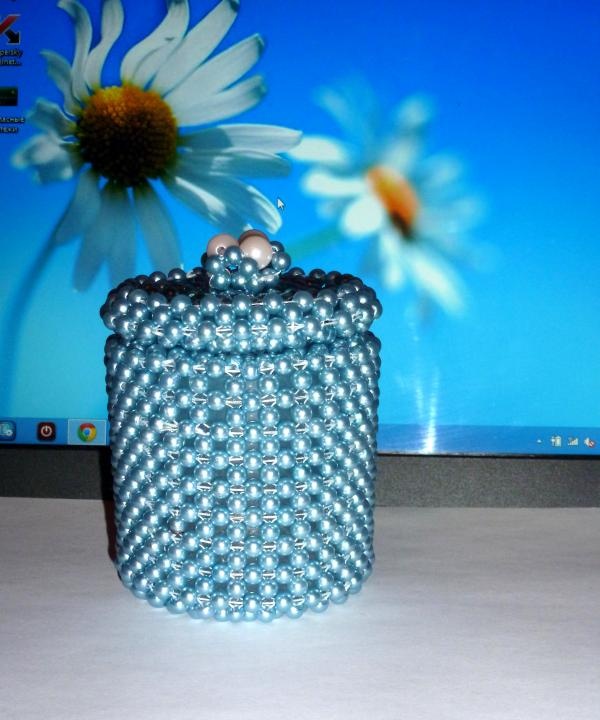
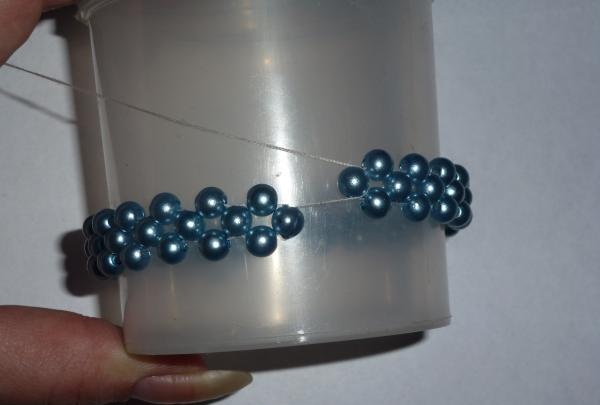
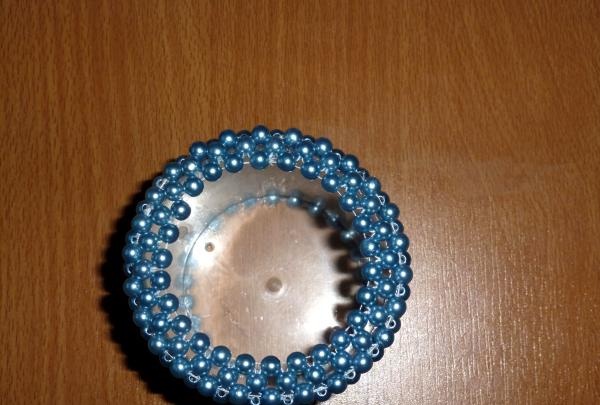
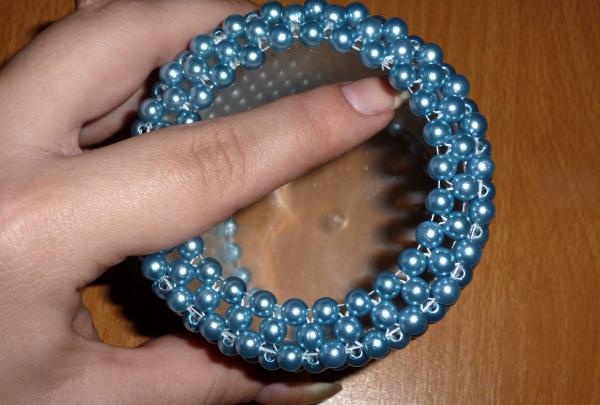
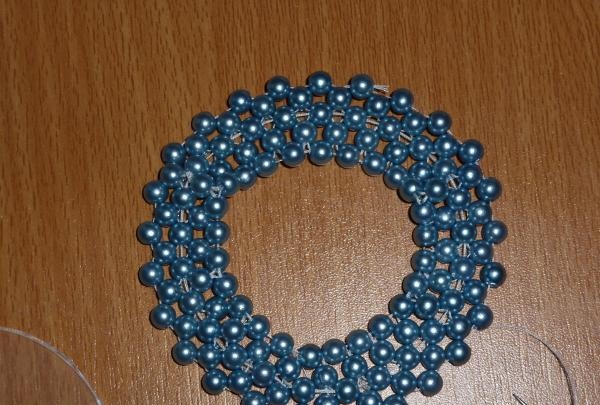
By the way, I decided not to bother looking for the right container and simply used a jar of cotton swabs. The next step is to weave the fabric into a bracelet. To do this, add one bead at a time and pull the edges of the fabric into loops.
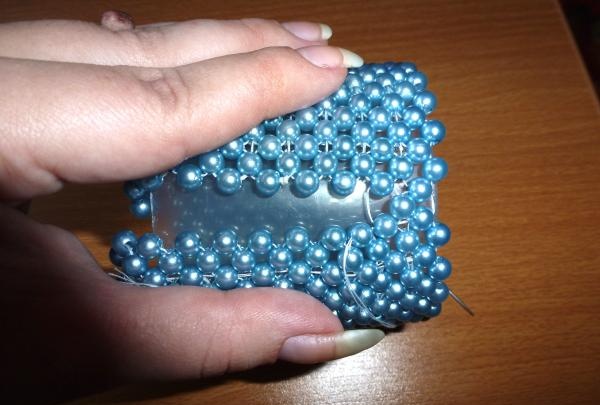
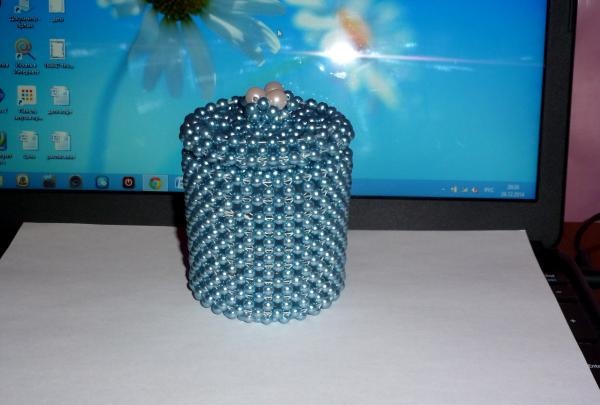
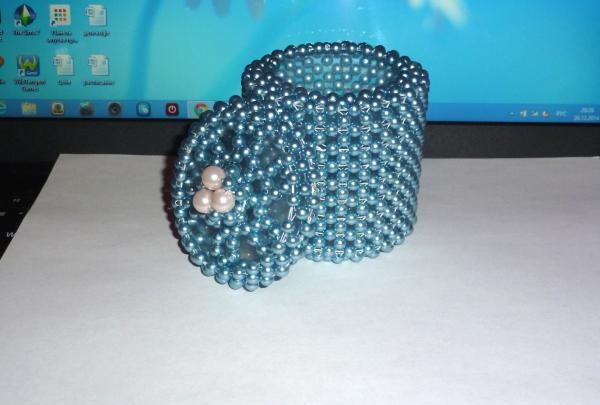
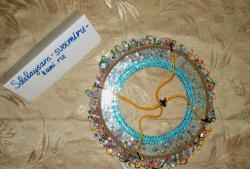
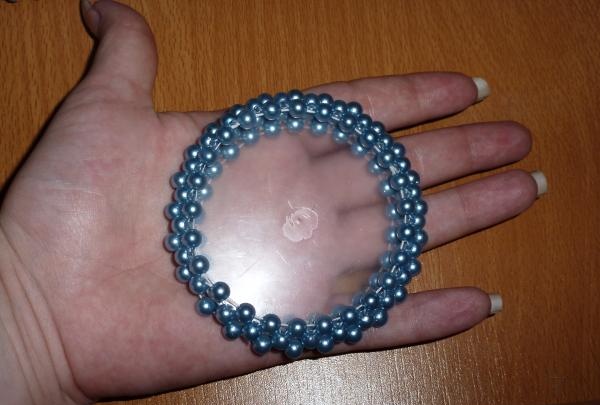
In the end, it should look like this: the bracelet sits tightly on the base, and the canvas of beads peeks out a little from above and below.
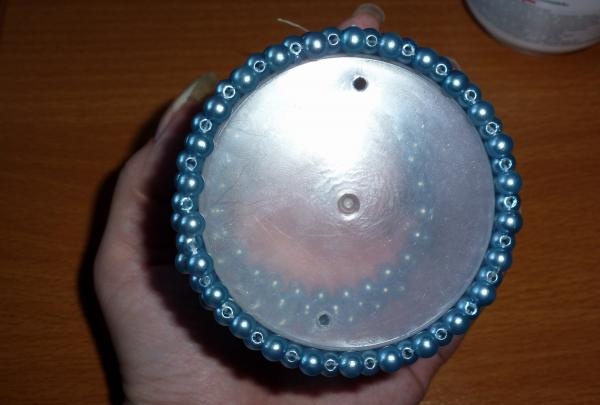
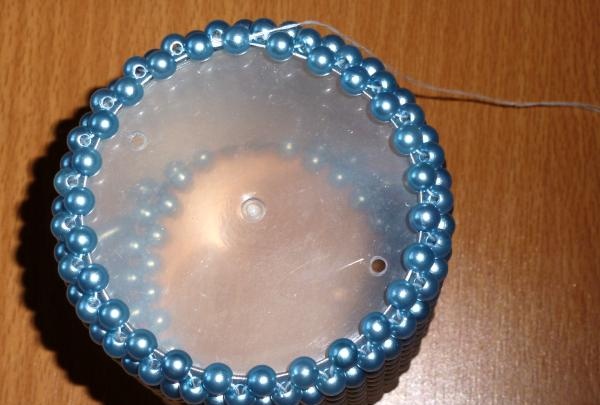
Now, take a thread, and, threading a needle into each outer bead of the base, pull them a little towards the center of the bottom.
After trying on, remove the bracelet from the base and coat the edges of the bottom with glue.

This is done so that during use the beads do not come off or change their place.
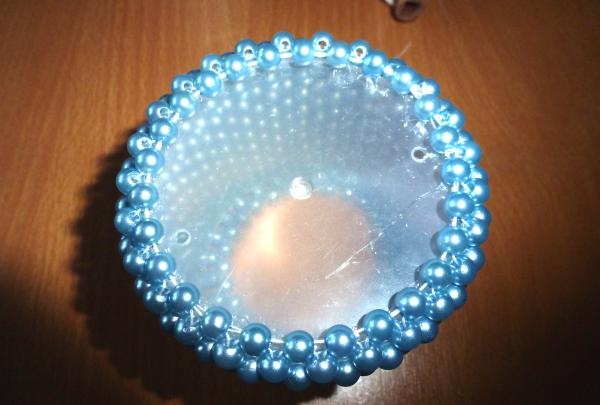
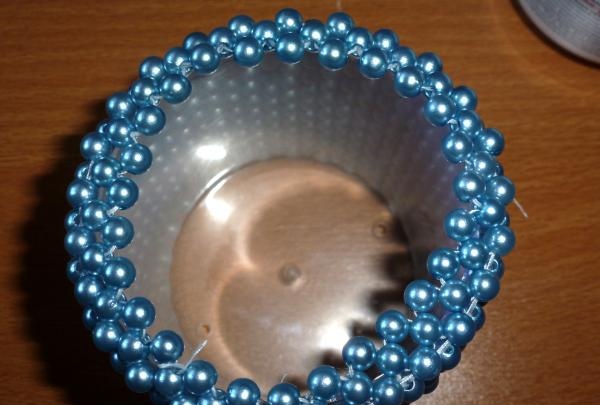
Also, by tightening, we secure the upper beads.
In addition to a permanent location, this step will allow you to create some kind of barrier, which will also help keep small things in the box, even if it turns over, for example, large beads.
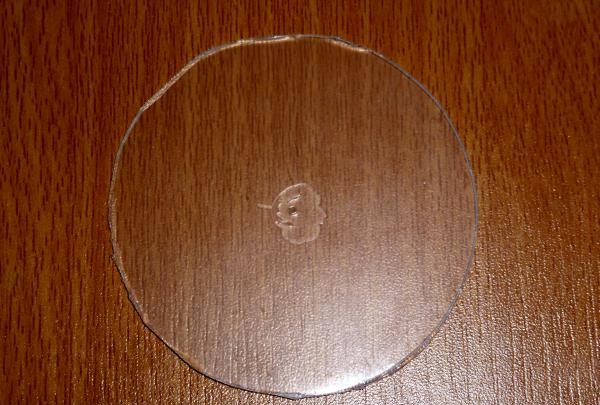
Now let's work on the lid. Since in my example there is a rim on the lid, I carefully cut it off.
In order to bring it into the desired beautiful state, we again weave a chain of beads, which will coincide in length with the circumference of the lid.
For a better look, we make a second row on the bracelet.
Then, by means of the already familiar tightening of the outer beads, we narrow one edge of the bracelet.
We put our blank for the lid into the “skirt” and tighten the second side of the bracelet.
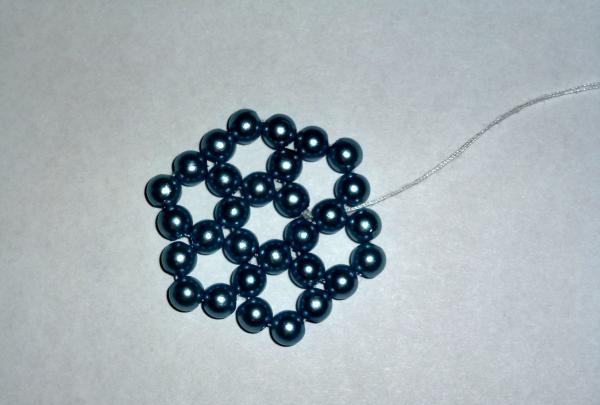
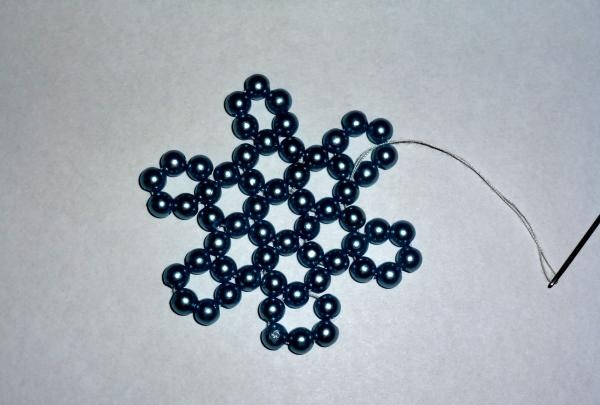
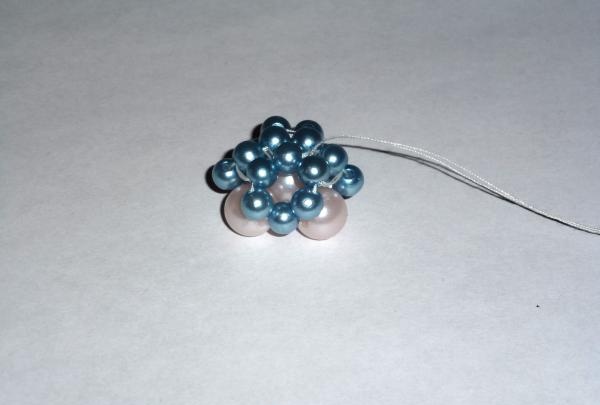
The next step is to decorate the lid. We collect 6 beads on a thread and close them into a ring.
Then we cast on 5 more and make a loop, closing them with one of the beads of the first loop. We repeat the procedure again.
We weave until we get a picture like this.
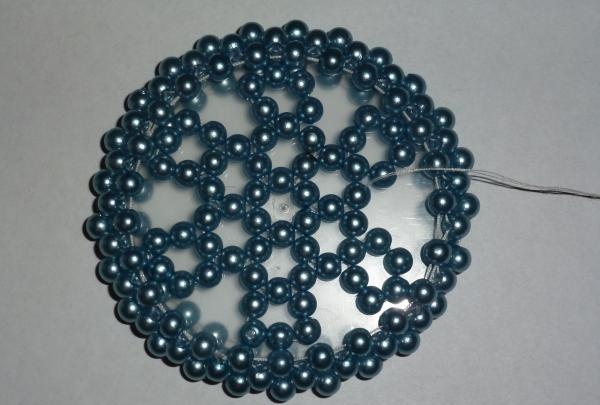
Using the same method, we weave another tier of loops.
The number of tiers will depend on the size of your lid. I only needed two.
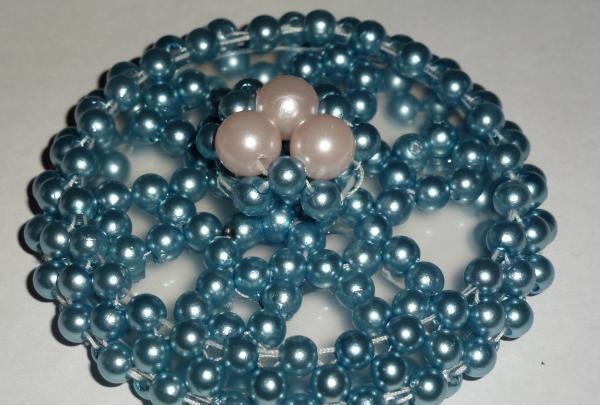
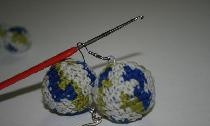
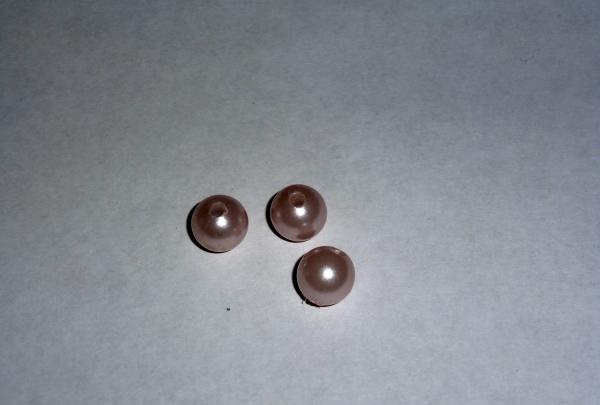
The final step is to make a handle for the lid. It is much more convenient to open the box by lifting its lid using a special “pinch”. To create it, I needed three beads slightly larger than the main ones.
We close a ring of large beads on the thread, alternating them with small ones.
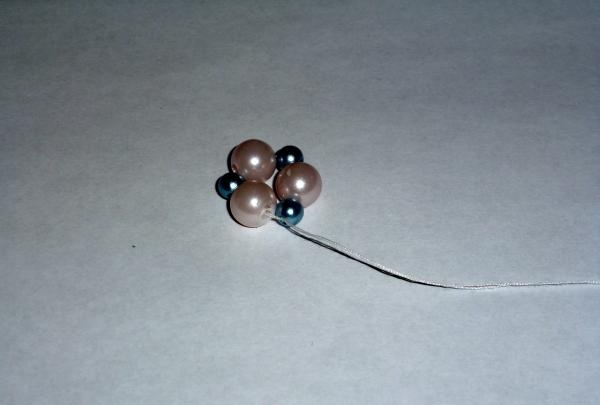
Then we put 5 more blue beads on the thread and close them into a loop with one of the blue beads in the middle ring.

We do the same activity two more times so that all the blue beads from the middle ring are in their loops.
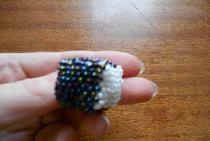
Now we tighten all the outer beads of the loops into a ring.
The pimp is ready. Now we begin to assemble all the parts of the lid together. Glue a “snowflake” to the middle of the lid, and directly to its center and handle. The box for small items is ready.