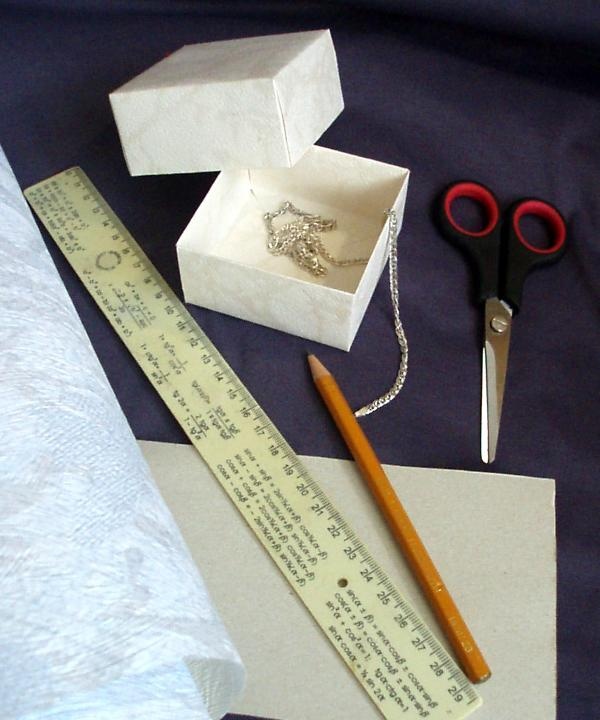
So, to make your own box for small gifts, you will need:
- wrapping or plain colored paper; in this case, ordinary wallpaper was used that remained after the renovation;
- some cardboard, for example, from a box of chocolates;
- scissors;
- Ruler and pencil;
- PVA glue or other office glue;
- pencil and eraser.
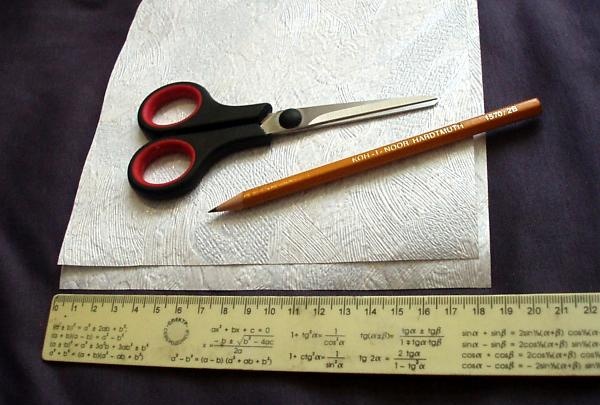
Using leftover wallpaper to make a box is a very economical and original solution. This way, you will save money on materials; in addition, wallpaper with an unobtrusive abstract pattern will always give a very effective and at the same time unobtrusive result.
So, we need to cut out two squares of paper measuring 18x18 cm and 18.5x18.5 cm.Of course, the question immediately arises - how to calculate the side of the required square in order to get a box of the required size? The algorithm needs to take into account the fact that as a result, the side of the base of the box is approximately three times smaller than the side of the original square. With these square sizes, the dimensions of the box are 6.5 x 6.5 x 3.3 cm. When cutting out the squares, strictly observe right angles, otherwise the box will not be folded evenly.
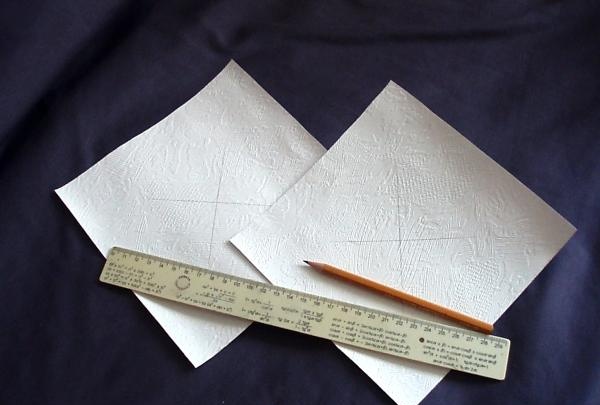
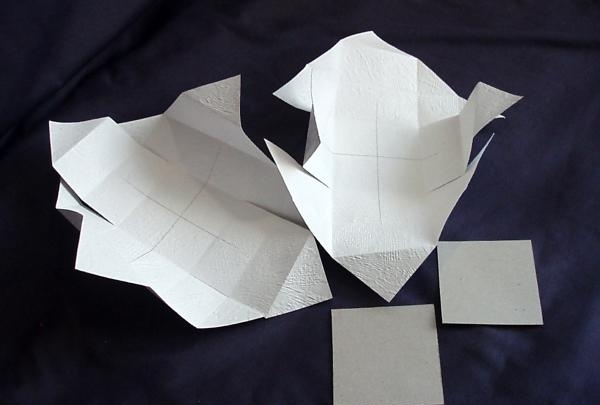
Then draw two diagonals on the wrong side of the paper squares.
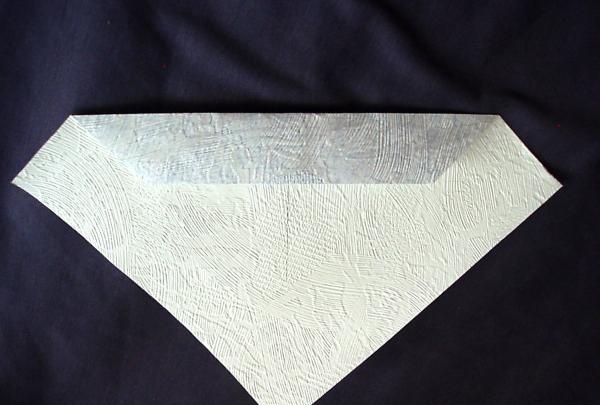
Now we begin to fold the box. Fold the corner so that its top touches the middle of the square, that is, the intersection point of the two diagonals.
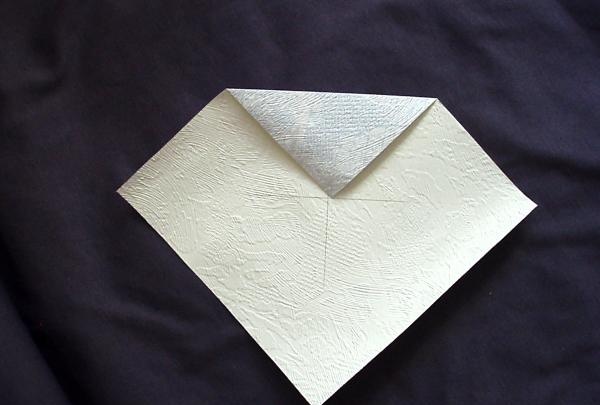
Without bending the corner, fold the same side again so that the first fold touches the diagonal, as in the photo. Similarly, you need to fold the opposite side of the square.
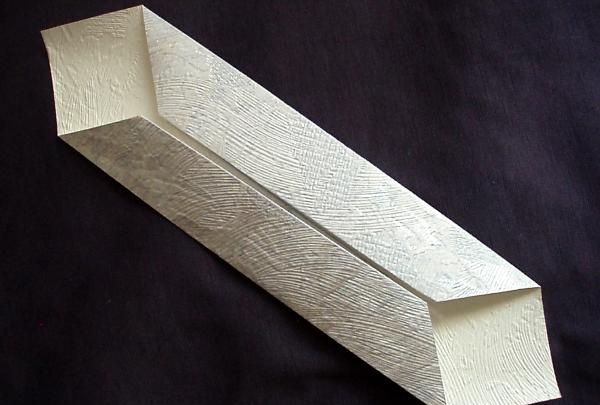
Now we straighten all the folds and fold the other two sides in the same way.
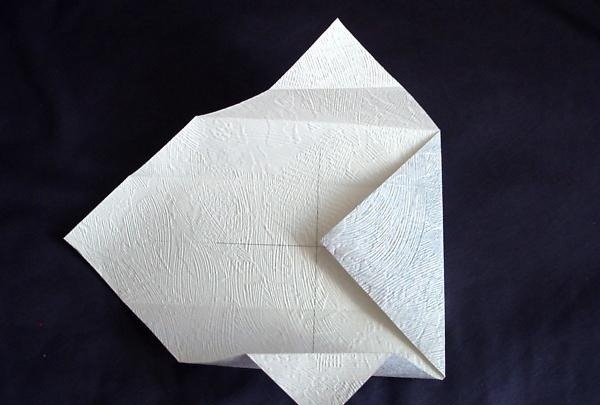


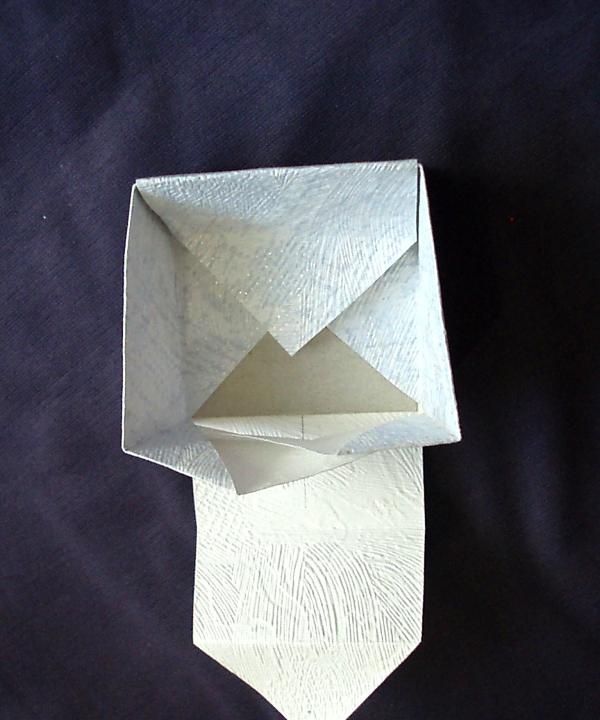
In the middle it turned out to be a square outlined by folds. Now you need to cut through the workpiece, making 4 cuts to this square, as in the photo.
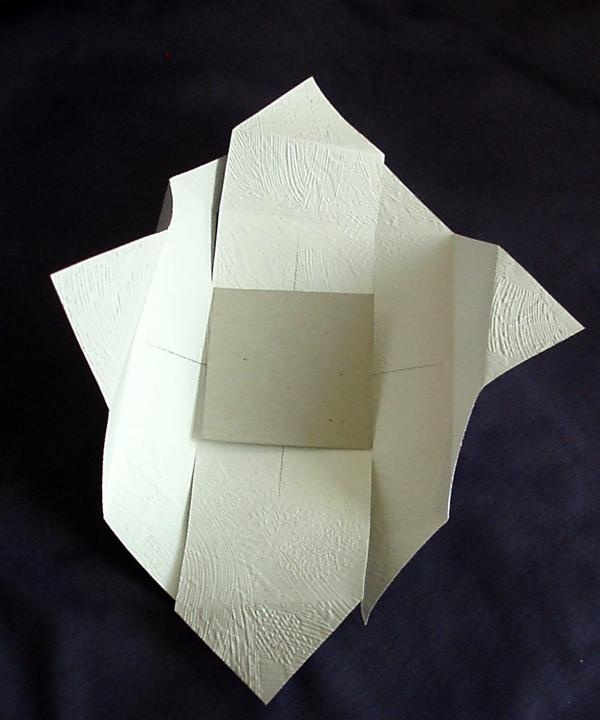
Similarly, bend and cut the second square. You also need to prepare 2 squares from pieces of cardboard measuring 6.3x6.3 cm and 6.5x6.5 cm. They are needed so that the base and lid are more rigid and hold their shape well.
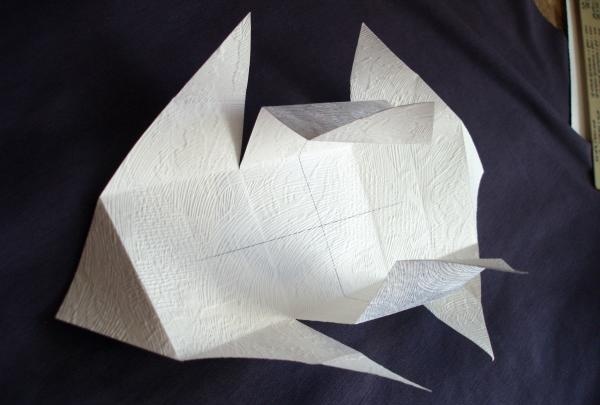
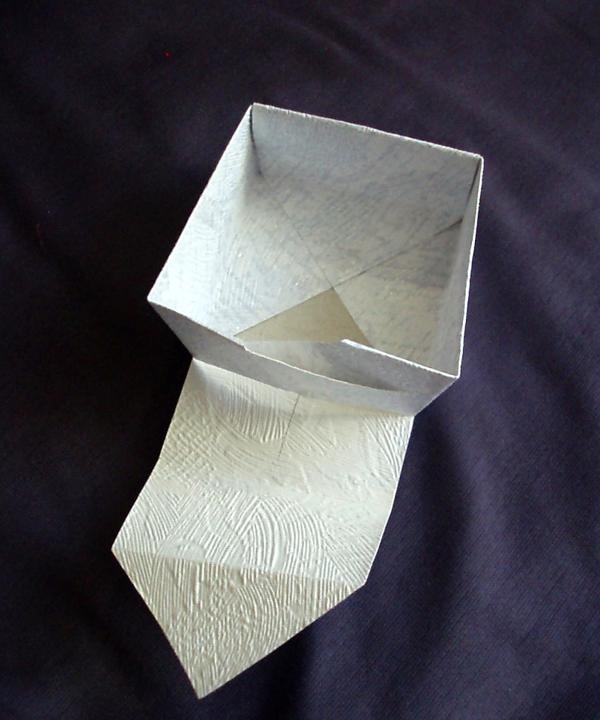
Place a cardboard square in the middle of the piece. We begin to fold first those sides on the sides of which extra “tails” have formed. We secure the triangles that lay on the cardboard base with a small amount of glue.
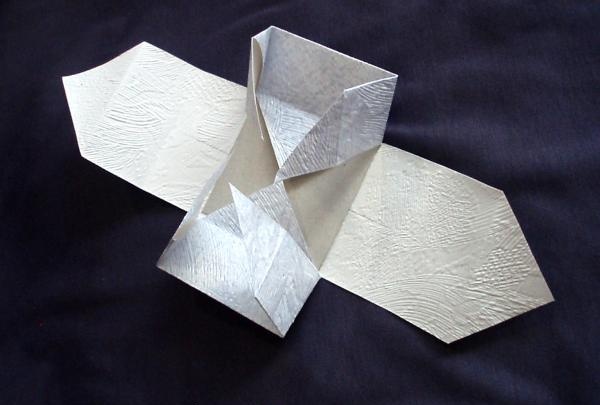
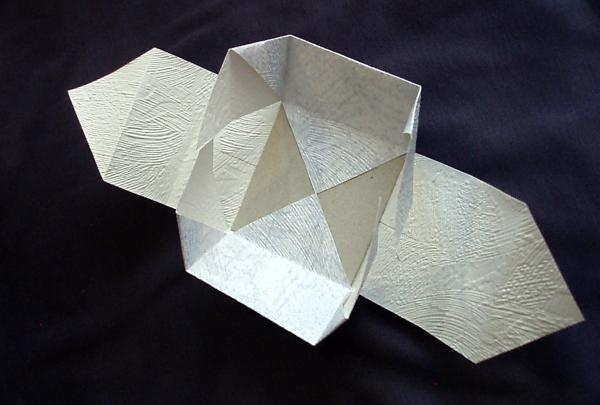
Now we assemble the remaining two sides. We tuck the “tails” from the already assembled sides inside the remaining part of the blanks so that they are not visible.
We also secure the triangle inside, which lies on the base, with a drop of glue. We assemble the opposite side of the box in the same way.

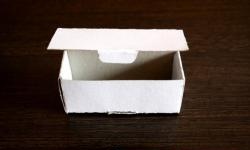
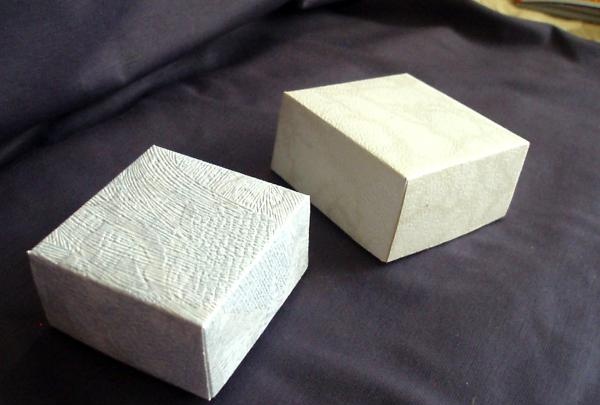
We assemble the second blank in exactly the same way. The one that is smaller will be the bottom, and the larger one will be the lid. To close the box, put the smaller part into the larger one.


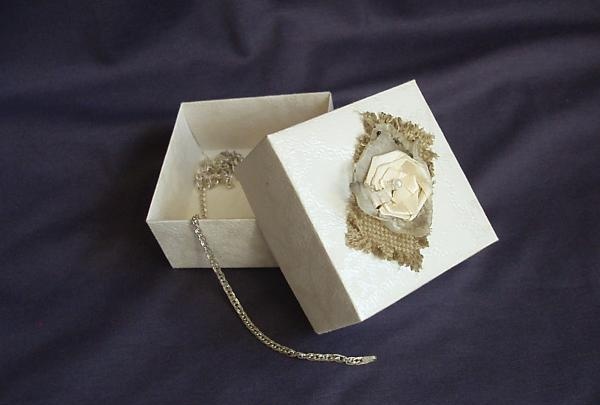
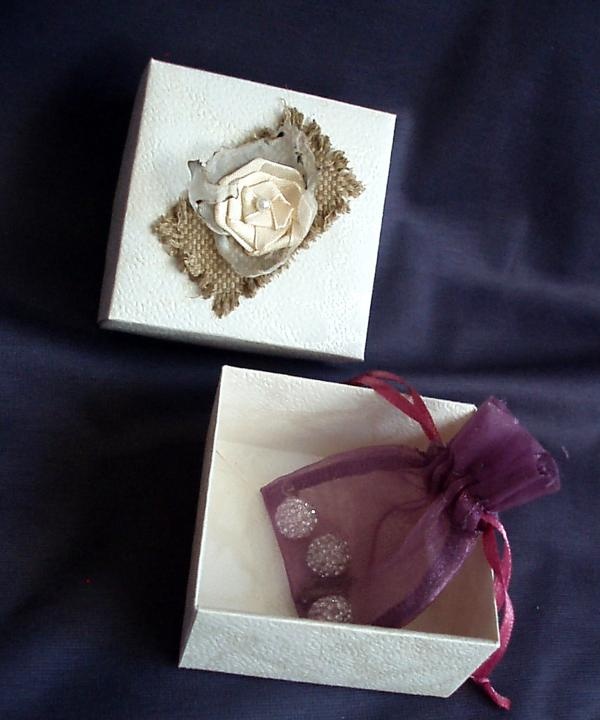
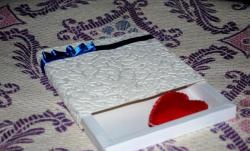
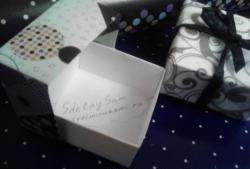
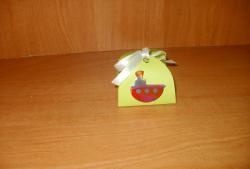
In fact, the box is ready and can be used for gifts or even for storing small items.
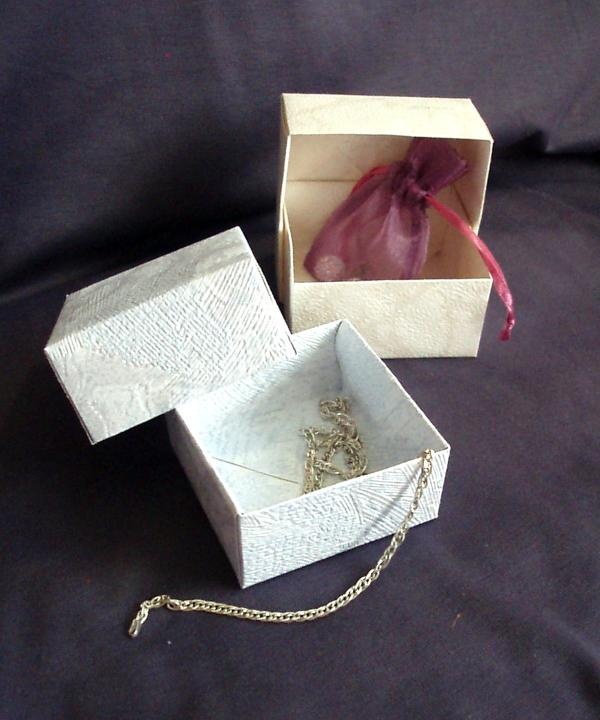
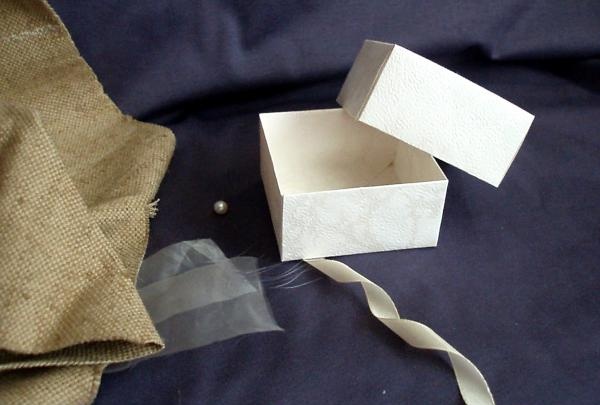
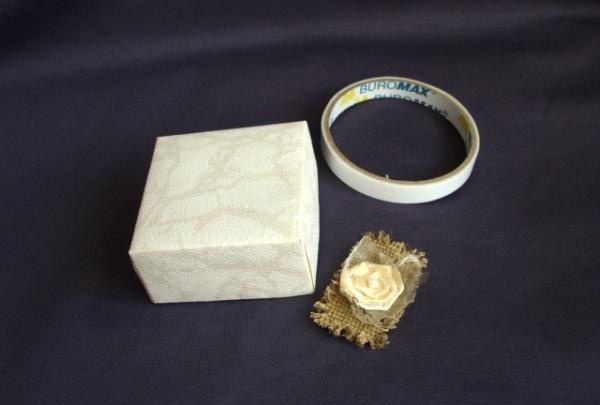
You can leave it as is or grab it with an elegant ribbon and tie it with a bow at the top. Or you can show a little creativity and decorate the lid with original filigree decor. For this you will need:
- the box itself, which we will decorate;
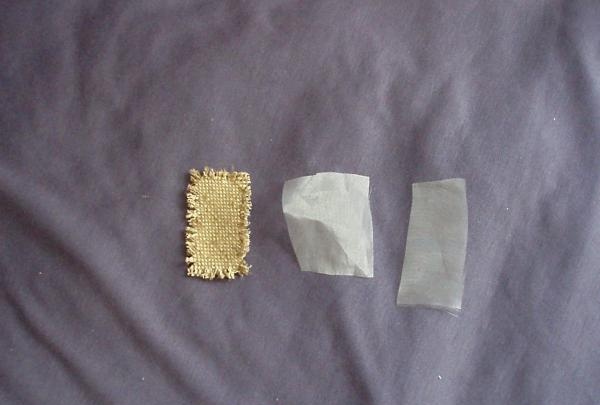
- a piece of ordinary household burlap;
- 2 pieces of organza; you can use the remains of a curtain or nylon tape;
- about 20 cm of cream satin ribbon 1 cm wide;
- 1 pearl;
In addition, you will also find auxiliary materials useful:
- scissors;
- ruler;
- thread in the color of the ribbon and a thin needle;
- pin;
- candle and matches;
- double sided tape.
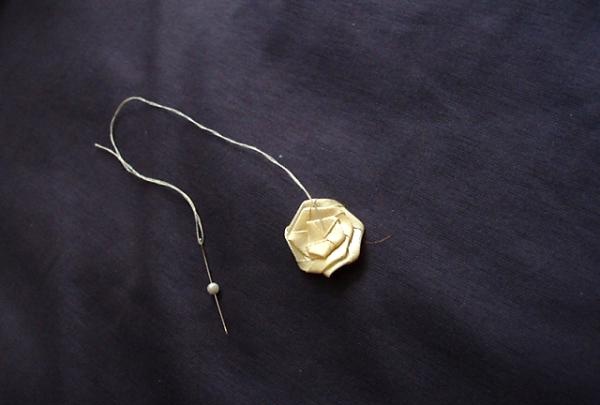
First, we roll up a flower from a satin ribbon - a rose with a diameter of about 2.5 cm. Sew the flower on the wrong side, then take the thread in the middle of the flower on the front side and sew a pearl in the center. We bring the thread back inside out, fasten it, but do not cut it - the thread will come in handy later.
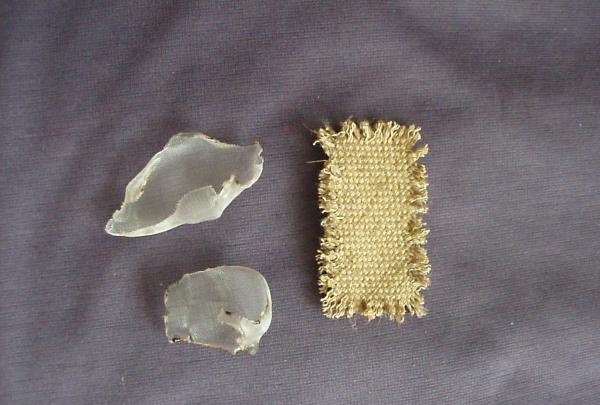
Now let's start working with burlap. We cut out a piece of about 3x5.5 cm on the bias, that is, at an angle of 45 degrees to the weave threads of the fabric. We loosen the edges with a pin.

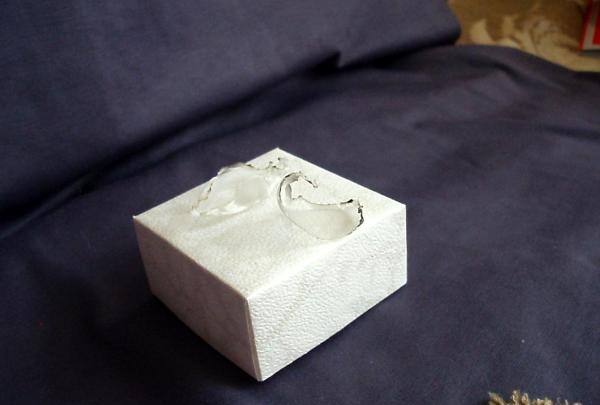
Let's start working with organza. We cut out two pieces of organza - approximately 5x5 cm and 3x7 cm. It’s okay if they look uneven. We light a candle. We begin to carefully singe the edges of the organza scraps.In order for the pieces of organza to acquire a fancy curved shape, you need to bring the organza on top of the flame. But you need to be careful not to burn the skin of your fingers and the piece of organza itself.
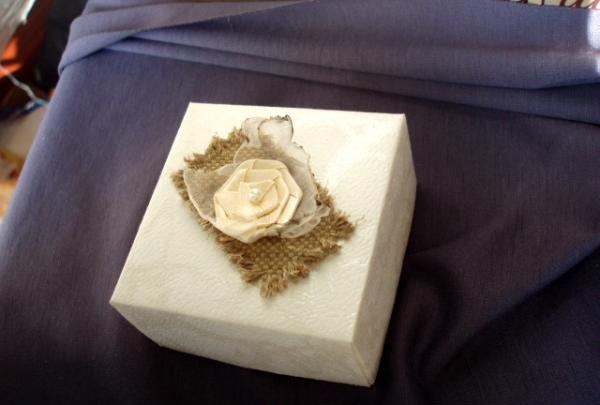
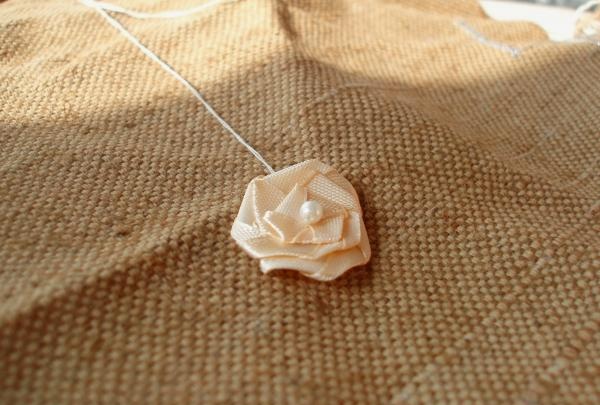
Now you need to put together the entire decorative element. We place two pieces of singed organza under the flower and sew it with the thread that remained after assembling the flower.
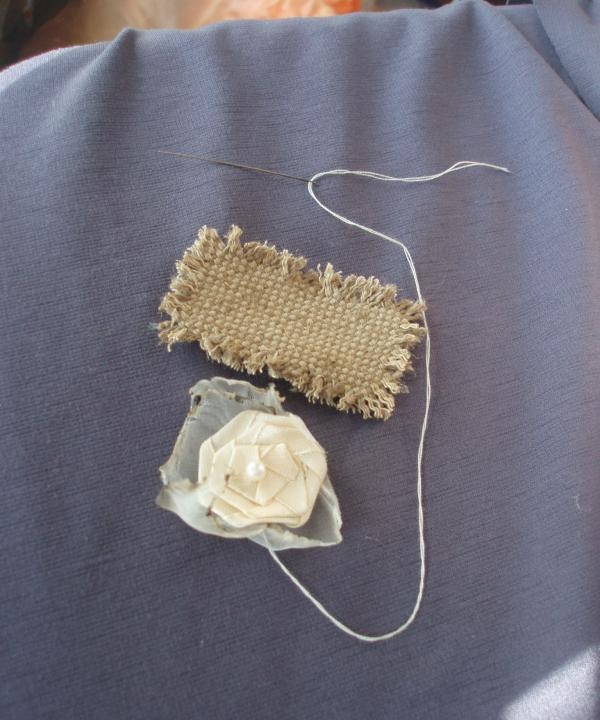
We place the flower with organza in the middle of a piece of burlap and sew it on, grabbing all the layers to firmly secure the entire element: burlap, organza and satin ribbon.
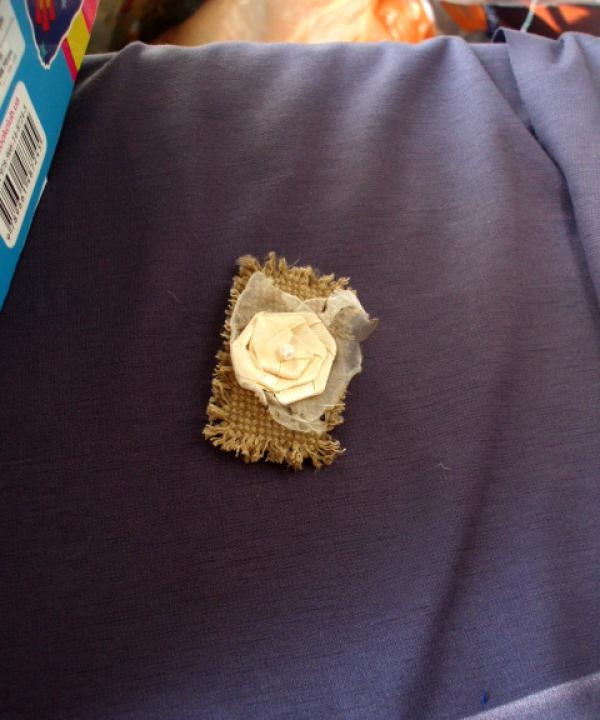
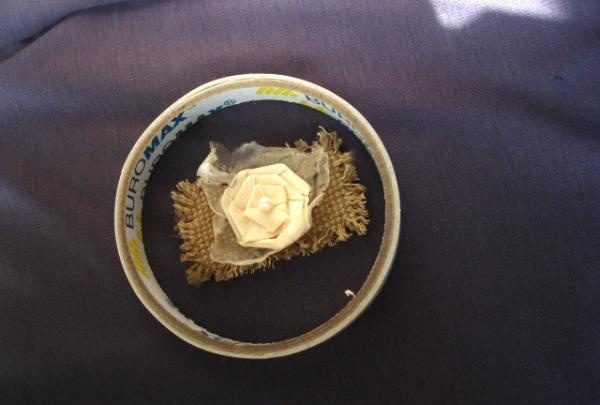
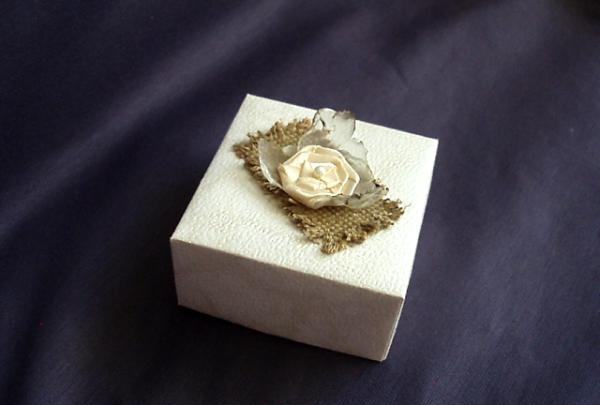
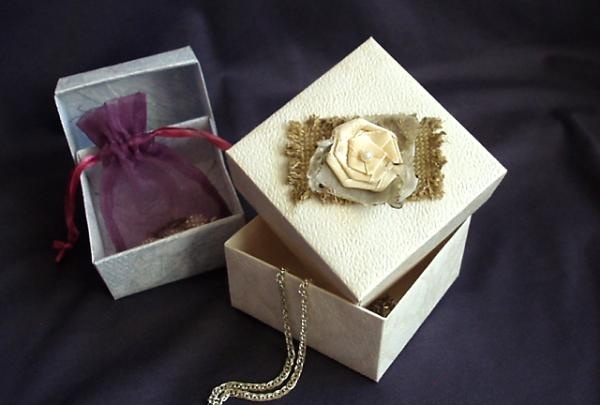
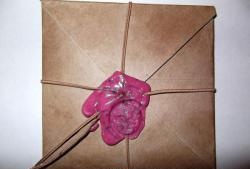
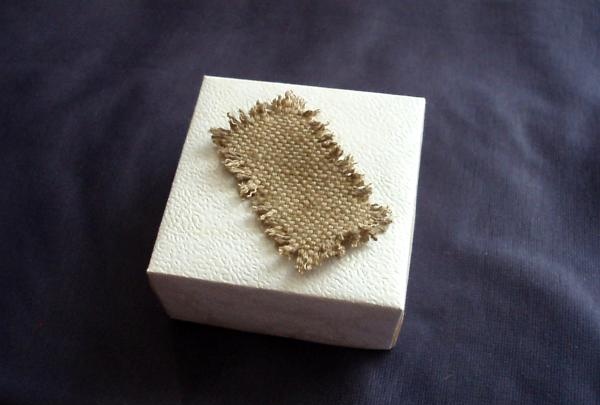
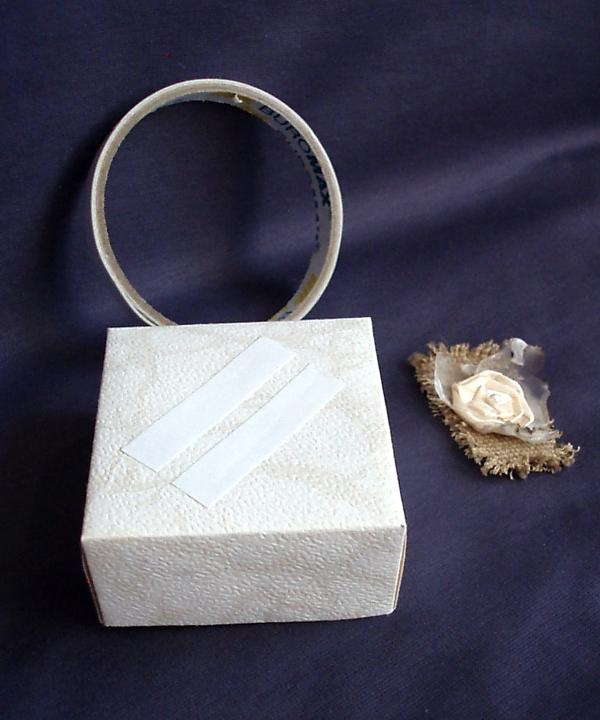
We glue two strips of double-sided tape onto the lid of the box, placing it along one of the diagonals in the middle of the top part. Then peel off the protective film and press the burlap to the adhesive part.
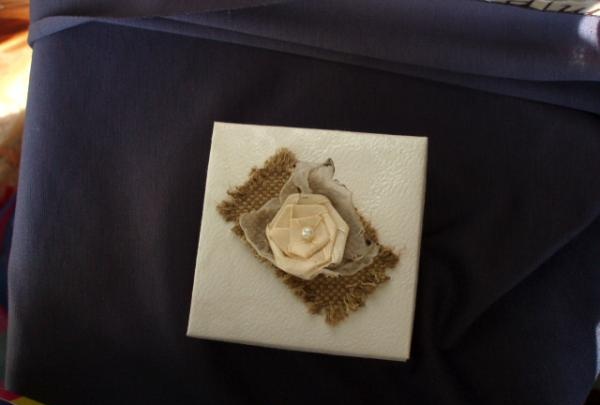
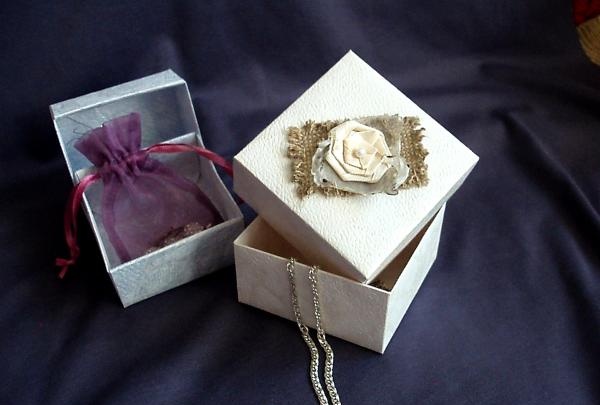
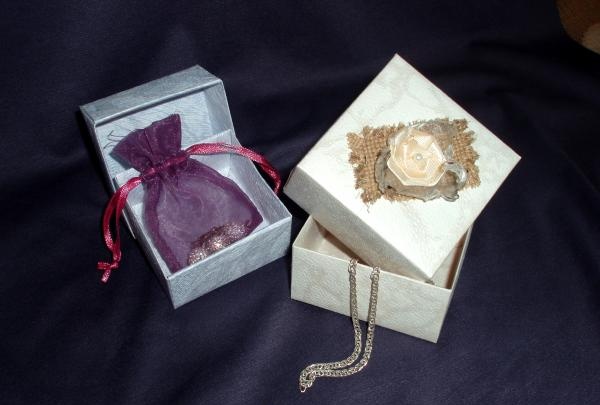
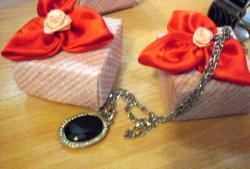
Now the gift box is ready - it looks as exclusive, original and presentable as the gift itself. You can place a present in it and deliver a beautifully wrapped gift to the recipient.