Hello. If you are an avid fisherman or hunter, or often go out into nature, it happens that the knife sheath (sheath) is lost or simply torn. Buying from a hunting store or ordering it from a craftsman is expensive. The way out of this unpleasant situation is quite simple and not expensive. Not expensive – in the sense of being completely free! All you need is free material that grows on birch trees and a little patience.
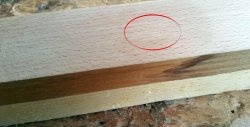
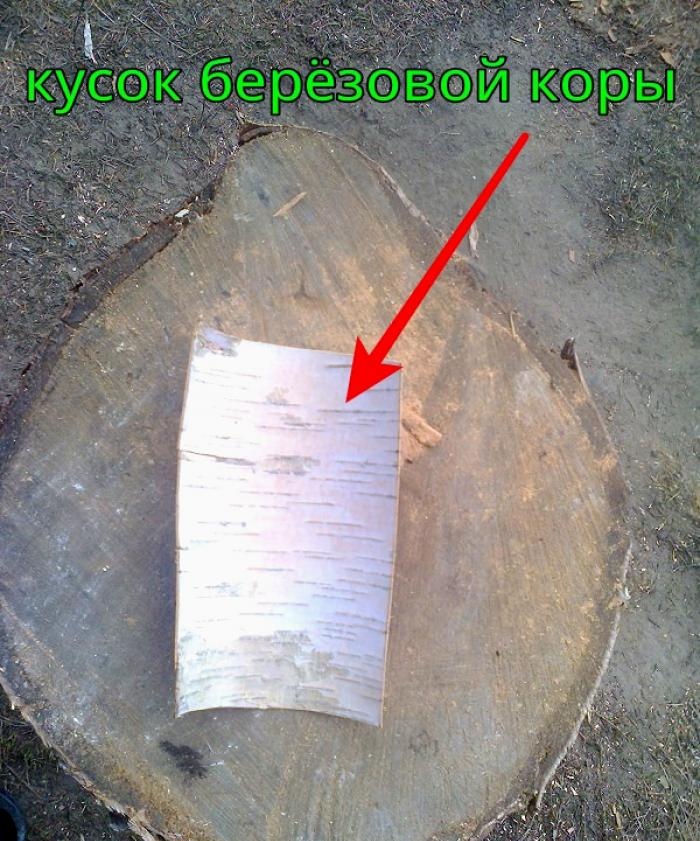
So: find a smooth, straight tree (birch) without knots at the bottom of the trunk. It is advisable that the fragment of birch bark you select is free of any lichens, small cracks and dark spots. Clear, homogeneous structure! After making a T-shaped cut on the trunk, carefully remove the piece of birch bark needed for the cover. Of course with a reserve. The bark is very easily separated from the trunk. It should not be too thin, approximately 1.5-2 mm thick. If necessary, it can be easily stratified. It is not necessary to dry the bark, since due to the tar it contains, it is not possible to remove all the moisture from it. What’s good about this material is that you don’t have to waste time on drying and processing; you can start working with it almost immediately after extracting it.By the way, due to its high tar content, birch bark remains a flexible and water-repellent material, not subject to decay and rotting for a very long time.
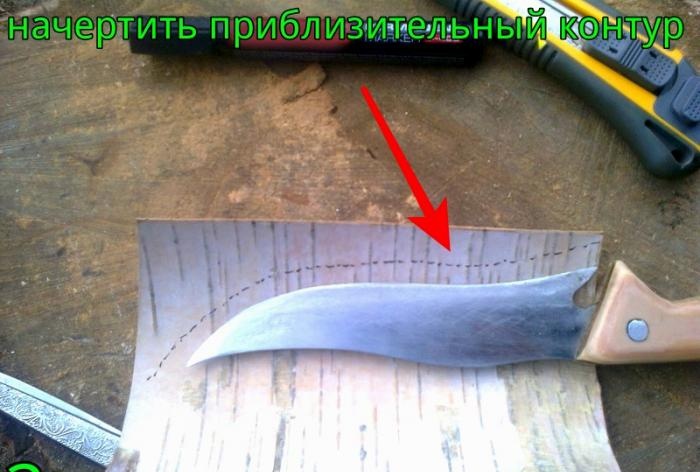
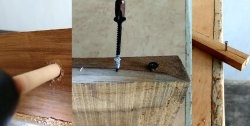
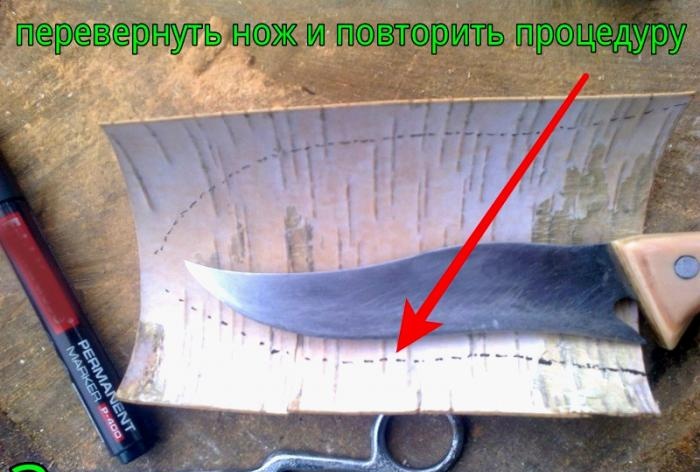
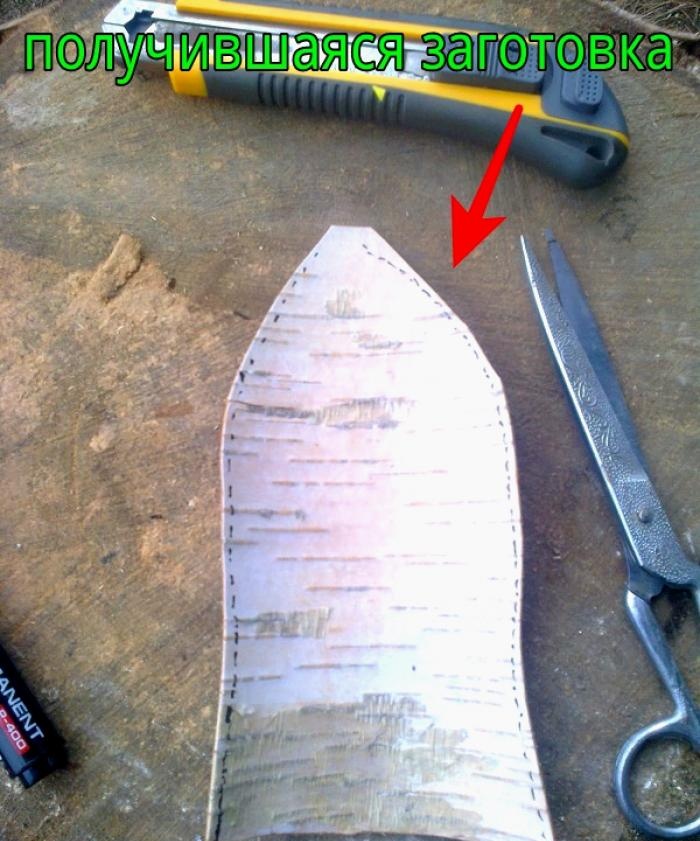
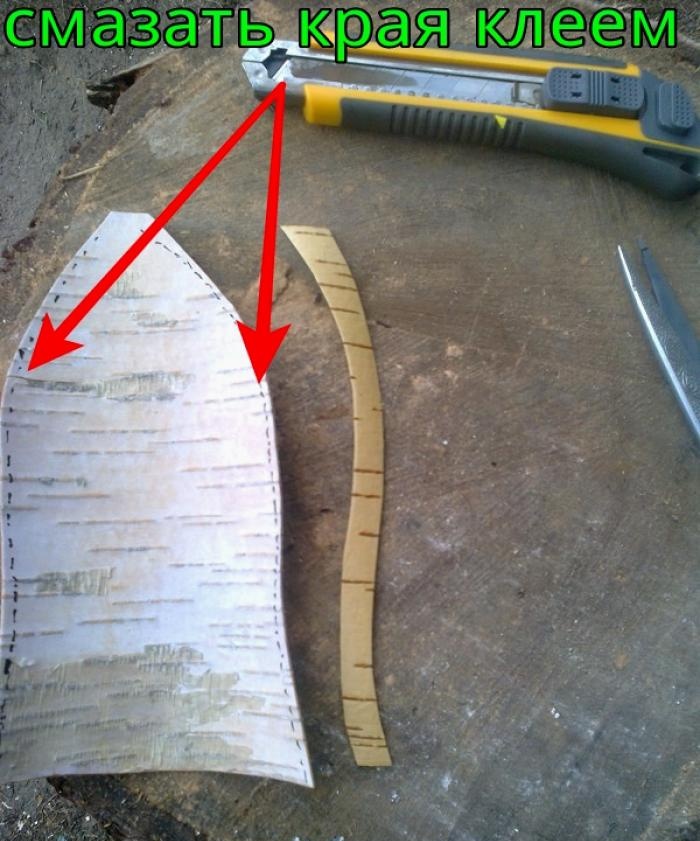
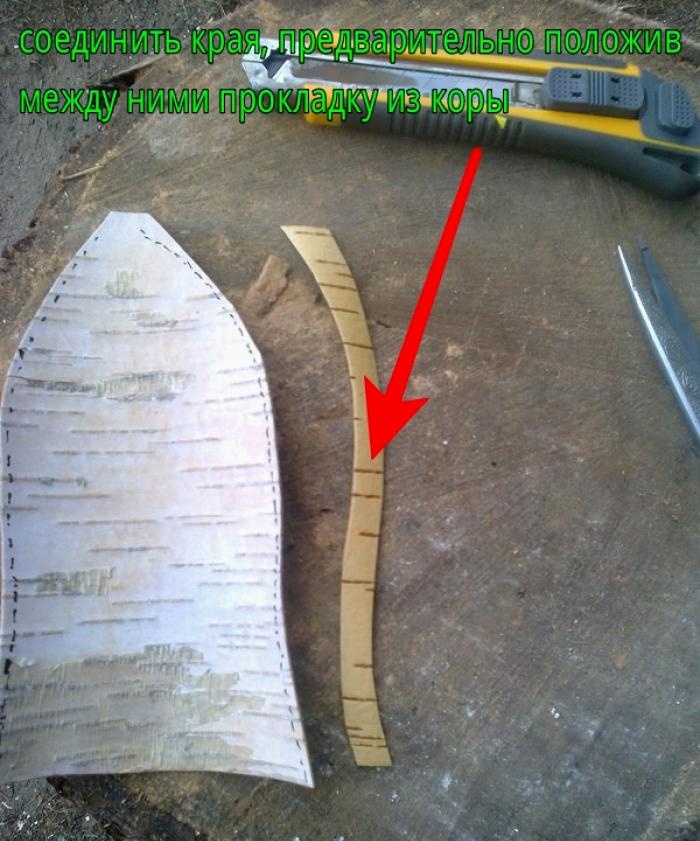
Next, take your knife and apply it to the birch bark, with the cutting edge to the edge (this is important!), with a margin of 1.5 cm. Draw an approximate contour with a 1 cm indent from the blade. Cut a strip of birch bark 1 cm wide along the drawn contour - it will serve as a gasket between the walls of the cover, which we will fasten with glue and thinly cut birch bark strands. Next, we repeat the same procedure, turning the knife over to the other side. If necessary, you can immediately leave a small section on the side you need for attaching to a belt or belt. We bend the resulting workpiece so that the contour lines meet (at least approximately) and insert the previously cut gasket between the edges. For temporary fixation, we fasten all layers with glue. Place under a press until completely dry.
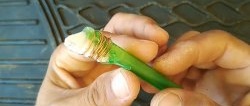
While the workpiece dries, we will start making bundles from the remains of birch bark. Take the thickness of the birch bark (for example, 1.5 mm) and measure the same one and a half mm with a ruler. from the smooth edge of the birch bark. Using a mounting knife, carefully cut off the measured strip from the sheet. You will get a square rope with equal sides. If you don’t want to mess around, you can use some kind of lace, like a shoe lace, although it’s not so impressive...
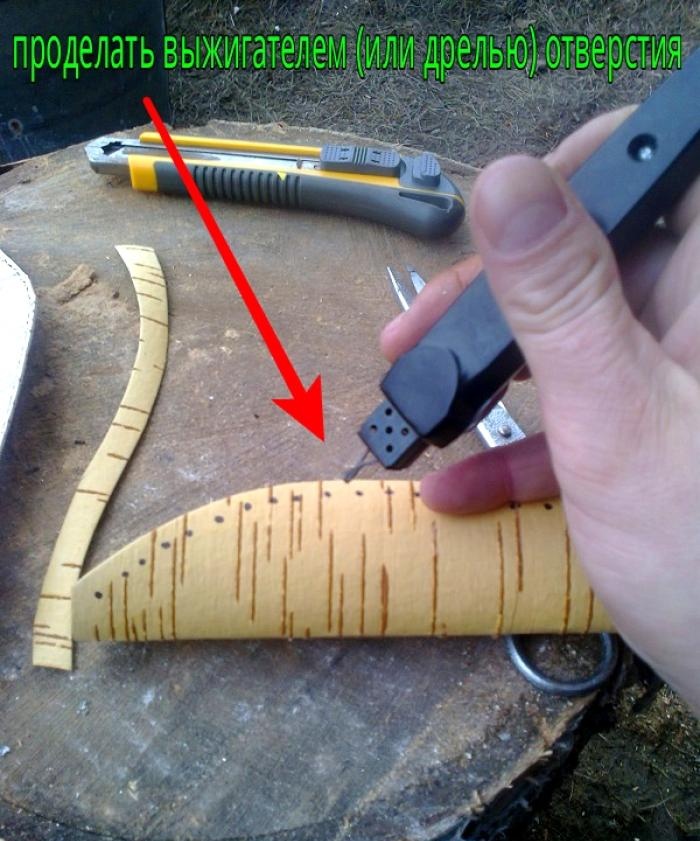
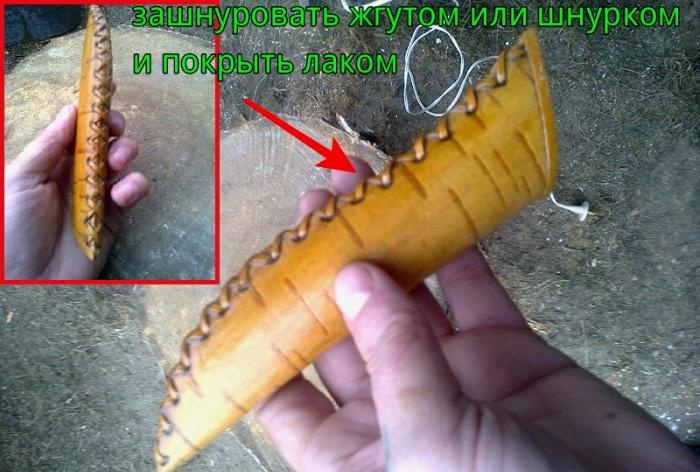
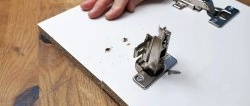
After waiting for the glue in the workpiece to completely dry, we take it out from under the press. Take sandpaper and smooth out the glued edges. Next, using a burner, we make holes twice the thickness of the rope along the entire edge fastened with glue at a distance of 1 cm from each other and 5 mm from the edge.You can use a drill with a tube instead of a drill (any metal tube of the appropriate caliber, with slightly sharpened edges). The holes are ready - take the harness. We sharpen both ends of the harness for ease of threading into the holes and thread them crosswise into the holes. If the tourniquet turns out to be short, it doesn’t matter, we hide both ends in the thickness of the edge of the cover, fastening them with second-time glue and continue further.
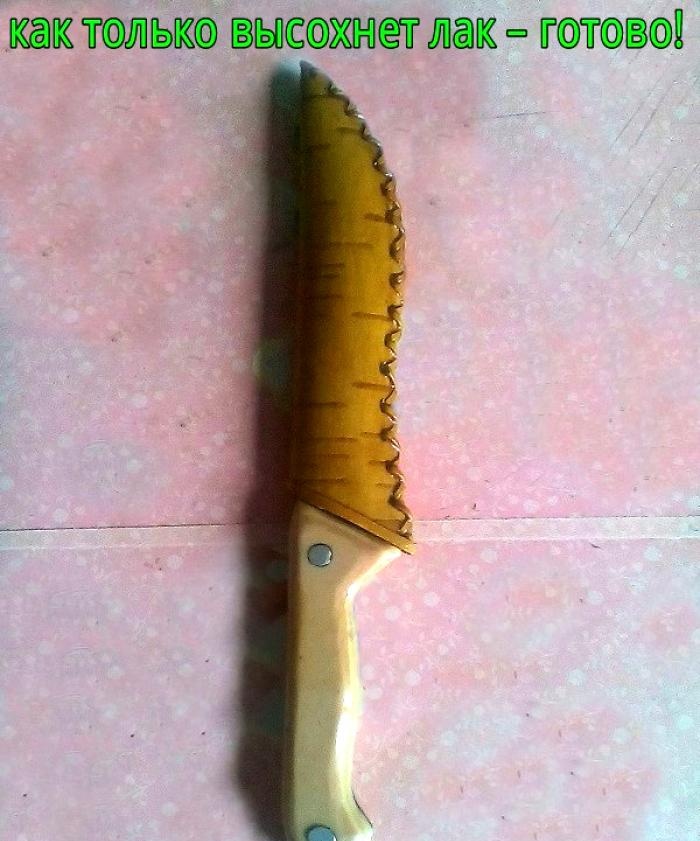
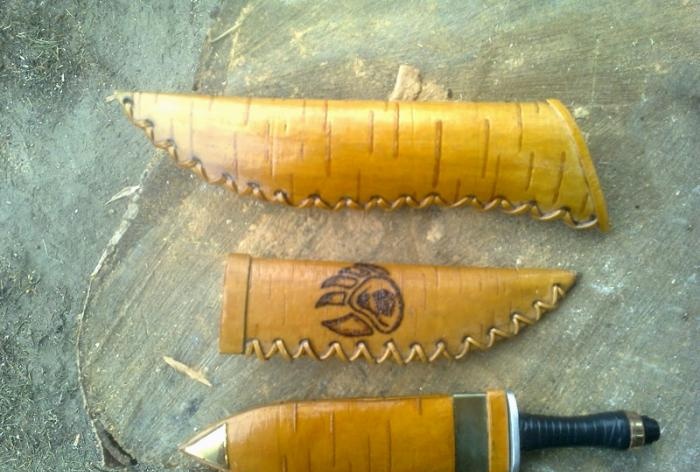
All that remains is to coat the product with transparent varnish. If you have artistic skills, you can use a burner to depict something on the case before varnishing it. That's all.
Safe use and successful crafts!