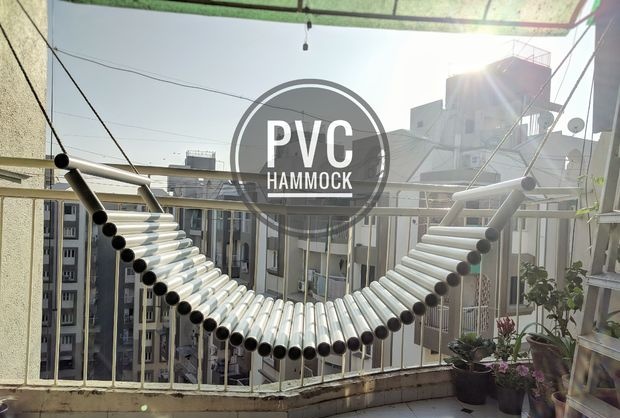

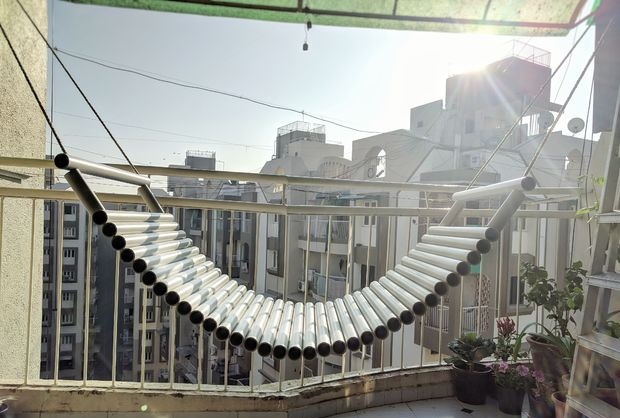
Everyone loves to enjoy their holiday, and a hammock is ideal for this. Various types of hammocks have been used throughout the world for centuries. But I did something unusual that the world had never seen before - a hammock made of PVC pipes. It is durable, wear-resistant and waterproof. And most importantly, it is very comfortable.
Materials and tools:
- - PVC pipes;
- - rope;
- - 2 hooks;
- - 2 anchor bolts with a ring;
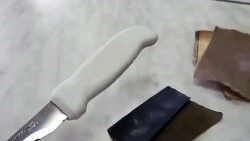
- - hacksaw;
- - drilling machine.
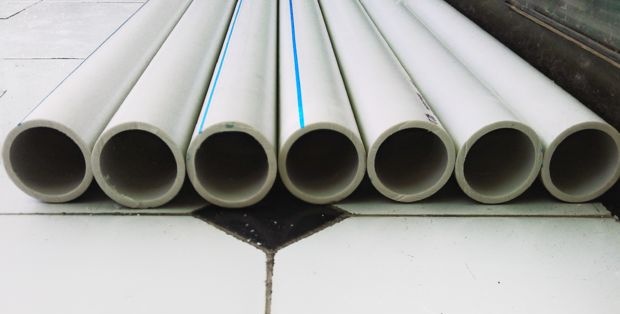
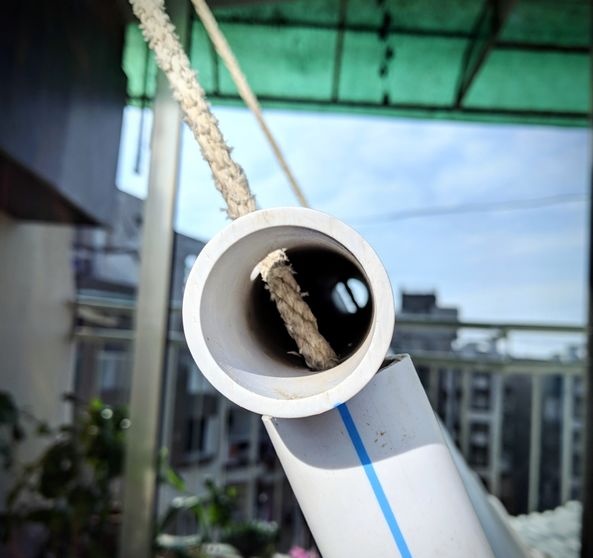
Pipe selection
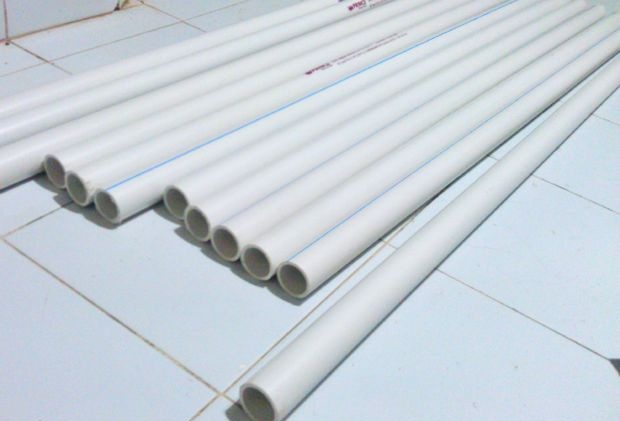
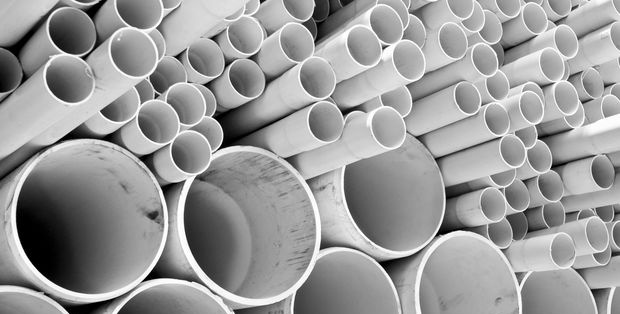
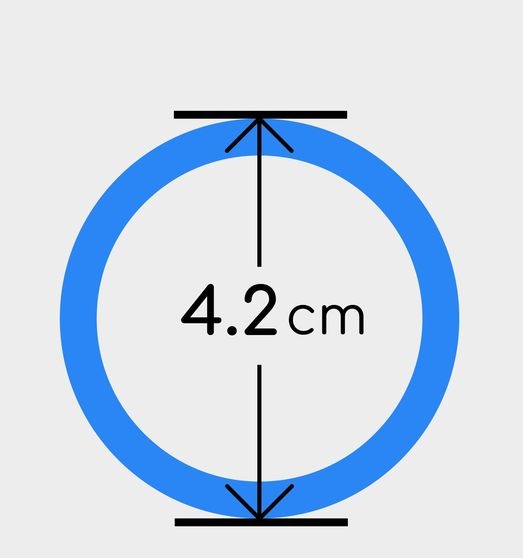
There is a wide range of PVC pipes. But for my hammock, I chose uPVC products because they are quite strong and elastic. I used pipes with an outer diameter of 4.2 cm. Do not use wider ones, as the hammock will be uncomfortable.
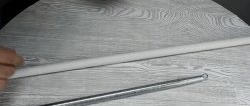
Pipe cutting
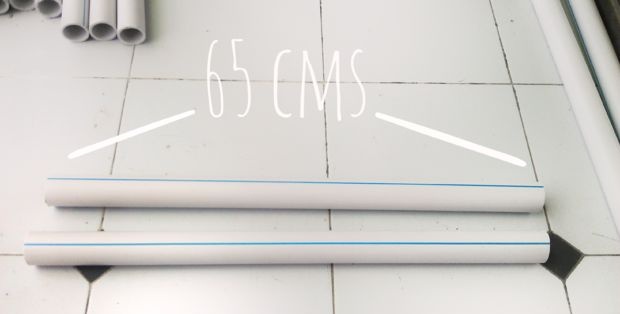
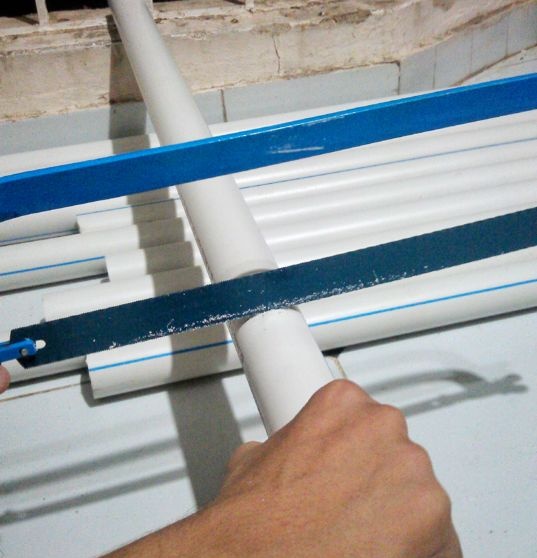
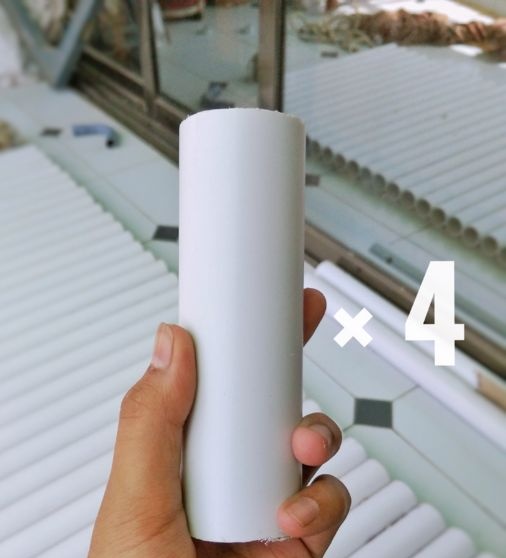
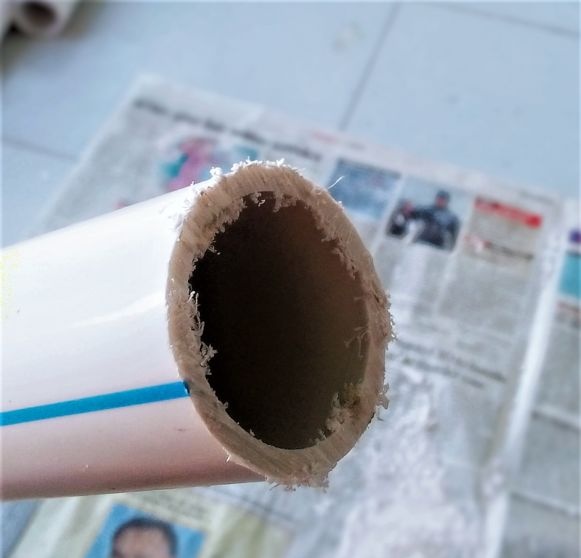
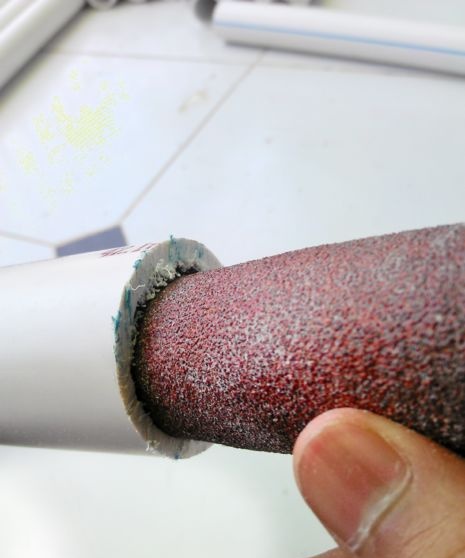
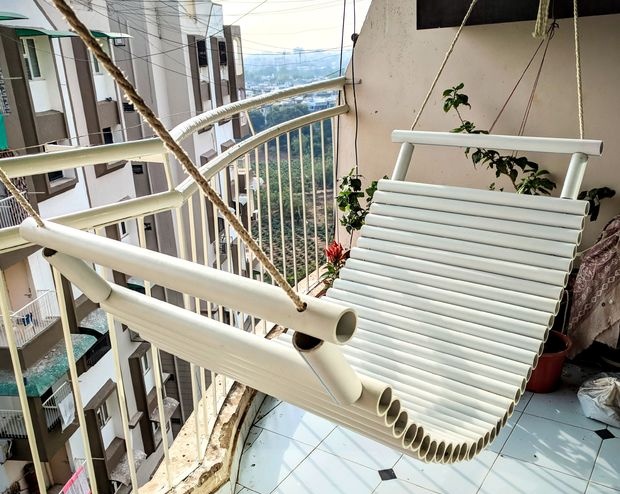
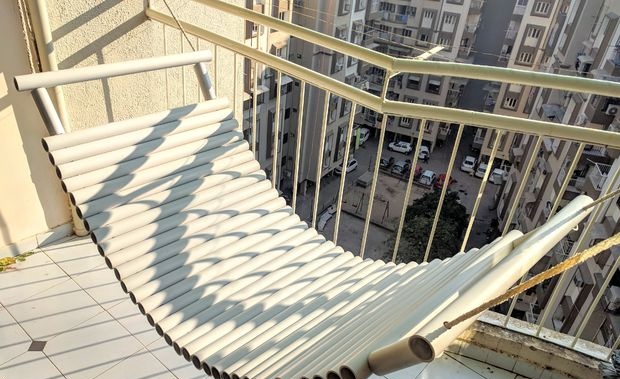
Now, using a hacksaw or a circular saw, we make pipe sections 65 cm long. And additionally 4 sections of 15 cm each for the headrest. The edges of the pipes must be cleaned with sandpaper. The length of the main pipes can be made longer or shorter at your discretion. Due to limited space for the hammock, I used 35 tubes. But you can make it longer by adding additional elements.
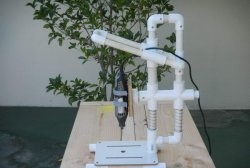
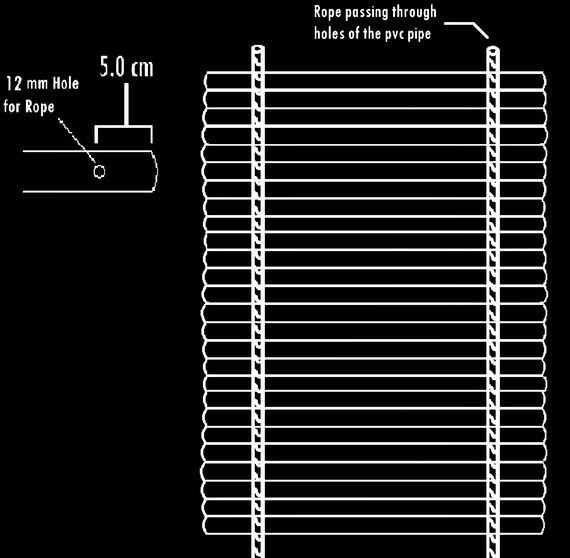
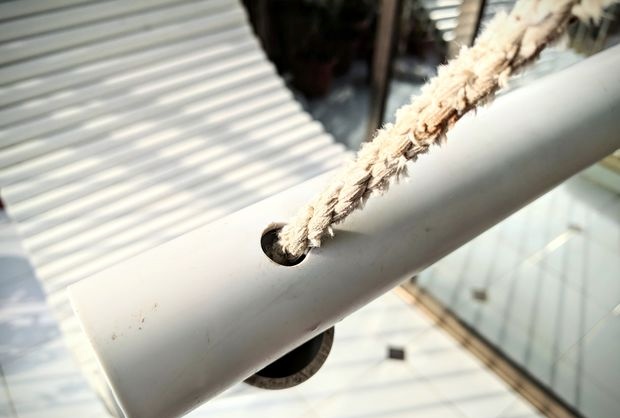
Drilling holes
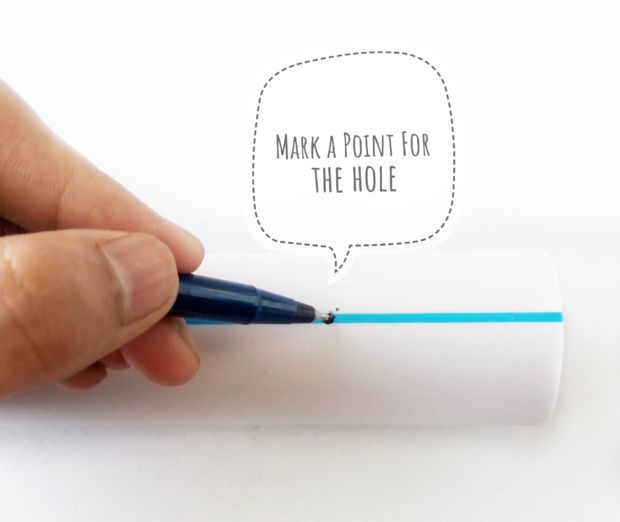
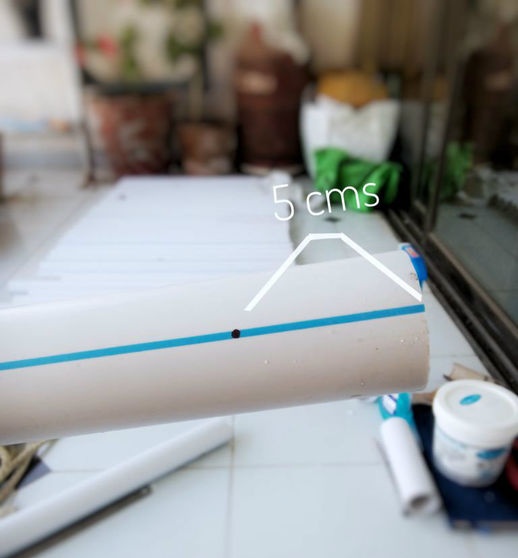
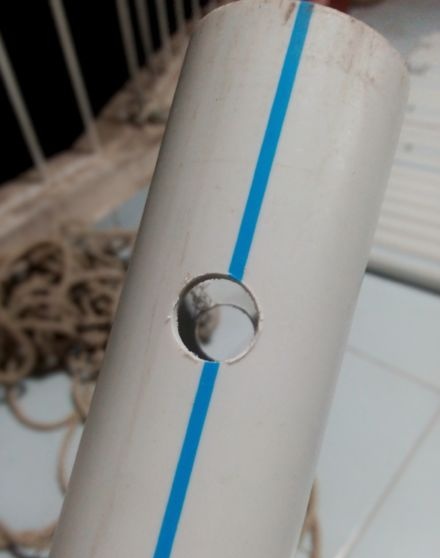
To string it on a rope, you need to drill holes with a diameter of 12 mm in the pipes. But before you do this, you need to make sure that their diameter will match the thickness of the rope. First you need to make marks in the places where you will drill. Place marks with a pen at a distance of 5 cm from each edge of the plastic pipe. You will need a drill press. Since I didn’t have this, I turned to the workshop for help.
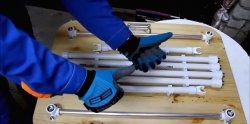
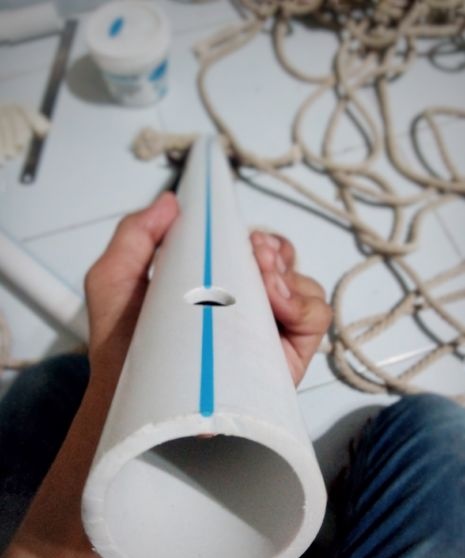
Stringing on a rope
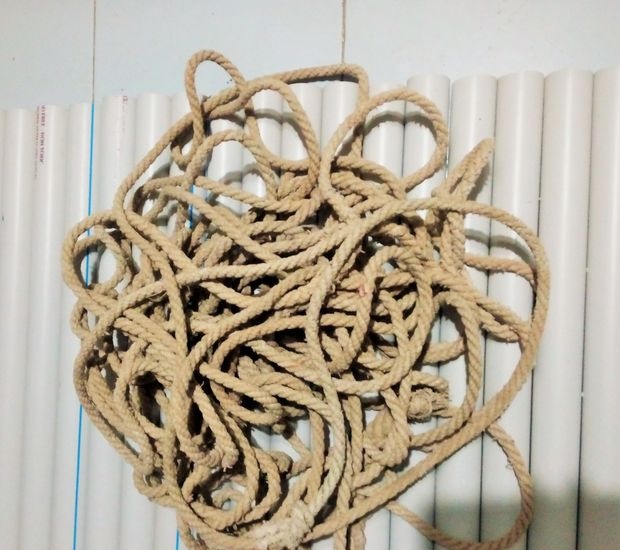
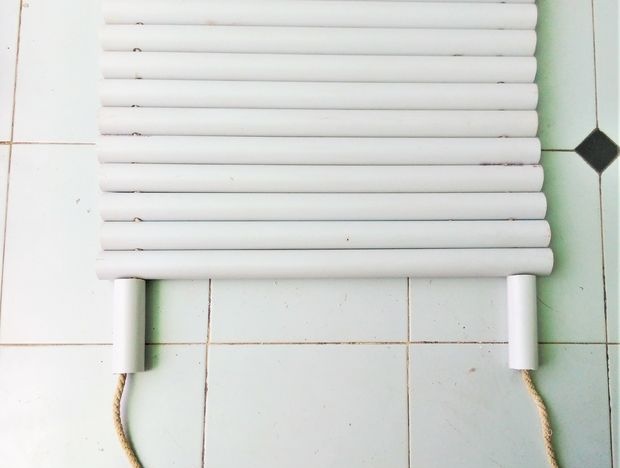
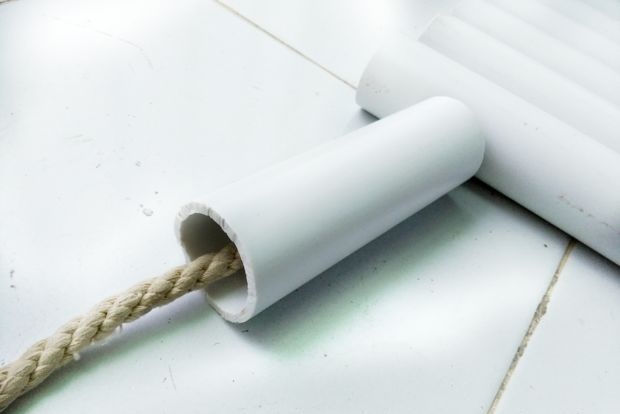
Thread the string through the holes on both sides of the pipes.
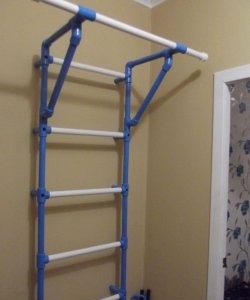
Securing anchors to the ceiling
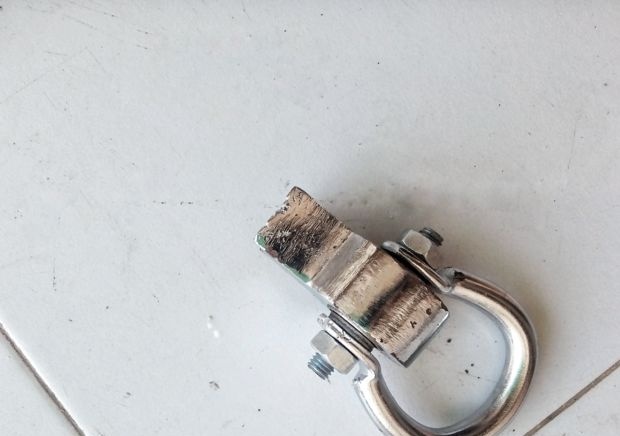
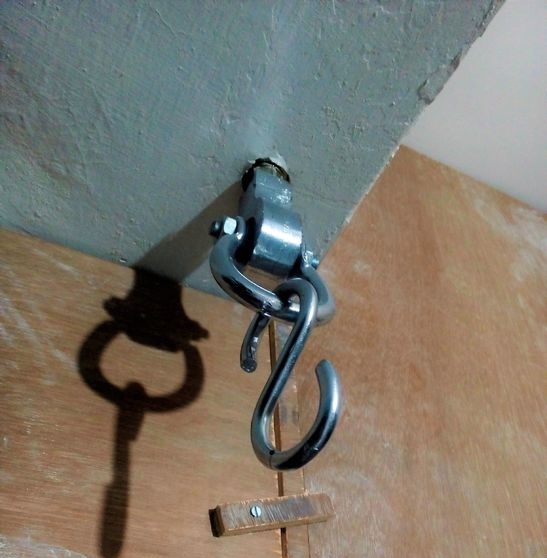
Attach 2 ring anchor bolts to the ceiling. The distance between them should be at least 3 m. The farther from each other they are located, the more comfortable the hammock will be, since its deflection will be less.
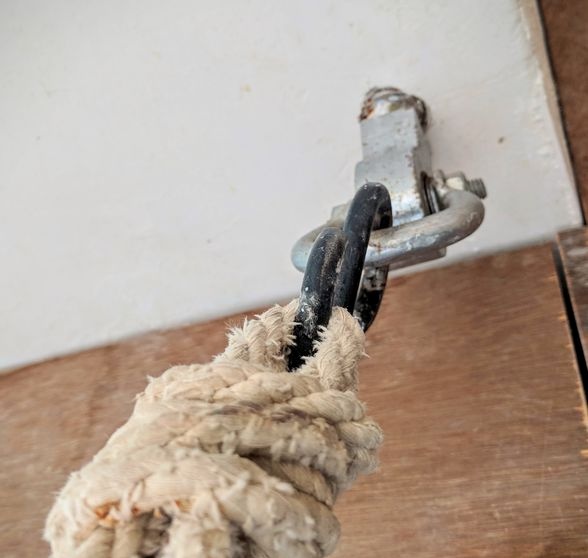
Tying a knot
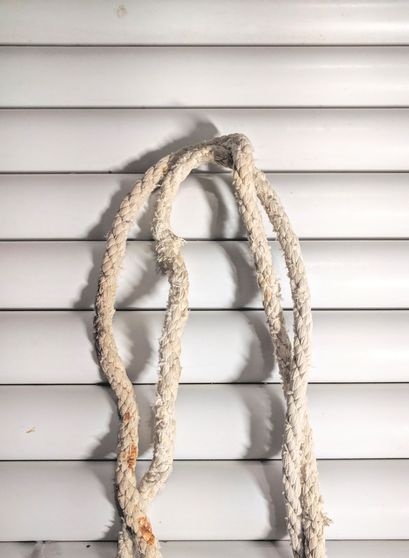
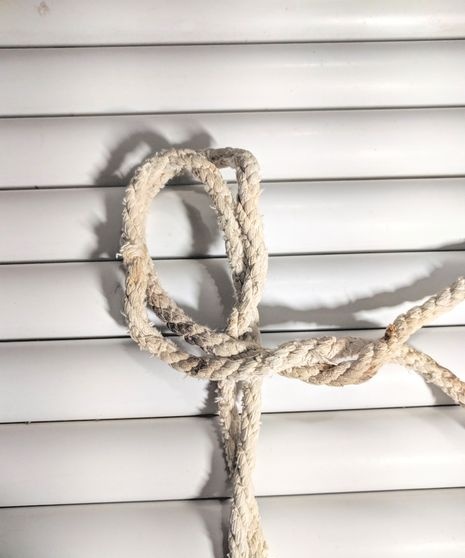

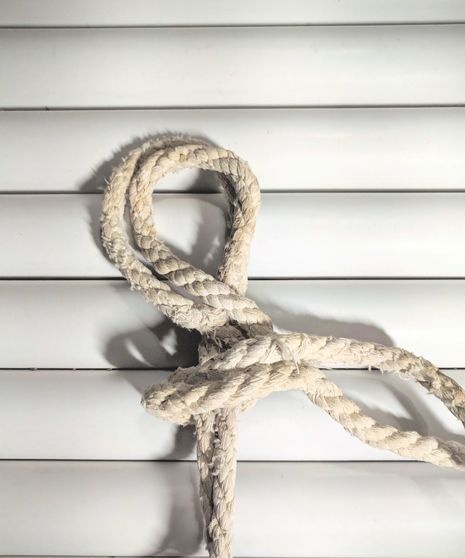
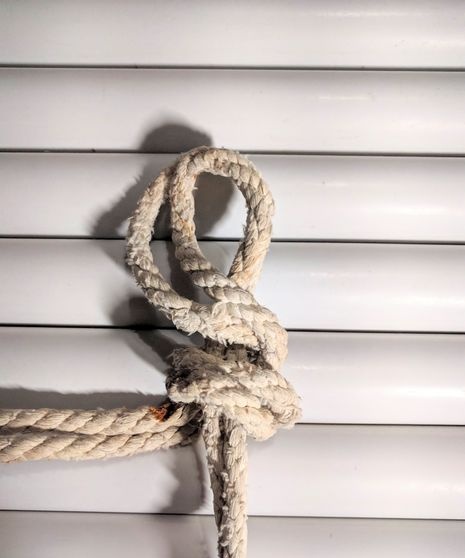
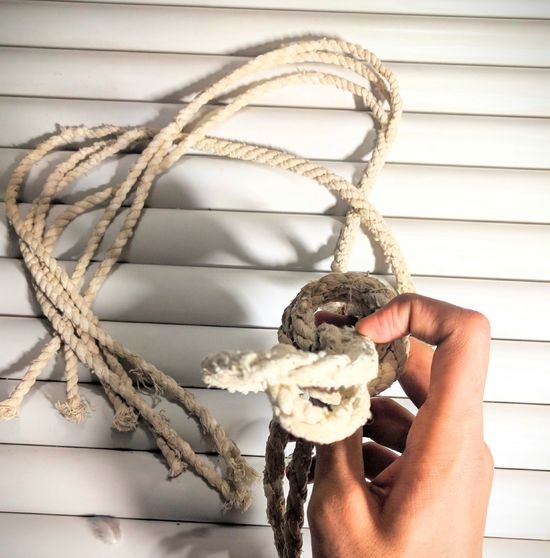
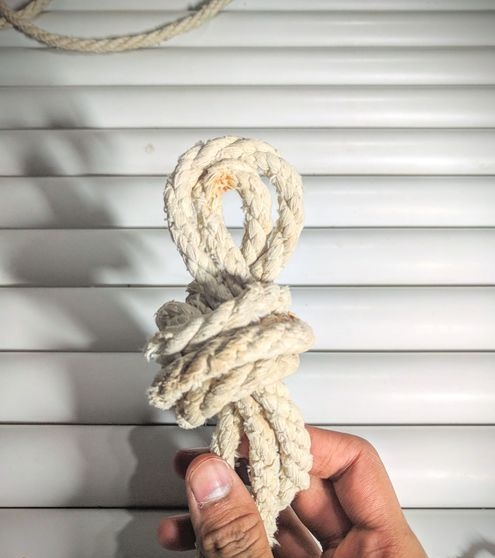
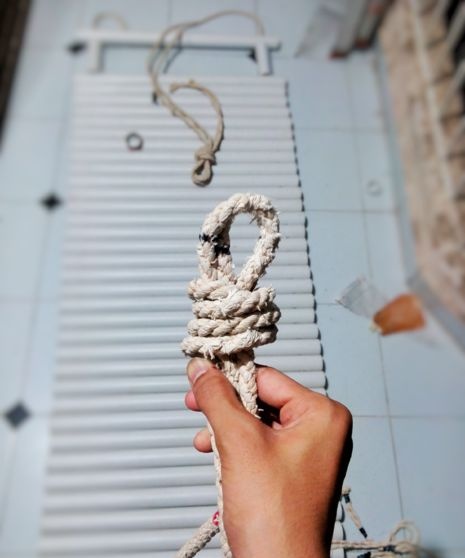
It is necessary to tie very strong knots, since they will hold the entire hammock and will prevent it from slipping. It is difficult to explain with a photo how to tie a knot. But you can find many suitable options on the Internet. The main thing is that the knot has a loop. The photos demonstrate in detail what type of knot I chose.
After tying, place the loop on the hook. And now hang both ends on the anchor bolts.
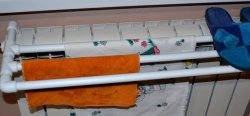
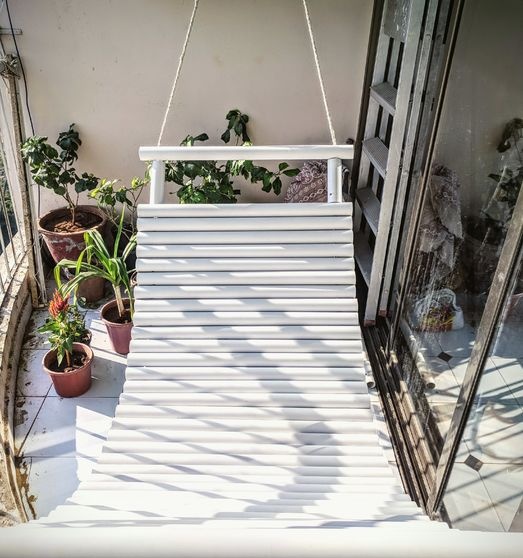
Time to relax lying in a hammock


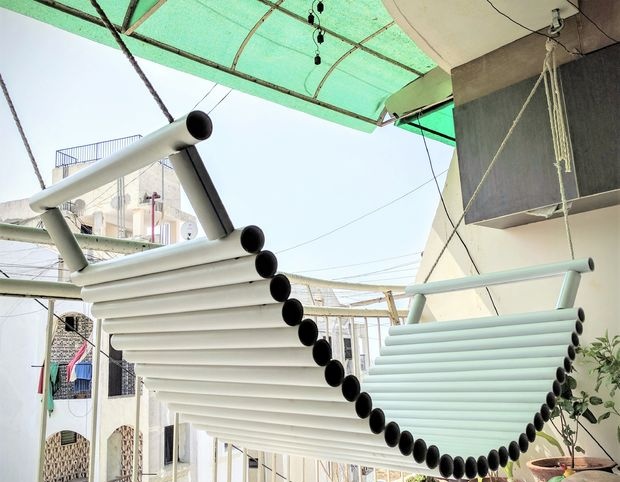
A hammock made of plastic pipes is not like a regular one. When you lie in it, you experience completely different sensations. At the same time, the hammock takes the curve of your body, and the pipes create a massage effect and influence on active points of the skin. These sensations are easier to feel on yourself than to convey in words. I hope you enjoyed this master class.
Original article in English