Is the mixer running? This can be fixed! The water supply communications of many apartments, to put it mildly, leave much to be desired, and this is also compounded by periodic water shutdowns and testing of pipes, as a result of which dirt gets into our mixers and taps. It is this, or rather the sand, that ultimately becomes the root cause of breakdowns. Unfortunately, these are the realities of our lives.
And, as practice shows, neither the quality of the product nor the installation of filters can save you from this, but only slightly delay their failure. What should you do if your faucet suddenly starts to leak or even run? We will repair it.
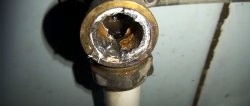
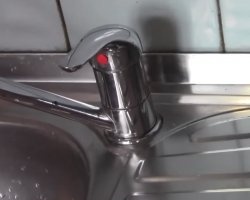
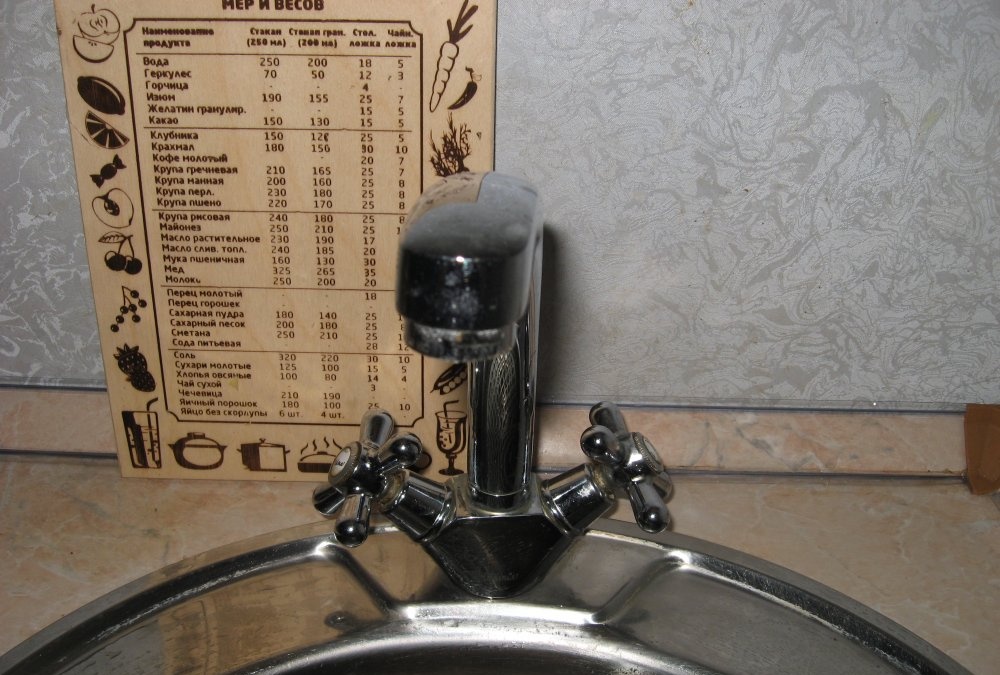
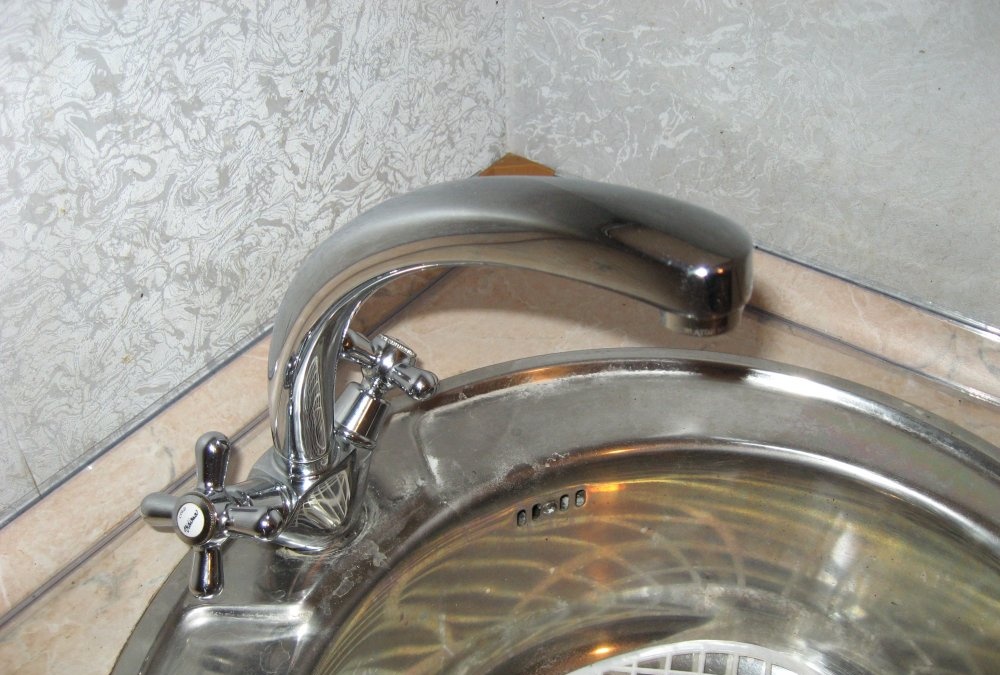
Now let’s look at just such a case: the kitchen faucet began to leak hot water. It was produced by the famous Bulgarian company Vidima, and it fell victim to sand that got inside.
Most often, it is the grains of quartz that get into the faucet that grind down its ceramic surface, thereby allowing water to pass through!
We have several ways to solve the problem.
Very simple repair
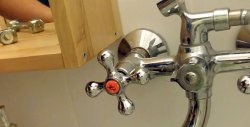
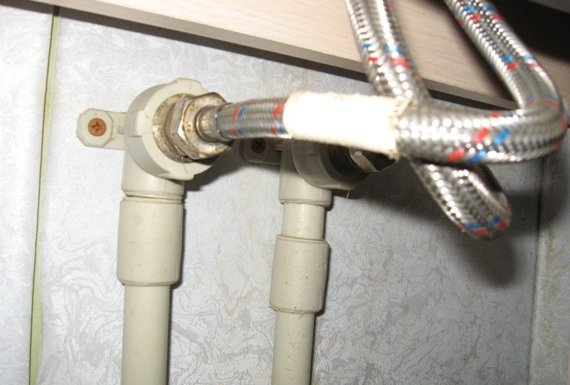
Let's start with the first one, I would call it “Great luck”, and all because you have to do indecently few actions.You just need to turn the valve head from the dripping side to the unscrewing side, i.e. counterclock-wise.
If it is not tightened tightly, this entire assembly will unscrew. In this case, further disassembly and replacement of the damaged part will take very little time. Here's what it looks like using cold water as an example (it's on the left).
Easy replacement
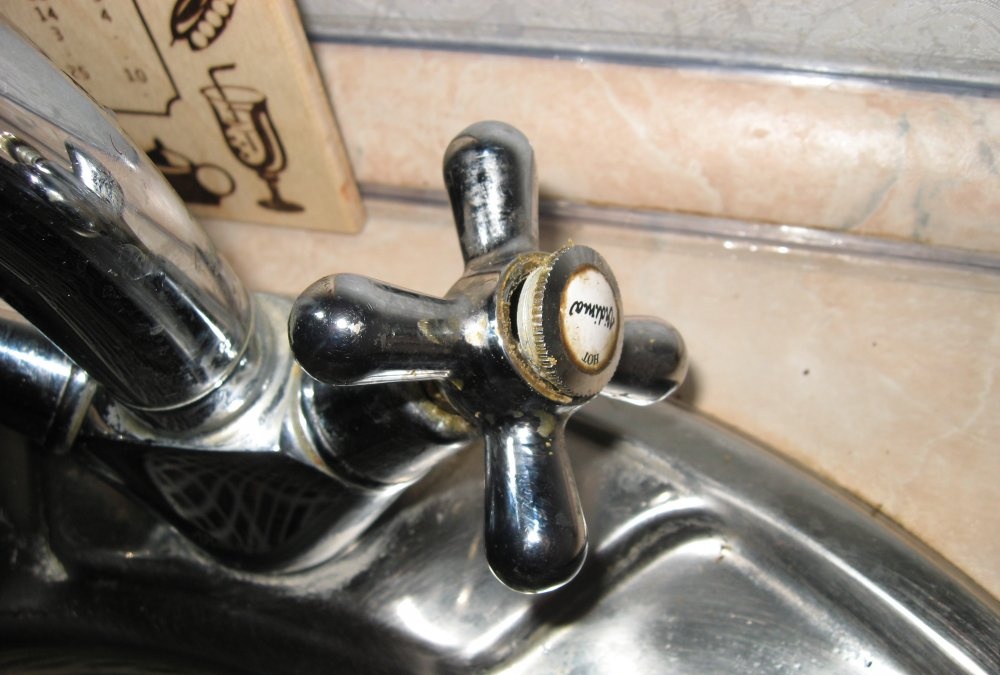
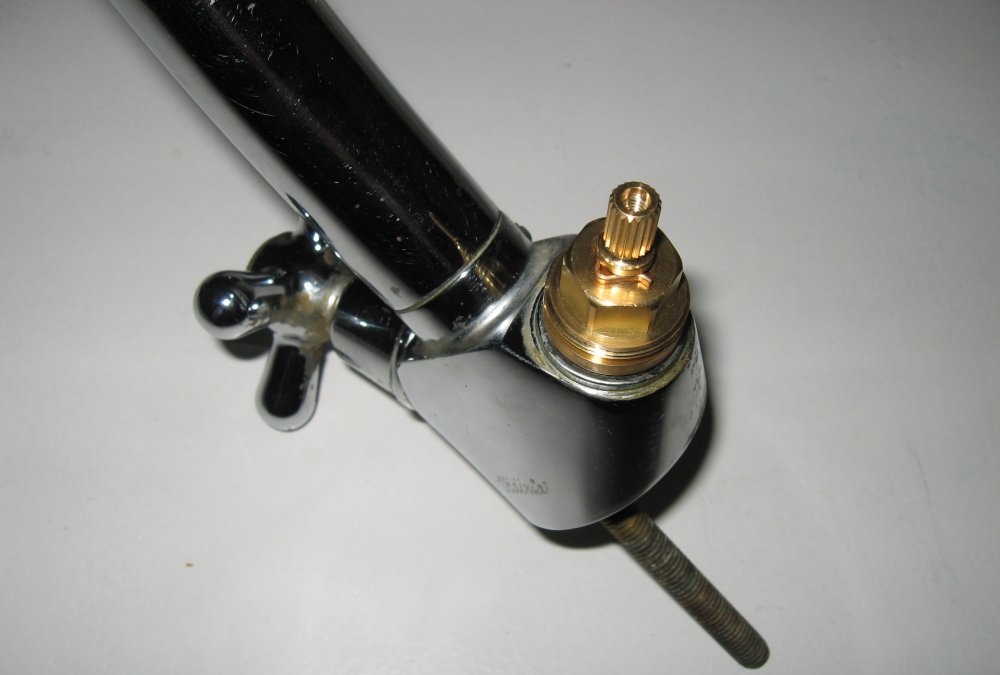
In the next case, the situation will be like this: the valve head with the valve and the faucet box does not unscrew. In this case, unscrew the top plug (it is threaded), and use a screwdriver to unscrew the screw.
Next, we try to remove the valve from the slots, if necessary, gently tapping it from below, of course, using a non-metallic object for this.

If everything worked out, great! All that remains is to unscrew the decorative cap and unscrew the valve axle for its further replacement.
Please note that the type and size of the crane axlebox varies from manufacturer to manufacturer, so do not rush to get rid of it: it will be useful for selecting a new one!
Complete disassembly
Yes, this is exactly what you will have to face in most cases. Here, too, things didn’t turn out the way we would like: after six years of faithful service where the hot water runs (that’s what drips), everything became completely stuck. There is only one option left: you need to remove and disassemble in more convenient conditions.
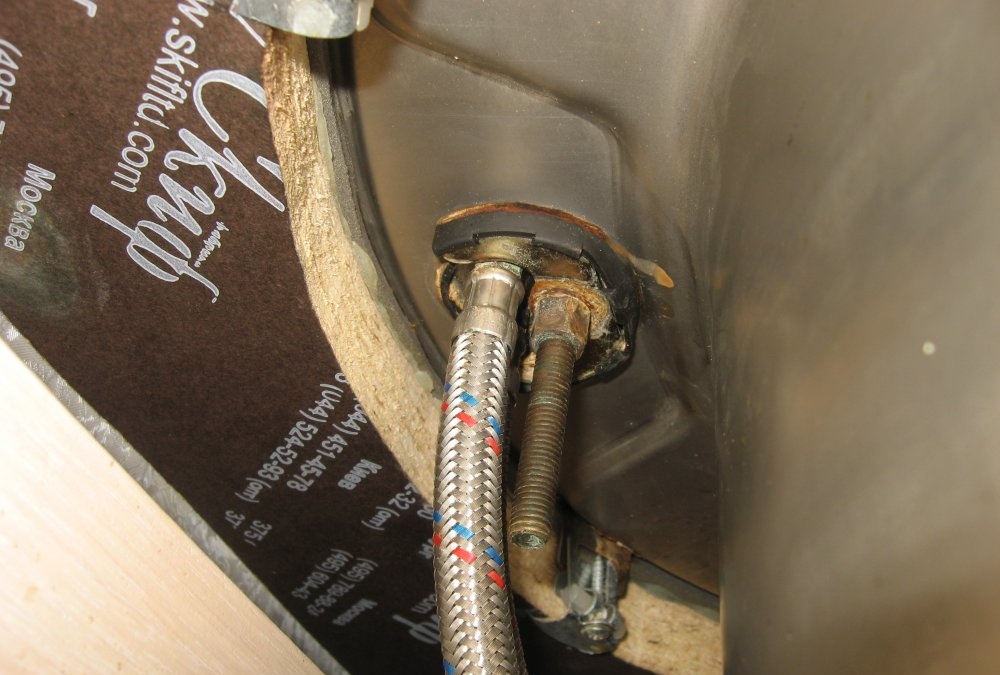
Let's start by unscrewing the liner from the pipes. Don't forget to turn off the water before doing this!
To do this we need an adjustable wrench KR-20 or KR-30. It won’t work with a regular wrench, because the nut is 25 mm (although, in principle, such open-end and combination wrenches are found).
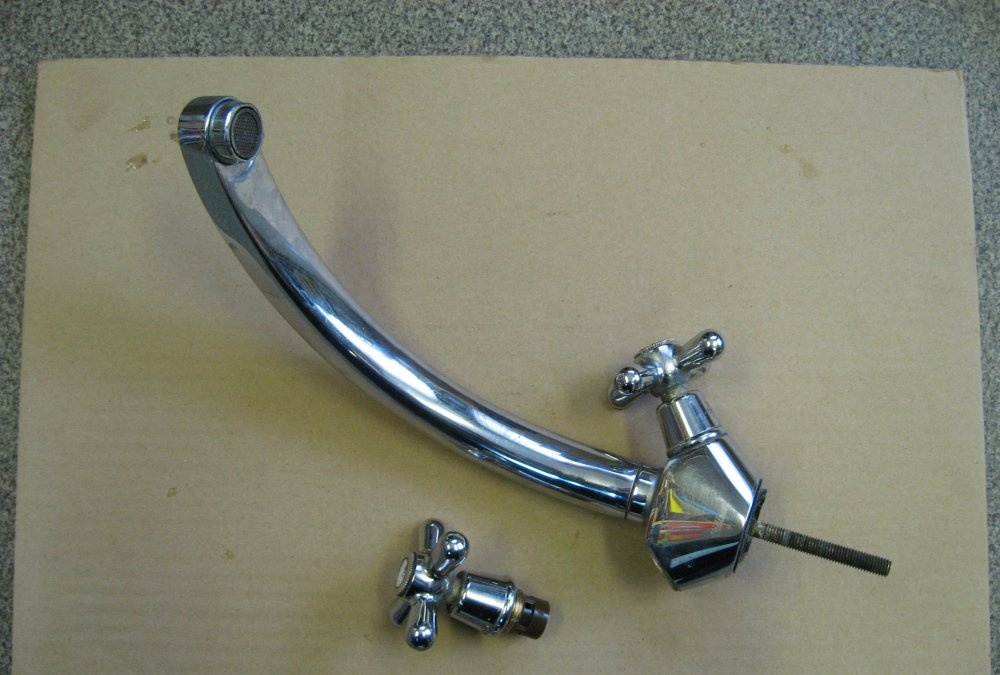
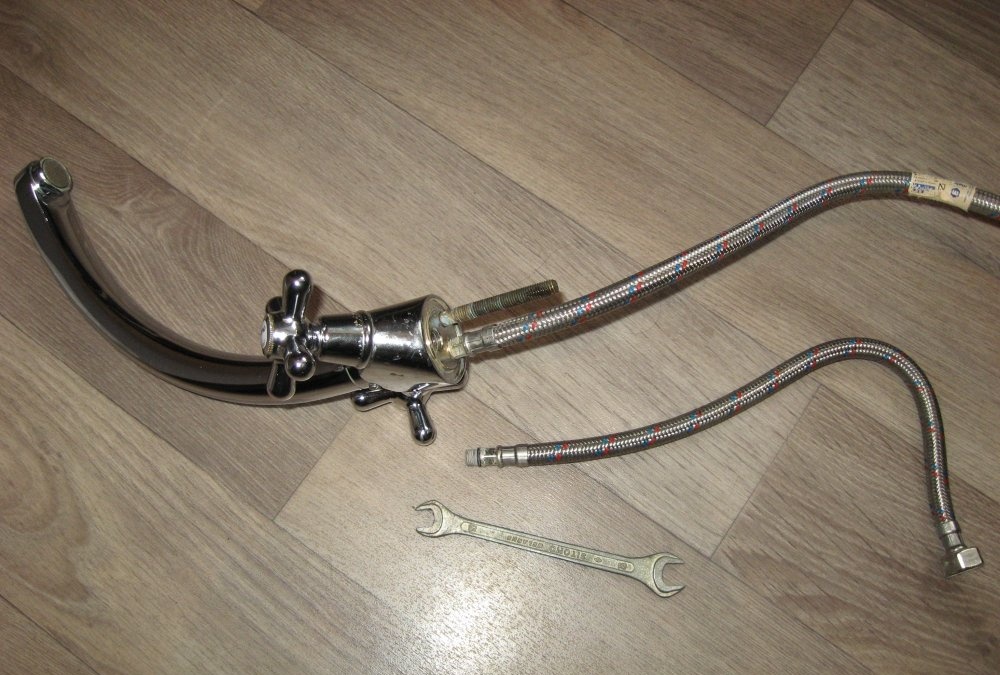
After this, we remove the faucet from the sink, here we use a tubular (socket) wrench, in this case 12 mm. After unscrewing the nut from the stud, remove the faucet by threading the hoses through the hole in the sink.
The next step is to unscrew the liner from the faucet. We do this with a 10 mm wrench.
Now that's it, you can start the main work. We remove the plug, unscrew the screw and, tapping lightly (now this is much more convenient to do), remove the valve.

If he doesn’t want to get off, you can wet the area with WD-40, but don’t get carried away: it destroys the gaskets.
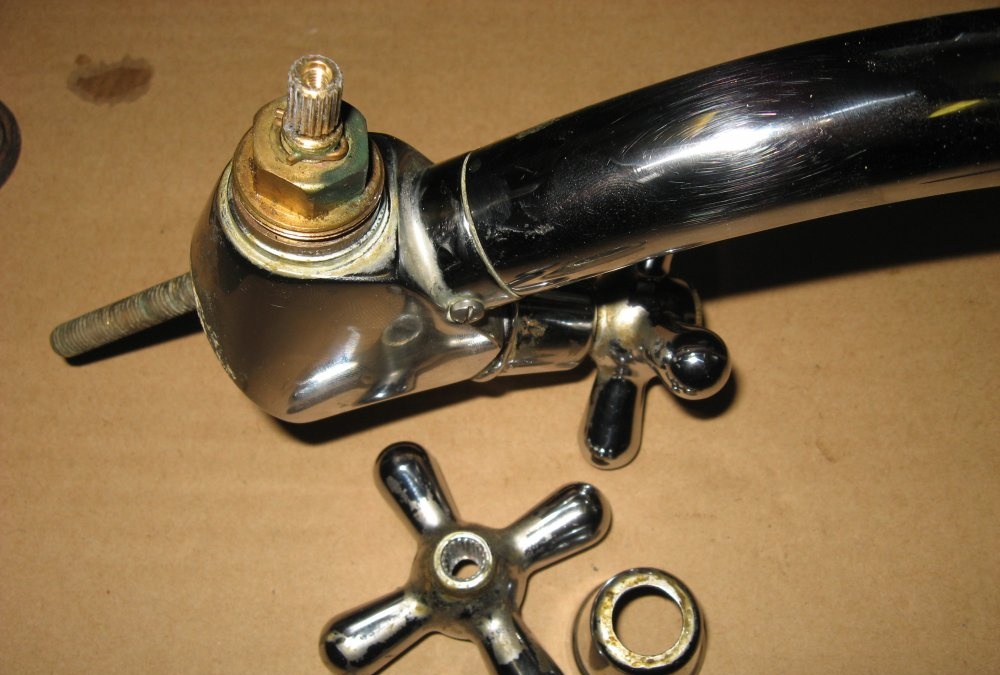
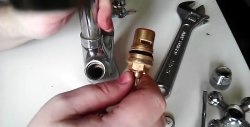
Having removed it, we unscrew the cap and gain access to the crane box itself. Most likely, it is seriously stuck, so you will have to try to unscrew it.
We work again with an adjustable wrench; if necessary, you can carefully clamp the mixer, prudently protecting its chrome surface from damage.
After two attempts we succeeded.
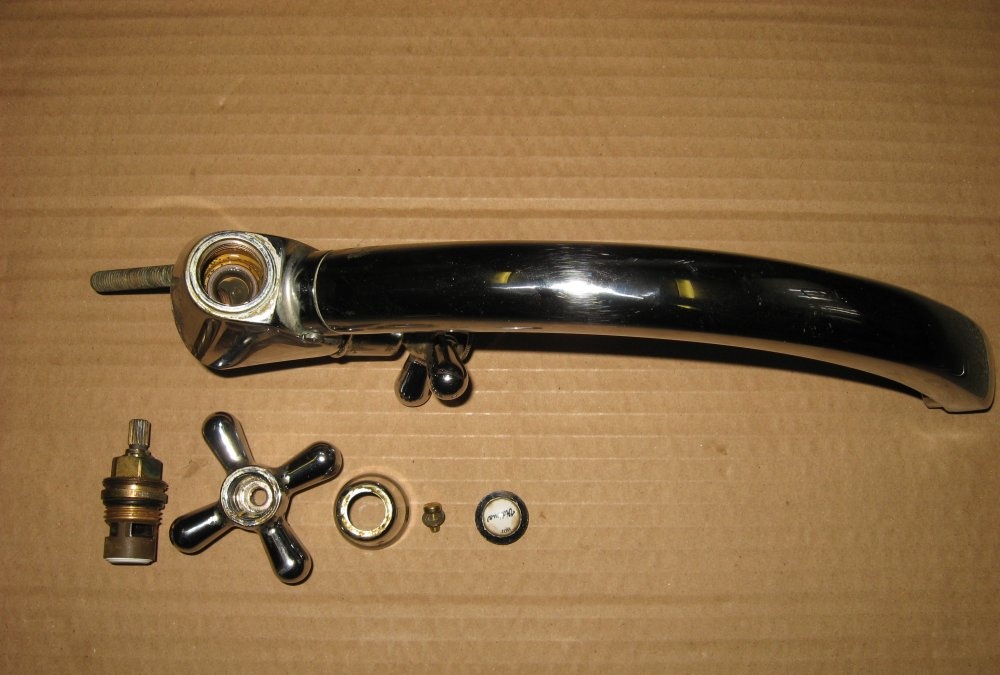
Now all that’s left to do is find and buy (it’s better, of course, to do this in advance if the exact model and brand of the device is known) a new crane axle box and put it in place. And then everything is in reverse order.
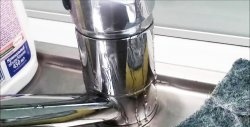
Yes, I’ll take this opportunity to say: don’t be lazy to clean and wipe the product with some cleaning agent to remove lime deposits in hard-to-reach places.
That's all: the faucet is fixed, you can use it again.