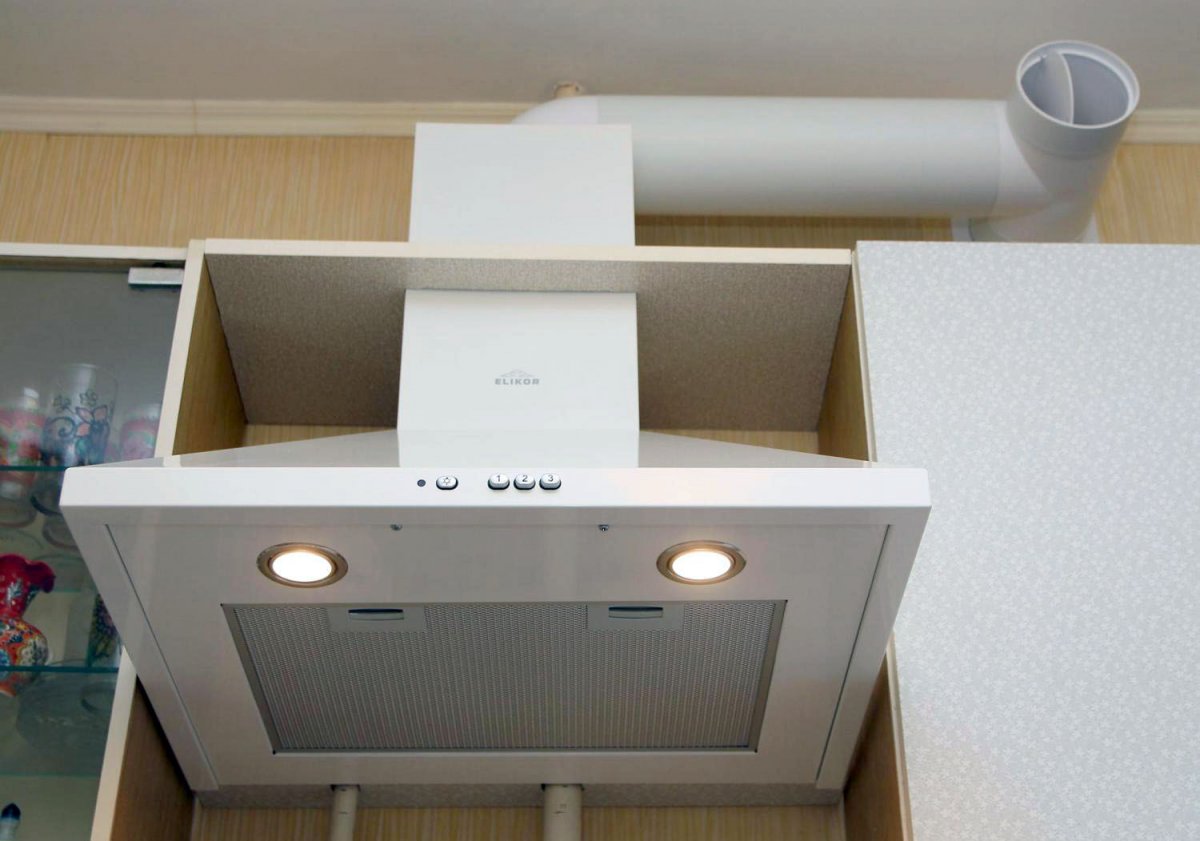
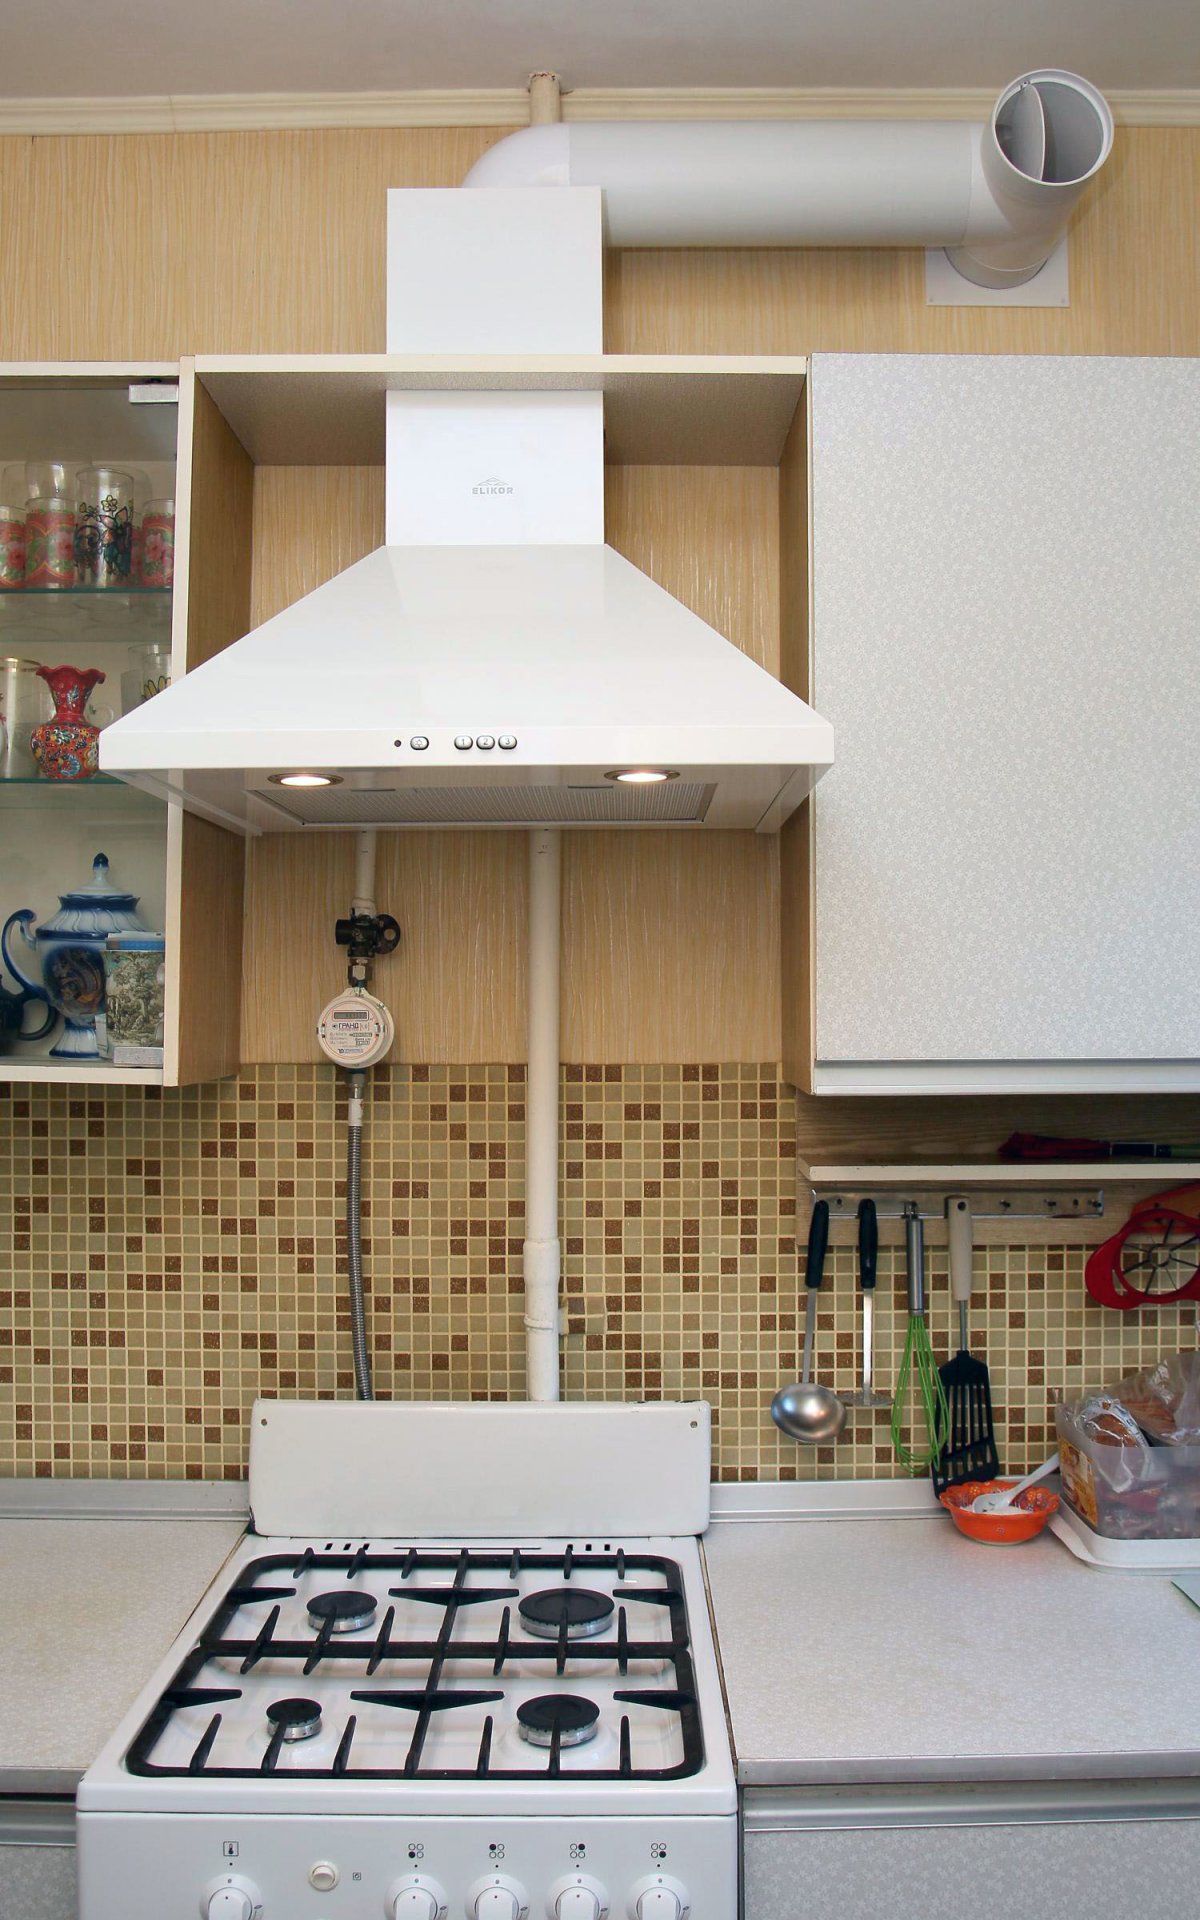
With a standard installation of a kitchen hood, the natural ventilation channel is blocked, so the air exhaust only works during the period the fan is turned on. I propose an installation method in which it is possible to completely combine two systems without losing their effectiveness.
Materials used
The materials I needed were:
- ventilation pipe, diameter 125 mm;
- 90 degree elbow;
- tee;
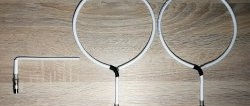
- check valve;
- ventilation grille flange;
- adapter from diameter 160 mm to 125 mm;
- silicone sealant;
- self-adhesive sheet heat and sound insulator 5 mm;
- gypsum plaster.
Combination of forced kitchen and natural hoods
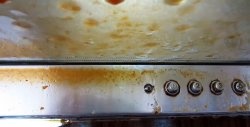
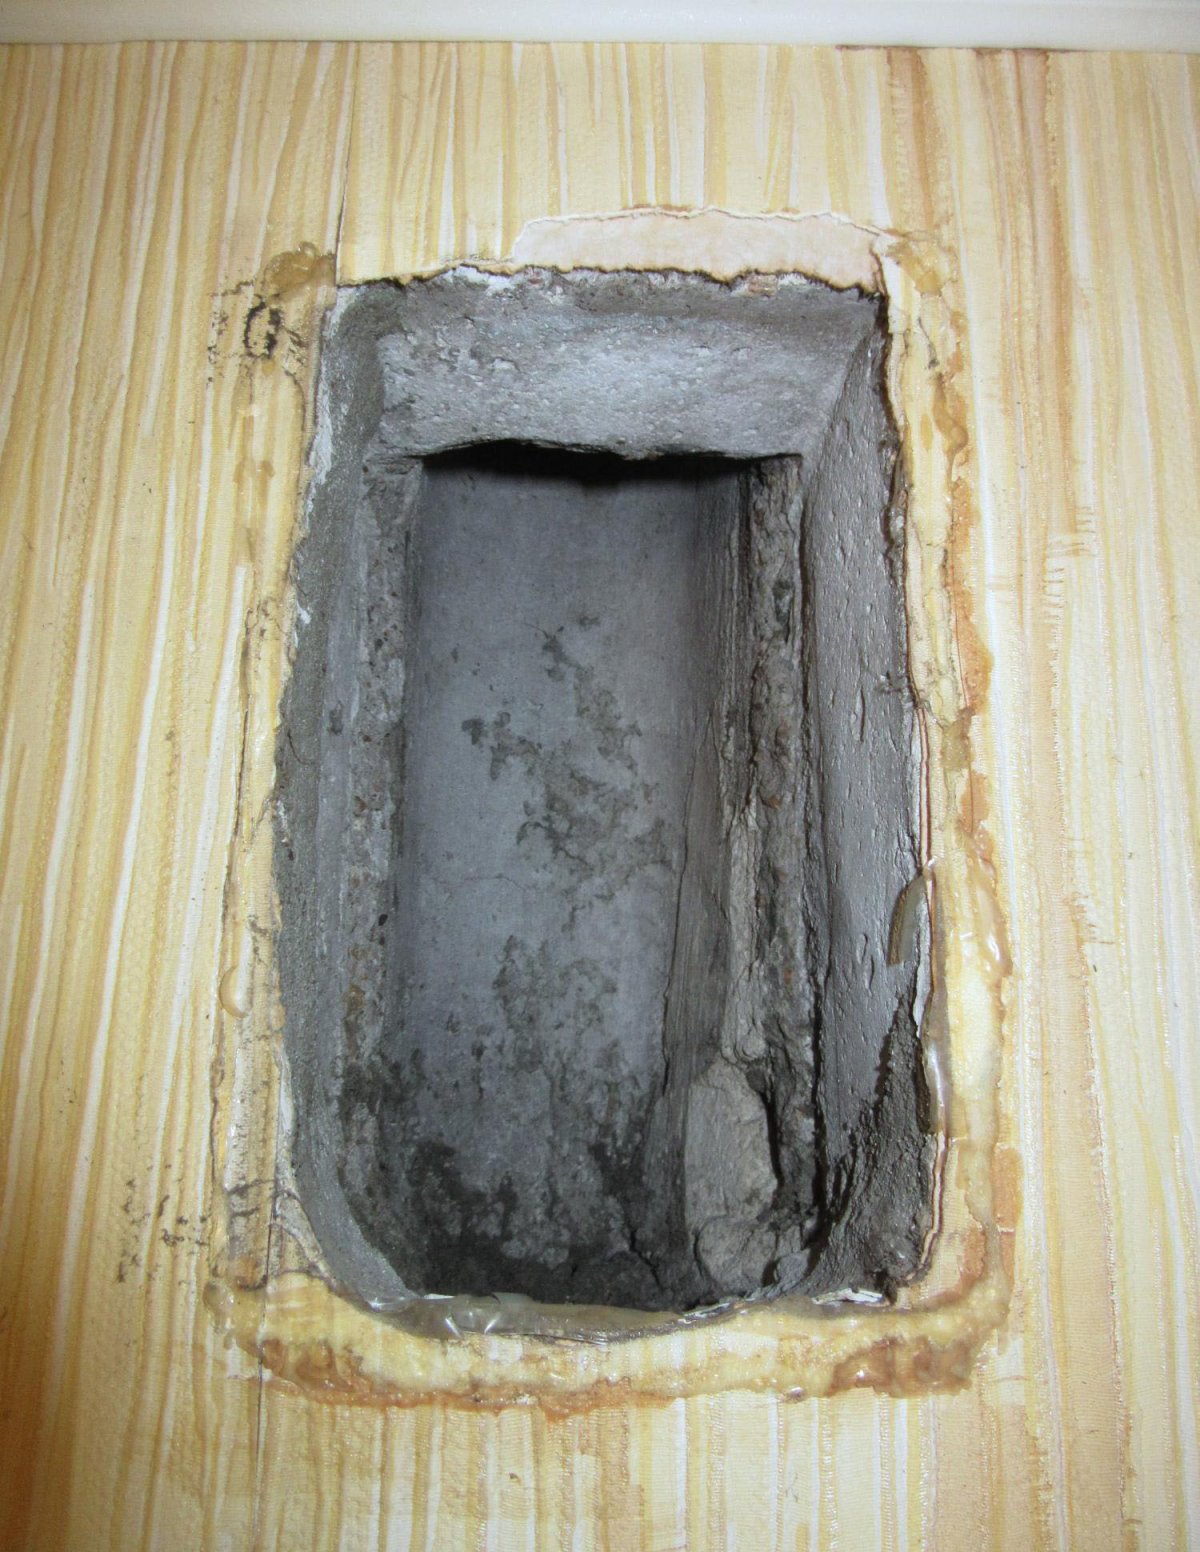
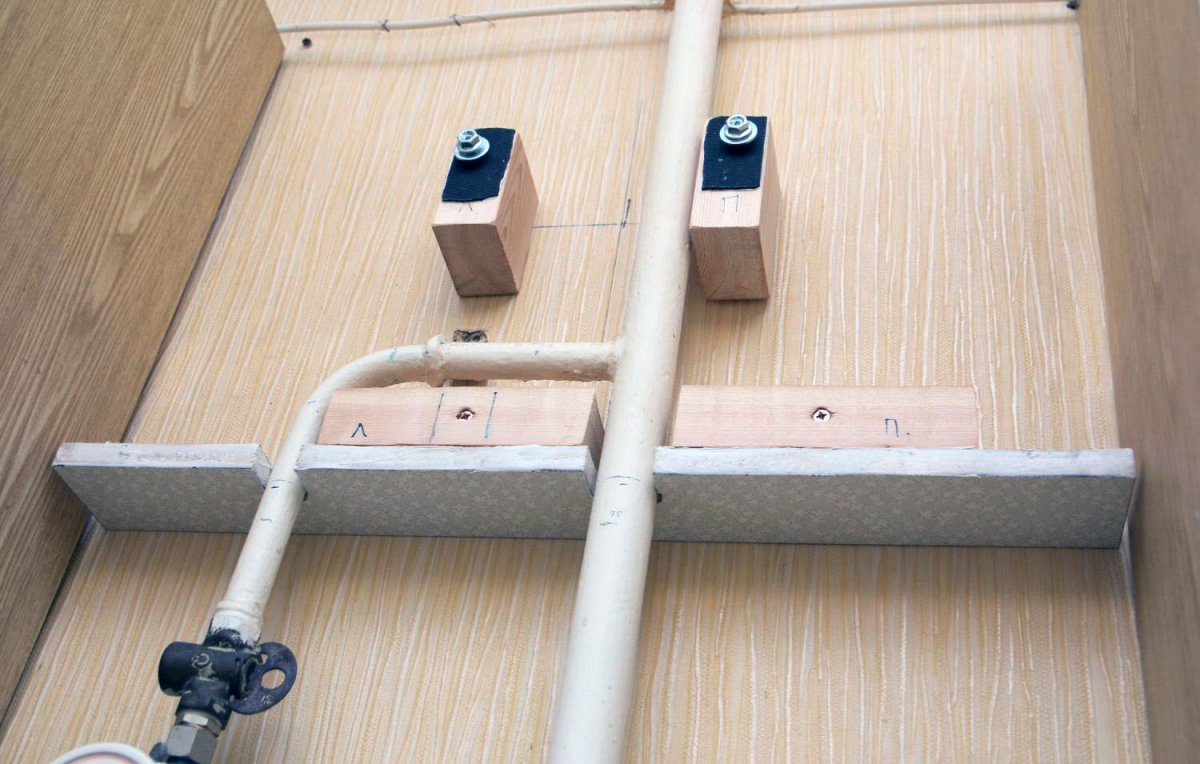
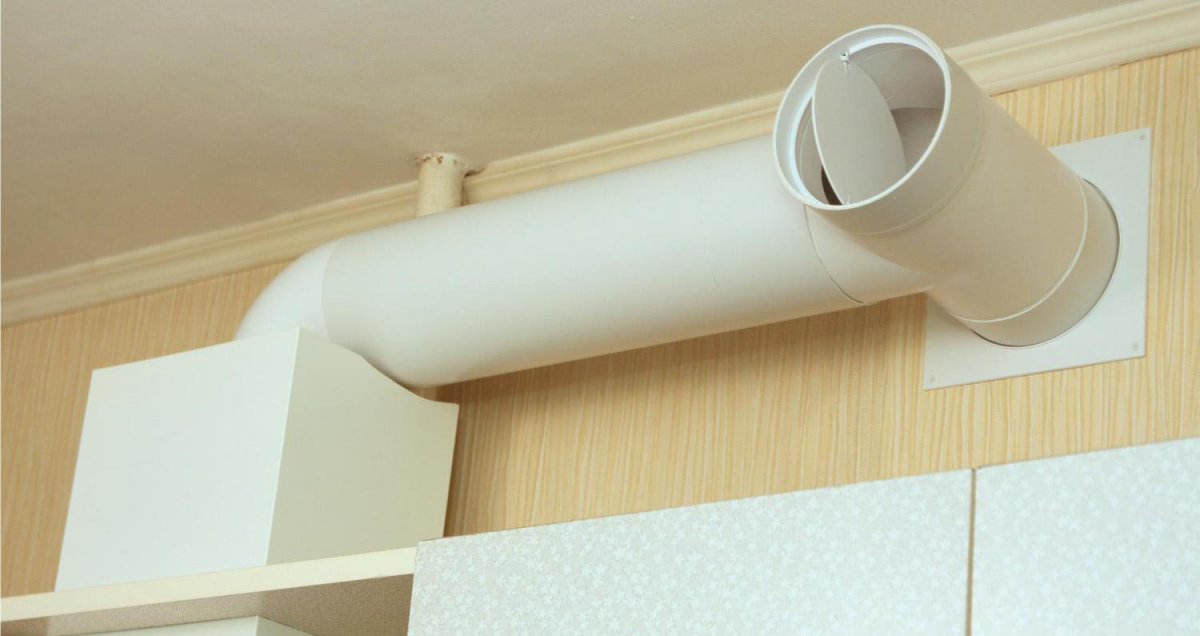
Before you begin assembling the duct, you must first prepare the exhaust duct in the wall. To do this, you need to clean it and make it as smooth as possible. This is quite painstaking and dusty work. If the ventilation was poorly cleaned, then several buckets of dust can be collected from the shaft, as was the case with me. The cleaned channel turned out to be rough, which does not contribute to normal air movement. Within reach I had to plaster it with plaster.In addition, I sealed the right angle at the bottom of the ventilation window with plaster, making a rounded smooth rise so that the air leaves with less resistance, without resting against the wall, which reduces its speed.
After the plaster had partially dried, I embedded a 10 cm long piece of pipe into the wall, obtaining a neck protruding 5 cm. It is not placed horizontally, but with a slight slope towards the floor. A ventilation duct will then be connected to it.

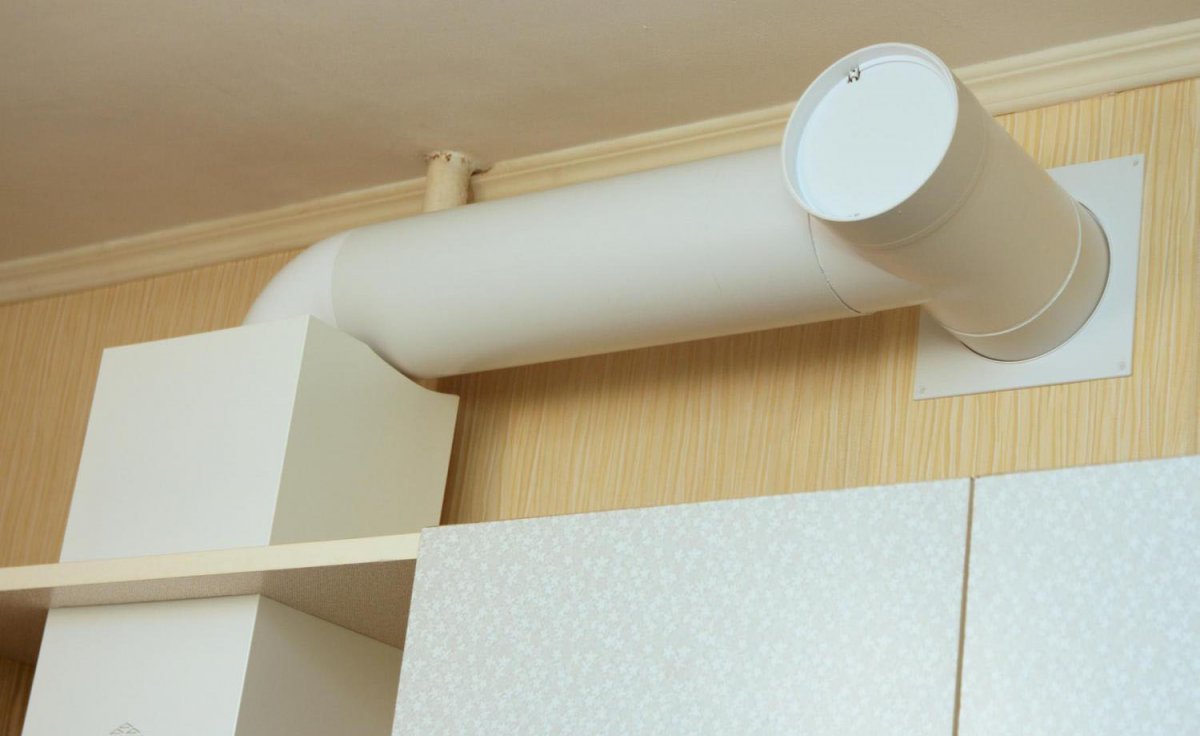
My hood has an outlet diameter of 160 mm, so I fit a 125 mm adapter onto it. I'm already attaching a piece of pipe to it. I select its length in such a way that after installing it at the top of the elbow at 90 degrees, the height of the entire structure reaches the level of the pipe at the entrance to the ventilation duct in the wall.
Next, I take the tee and install it on the pipe coming from the wall. It must be placed so that its central entrance is directed towards the hood elbow.
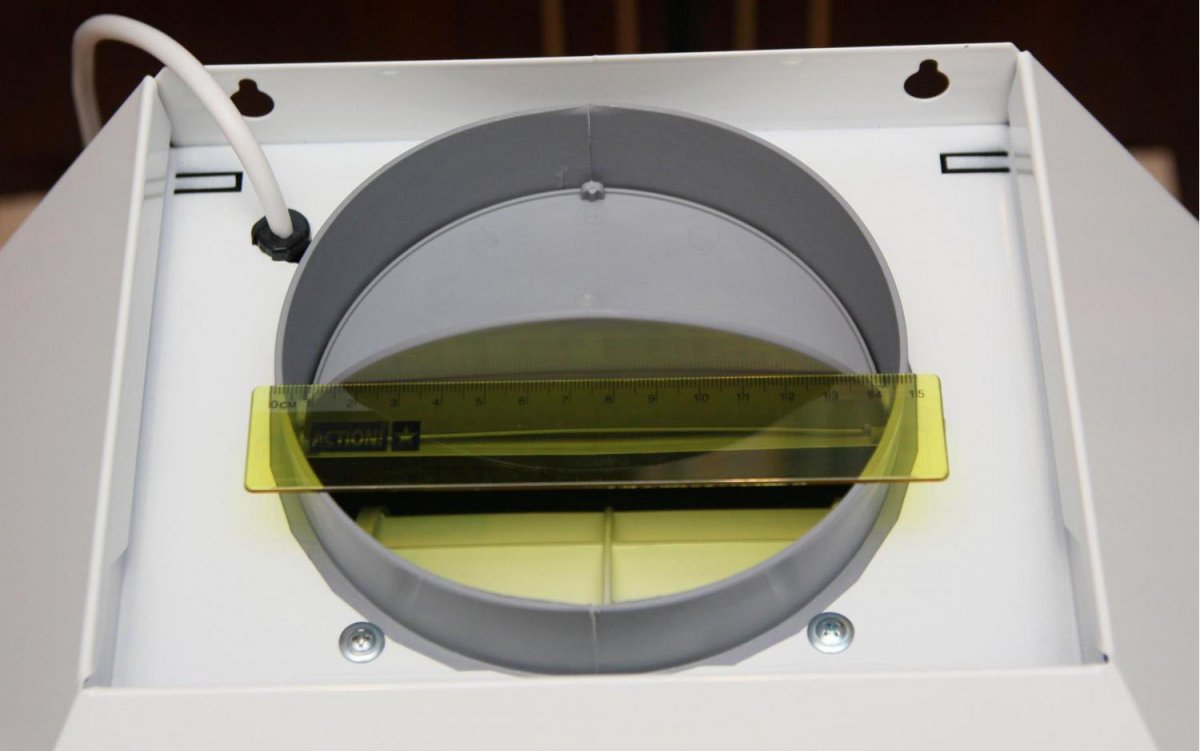
I cut a piece of pipe for installation from the elbow to the tee. After its installation, the hood is already completely connected to the shaft. It remains to deal with the check valve. This design requires a valve with one damper and an offset axis. Since the valve diffuser is very long, I cut off half of it so that the section of the natural ventilation channel is shorter and looks neat.
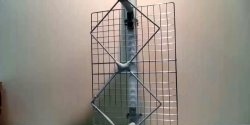
After preparing all the parts, you need to carry out final assembly. I disassemble the entire structure and begin to assemble it, coating the joints with silicone. After hardening, it will be soft, so it will absorb some of the vibration. Before gluing the tee, I place the flange of the ventilation grille at the pipe outlet from the wall. It acts as a decorative panel covering the plaster. I also glue it so I don't have to use screws.I assemble everything with sealant except the check valve.
I have a powerful hood, so where its channel transitions into a narrower 125 mm pipe, I get a hum. To remove the noise, I covered the adapter and the vertical pipe with soundproofing material while it was hidden by a decorative box.
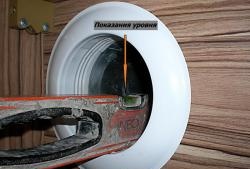
Now the most important and painstaking thing remains - installing the check valve. It is installed in the free outlet of the tee. I use electrical tape to seal it. I make a skein on the diffuser, after which I install the valve. I place it in such a way that the axis of the petal is not horizontal, but almost vertical, but with a slight shift of the top point towards forced exhaust.
The valve diffuser is tilted relative to the floor, since the channel pipe itself comes out of the wall with an obvious offset. In addition, there is a slight misalignment along the axis of its door. Thanks to this, the valve is always open. Even if you cover it, the petal will open under the influence of gravity.
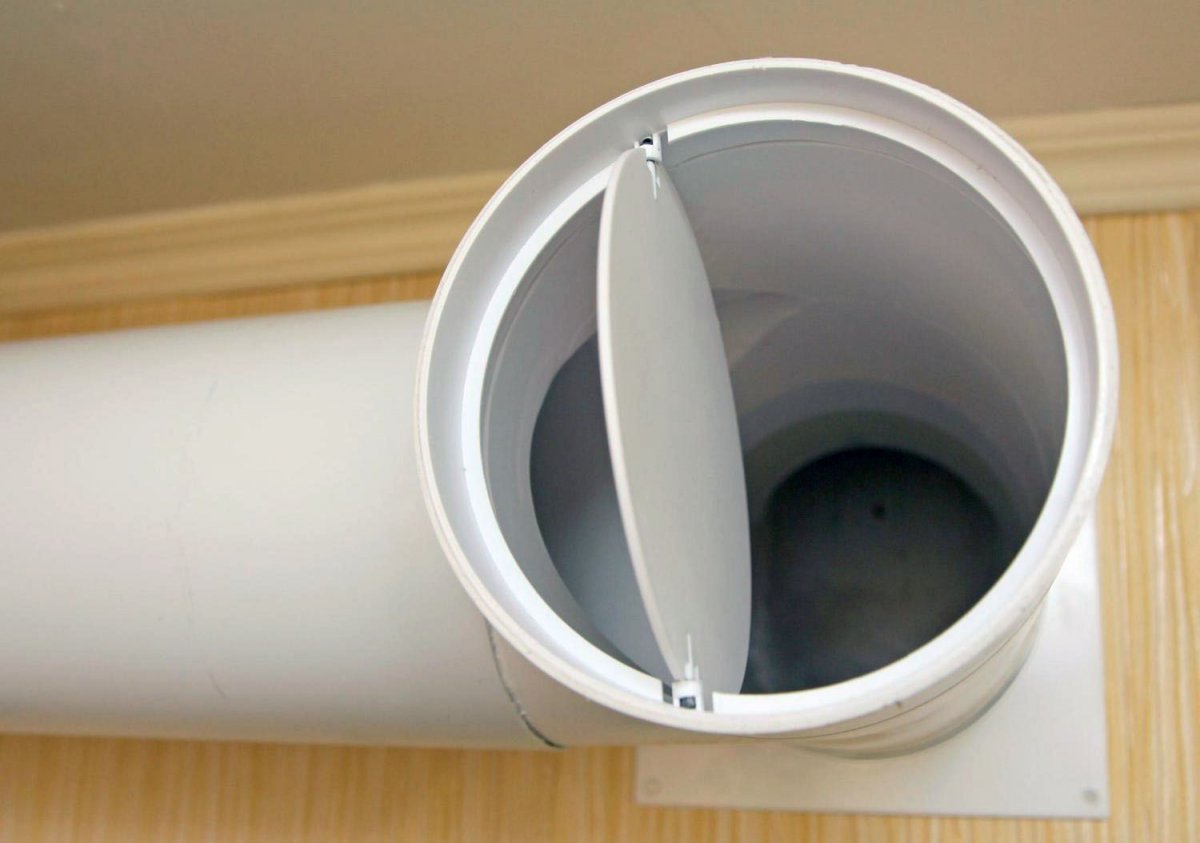
Having achieved the opening of the valve under gravity, the system can be considered complete. Now, if you turn on the forced exhaust, the flow forced into it will press on the valve petal and it will close tightly.
The air supplied by the fan will only go into the shaft, and the valve itself will not penetrate. As soon as the hood turns off, the petal itself will return to its place, and natural ventilation will continue to work.
This option for connecting a forced exhaust will allow you to maintain the efficiency of natural air exchange. If you install a corrugation and tightly close the shaft window, then in this case, with the engine turned off, the air movement will be almost completely stopped. My installation option does not require the use of any fasteners.Thanks to the gluing of silicone elements, the design has sufficient rigidity to be securely held between the fixed hood and the built-in neck on the shaft window.