Lard is an amazing and truly folk product that cannot be treated indifferently. He is either adored or not accepted at all because of the perceived threat of gaining weight and gaining extra pounds. But this point of view, according to the latest scientific data, is completely wrong! A person can afford a small piece of lard a day absolutely painlessly and even with great benefit for his loved one.
As it turned out, lard contains valuable organic fatty acids that are not found in products of plant origin. And if you don’t overuse lard, the amount of cholesterol will not be so critical, but with it you will get the necessary portion of lecithin, selenium and other important vitamins.
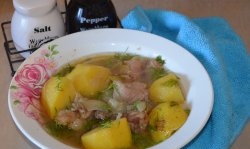
Salted lard is ideal not only for lunch - with hot red borscht and pampushkas, but also as an appetizer with strong drinks. Due to the fact that fat quickly envelops the walls of the stomach, a person becomes more resistant to intoxication and severe hangovers.
We invite you to try with us an interesting recipe for salting lard, with two aromatic, spicy layers of garlic and spices!
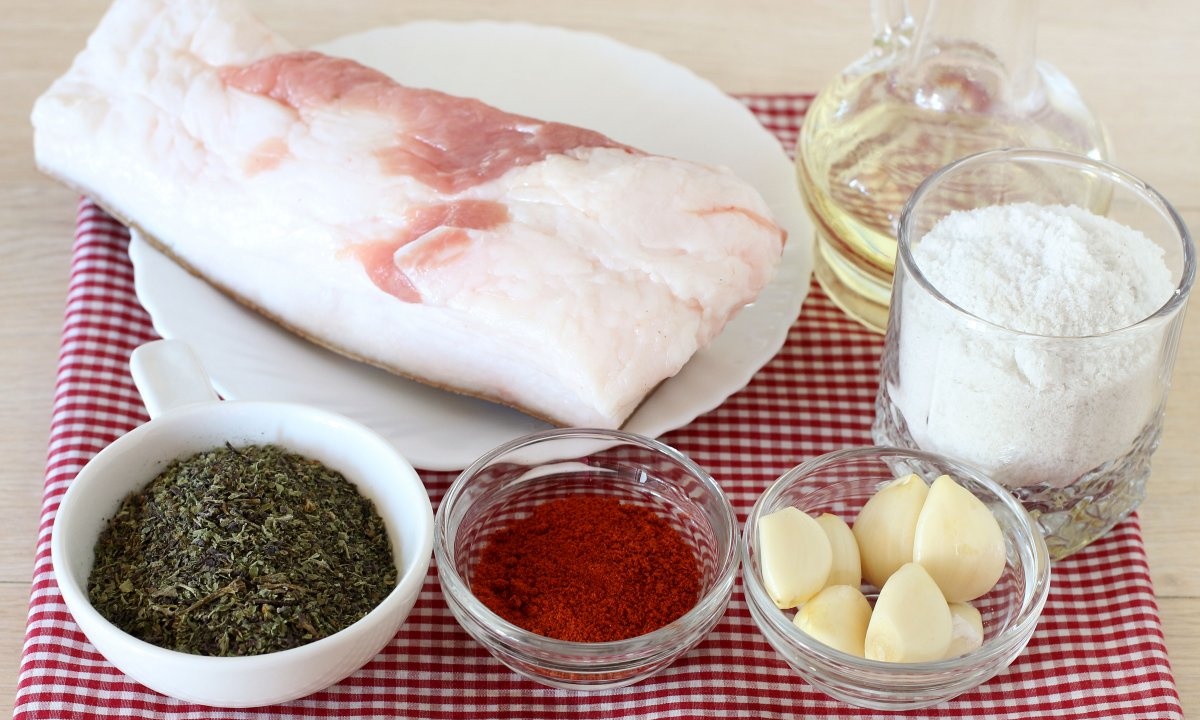
Ingredients:
- - lard – 0.6-1 kg;
- - salt – 1 glass;
- - dried ground basil – 2 tbsp;
- - ground sweet paprika – 2 tbsp;
- - garlic – 1 head (6-8 cloves);
- - vegetable oil – 2 tsp.
Cooking time: 30 minutes.
Servings: 15-20.
Recipe for making salted lard:
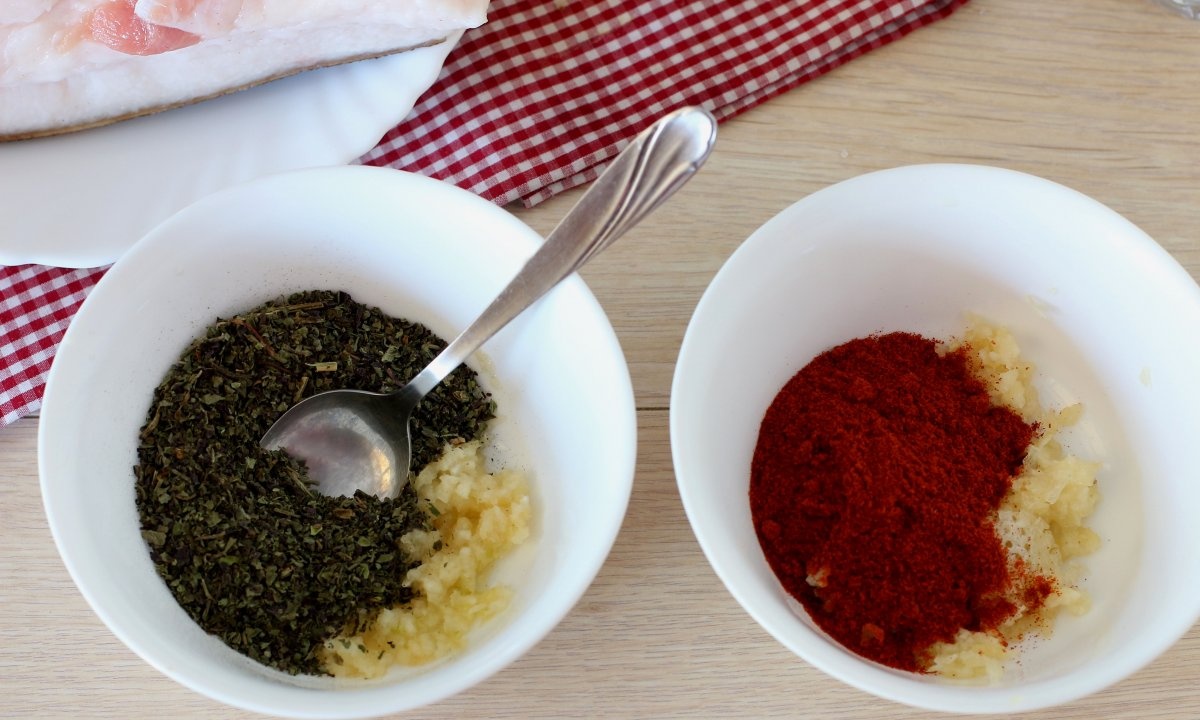
1. For spicy layers, peel a large head of garlic, divide the garlic cloves into two equal portions and pass each through a press into a separate dish. Each layer has its own portion of garlic gruel.
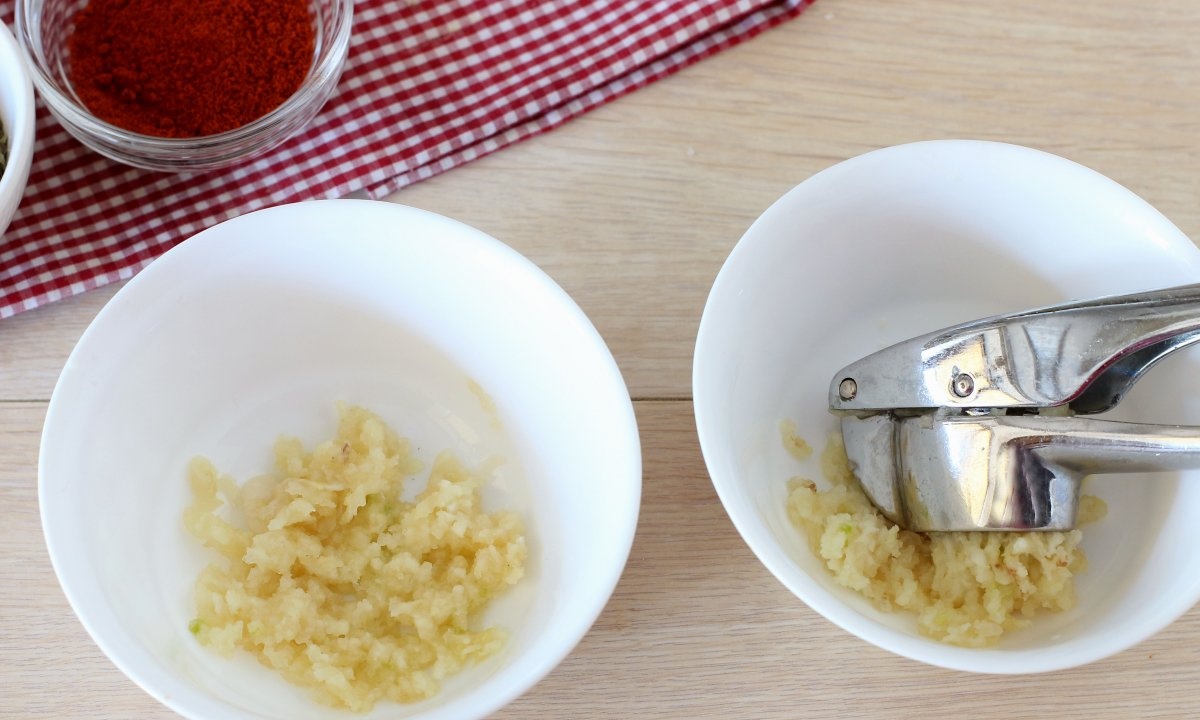
2. Add spices to each serving of garlic: dried basil in the first bowl, and paprika in the second. Basil can be replaced with any other spice or green seasoning - very tasty with suneli hops, oregano or thyme. To obtain smaller particles, simply grind the aromatic herbs in a coffee grinder.
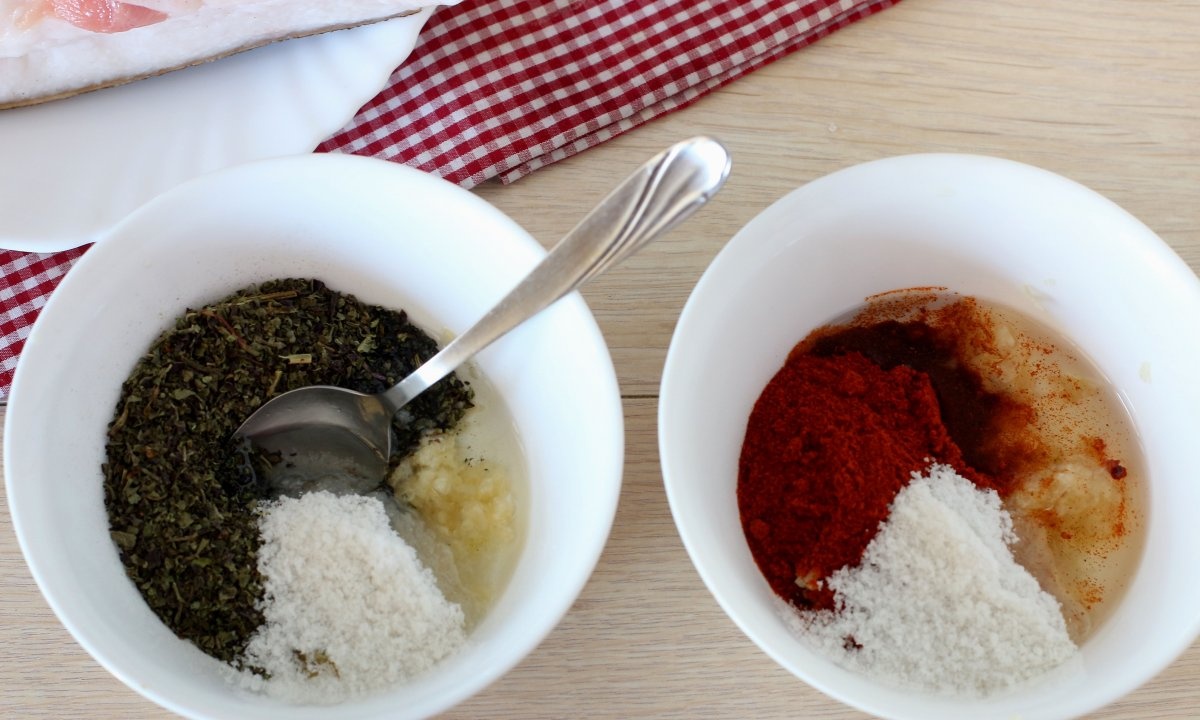
3. Pour 1 tsp into each bowl. salt and pour in 1 tsp. vegetable oil. Salt will help the garlic release its juice, and the oil will allow the spices to open up as much as possible. If you salt a very small piece of lard, use less salt so that it does not crunch on your teeth later.
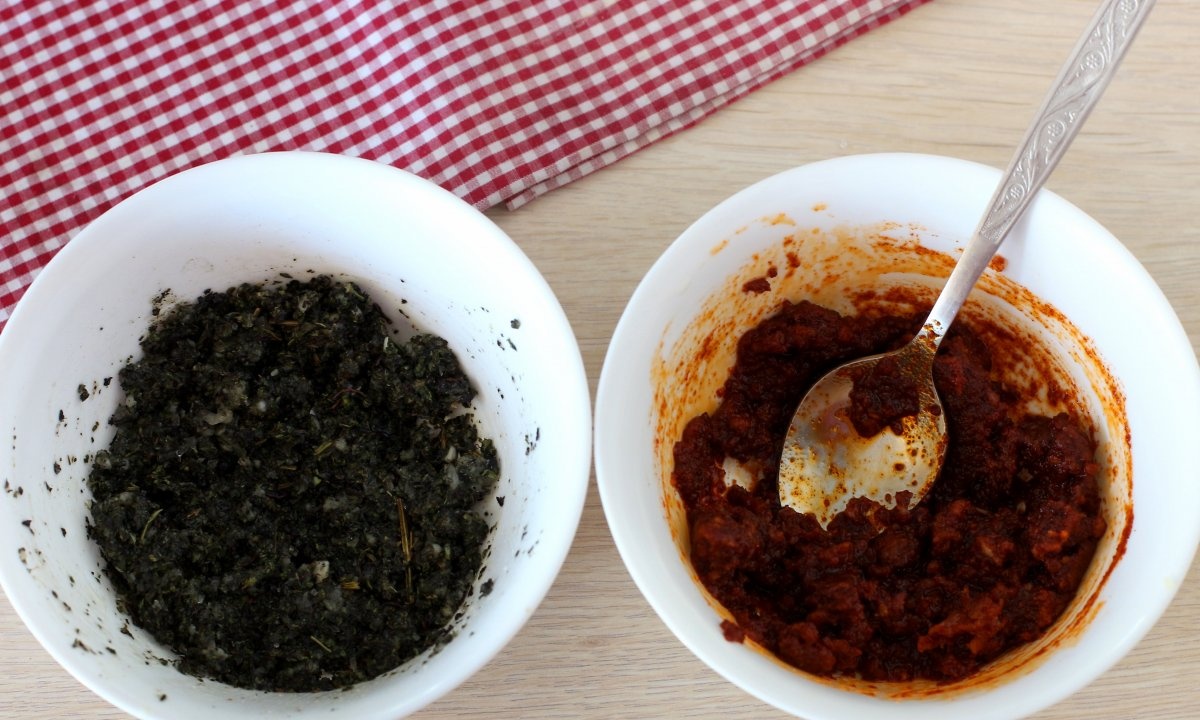
4. Now mix everything and let it stand for a while so that the salt crystals dissolve.
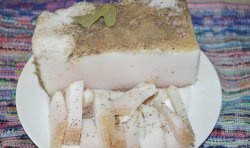
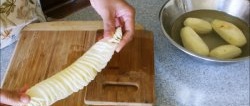
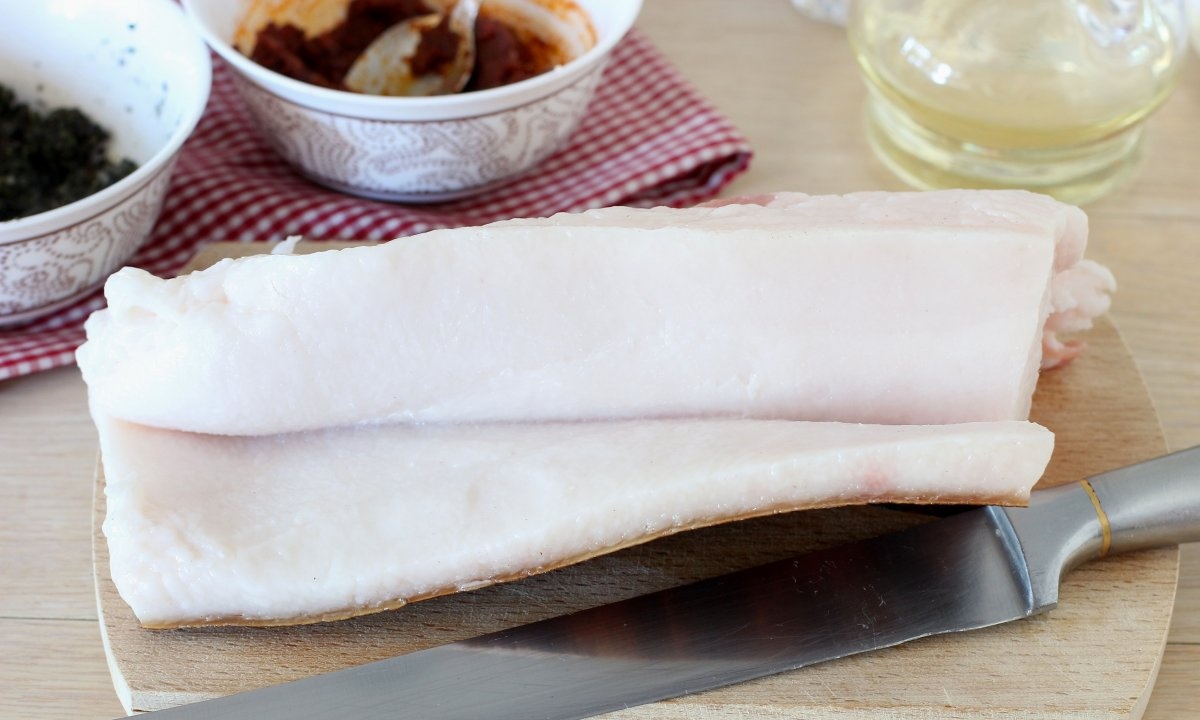
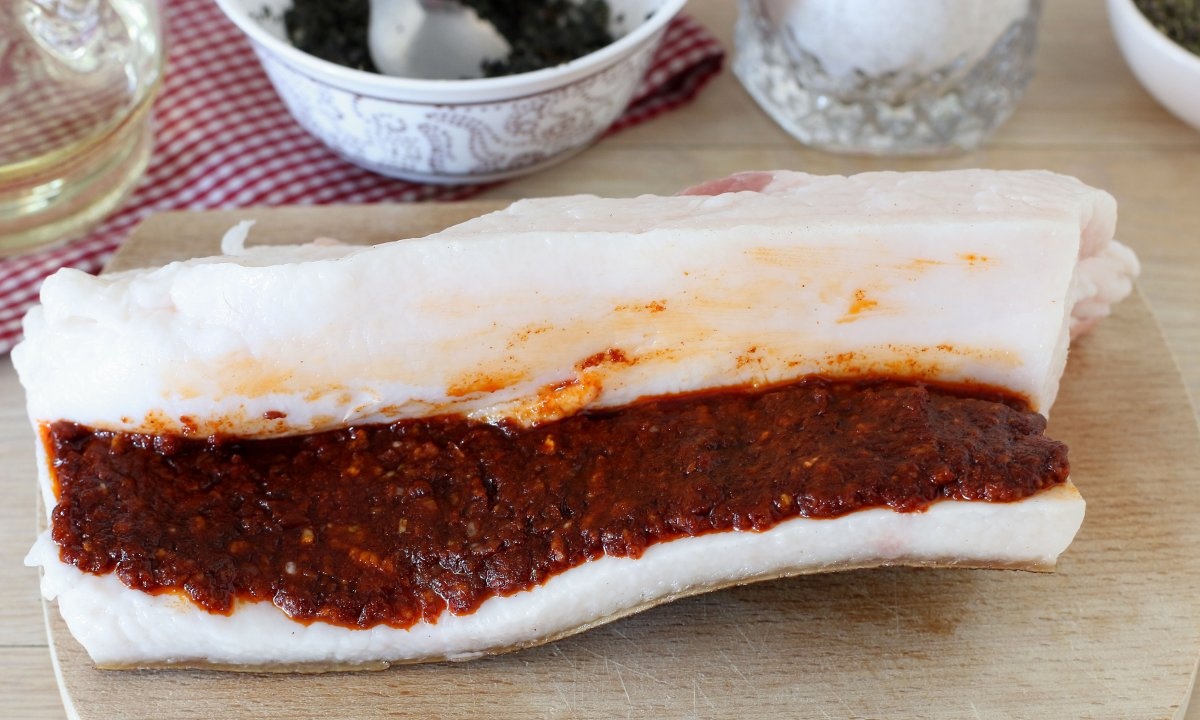
5. For salting, choose an oblong piece of fresh lard, possibly with a small layer of meat. We are preparing the first “pocket” for the red layer of paprika. We make a cut, moving 1-1.5 cm from the bottom from the edge (depending on the thickness), without cutting through the piece to the end. You will get a spread similar to a book spread.
6. In the resulting spread, distribute the contents of the bowl with garlic and paprika in an even thin layer. After the entire garlic-spicy mass has been spread out, close the “turn”.
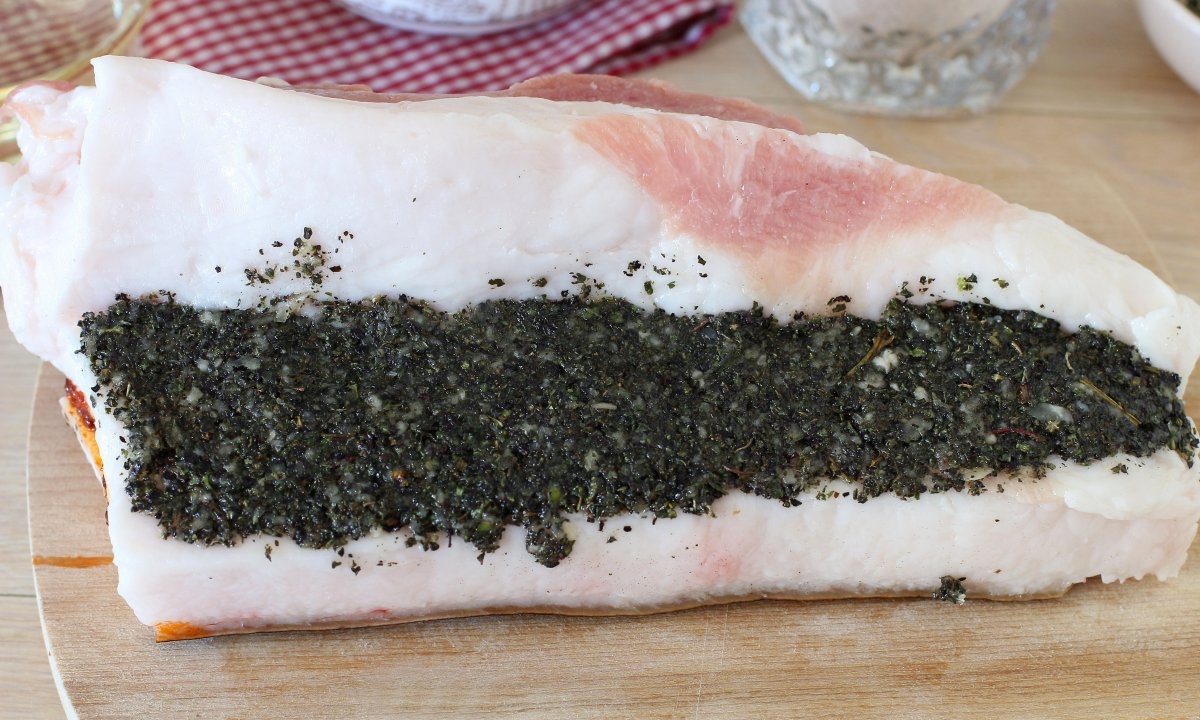
7. Now we turn the piece of lard over and, this time retreating 1-1.5 cm from the top, we make exactly the same cut and again do not cut the piece to the end, leaving 1-2 centimeters from the edge. In the second “pocket” we place the garlic-basil mixture.
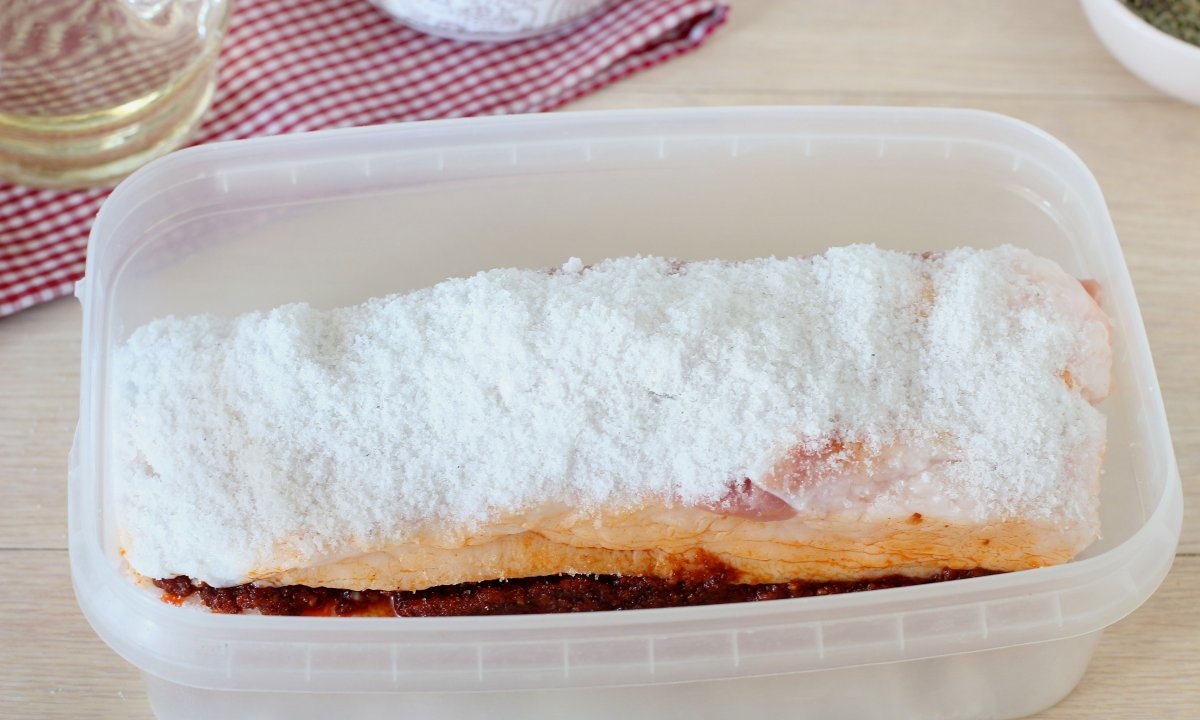
8. We squeeze the lard well on all sides so that the cuts do not open (you can even secure it with threads) and place it in a tray, where it will need to be sprinkled or wiped on all sides with salt.
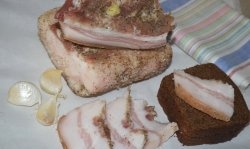
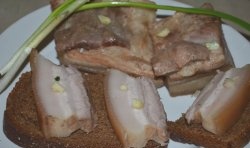
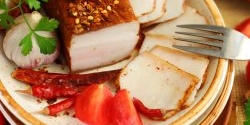
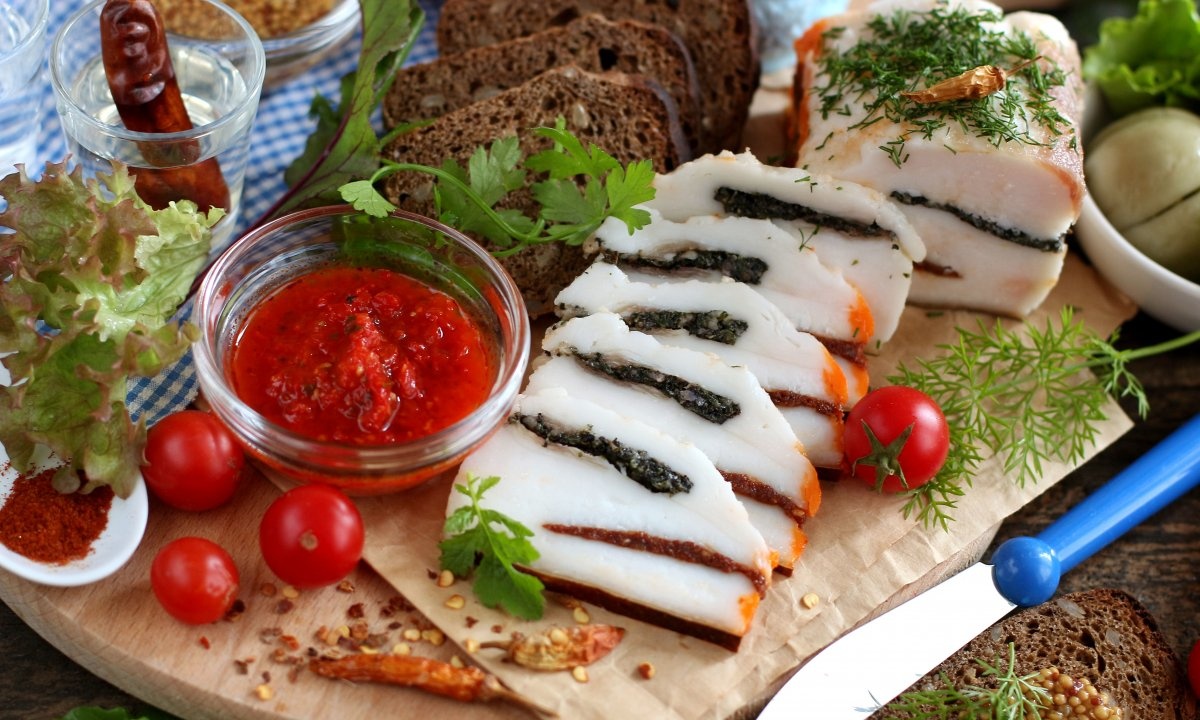
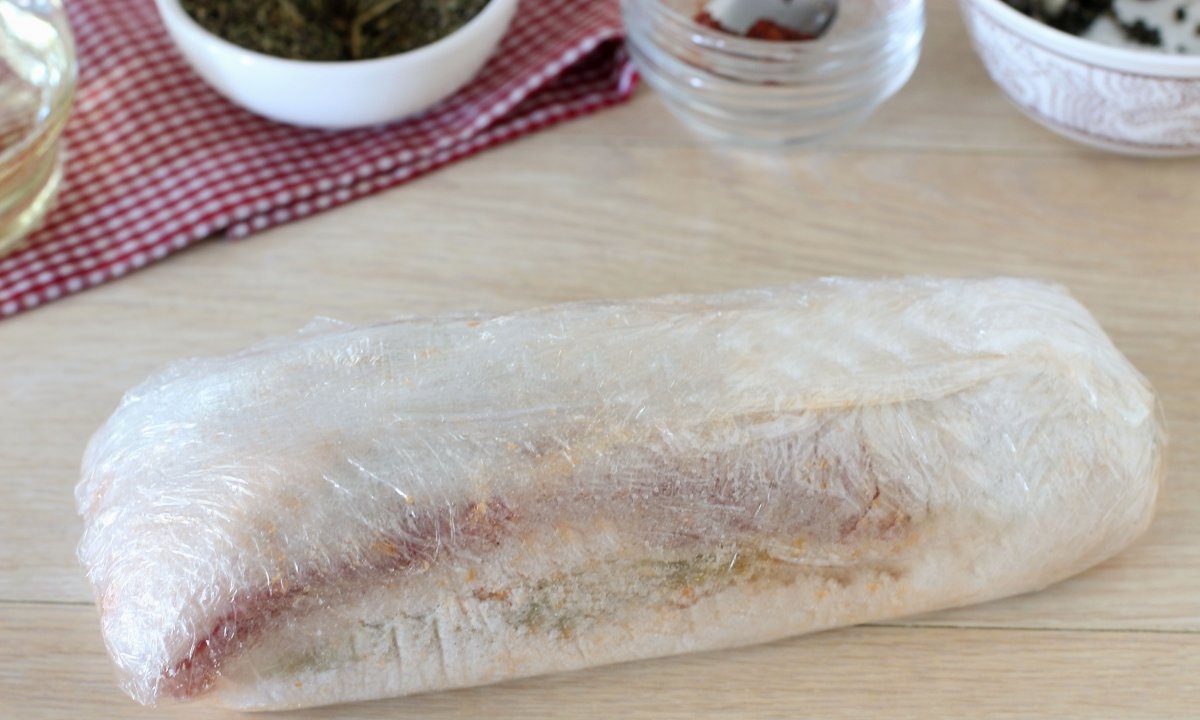
9. Then cover a piece of lard along with salt with cling film and leave it in this form for 1-2 days for salting at room temperature. When the lard is salted, you can carefully shake off the salt and transfer the lard to the refrigerator or freezer for storage and consumption. Cut into thin slices and enjoy the whole range of flavors...
Salted lard with spicy layers and garlic is ready!
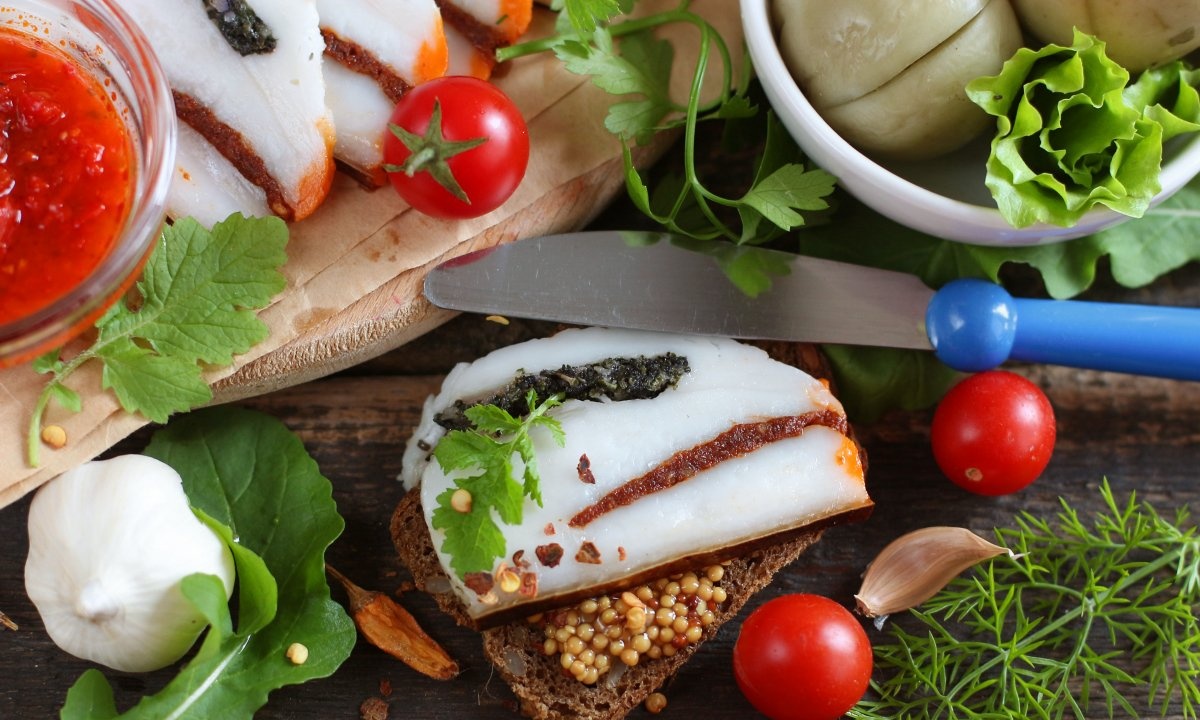
Bon appetit!