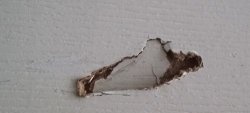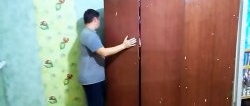
During renovation or moving, anything can happen to furniture. For example, when making renovations in a room and moving a heavy cabinet or wall section, you can inadvertently drop it and damage it. furniture. Or during the moving process, crooked assistants will drop you. You never know – anything can happen in life... It’s not so bad if it falls on the back wall. But it’s completely different if the fall falls on the front part, and even on some sharp object, corner or something like that... With this very fall, a deep dent or break may form.
The incident is extremely unpleasant and sad. It’s good if there is a spare door or an end wall of the same color. And if not? There are many options for how to repair a hole in such an unpleasant incident. We will look at one of them today! As for the appropriate texture and color for the repaired hole, it all depends on the size of the hole. If the hole is small, then it is not necessary to cover the entire closet with new wallpaper after repair; It is enough to choose the appropriate color and texture, and paste over only the repaired part.Fortunately, self-adhesive wallpaper for furniture restoration is now sold in a huge and varied variety of all colors, colors, sizes and contents.
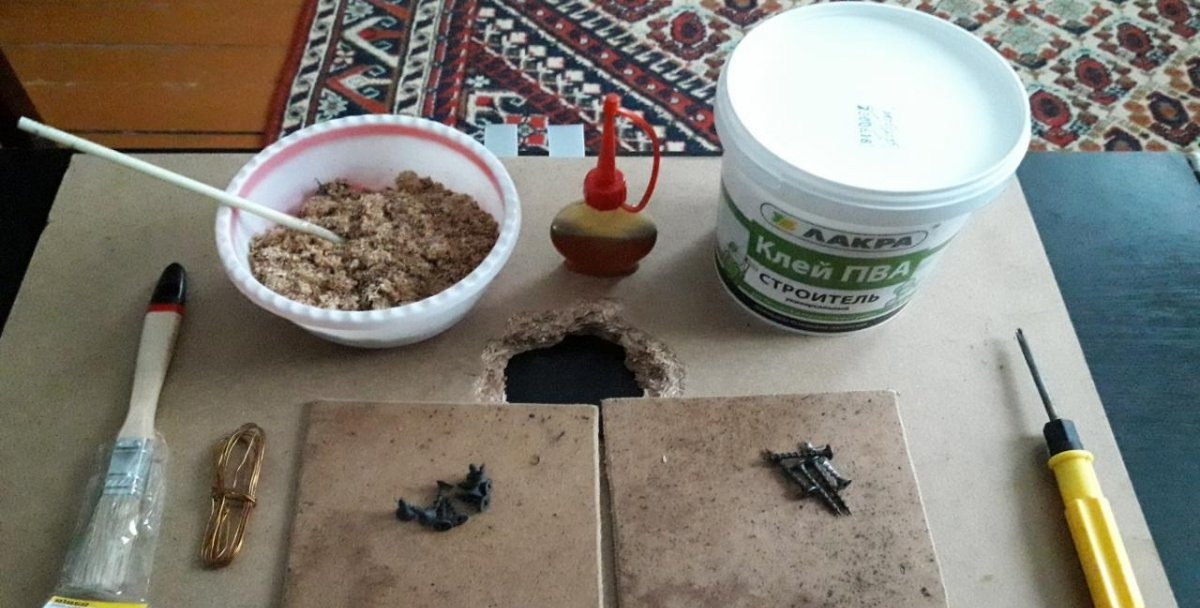
Will need
- PVA glue.
- Oil (any kind).
- Wood sawdust.
- Long wood screws (thin nails are fine).
- Thin wire.
- Short wood screws.
- Screwdriver for selected screws.
- Two smooth fiberboard sheets, larger than the hole.
- Coarse sandpaper for wood.
- Wood file.
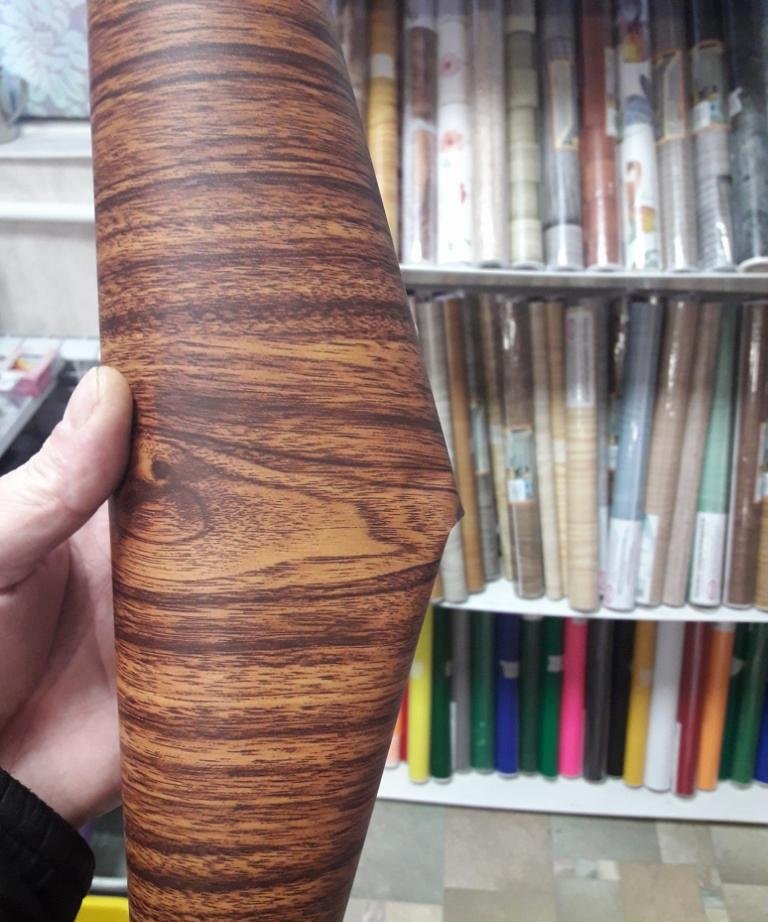
- Self-adhesive wallpaper to match the color of the furniture.
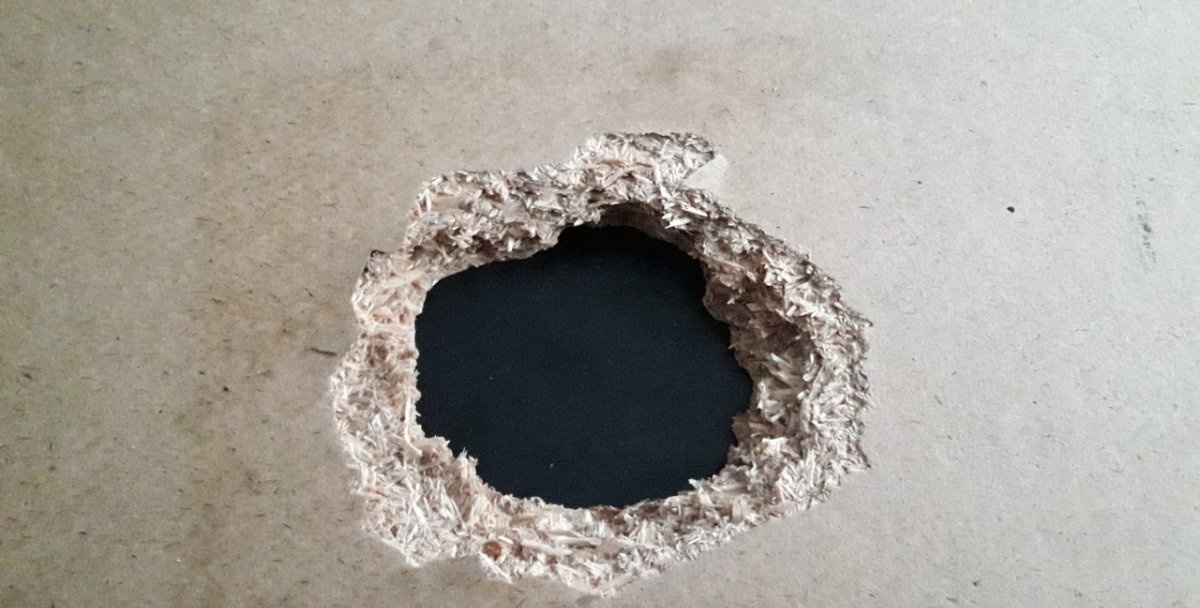
Fixing a hole in a chipboard with your own hands
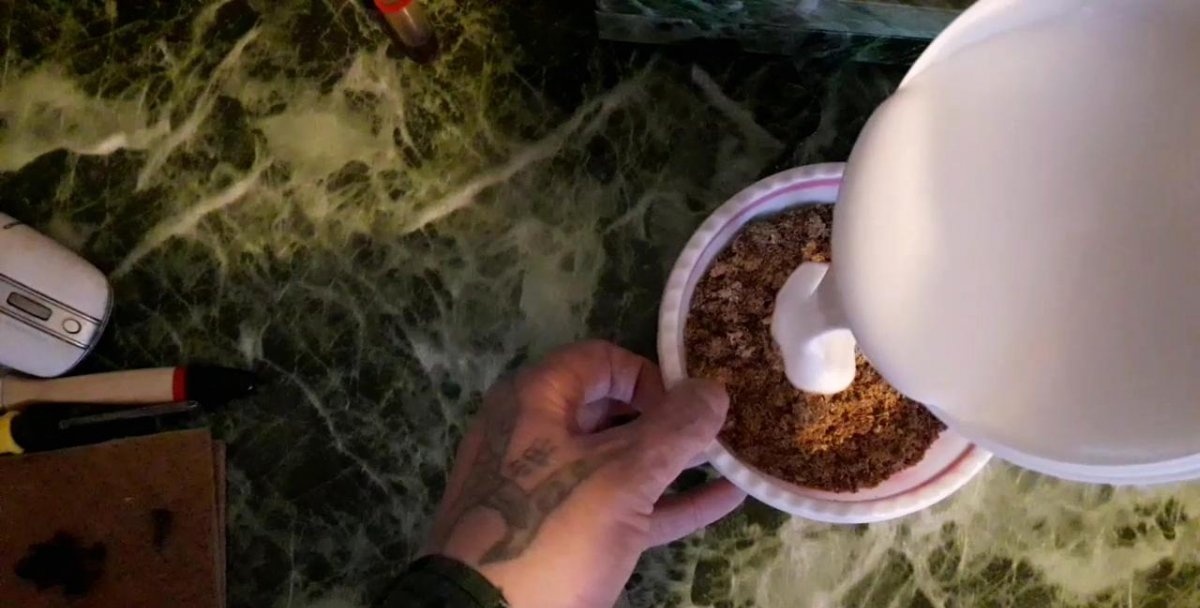
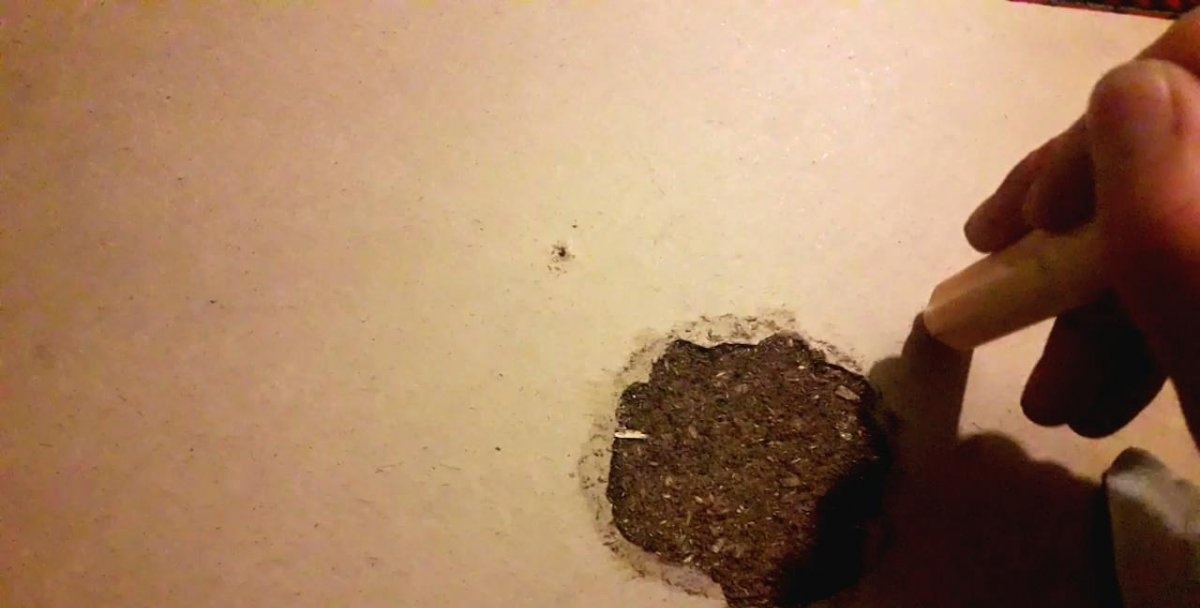
Since I personally don’t have anything to seal yet, but I want to share some good advice - I’ll show an example on a small piece of chipboard. First, let's figure out what chipboard is. Essentially, it is pressed sawdust mixed with glue. This means that we need to select a material to fill the hole that is as similar as possible to the material from which the cabinet sheets were made. Sawdust should not be selected first. Too small ones are not suitable - if the hole area is too large, then everything can crack and break. If they are too large, it will simply be inconvenient to mix them with glue. So, we need a couple of handfuls of sawdust, medium grain. Handfuls full. How much the hand can take. This is enough for a start, although it all depends on the area of the hole. Place the sawdust in a container. We pour PVA glue there. Slightly smaller in volume than sawdust. Mix.
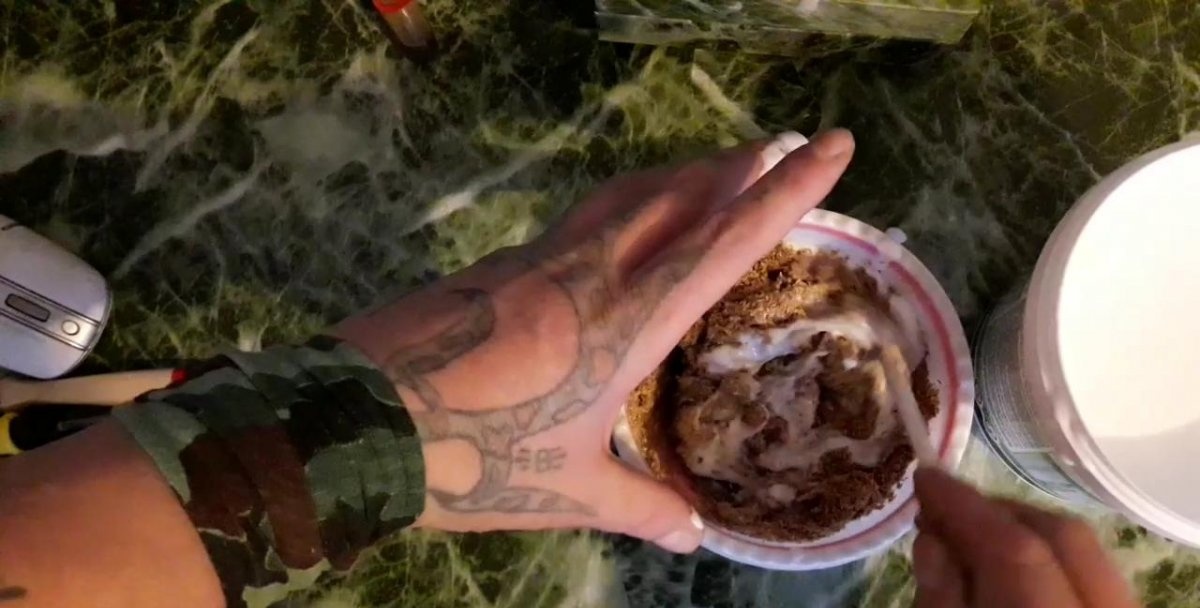
First, with a stick, and then with your hands, since this glue is non-toxic. But if anyone is squeamish, you can put rubber gloves on your hands. You should get some kind of dough. Cool. How to determine viscosity? Take a small lump and squeeze it in your fist. Unclench your palm, the mass should remain in the resulting form.
We tie the heads of the screws (nails) with wire - this will be a kind of reinforcement. Lubricate the broken ends of the break with glue.
Now, on one side of the break, we screw the most even plane onto short screws; a small sheet of fiberboard, plastic or plywood. Just before doing this, be sure to lubricate the screwed surface with oil so that the glue and sawdust mass does not stick to it.
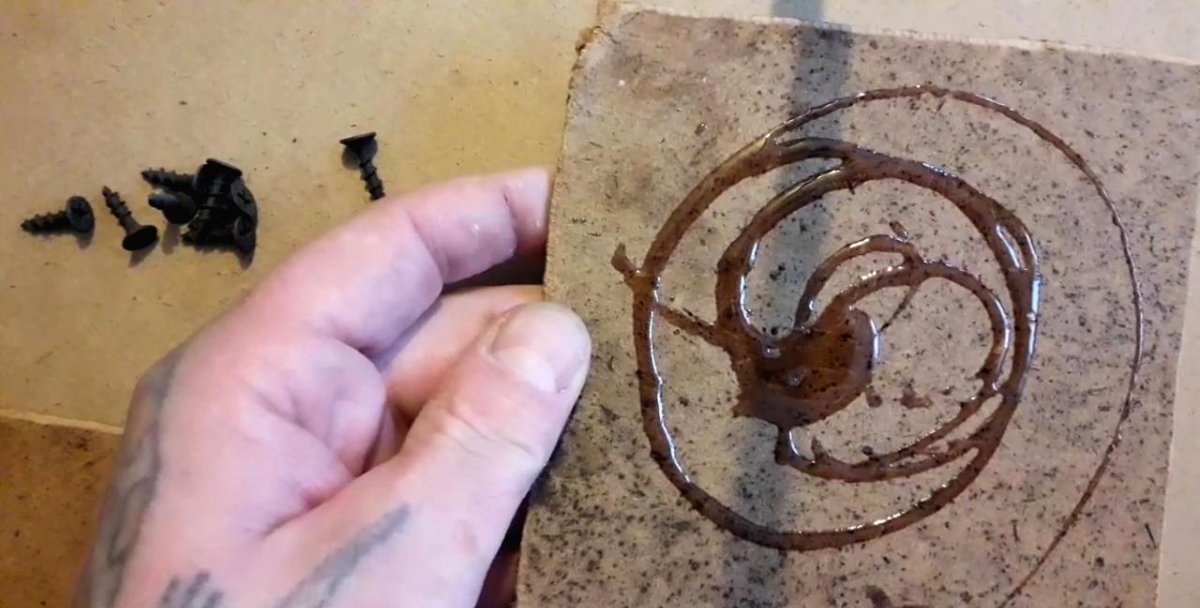
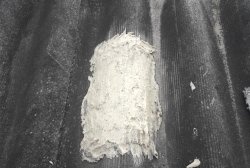
Now we place the adhesive mass in the gap. We carefully press and tamp it into all the slightest cracks and chips at the end of the break. We spread the mass into the gap until it becomes a couple of millimeters thicker than the main sheet.

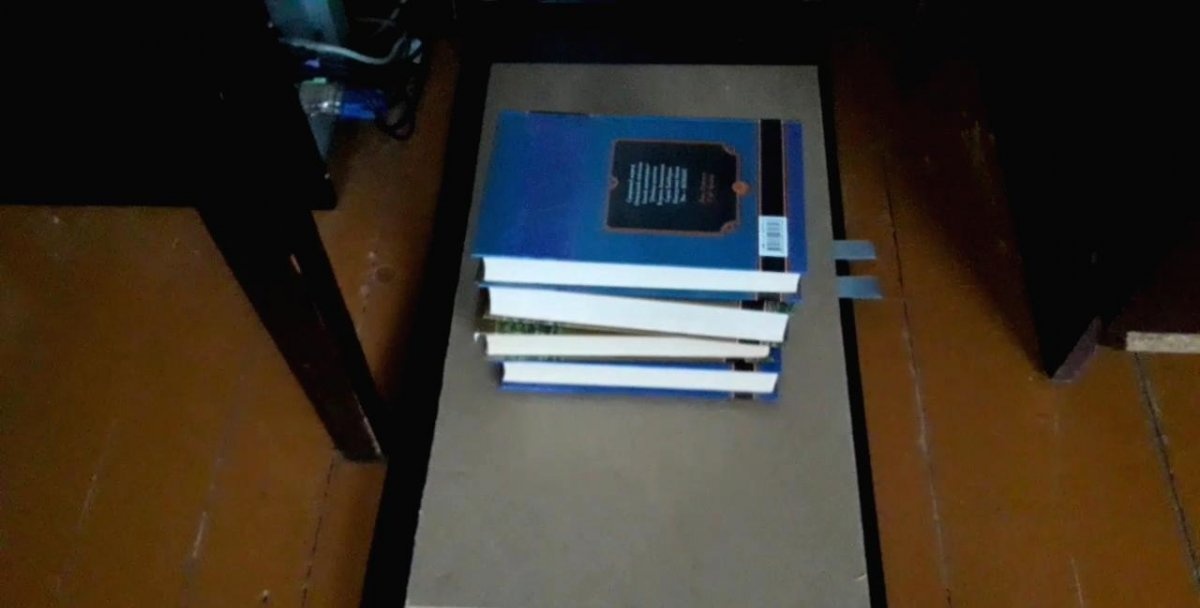
We screw on top a second flat and even sheet, greased with oil. Place the chipboard with the hole repaired on a flat surface and press it down with something heavy on top; weights, or a stack of books and leave in this position for two to three hours.
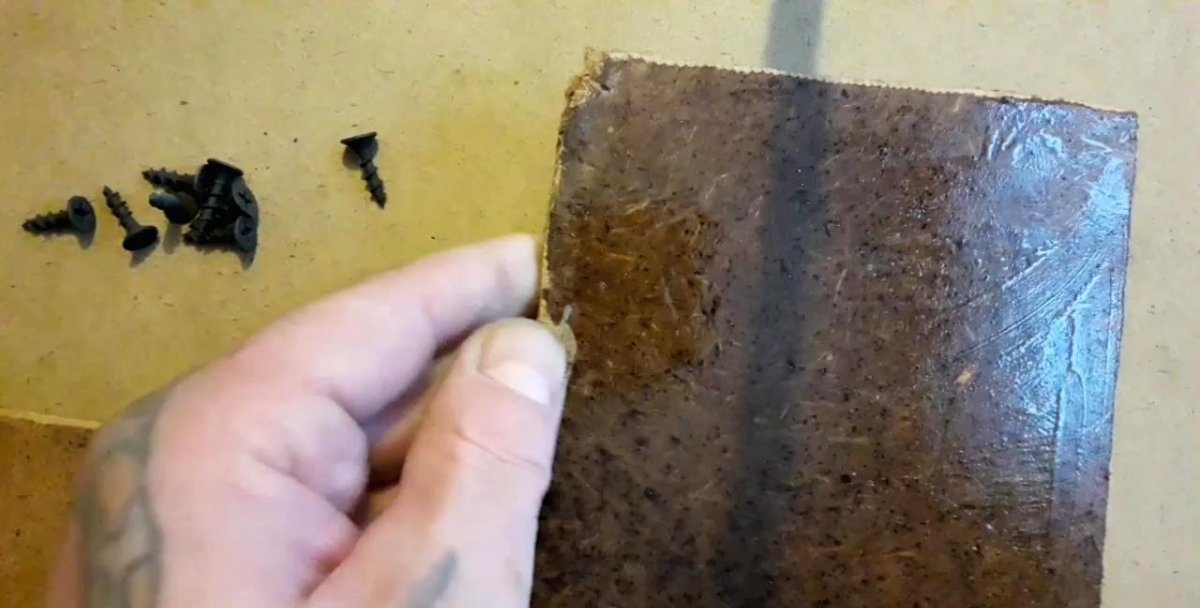
During this time, the adhesive mass will stick a little, and it will be possible to remove the side sheets that held and leveled the mass so that it dries faster. Although I chose not to film. Leave for a day in some warm, dry room. After a day, we press inward the edges from the screws removed from the fiberboard (can be sealed with cold welding) so that nothing sticks out anywhere, and finish it with sandpaper.
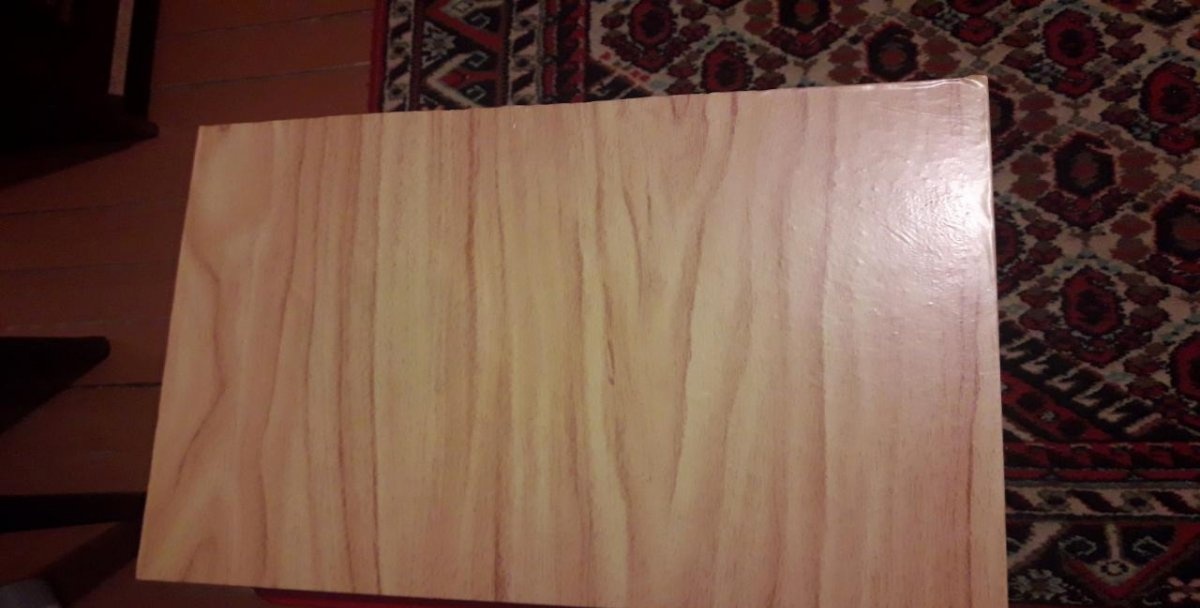
All that remains is to paste decorative self-adhesive wallpaper of a suitable texture.
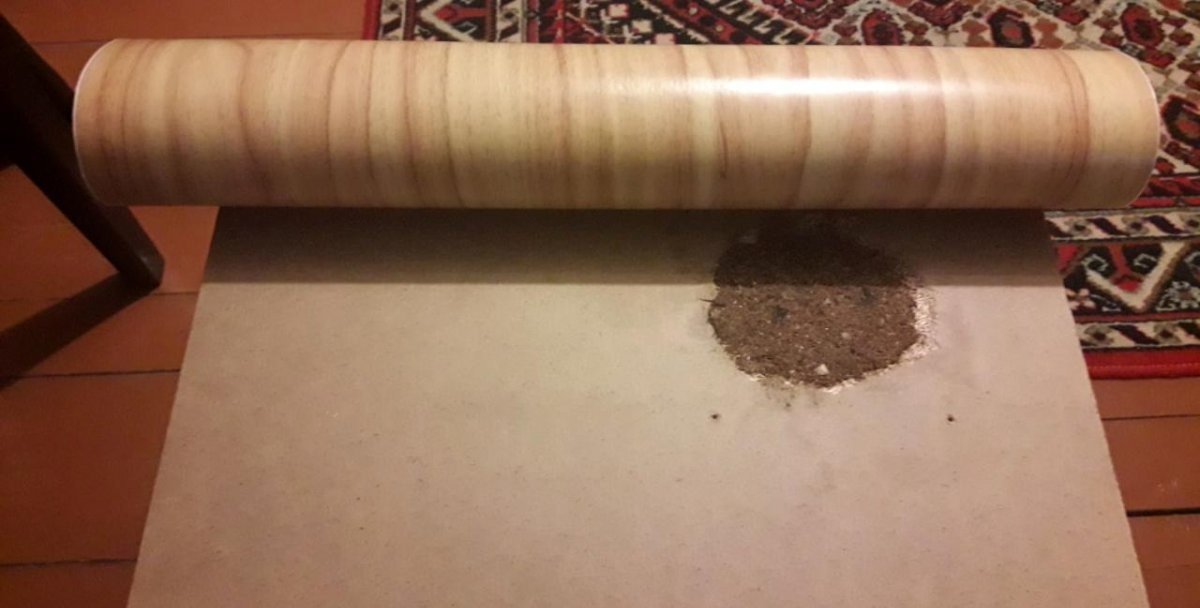
To do this, wipe the surface on which we will glue the wallpaper with a dry cloth. It is also advisable, using a sprayer, to humidify the air in the room in which we will glue so that the dust settles. Dust during such work is the worst thing. The slightest speck of dust caught under such wallpaper immediately forms a bubble. Now carefully, starting from one of the corners, glue the wallpaper. Here you need to be very careful - you won’t be able to peel back such wallpaper intact, since they are very thin; I'll have to buy the same ones again. After we have covered the surface, we trim and bend the corners. Ready. If a bubble does appear, pierce it with a thin needle in several places, then warm the area with a regular hair dryer and immediately smooth it with your palm.
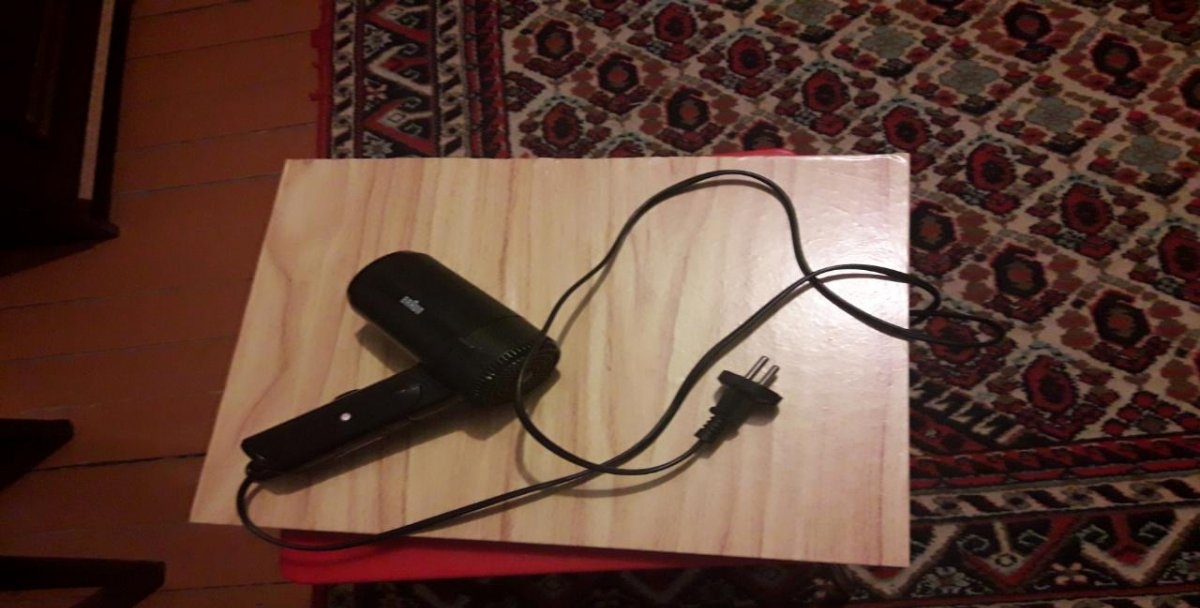
After this procedure, the bubble will disappear. You can also heat the corners with a hairdryer so that they stick together better. And joints, if any. That's it, the damaged part has been restored.