More than once it happened to me, standing in a store, to look at all kinds of lamps, sconces, lamps and night lights... My eyes ran wild from the variety of their colors, shapes and styles - just have time to buy and hang them in your rooms! But, when it came to choosing a specific wall lamp for the nursery, it turned out that everything was not so simple... I decided to deal with the problem that arose in the traditional way, namely: take paints and create something unique.
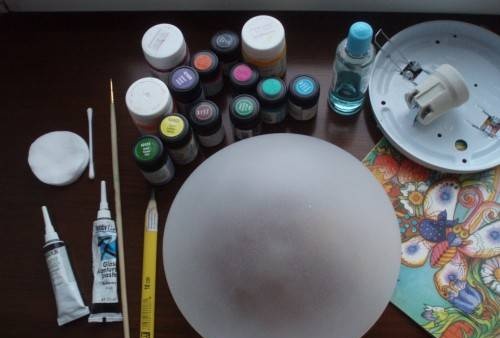
What you will need:
The most common round wall lamp, transparent or matte white
Water-based stained glass paints that do not require firing
Contours for glass painting
Brushes
Solvent
Cotton swabs and disks
Jar of water
Simple pencil and eraser
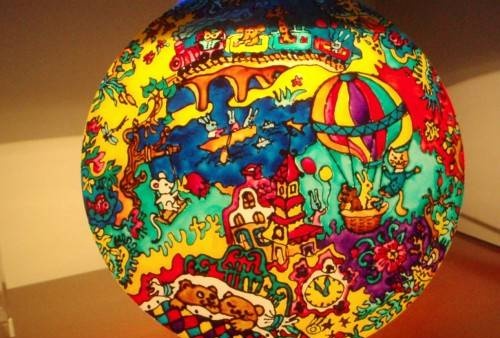
You can choose the subject for the drawing as you like - a floral pattern, a geometric abstraction, a fairy-tale picture. Since our lamp will illuminate the baby’s room, illustrations from favorite children’s books will serve as a model for the drawing on it.
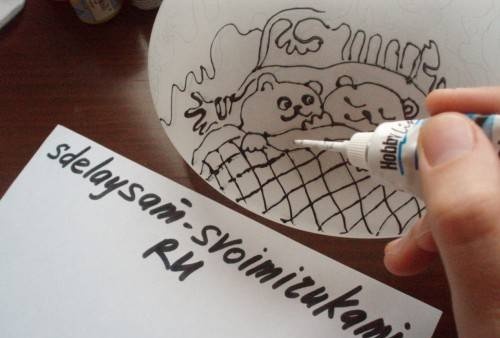
Let's get started! First, you need to thoroughly clean and degrease the surface of the lamp with a solvent. Then, using a simple pencil, we outline the lines of the sketch, take the outline in our hands, and carefully trace the pencil drawing.The outline can be of any color, black looks more clear and contrasting, and gold or bronze looks more impressive and elegant.
We try to squeeze out the contour evenly, wiping the tube spout with a napkin from time to time. If suddenly the lines become smeared or you just don’t like them, it doesn’t matter, they can be easily removed with a cotton swab and solvent.
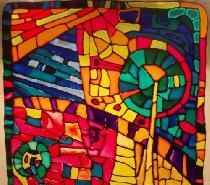
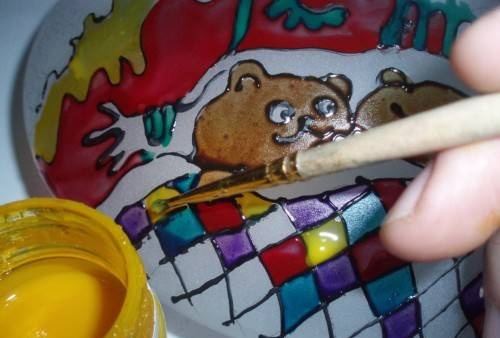
When the outline is dry, remove the remaining pencil drawing with an eraser, dip the brush into a jar of paint and begin painting. It should be remembered that the brushes must be rinsed frequently in water and wiped with a napkin or cotton pad, and only then take a different color.
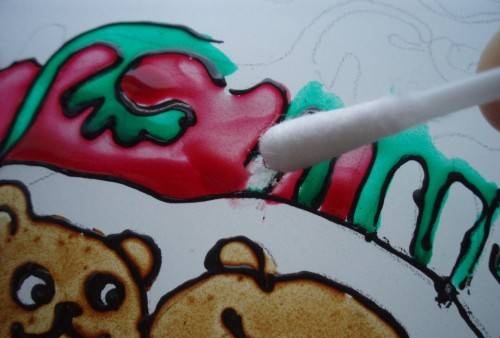
When painting the convex surface of a lamp, you should try to take the paint in small portions - otherwise it will flow to the side. The drip can be removed with a cotton swab. Gradually, the entire surface is covered with bright colors and takes on a finished look.
Our lamp does not need firing; we leave it in the open air and wait for the paint to dry completely. Now you can attach it to the chosen place on the wall, wait until evening, turn on the light - and give your baby a miracle.