Do it yourself
Life hacks, master classes, useful tips, recipes.
home » Construction and repair »Removing the ball from the foam gun
Hi all! Today we’ll talk about a way to eliminate a problem that often arises when using polyurethane foam guns. First, briefly about the purpose and design of the pistol.
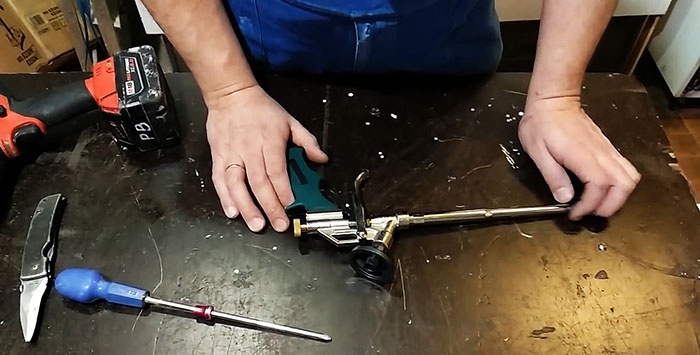
The gun is designed to deliver a special composition (foam) to hard-to-reach places - assembly joints, cracks and openings that need to be sealed. To do this, the gun has a thin, elongated barrel, the end of which is equipped with a nozzle and a shut-off valve. The valve is controlled by a spring-loaded rod, which moves when the trigger is pulled.
Removing the ball from the foam gun

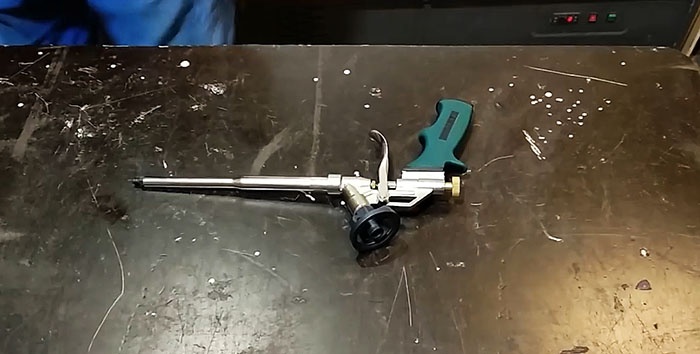
At the top of the gun there is a special adapter (threaded fitting) for connecting a cylinder with a foam composition under excess pressure. Once the cylinder is attached to the adapter, the pressure is applied to the entire inside of the gun barrel. When you press the trigger, the nozzle valve opens and the foam under its own pressure is delivered to the desired location.
Inside the adapter there is a ball spring valve, which is the subject of today's discussion. It opens under the influence of foam pressure and operates in one direction.When removing the cylinder from the gun, the ball is pressed against the valve hole by a spring and prevents the back ejection of residual foam through the adapter, remaining in the barrel under pressure. The feature is definitely useful.
The problem is that, despite following the operating instructions and regularly cleaning the gun after finishing work, the remaining foam in the ball valve dries out, preventing the further flow of foam from the next cylinder.
The solution suggests itself - simply dismantle this auxiliary valve.
So let's get started.

Necessary tool


To complete the work we may need:
  • electric drill;
  • a set of drills of different diameters;
  • a screwdriver or a thin steel rod for use as a wrench.

The content of the work


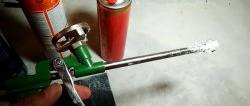
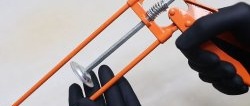
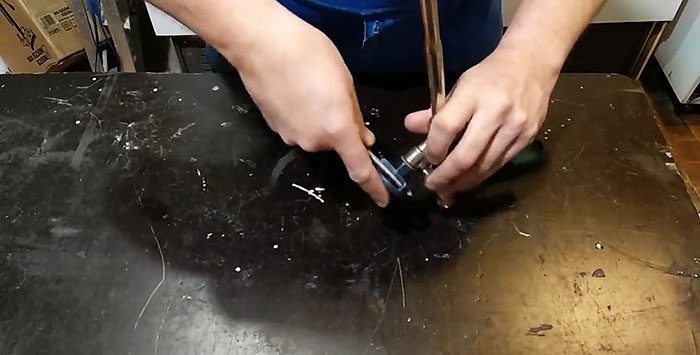
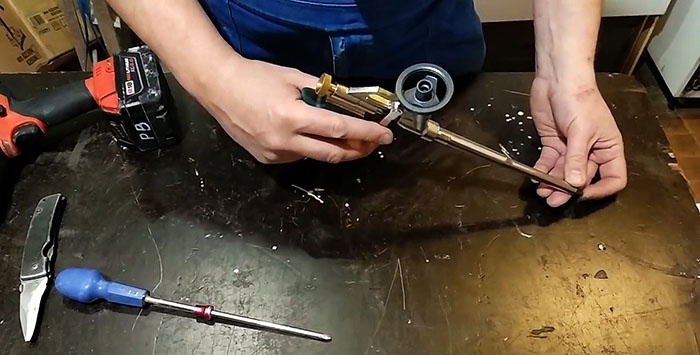
Unscrew the removable part of the adapter to which the cylinder is attached. If this cannot be done by hand, use a wrench.
Removing the ball from the foam gun

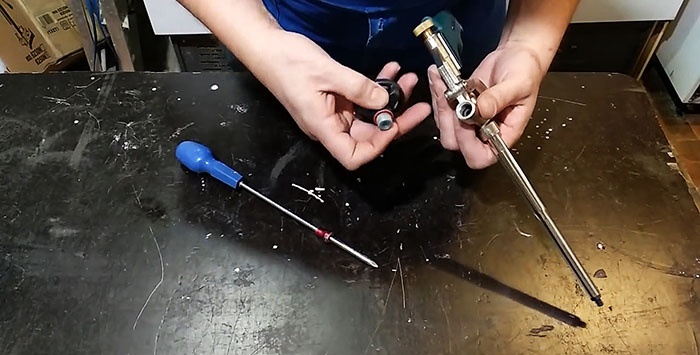
The required valve is located inside the unscrewed adapter. The valve itself is a plastic sleeve with a hole. Inside the bushing there is a ball pressed to the hole by a spring.
Removing the ball from the foam gun

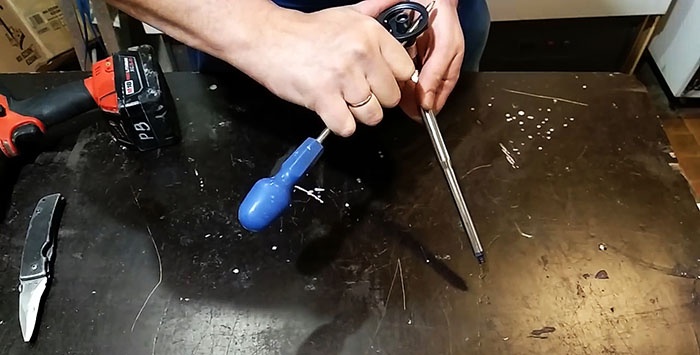
In my experience, it is usually not possible to remove the valve bushing by simply picking it up with something. Therefore, we will drill out the valve. We select a drill of a suitable diameter. The drill bit should be thinner than the hole in the adapter's metal body to avoid damaging it, but still thick enough to drill out the plastic valve.
Removing the ball from the foam gun

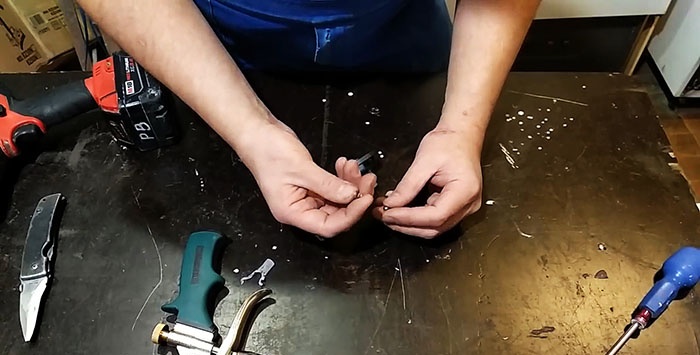
We carefully drill to a shallow depth, after which the remains of the plastic sleeve with a spring and ball are easily removed. This completes the main part of the work.
Removing the ball from the foam gun

If necessary, clean the internal hole of the adapter from any remaining dried foam and screw it into place.
Removing the ball from the foam gun

The gun is ready for use again.
Removing the ball from the foam gun

Warning


When operating the gun in this form, changing the cylinder may be accompanied by splashing of foam residue. To avoid this, when removing a cylinder (especially an underused one), you should pull the trigger at the right moment to relieve pressure in the barrel, while oriented the barrel and gun adapter in a safe direction.
Removing the ball from the foam gun

Watch the video


come back
Comment
  • bowtiesmilelaughingblushsmileyrelaxed relaxedsmirk
    heart_eyeskissing_heartkissing_closed_eyesflushedrelievedsatisfiedgrin
    winkstuck_out_tongue_winking_eyestuck_out_tongue_closed_eyesgrinningkissingstuck_out_tonguesleeping
    worriedfrowninganguishedopen_mouthgrimacingconfusedhushed
    expressionlessunamusedsweat_smilesweatdisappointed_relievedwearypassive
    disappointedconfoundedfearfulcold_sweatperseverecrysob
    joyastonishedscreamtired_faceangryragetriumph
    sleepyyummasksunglassesdizzy_faceimpsmiling_imp
    neutral_faceno_mouthinnocent
3+three=
Comments (10)
  1. Ivan
    #1 Ivan Guests March 7, 2019 09:41
    2
    There is a special cleaner for such pistols. I finished the job, changed the cylinders (foam for cleaner), washed the pistol and that’s it. The cleaner is also a pressure cylinder. It’s a very good thing. After all, the design of the gun is specially designed for convenience and safety.
  2. Guest Dmitry
    #2 Guest Dmitry Guests March 7, 2019 09:44
    2
    To prevent the remaining foam from drying out, you need to use cleaner after removing the balloon. And so this is additional hemorrhoids, while the remaining foam in the barrel will dry out.
  3. Guest Alexander
    #3 Guest Alexander Guests March 7, 2019 11:01
    1
    Good afternoon I want to share my experience in cleaning the gun from foam residues.As a rule, the valve “cokes” more often. To clean it, I unscrew the cylinder adapter, carefully heat it from the bushing side with a technical hair dryer, and carefully remove the plastic bushing, spring and ball. When heated, the remaining foam is converted into an elastic film, which is easily removed from the spring, ball and inner surface. I assemble the valve, press the bushing in and the gun is ready for use. The main thing is not to overheat the bushing so that it does not melt. You can clean other parts of the gun in the same way.
  4. Guest Oleg
    #4 Guest Oleg Guests 7 March 2019 19:12
    15
    I have been using foam almost every day for 15 years (I install doors) and have never encountered a problem with the ball drying out. Just do not remove the cylinder from the gun (only when replacing) and the foam will never dry out inside. I was clearing out the trash in the garage and found an old gun with a cylinder, which lay there for about a year. The bracket, however, was pressed with some force, but the foam came out as expected. By the way, you don’t need to rinse the gun either. Just don’t remove the cylinder and always tighten the screw after work.
  5. Guest Andrey
    #5 Guest Andrey Guests 8 March 2019 18:04
    1
    I'm shocked. How will you, dear author, stop the stream of foam after you have removed your hand from the trigger? Without a ball, you will need to constantly twist the handle from behind
    1. Guest Alexander
      #6 Guest Alexander Guests March 30, 2019 05:57
      4
      you are not right. The ball is needed for a comfortable change of the cylinder. so that the foam from the gun is not useful when changing the cylinder. but as practice shows. in any case, this ball stops working after 10-15 balloons because some of the foam remains there. it just doesn't wash out from under the spring. therefore, the author's idea makes sense. You can, of course, pull out the ball and clean everything mechanically, but this won’t last long - checked
    2. Guest Alexander
      #7 Guest Alexander Guests March 30, 2019 06:01
      0
      and the handle is tightened when the needle is dirty or the needle cuff is stiff. Cleaning the needle and replacing the cuff will help here. Sometimes lubrication with silicone grease also helps. And please note there are needles with Teflon. do not scrape off the spray
  6. Zhenya
    #8 Zhenya Guests 9 March 2019 23:46
    1
    Just break through the balloon at the end
  7. Guest Alexey
    #9 Guest Alexey Guests 25 March 2019 18:57
    1
    Or you can do it simpler - buy the cheapest pistol, for 250 rubles, disposable... And throw it away without regret when problems arise. Such a pistol is enough for a couple of cylinders.
  8. Paul
    #10 Paul Guests 12 November 2023 22:50
    1
    It all depends on the quality of the ball. when you use it often there are no problems, this is about window door installers. Sometimes my cylinder sits for months without any problems. There are sometimes problems with the glue, it dries very capriciously. Polyurethane foam works well with good guns. This method works if it is a cheap ejection pistol. Removing the ball will stick further and further.

How to make work with a paint roller faster

How to make a regular electric meat grinder with your own hands

Children's furniture - high chair | Do it yourself

Casting aluminum parts in the garage

«Do it yourself - with your own hands» - a site of interesting homemade products made from scrap materials and items at home. Step-by-step master classes with photos and descriptions, technologies, life hacks - everything a real master or just a craftsman needs for needlework. Crafts of any complexity, a large selection of directions and ideas for creativity.

We recommend reading

Washing machine error codes