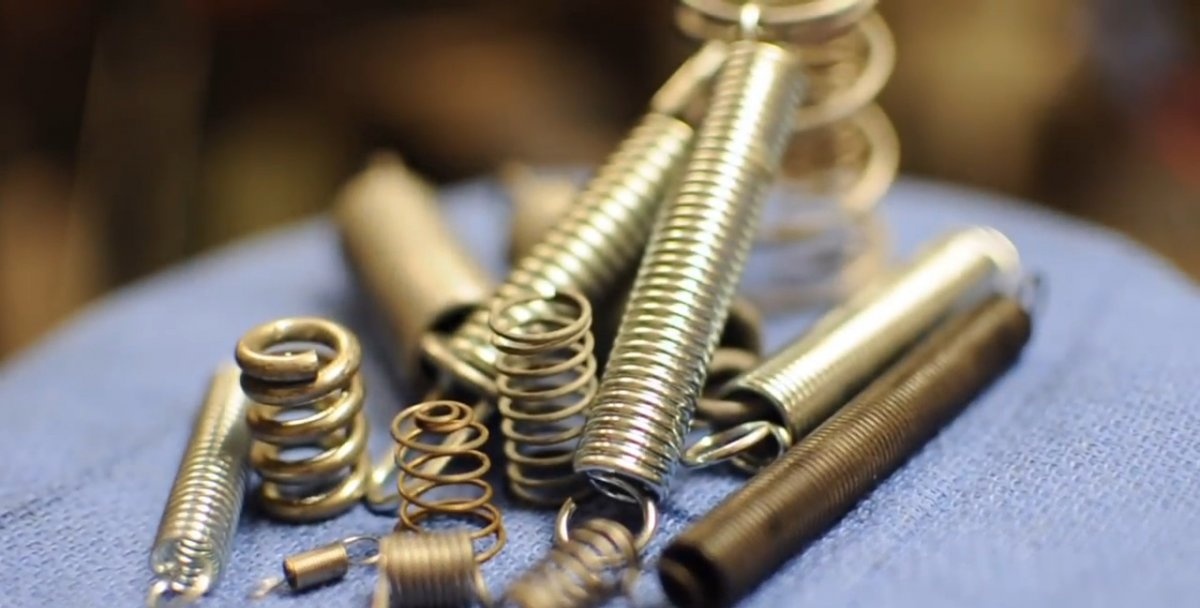
Steel springs can be of different configurations and it is not always possible to purchase the desired type - the product is quite rare on the market. For this reason, I make them myself for my needs.
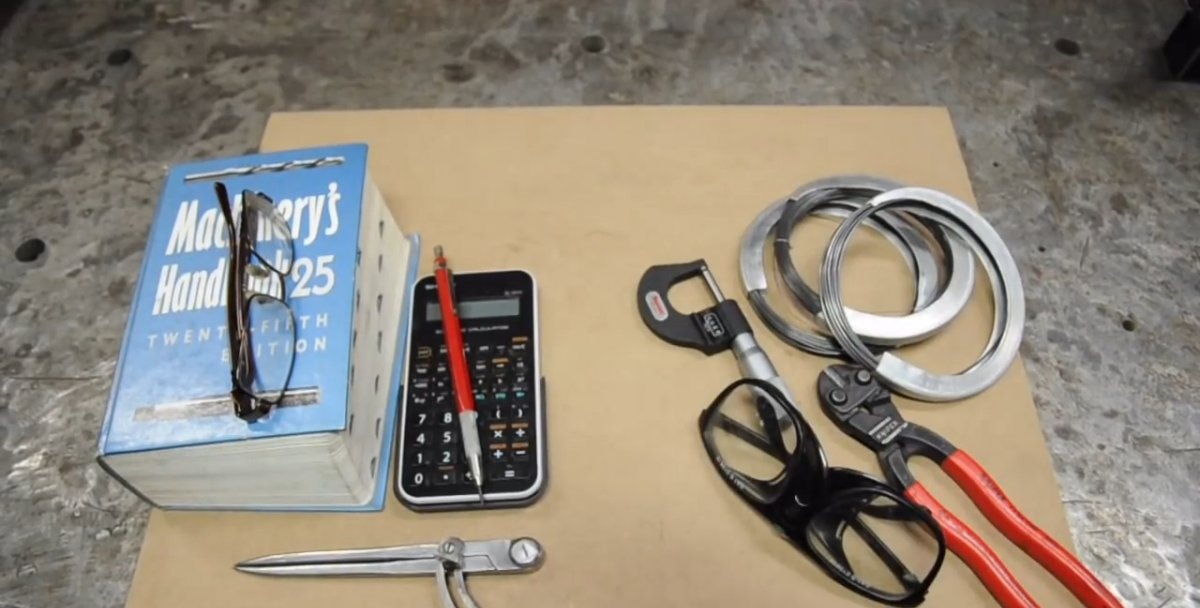
What do we need
- Lathe and pipe of the required diameter with a fixing bolt;
- Steel wire of the required diameter;
- Wire cutters;
- Thickness gauge;
- Mechanical Engineering Engineer's Handbook for Spring Calculation;
- Calculator;
- Measuring compass, pencil, ruler and note paper.
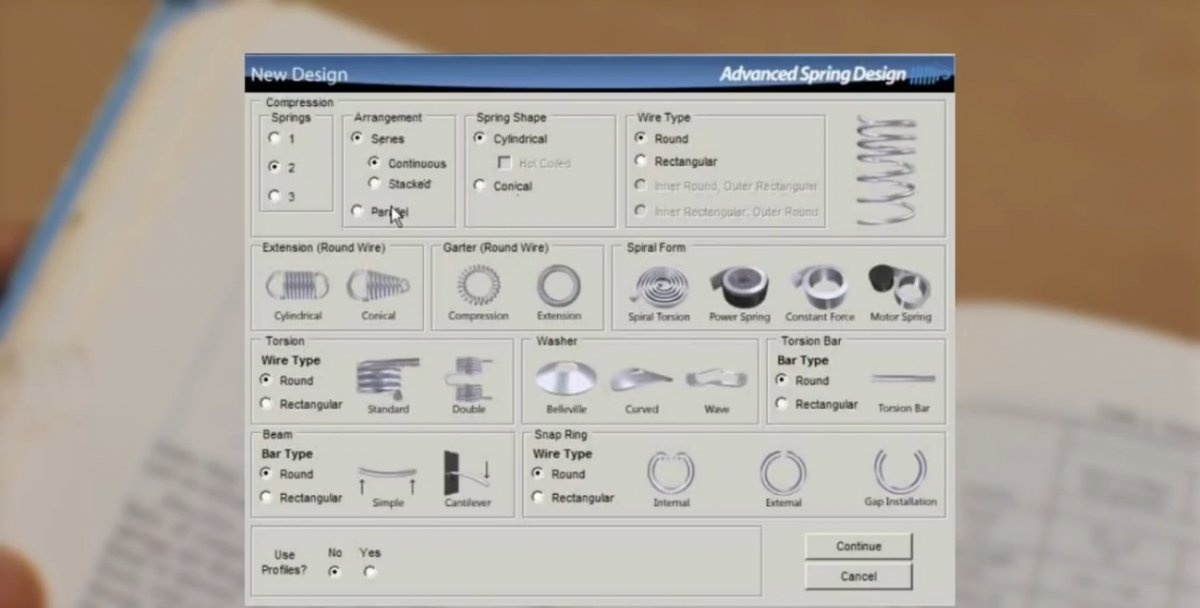
Spring calculation
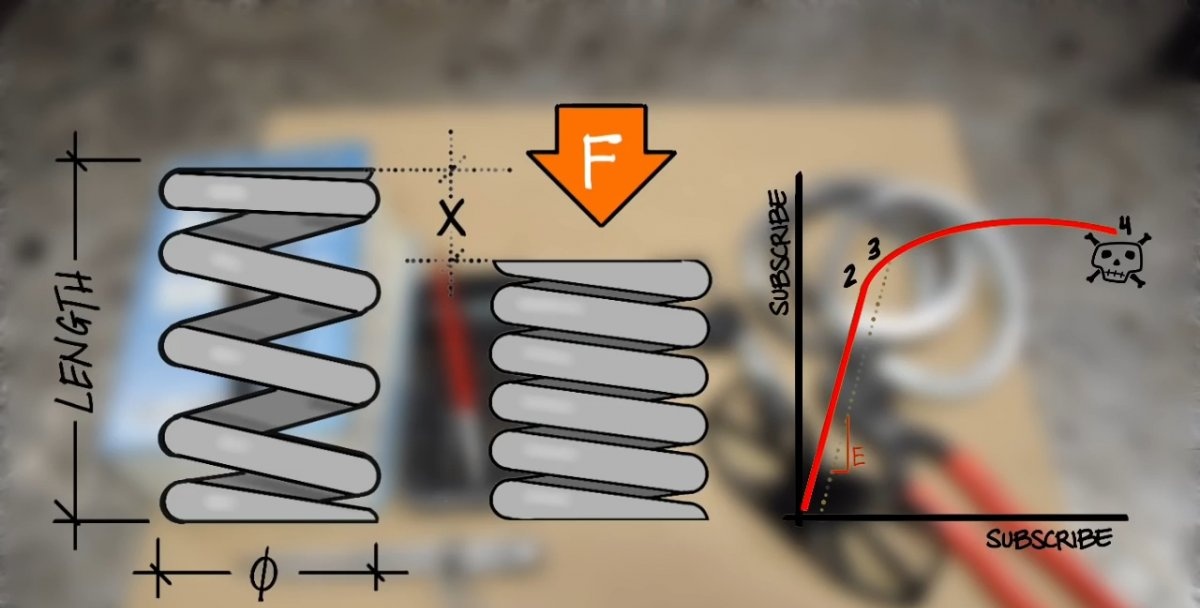
To do this, you need to use the table in the spring section to correctly select the diameter of the steel wire, the number of turns and pitch. In this case, how the new spring should work - compression or tension - plays a huge role. The last type of springs can have a rather complex design, but you can also make it yourself. Having performed preliminary calculations and found out the thickness of the wire for a steel spring, the pitch and number of turns, as well as having determined the design features and created a drawing of the future spring, you can proceed to practical actions.
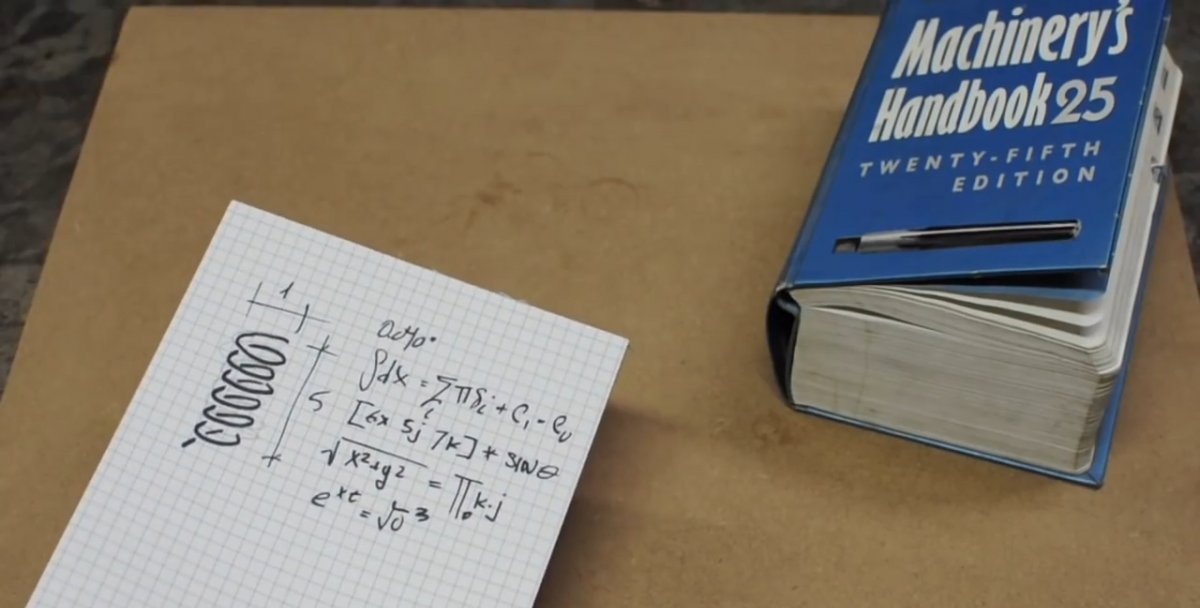
Making a spring
We have a drawing, a steel string of the required thickness and a suitable diameter steel tube for winding the spring.
Common mistakes
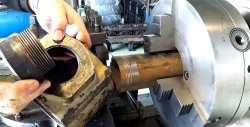
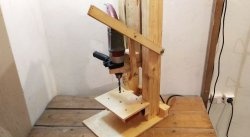
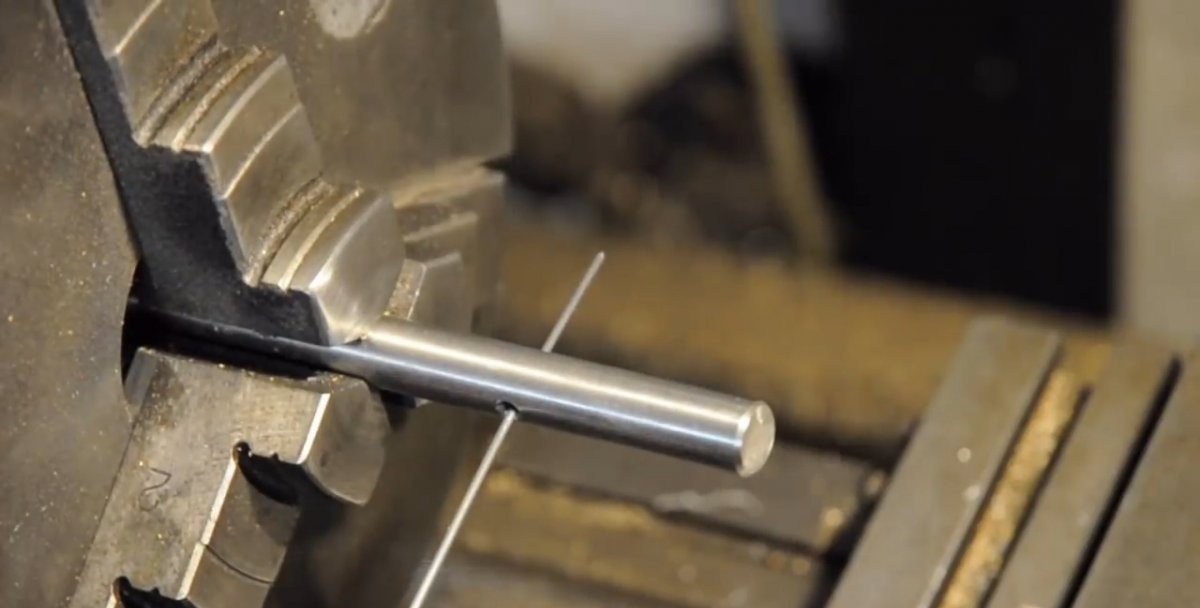
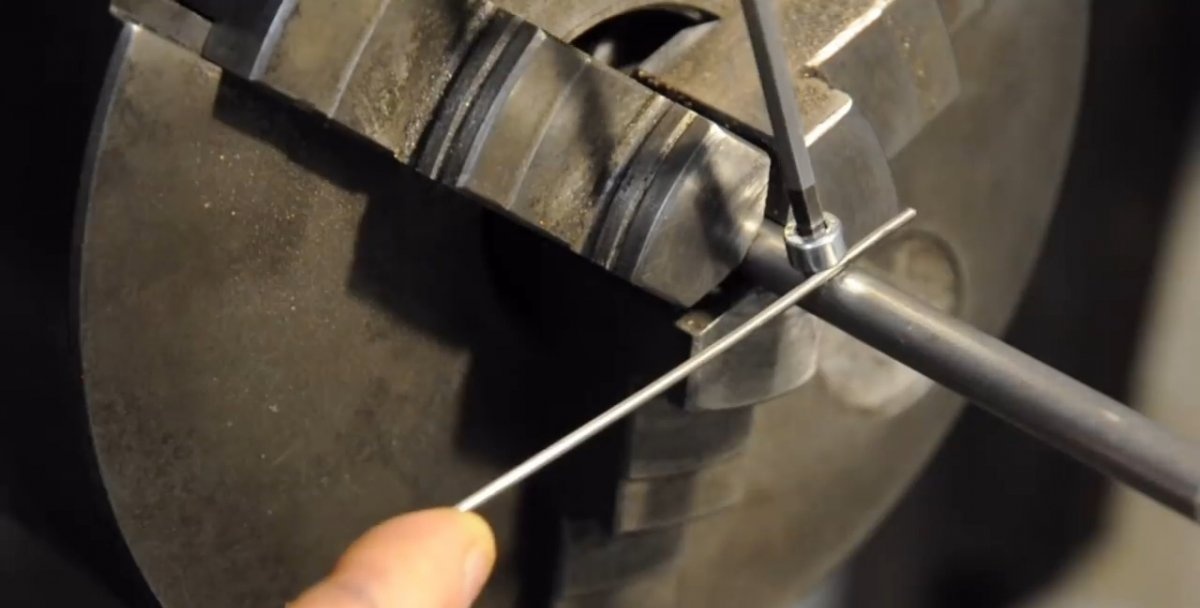
We clamp the mandrel in the chuck of the lathe. We insert the end of the steel wire into the hole in the mandrel, start the rotation and wind the steel string tightly.

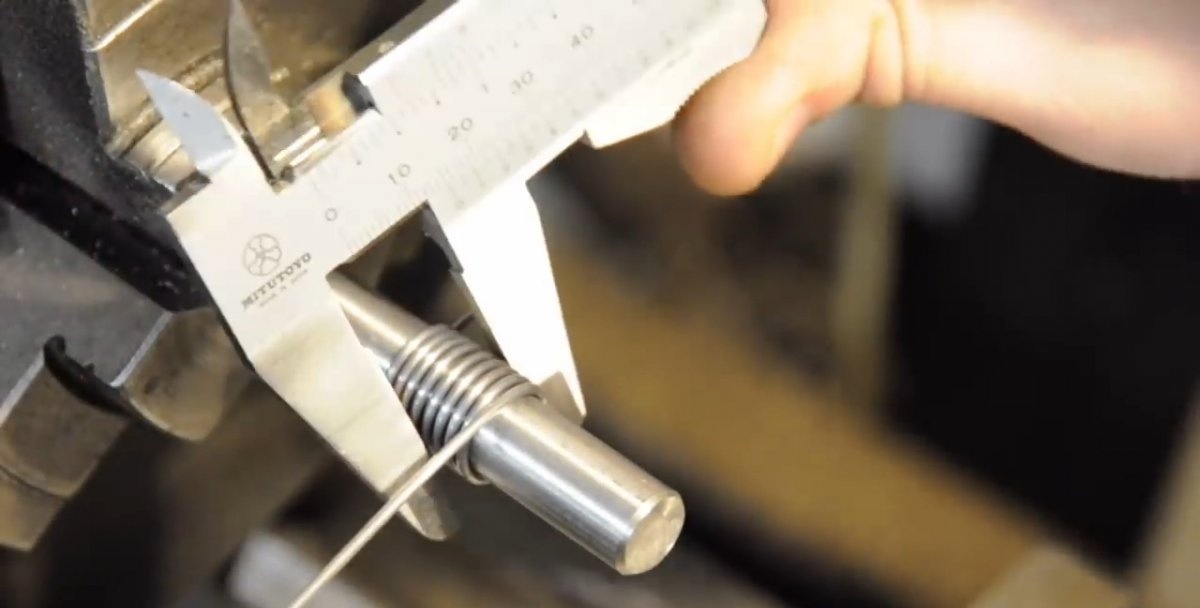
After checking the thickness of the spring with a caliper, we cut the wire with wire cutters and watch how our spring increases in diameter.
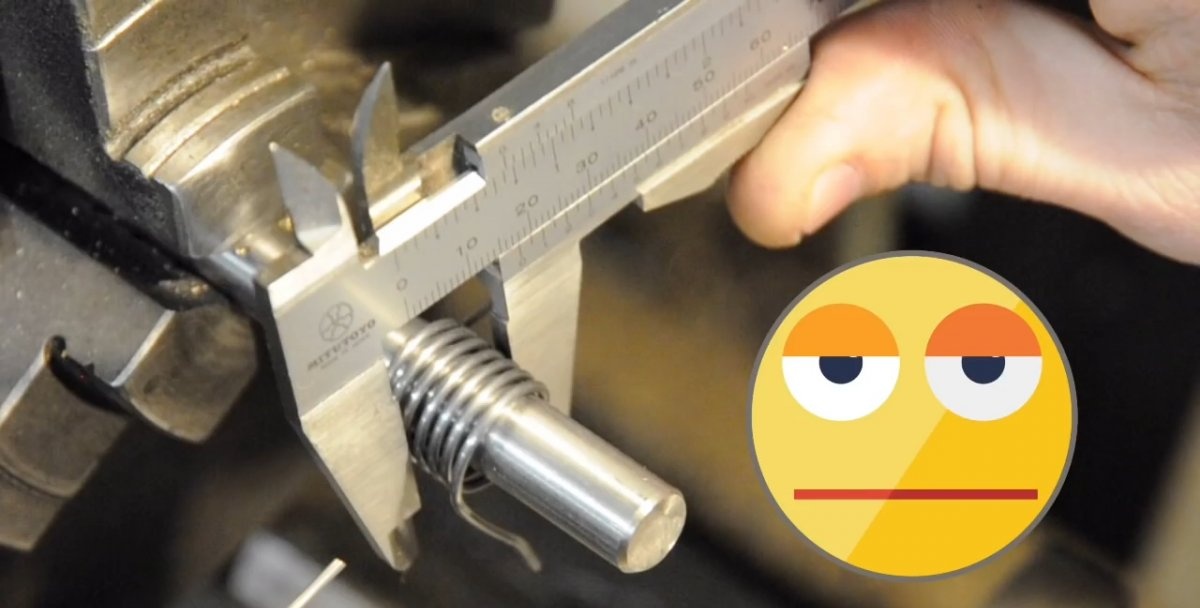
In addition, removing it from the mandrel will be quite problematic - to do this you will have to cut the string at the very beginning of the turn.
Doing it right
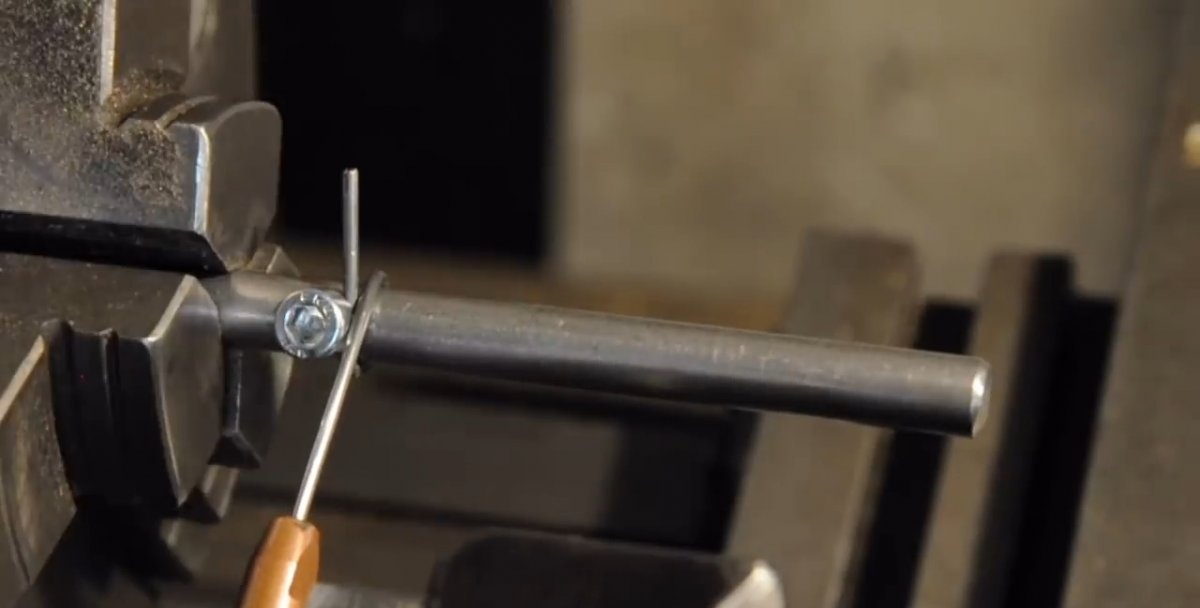
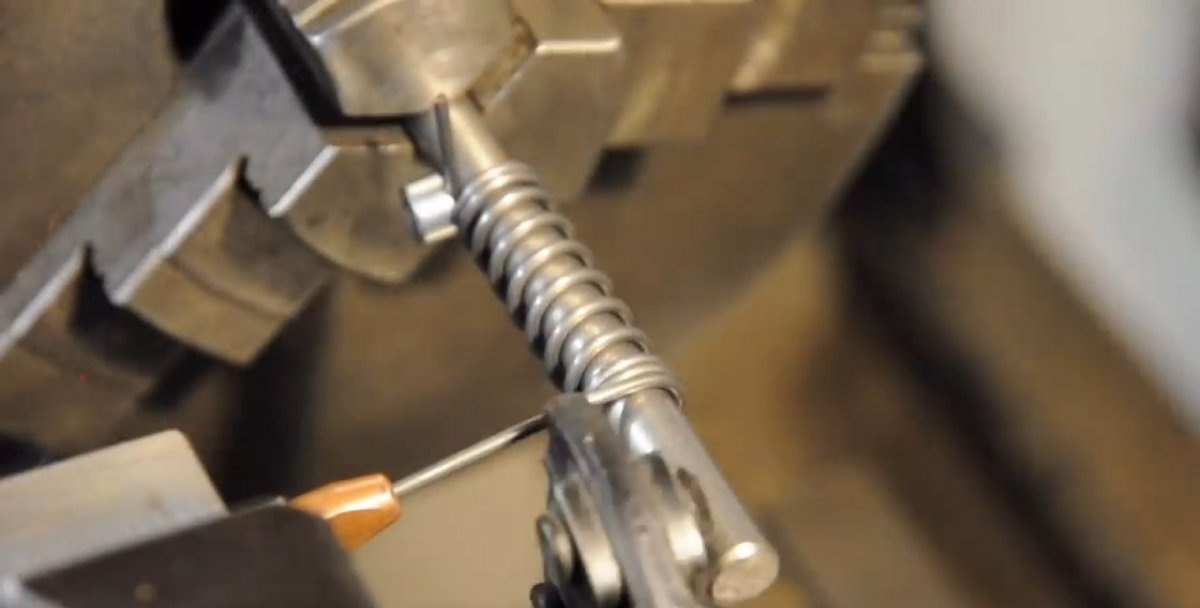
We clamp the wire on the mandrel using a screw.
Now we need to create tension on the steel string before winding.
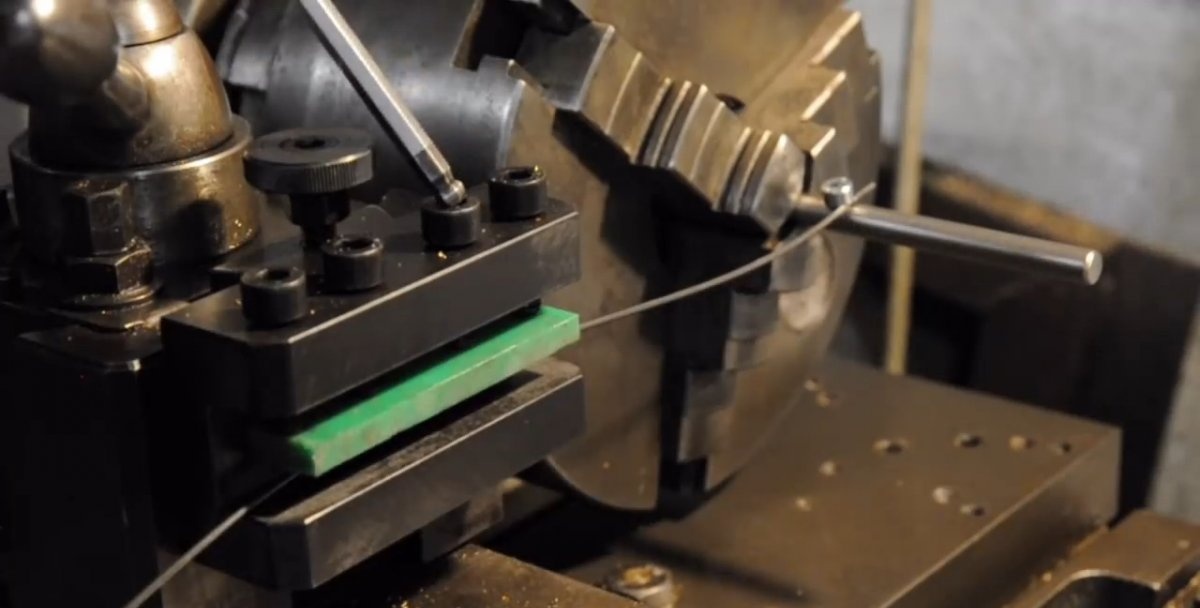
Using a regular piece of thick plastic to clamp the wire into the cutter holder will not be enough. We will need a special device with a guide, in which the tension of the wire can be adjusted by a pressure plate made of soft metal (copper or bronze).
It is also necessary to adjust the rotation speed of the lathe chuck and the movement of the work platform to obtain the desired spring pitch.
Winding
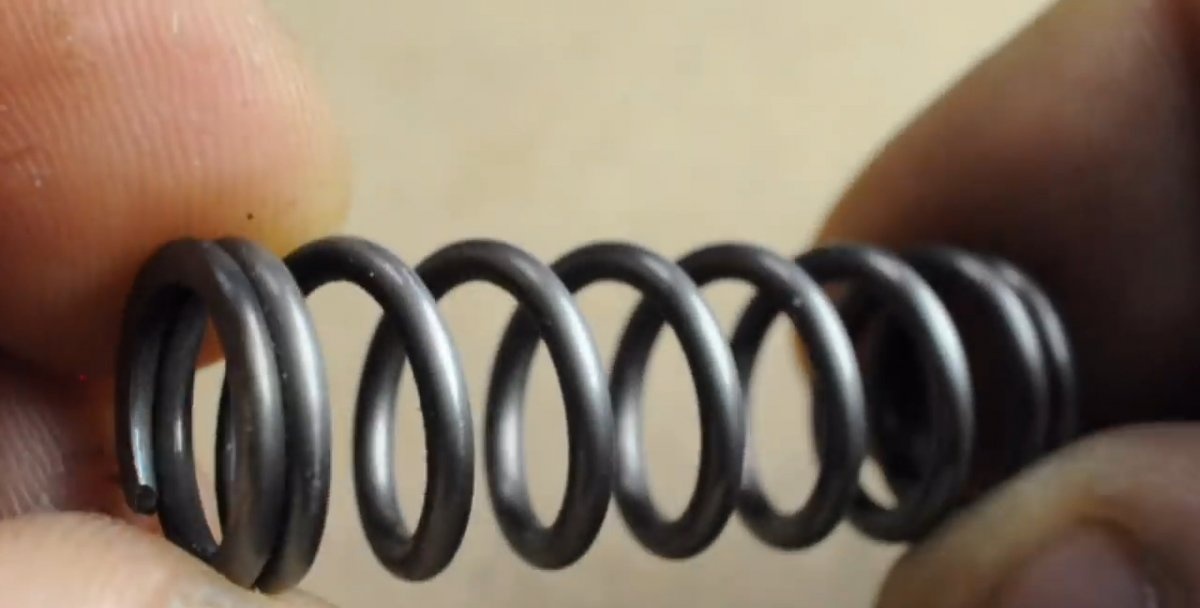
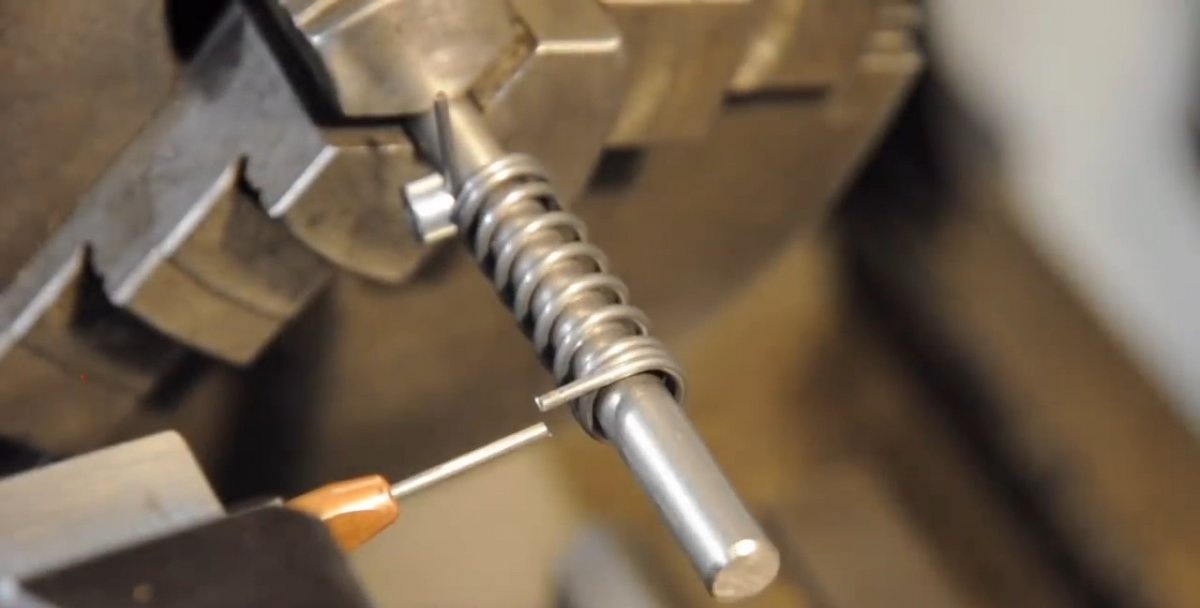
Slowly rotating the machine, we wind the first two turns one to one - this is the beginning of our spring. Next, we activate rotation with movement of the working platform and perform the calculated number of turns.
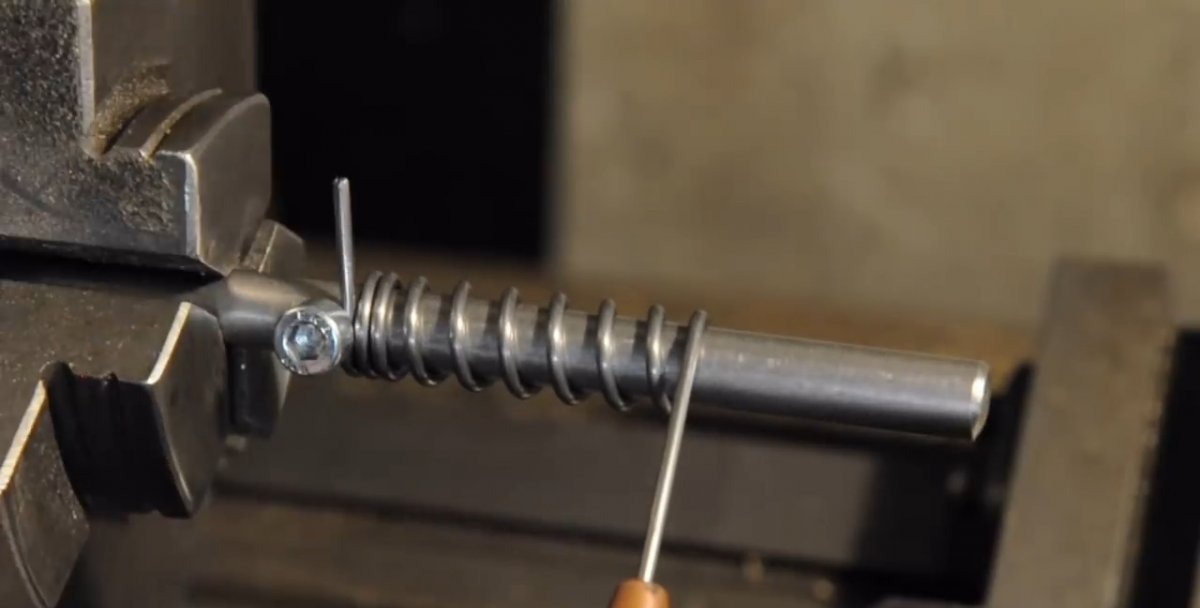
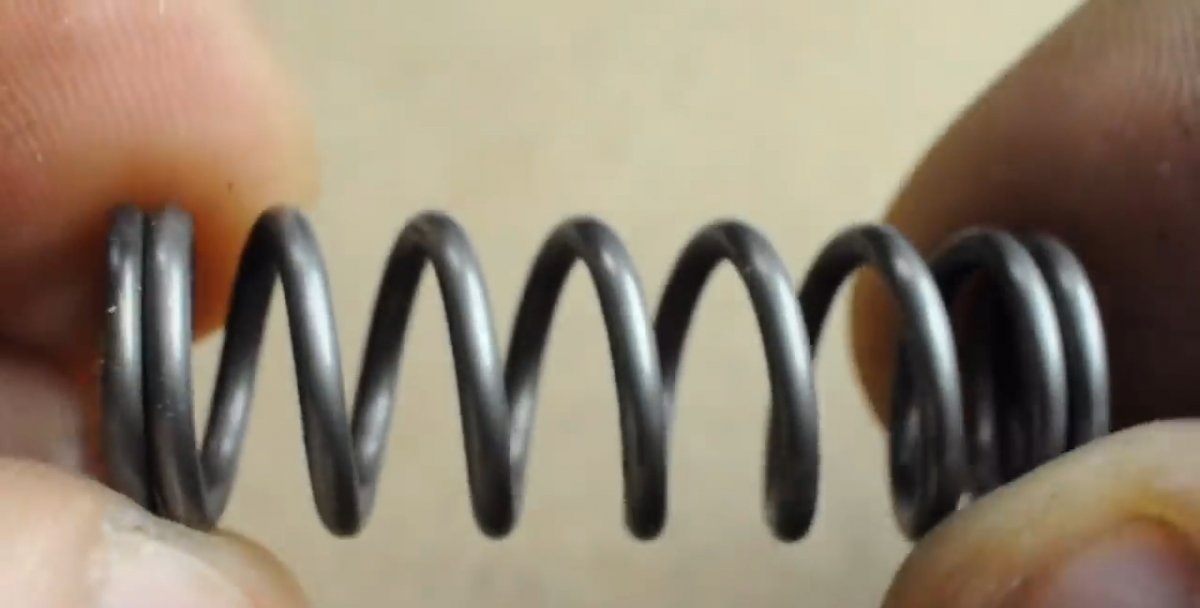
At the end we also make two turns with tight winding. We cut off the wire with wire cutters and loosen the clamping bolt. We check the step using a ruler.
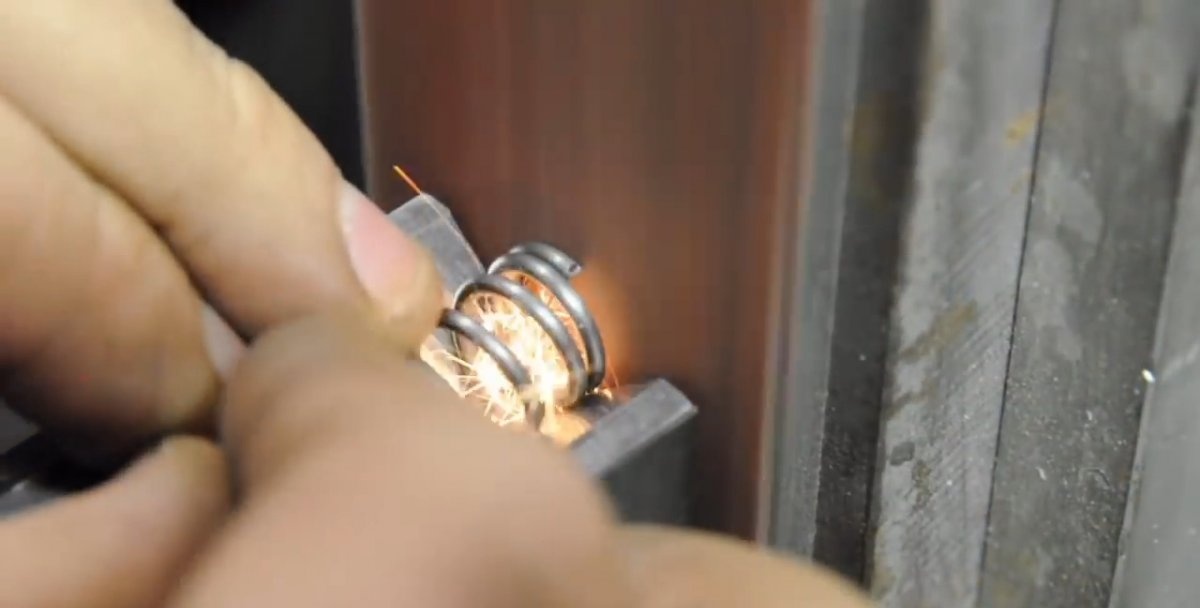
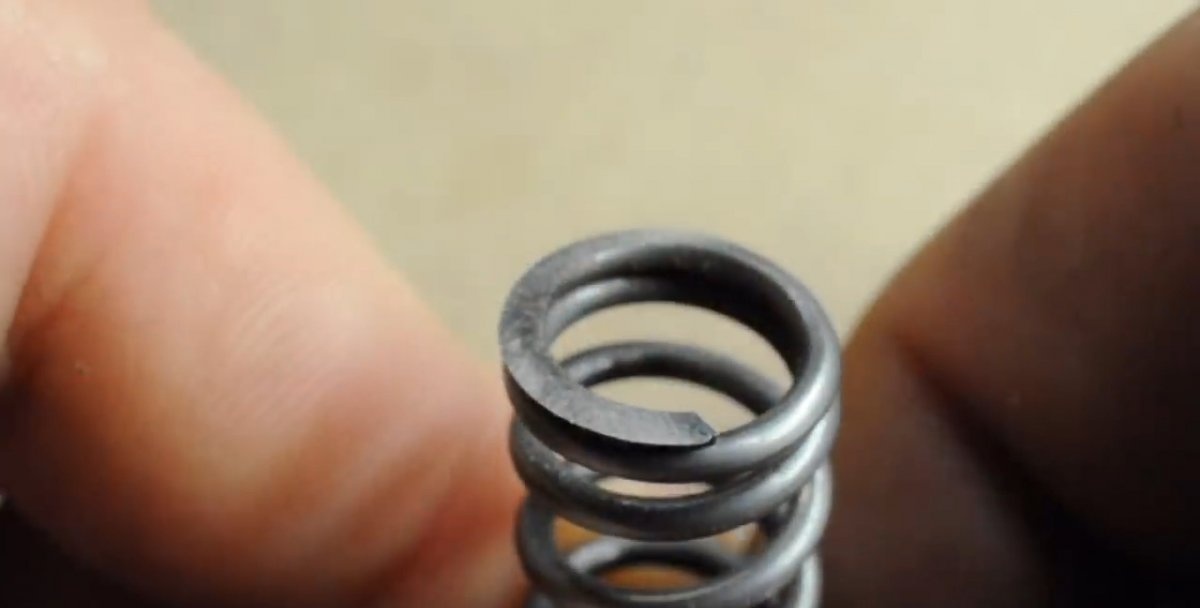
In a compression spring, use wire cutters to cut off the remaining ends of the wire and grind the edges so that they become flat.
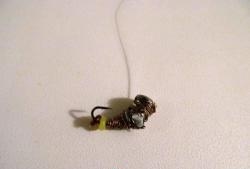
Making a double torsion spring
Having learned how to make a regular tension/compression spring, you can easily make a similar element that works in torsion with your own hands. To do this, clamp the wire on the mandrel, make the required number of turns one to one and remove the winding from the tube. Using pliers, we give the desired shape to the clamping bracket and put it back on the mandrel with the free end. In this case, be careful that the direction of the turns coincides with the first winding. Make the same number of turns and bite off the finished product with pliers, leaving a couple of centimeters to fix the spring block.
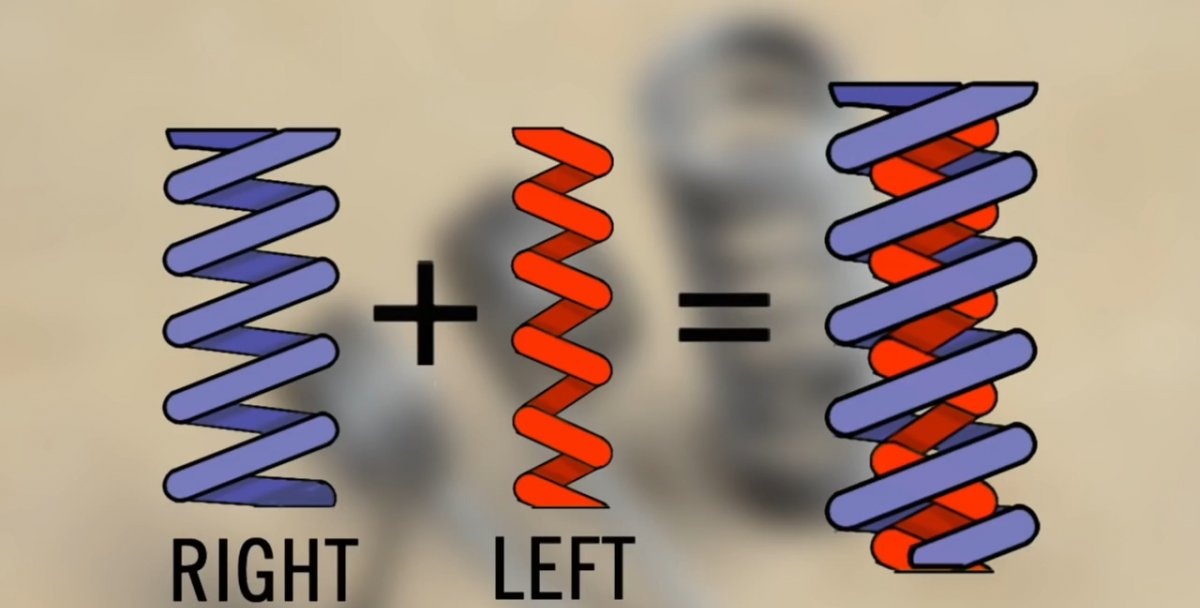
Spring travel direction
In some cases, the direction of the spring travel may matter - if two spring elements with different directions are installed in the structure in one area, this may lead to incorrect results.
Remember to use personal protective equipment and adhere to the rules for working on a lathe. As you can see, there is nothing difficult in making spring elements, and if you have access to a lathe, you can always make them yourself.