The material is made from a mixture of corrugated cardboard (egg trays) and gypsum, sealed with water. The manufacturing technology does not yet provide for special automation. Simply put, tile briquettes are molded by hand. The tiles are lightweight and a pleasure to work with!
Necessary ingredients for work
- Egg trays;
- Gypsum mixture;
- Water;
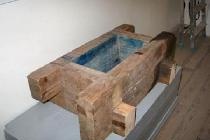
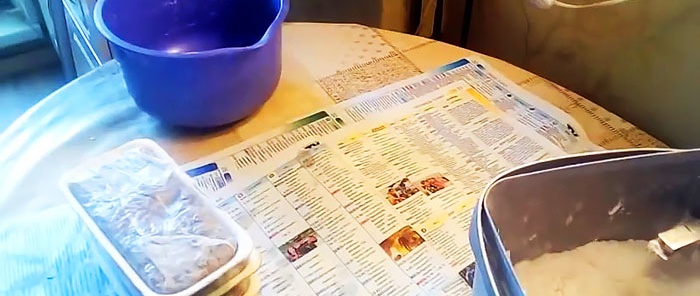
- Kneading container;
- Shallow packaging trays made of polystyrene;
- Polyethylene film;
- Knife or stack for molding bricks.
Features of the technology
The proportions can be selected experimentally, taking into account that the bulk of this mixture is allocated to corrugated cardboard. Gypsum acts as a binding agent, giving the mass density and rigidity. Cellulose fibers, abundantly contained in corrugated cardboard, reinforce the material after drying, preventing it from cracking.
Instead of pure gypsum, which tends to dry quickly, you can use gypsum putty or plaster. In addition to gypsum, they contain polymer additives that can protect the cardboard base from absorbing moisture in the finished material.
Another advantage of this material is its low thermal conductivity. Due to the porous structure, air is retained in it, maintaining a comfortable temperature in the room.
Making decorative tiles - step-by-step instructions
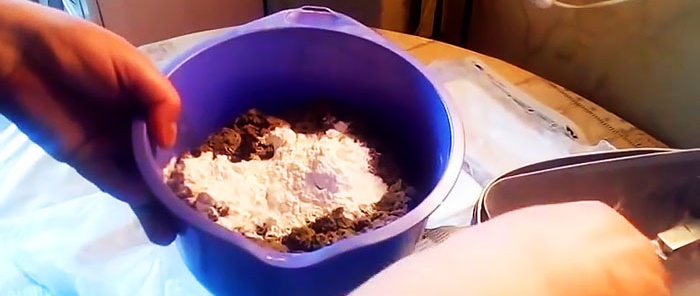
Before kneading, you need to prepare all the ingredients. We chop the corrugation so that it is quickly saturated with water. It must be taken into account that the apparent volume of corrugated cardboard will decrease during mixing.
Fill the corrugated cardboard with water so that the batch is not dry. There should be enough water so that you can mix the gypsum mixture in it.

You can stir with your hands or a spatula.
Due to the fact that gypsum dries quite quickly, it should be added at the end, when the corrugated cardboard has already absorbed all the water and has swollen properly.
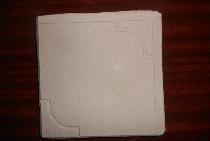
After stirring everything to a homogeneous plastic mass, you can put it in molds, having previously covered them with plastic wrap. This will make it easy to remove the finished tile and retain its shape for subsequent work.


It is also convenient to form tiles with film, compacting the mass and giving it clear dimensions. The outer side of the casting is obtained from the back side of the tile. We level it by turning the briquette upside down on the work table and pressing it manually.
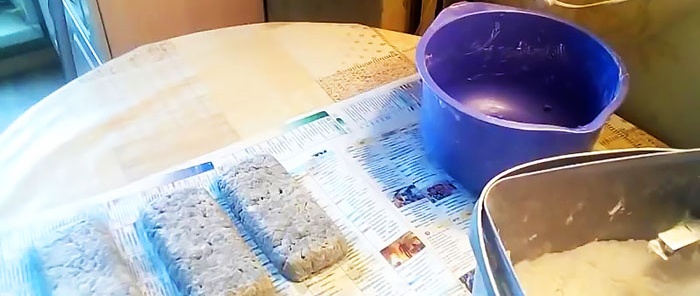
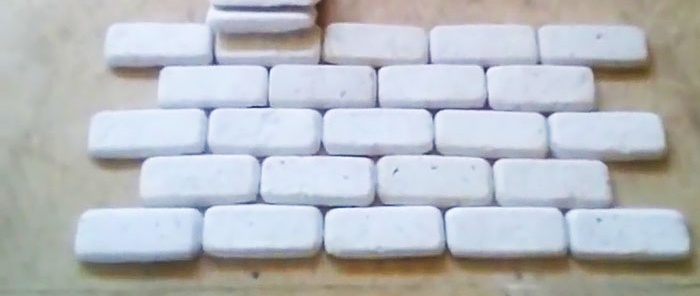
After some time, the briquettes, wrapped in film, are removed from the molds and stored for drying. The film is removed, and the excess mass is trimmed with a knife or trimmed with a stack.
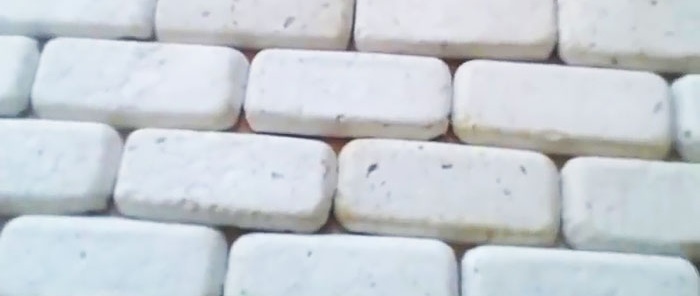
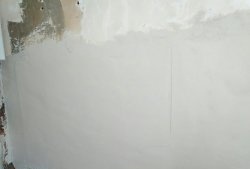
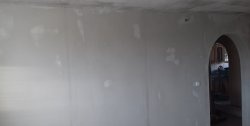
After final drying, the material is ready for use. The tiles lend themselves perfectly to finishing with paint or any finishing decorative compositions.It is best to glue it to the wall using drywall adhesive (Perlfix), tile adhesive or liquid nails.
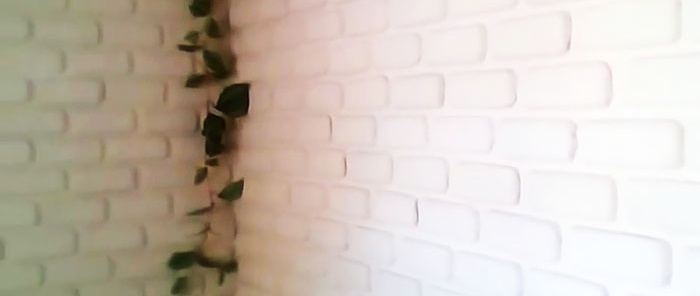
From such tiles you can create collages or background wall decoration, or decorate architectural elements, for example, false fireplaces, niches or columns. This is an excellent and practically free material for implementing interior decoration ideas!