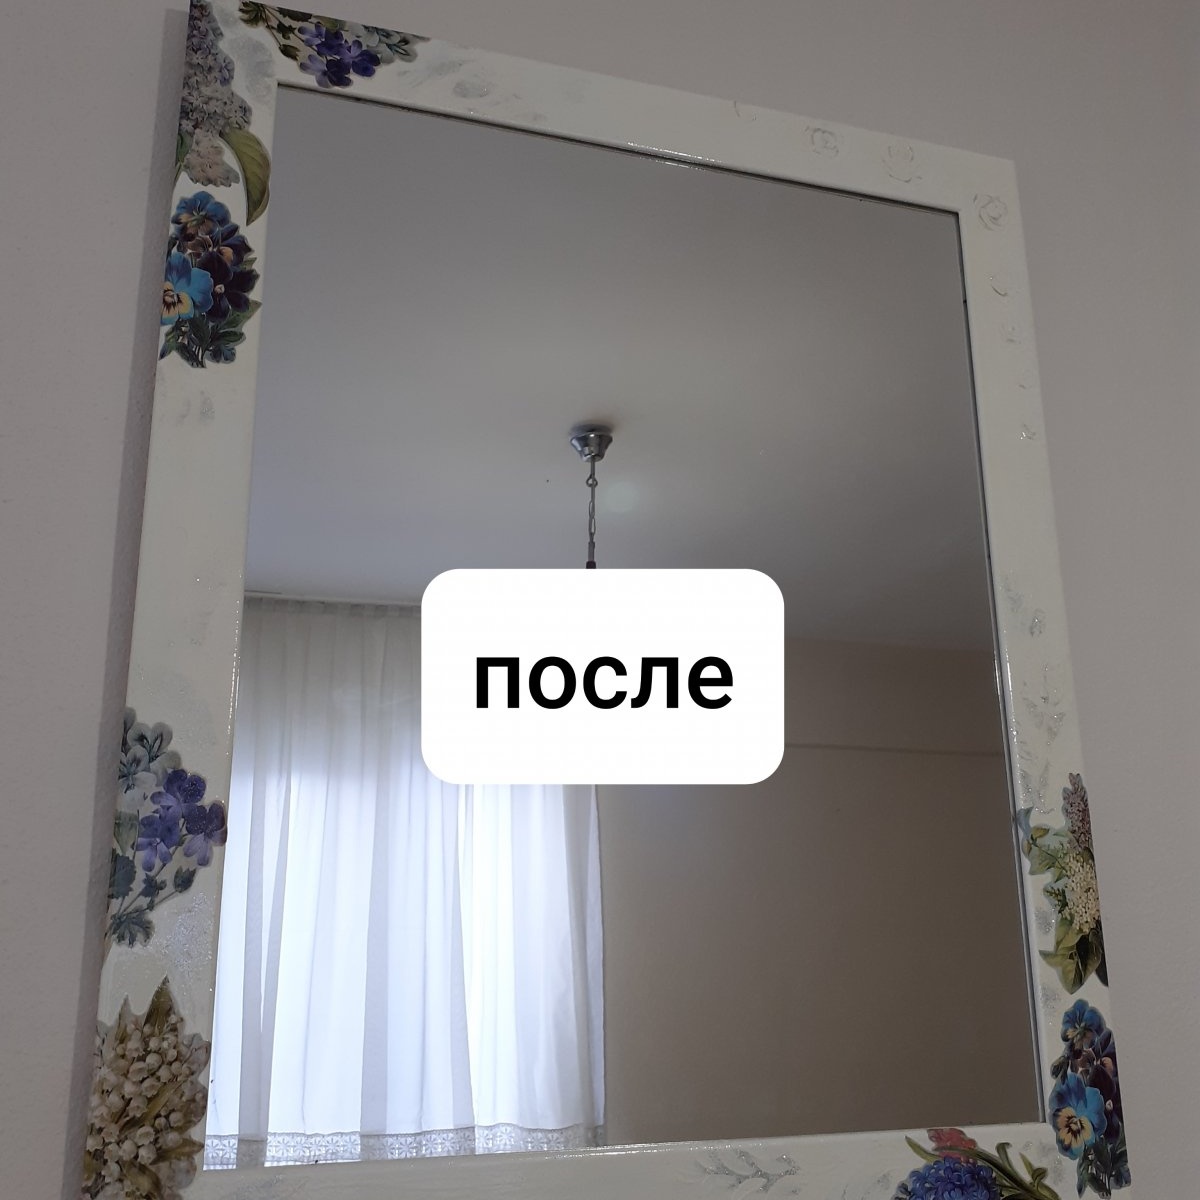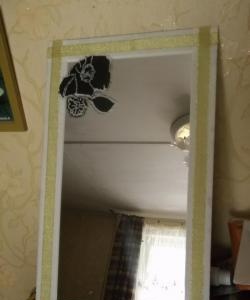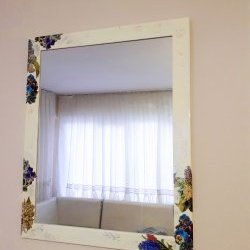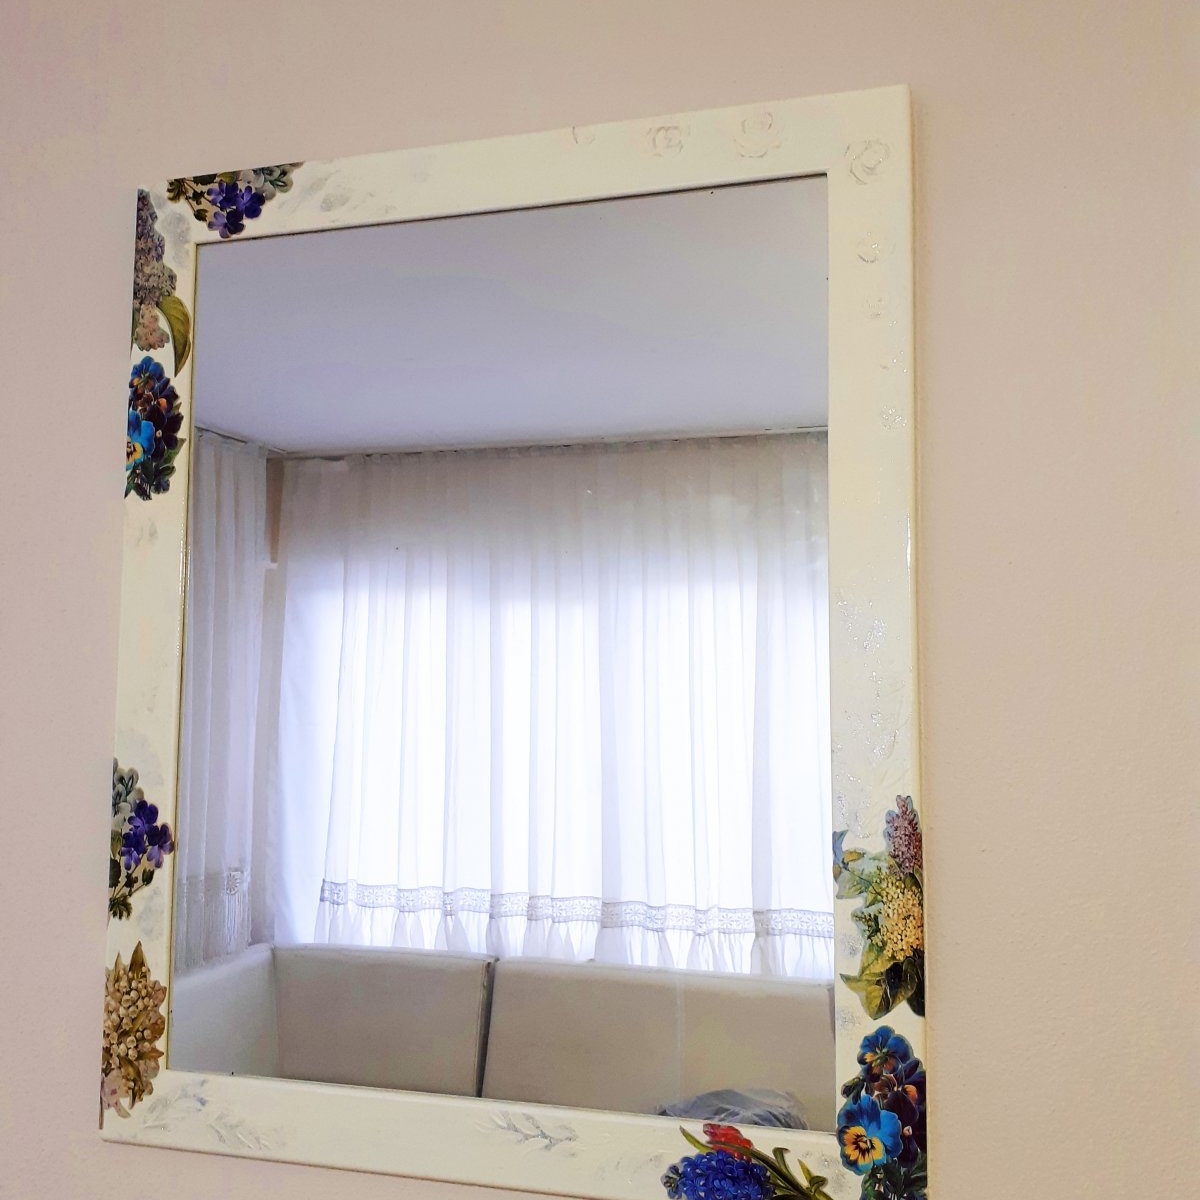
Mirrors are an integral part of the decor. But not everyone has an ordinary piece of furniture in an original frame. I’m sharing my personal experience of transforming a mirror bought at a flea market for mere pennies. Frame size 60 cm x 80 cm.

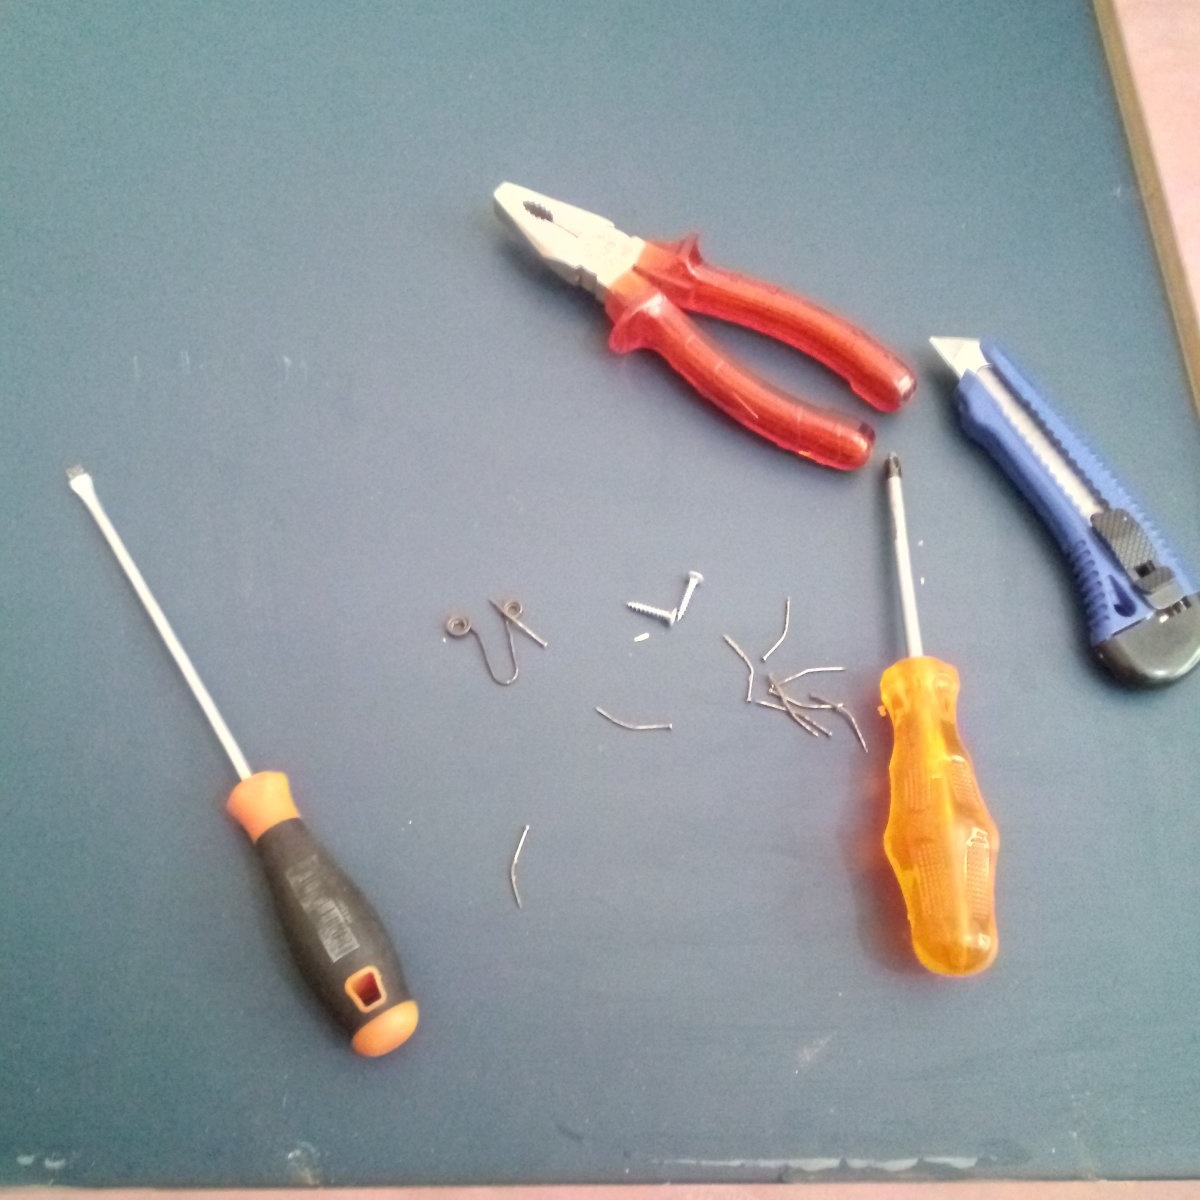
Materials and tools:
- straight screwdriver;
- stationery knife;
- hammer;
- thin nails;
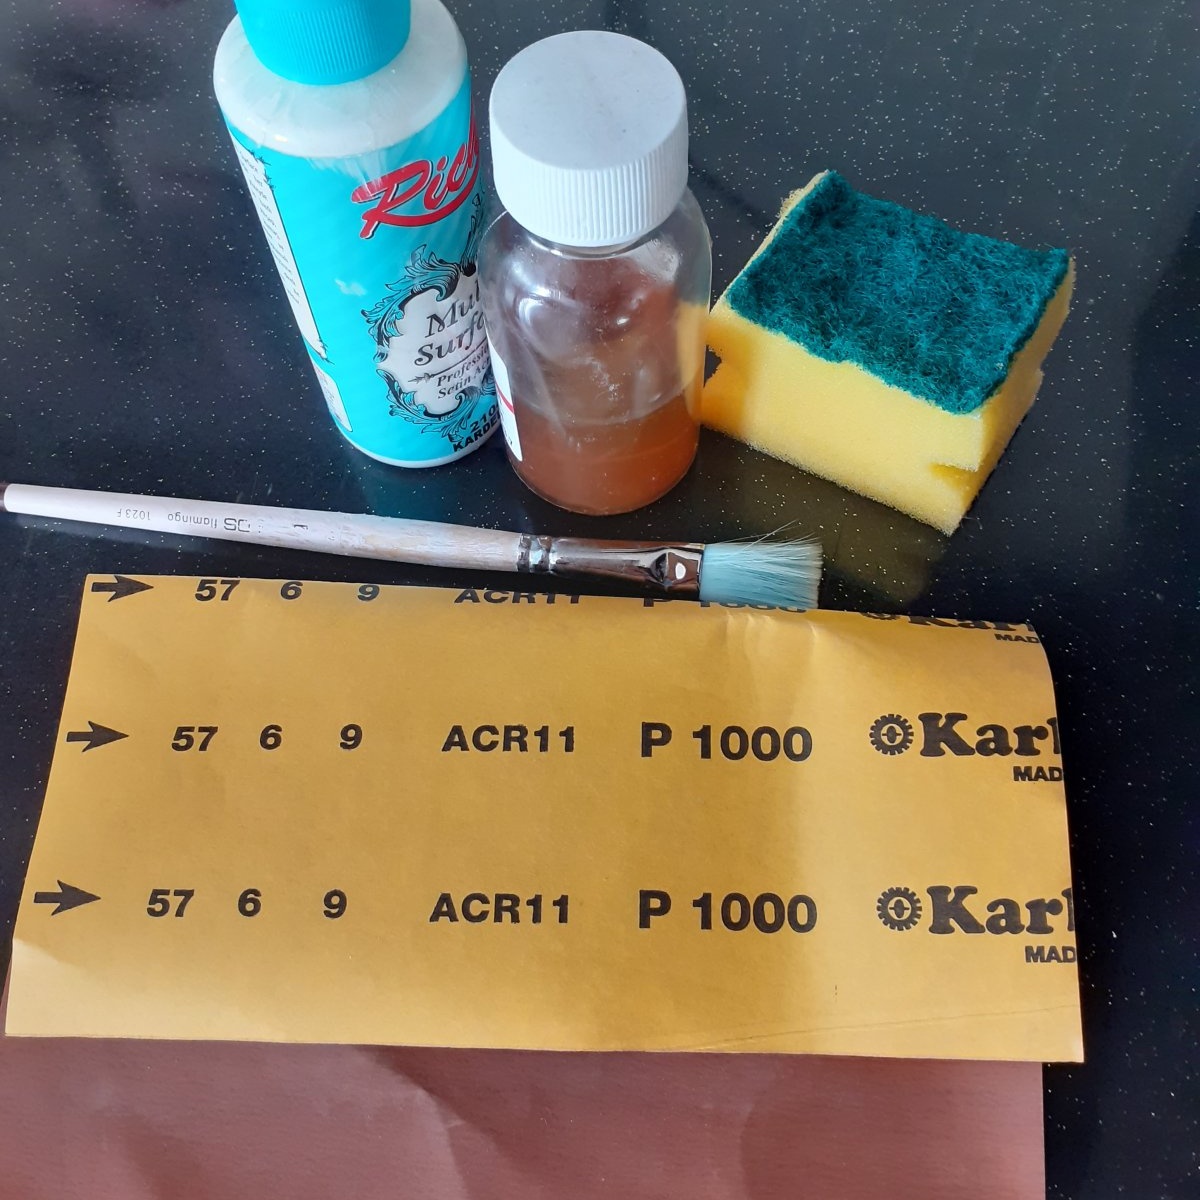
- white acrylic paint;
- sponge made from a dishcloth;
- brush;
- sandpaper 1000;
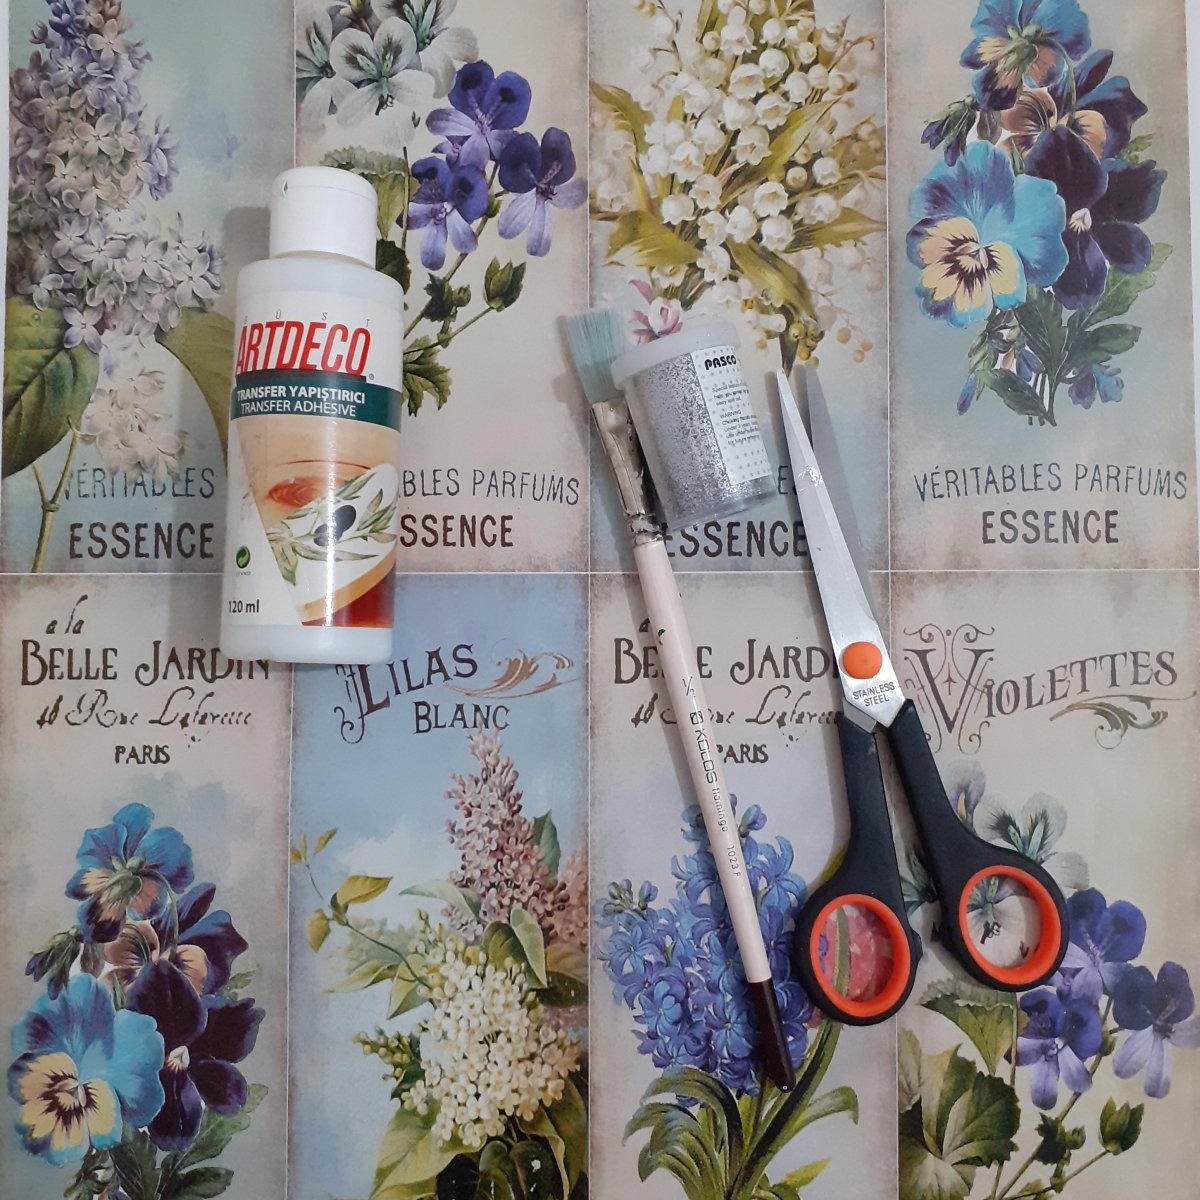
- glue for decoupage;
- decoupage blank;
- glitter;
- oil varnish.

Preparing for coloring:
1. Carefully remove the nails to remove the mirror from the frame.
2. On the back of the frame is old glue that was used to attach it to something. I use a utility knife to remove any remaining glue.
Now you can paint. For this, I used acrylic paint, the jar of which says 5 in 1. As the seller in the store explained, such a coating does not require primer and can easily be done without varnishing. There is no need to dilute it, the texture is dense and applies very well.

Coating
You will need to apply several layers of acrylic to paint over the old coating. It was not possible to do it well with a brush. I did two layers, which left visible uneven streaks.

To ensure the coating lays evenly, you must use a sponge instead of a brush. A regular dishwashing sponge will do.

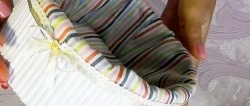
1. Apply a layer of acrylic with a sponge and let it dry. When “stuffing” the paint, press the sponge firmly against the surface so that the paint bubbles are smaller. The photo shows an example:
- if you press the sponge lightly;
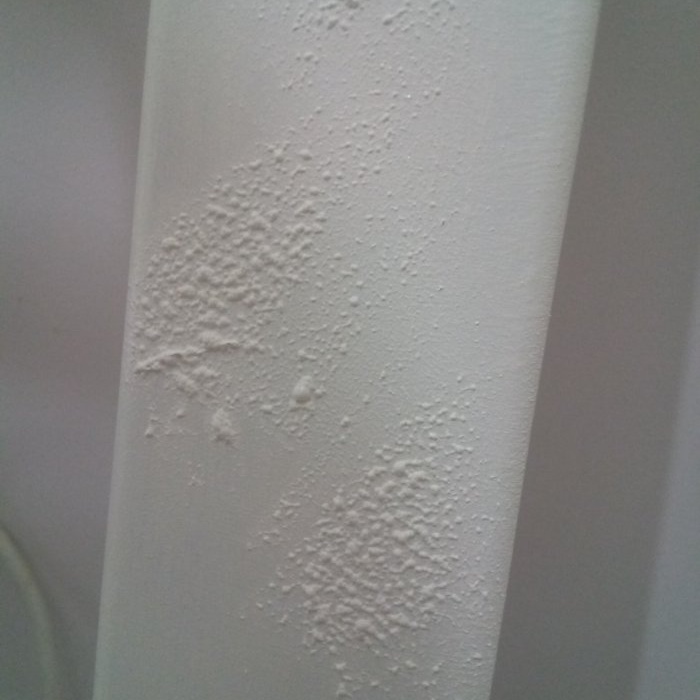
- if pressed tightly.


2. After the paint has completely dried, I go through the bubbles with sandpaper and level the surface. Then I apply the next layer. Total 5 layers.

3. I sand the last layer before decorating.
Decoration:
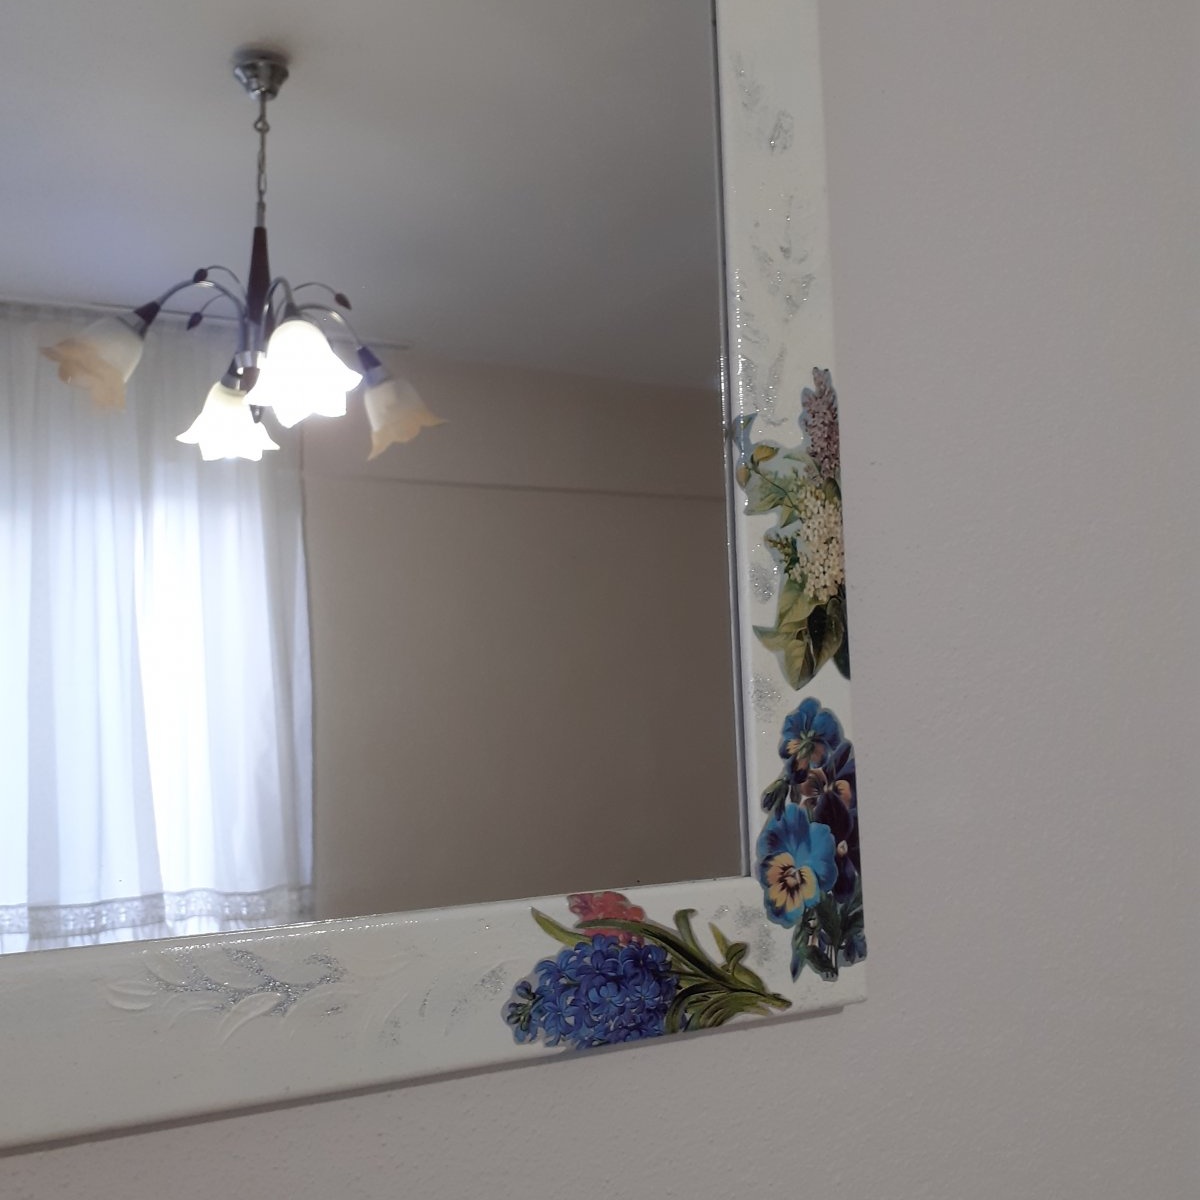
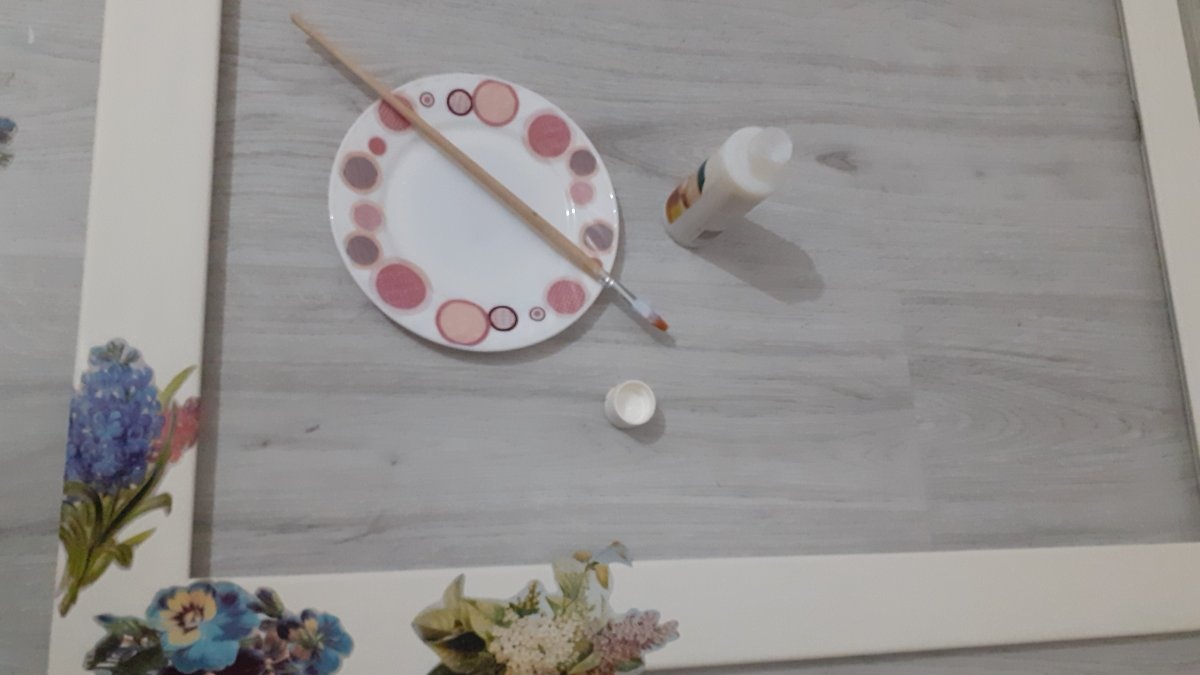
1. I cut out fragments of flower bouquets from decoupage blanks.

2. First I try on how the bouquets will be placed on the frame.
3. I grease the paper with glue and apply it to the designated places. I carefully level it and pass the brush with glue over the surface of the sticker.
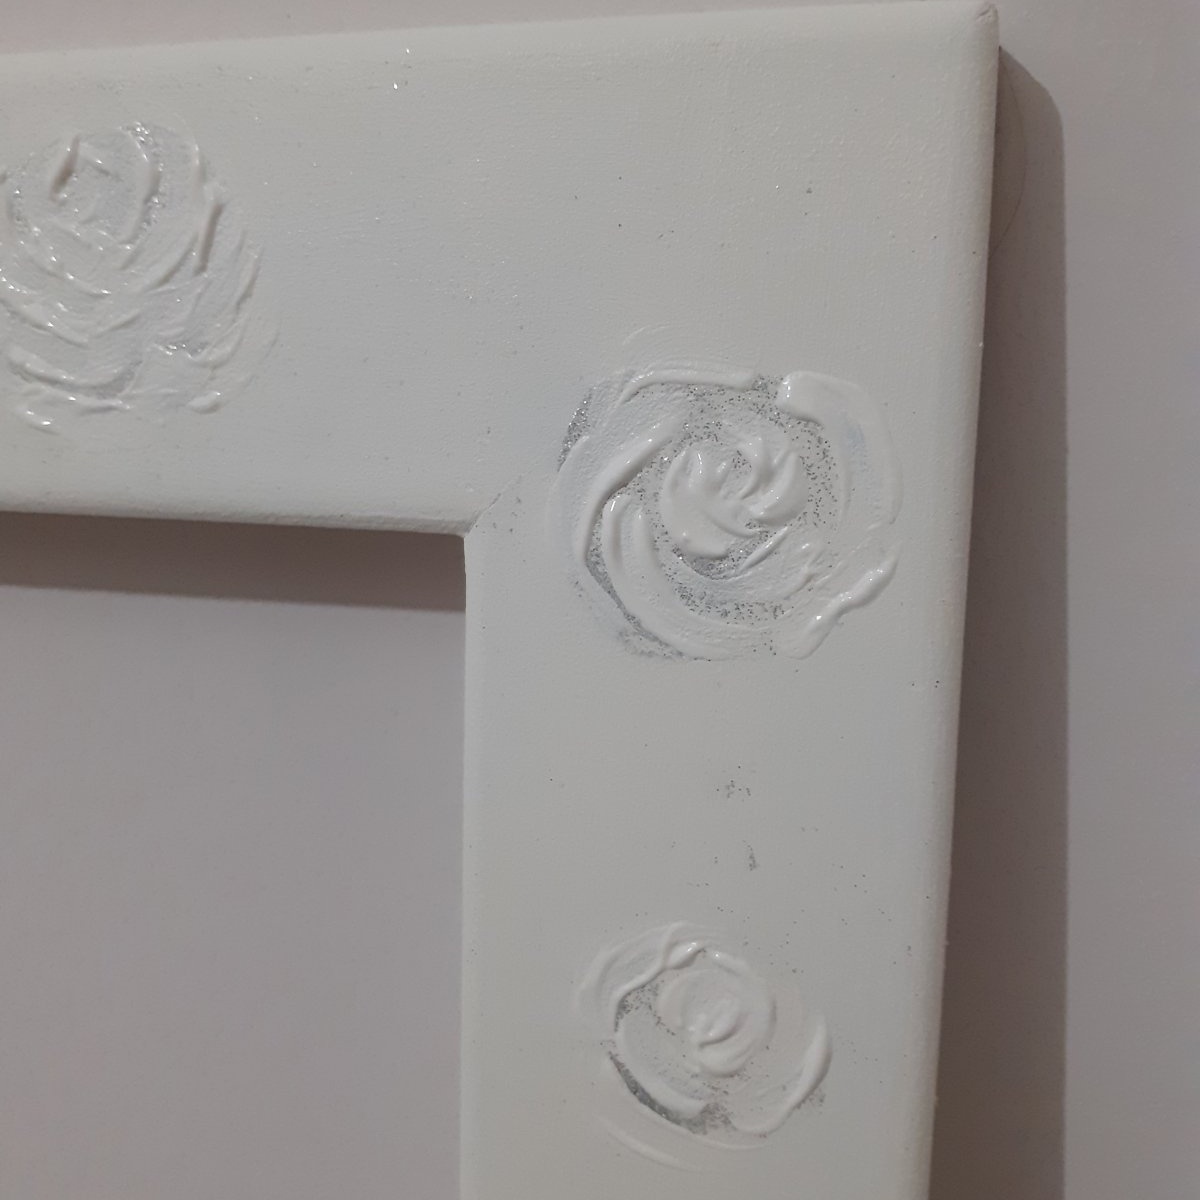
4. For glitter I use decoupage glue. I sprinkle glitter on the places where I applied glue. After the glue has dried, I make drawings on the glitter with paint.
Before varnishing, I let the decor dry completely.
Do not force dry. Drying the product with a hairdryer in front of heating devices reduces the service life of the coating.
Decoupage may crack. If this is not the master’s idea, for example, craquelure will look untidy.
Varnish coating
For this I use oil painting varnish.
It is more difficult to work with than acrylic:
- takes a long time to dry;
- has a tint;
- divorces may remain.
I like this quality of coverage. Oil varnish has a lacquered surface, shine and a yellowish color that suits the chosen design. I also chose acrylic that was not snow-white, with a yellowish tint.
I cover the frame in 3 layers.Each layer must dry on its own, this takes 2-3 days.
Tips for applying varnish:
- Do not put a lot of varnish on the brush.
- Move the brush gently and smoothly.
- If any bubbles remain, they can be removed with a brush by brushing the tips of the bristles vertically towards the surface.
After all the work is completed, I insert the mirror into the frame. To do this I will need a hammer and thin nails. If the mirror doesn't fit well, use hot glue or silicone to secure it.
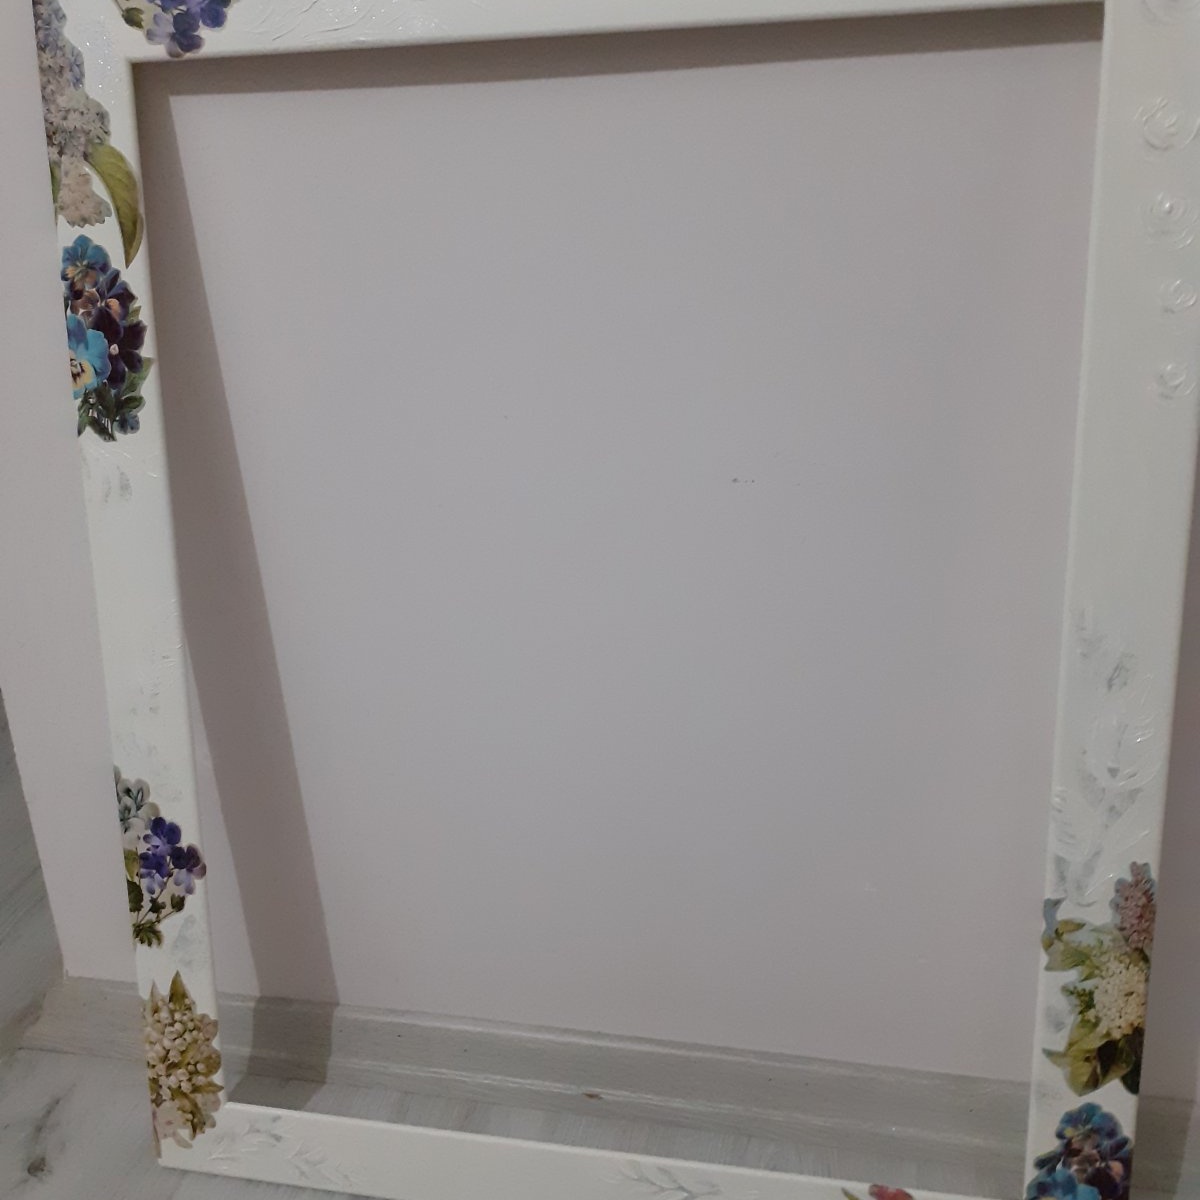

The Provence style mirror is ready and can be hung on the wall.