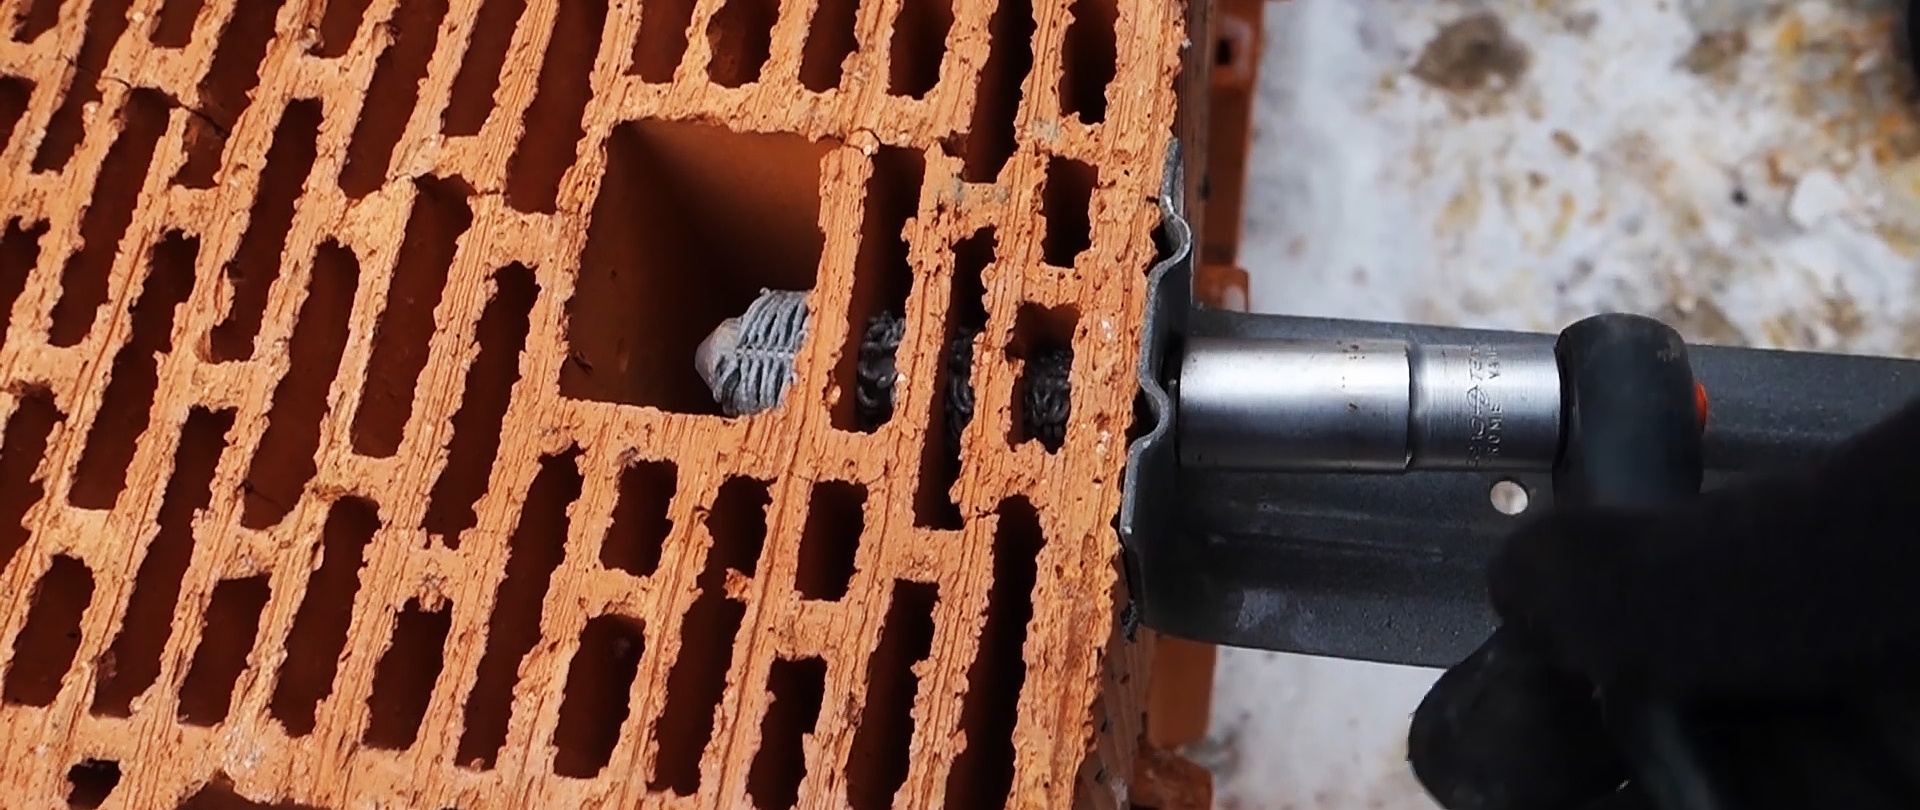
Ceramic blocks have a hollow cellular structure. Therefore, ordinary fasteners are not held in them. The block can only hold a chemical anchor, and only one installed strictly according to technology.
What you will need:
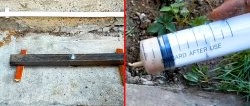
- Gun for sealants;
- hammer drill with drill;
- chemical anchor in a tube;
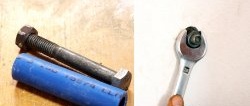
- kit for chemical anchor (stud, nut, mesh sleeve).
Chemical anchors and other fasteners on AliExpress at a discount - http://alii.pub/62hlsp
Chemical anchor installation process
It is necessary to drill a hole in the block wall corresponding to the diameter of the purchased kit for the chemical anchor. To do this, use a hammer drill in impact mode and a concrete drill.
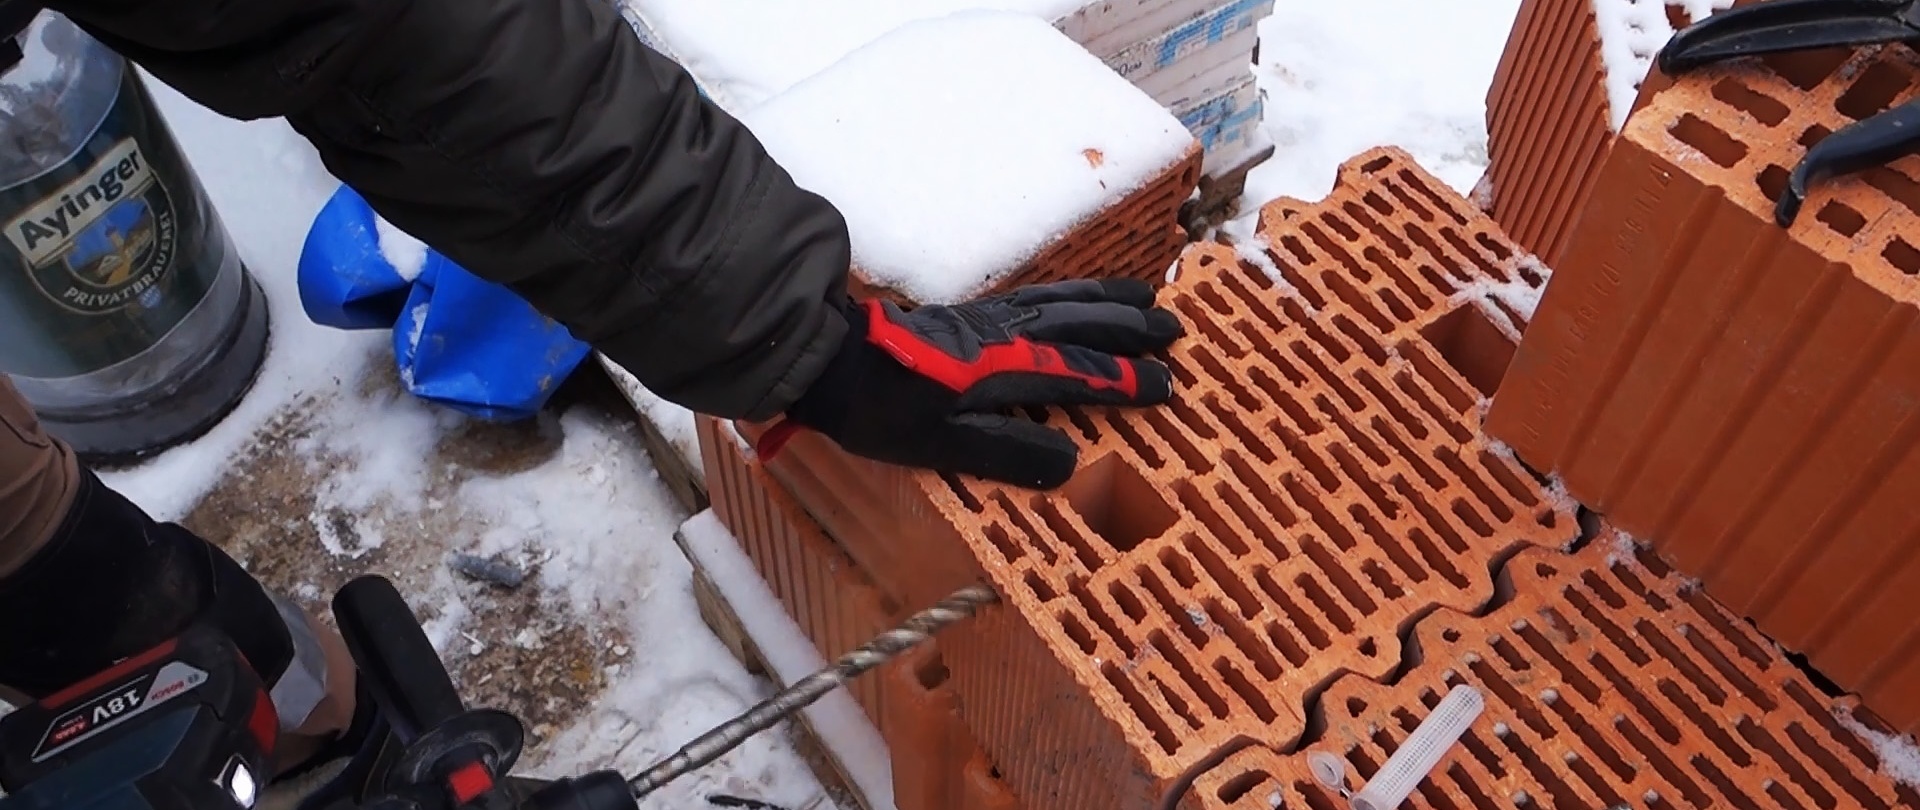
A mesh sleeve is inserted into the hole. If it has a hinged cap, then it needs to be opened.
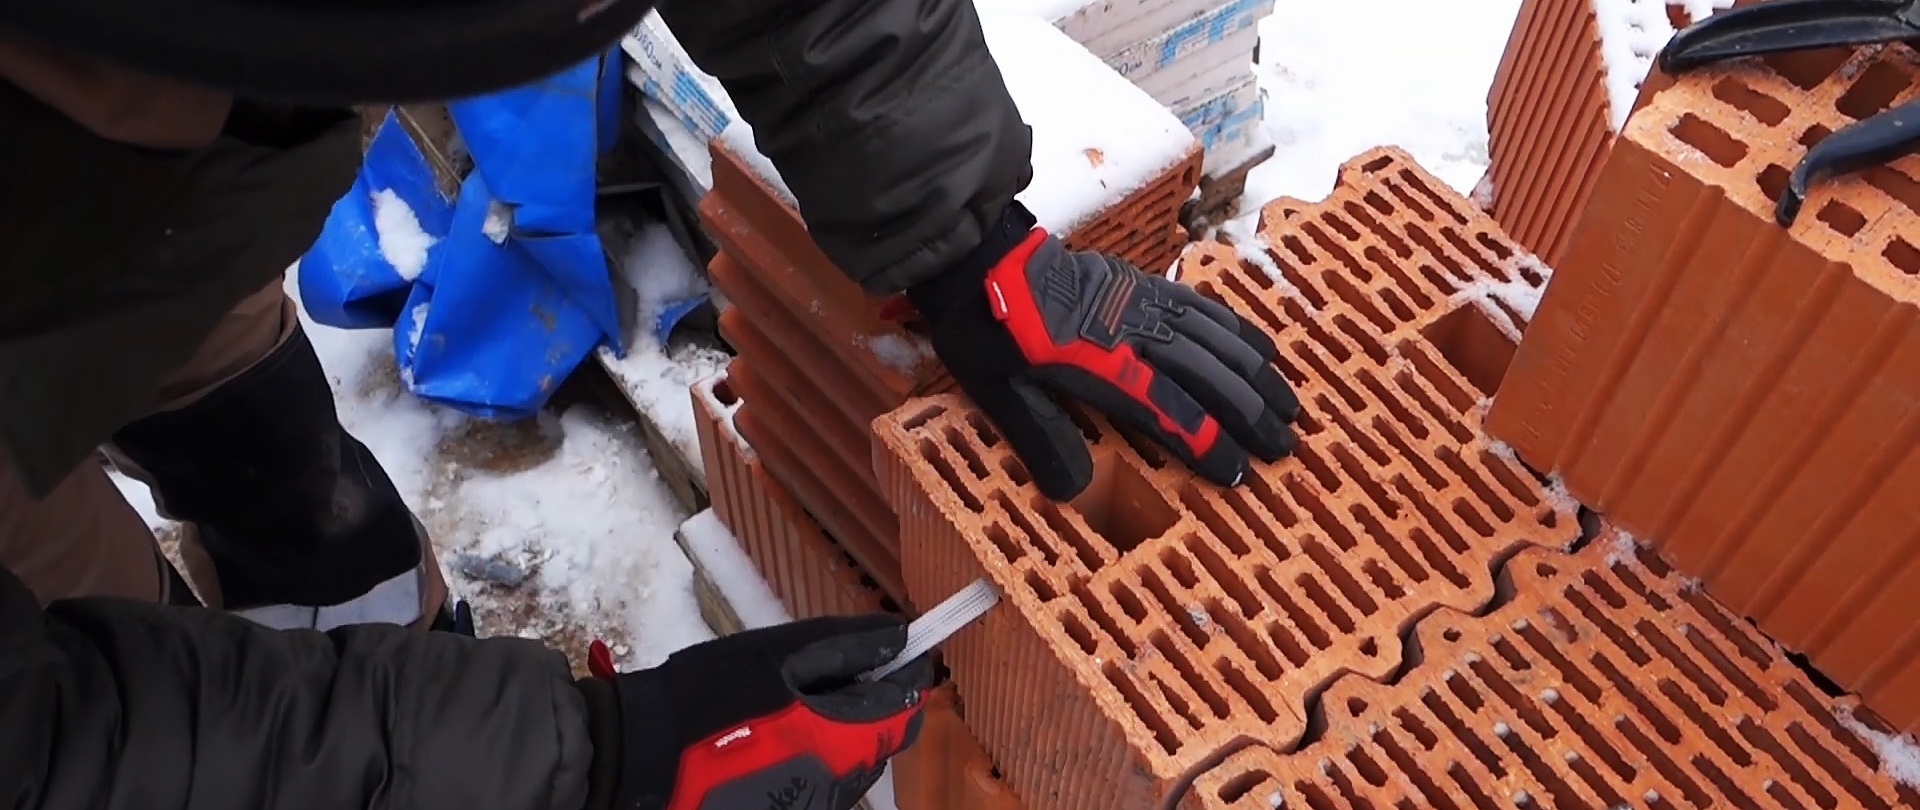
Then the compound is filled into the sleeve using a sealant gun. The tube spout is first inserted all the way, and as it is squeezed out, it is pulled out. This is necessary for uniform filling.
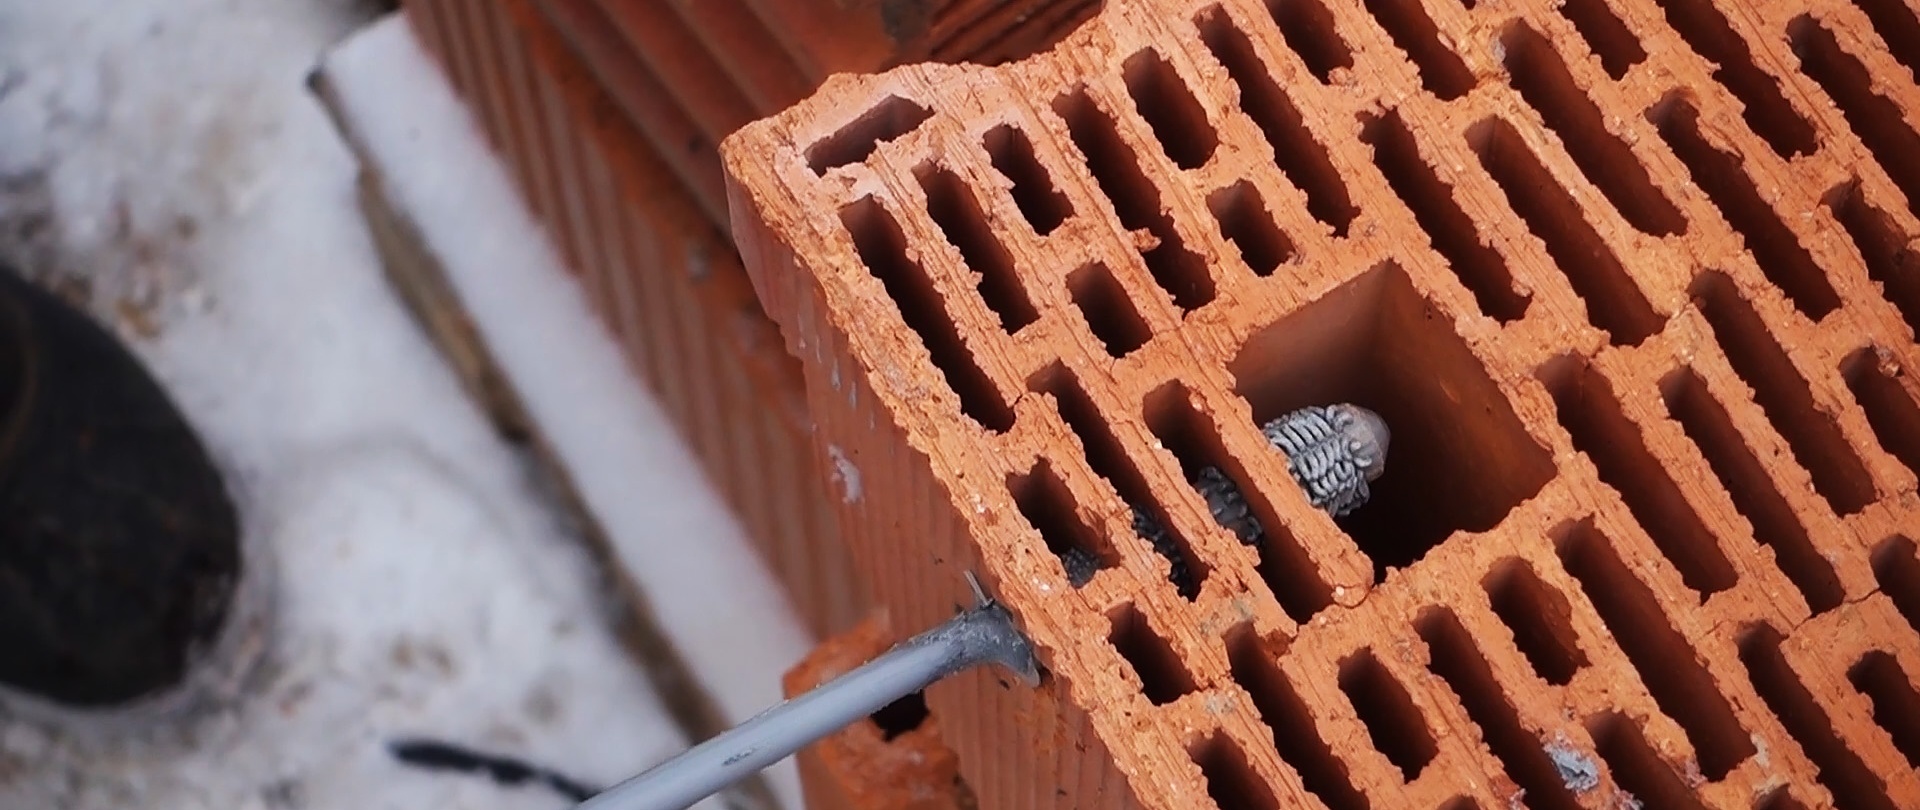
After this, the sleeve cap is closed and the pin is inserted into it until it stops. It will push part of the composition through the sieve into the cells of the block, thereby ensuring uniform binding of the anchor to each of them.In this form, everything is prepared for 2 hours or more, if indicated in the instructions.
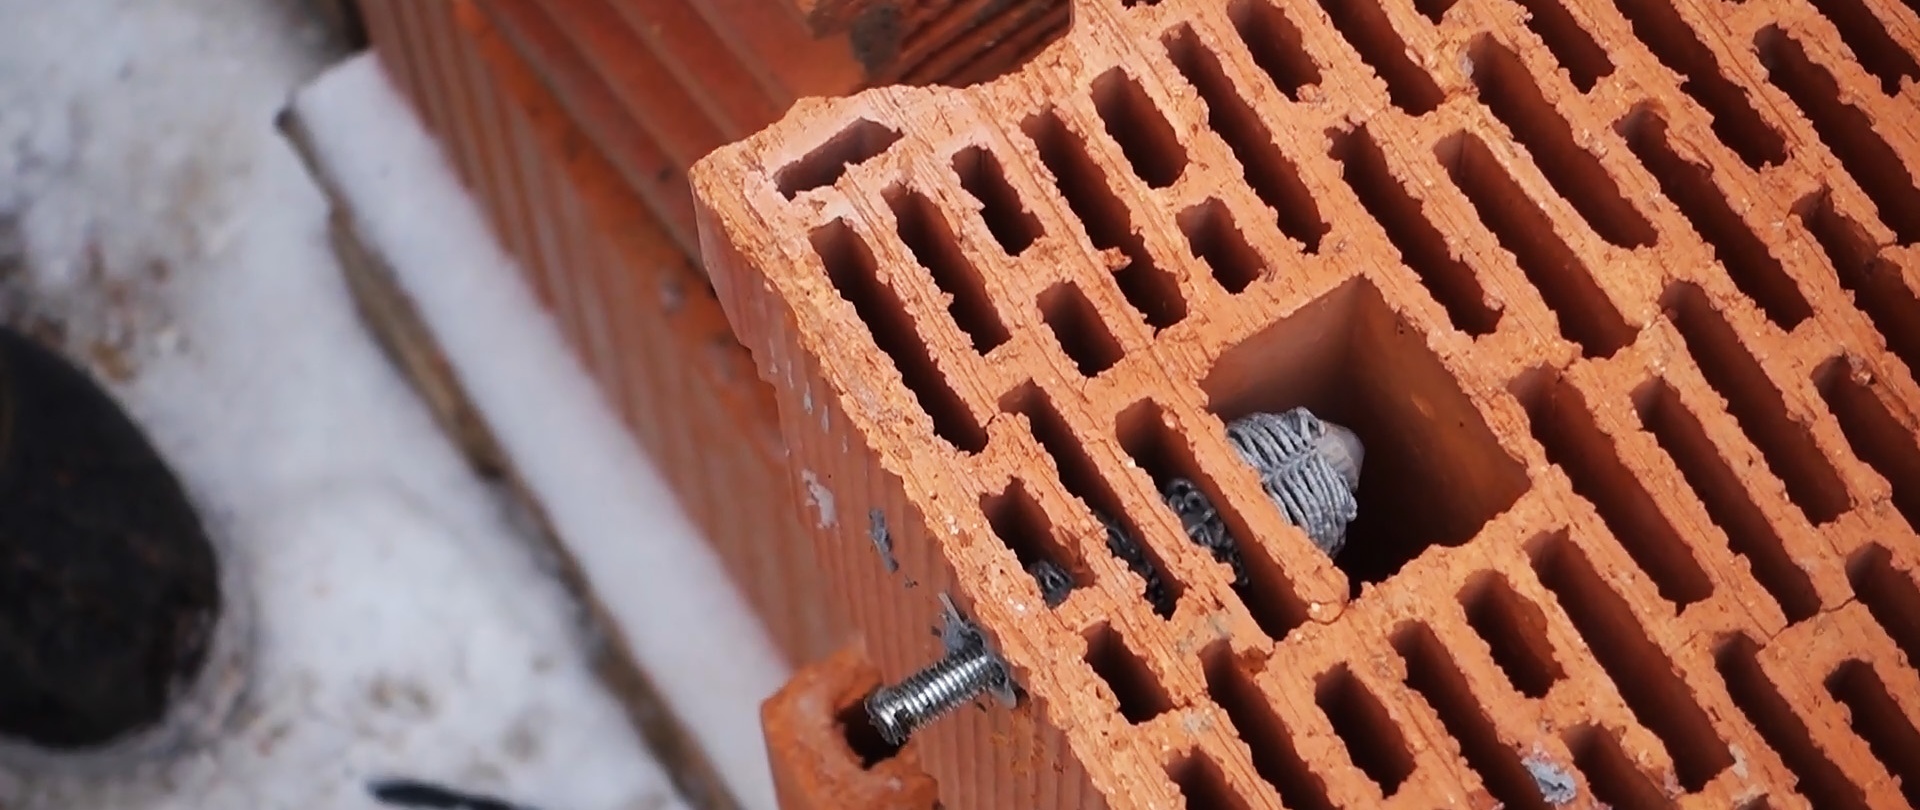
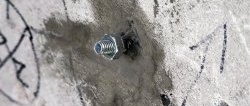
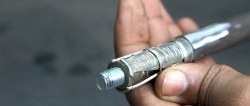
After a couple of hours, the chemical anchor hardens and can be used for its intended purpose. If the fastening is carried out from the side of the facade, then it is advisable to place a paronite gasket to cut off the cold bridge. The nut should only be tightened by hand, as the wrench pulls out the stud along with the anchor, destroying the thin ceramic partitions.