Do it yourself
Life hacks, master classes, useful tips, recipes.
home » Electronics » How to measure current up to 100 A or even up to 1000 A with a regular multimeter

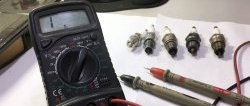
Ordinary multimeter, available to almost any radio amateur, is capable of measuring current only up to 10 Amperes. But what if you need to measure a larger current, several times and even tens of times greater than this value? Everything is very simple and now you will see it. Using this life hack, you can measure almost any current using a regular Chinese tester.

You will need the following:

The article will discuss how to measure current up to 100 A, hence the composition of the components.

  • Single-core wire with a cross-section of 1.5 sq. mm.
  • Laboratory block.
  • Wires with alligator clips.
  • Load in the form of incandescent lamps and an electric motor.

Multimeters on AliExpress at a discount - http://alii.pub/62t1zq

How to measure any current with a regular multimeter

The essence of the method is that we ourselves will make an ammeter from a shunt and a microvoltmeter, which will act as multimeter.

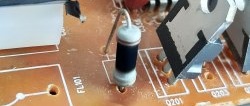
We measure out a piece of single-core copper wire. A piece of 20 cm will be enough.

Using a utility knife, remove the insulation from it.

We take the wires with clamps and connect them to the multimeter. This is not necessary, just for the convenience of moving the contact along the bus.

The elementary diagram will look like this:

The shunt is connected to the load break. Multimeter is set to millivolt measurement mode - “200 mV”.

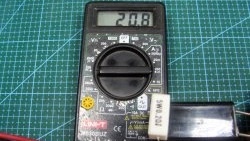
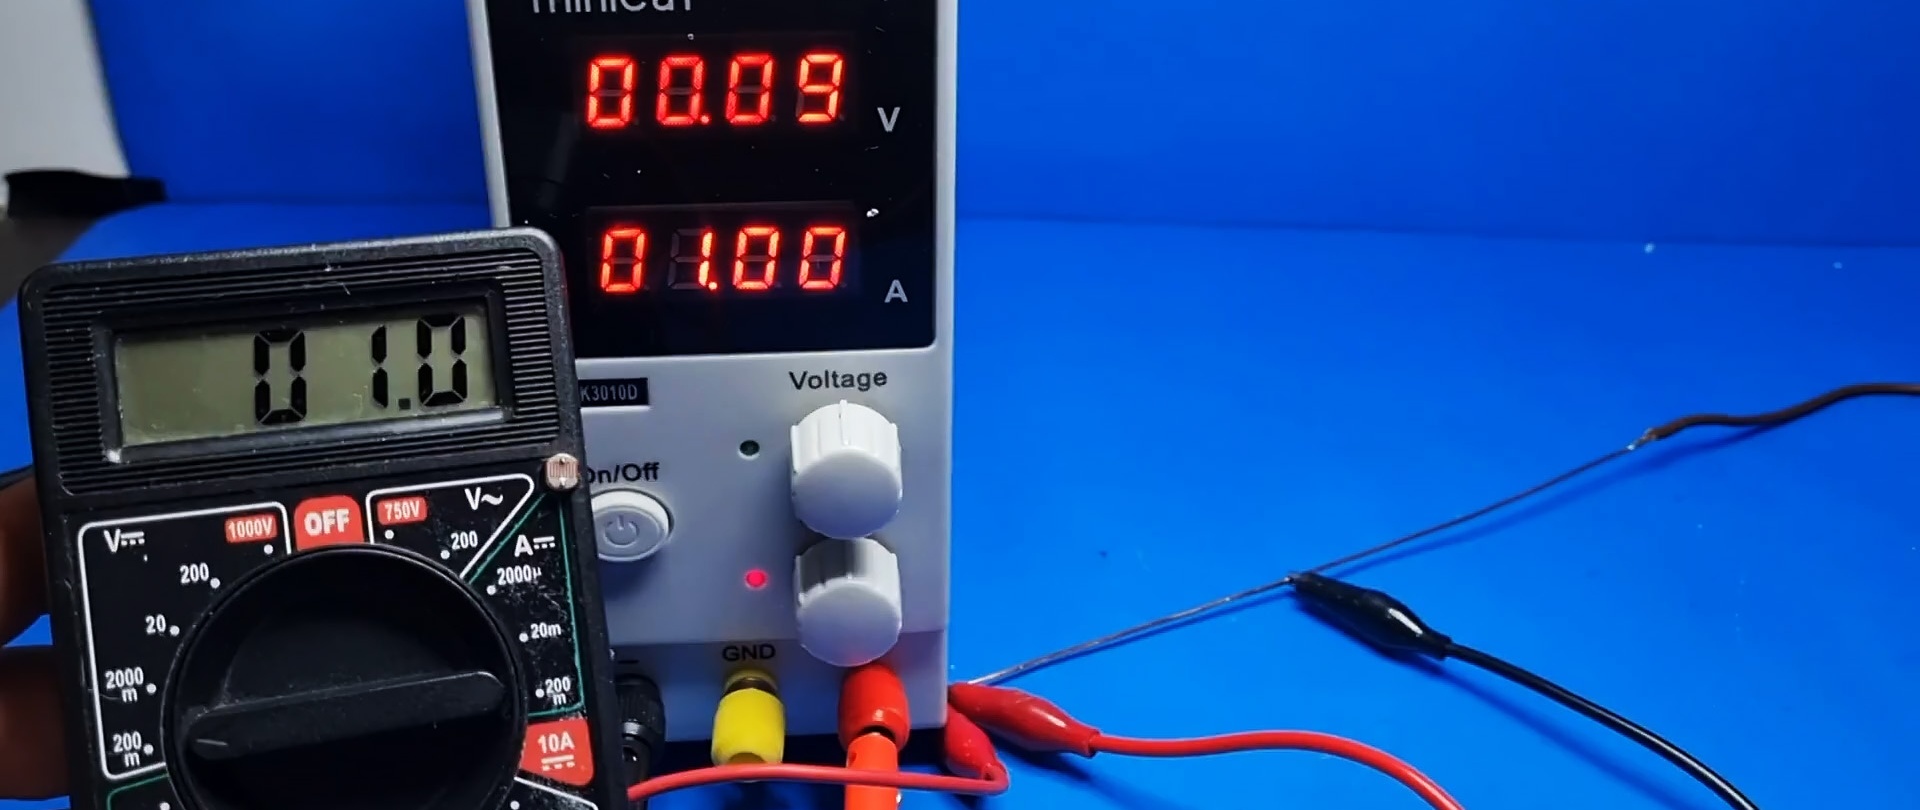
Next we perform calibration. We set the current on the laboratory source to 1 A.

And by moving the clamp along the shunt we achieve equal readings on the source and the multimeter.

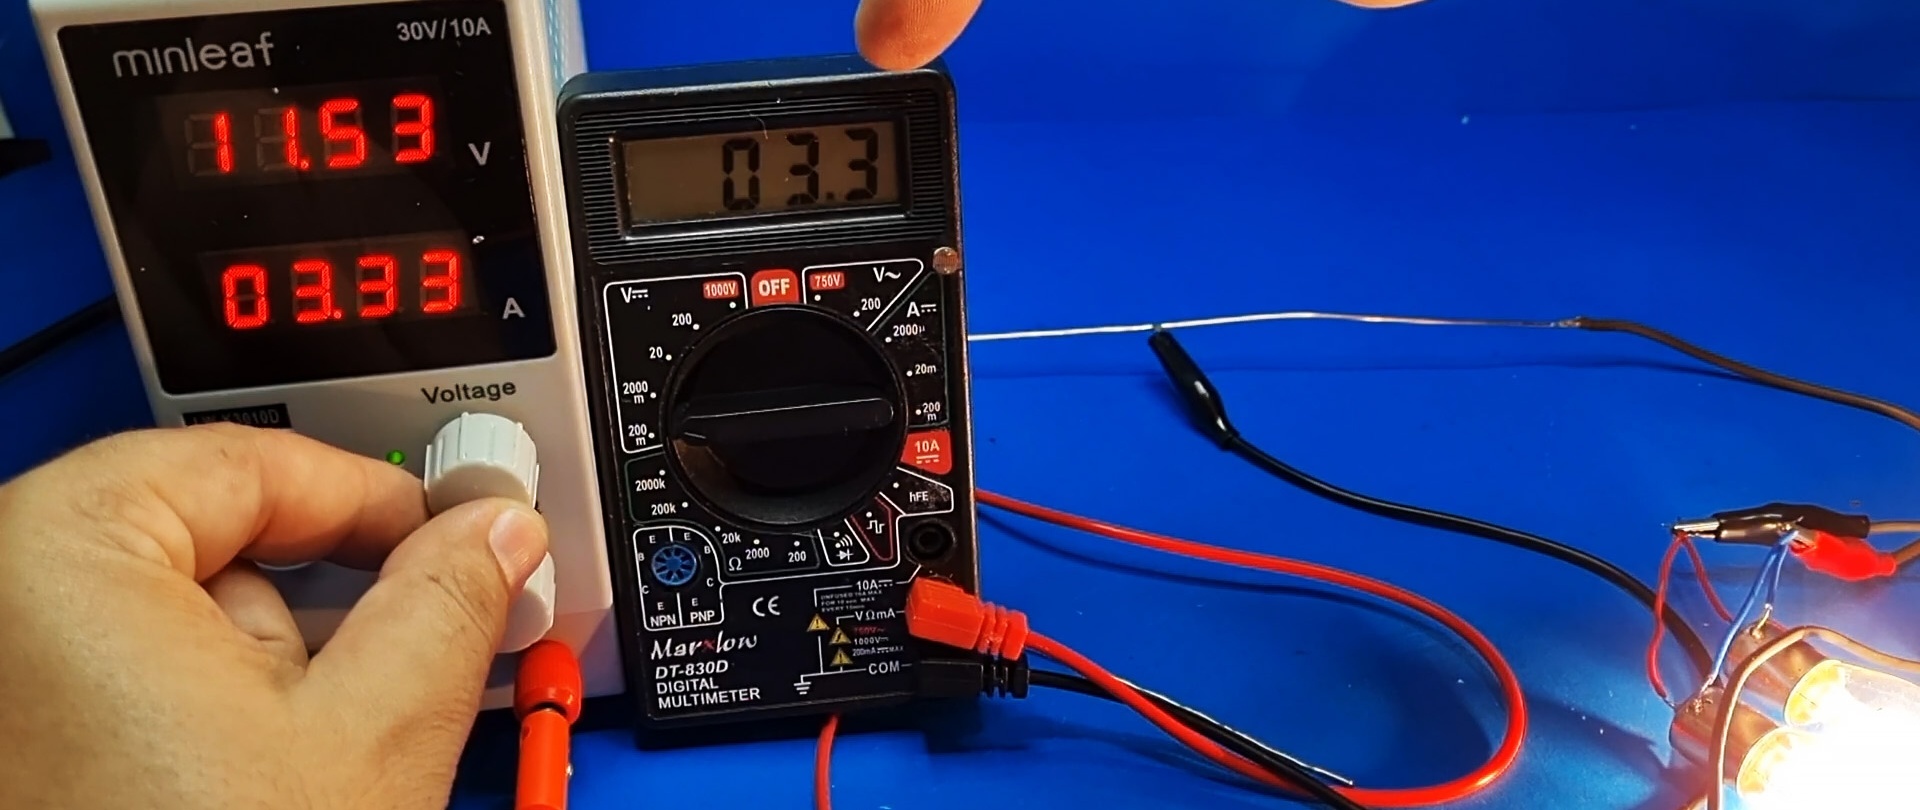
To retest, set the unit to 10 A and check the readings on the tester.

Everything works fine. To check, let's test our 100 A ammeter on a load.

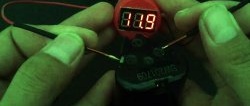
The readings are the same. Finally, we’ll put a “short” one on the old battery.

As a result, the short-circuit current was approximately 80 A.

In conclusion, I would like to say that any current can be measured using this method; you only need to select the shunt cross-section in accordance with the strength of the current being measured.

Watch the video

How to make a display backlight for Chinese multimeter - https://enn.washerhouse.com/7285-kak-sdelat-podsvetku-displeja-dlja-kitajskogo-multimetra.html

come back
Comment
  • bowtiesmilelaughingblushsmileyrelaxed relaxedsmirk
    heart_eyeskissing_heartkissing_closed_eyesflushedrelievedsatisfiedgrin
    winkstuck_out_tongue_winking_eyestuck_out_tongue_closed_eyesgrinningkissingstuck_out_tonguesleeping
    worriedfrowninganguishedopen_mouthgrimacingconfusedhushed
    expressionlessunamusedsweat_smilesweatdisappointed_relievedwearypassive
    disappointedconfoundedfearfulcold_sweatperseverecrysob
    joyastonishedscreamtired_faceangryragetriumph
    sleepyyummasksunglassesdizzy_faceimpsmiling_imp
    neutral_faceno_mouthinnocent
4 minus one =
Comments (2)
  1. Oleg
    #1 Oleg Guests 29 October 2021 17:06
    2
    Copper has a high temperature coefficient of resistance; some devices used temperature sensors made of copper wire. Therefore, the most ridiculous proposal is to use copper wire as a shunt. When the temperature changes, such a device will give a large error. A more stable shunt will be made from available nichrome, which can be taken into several parallel conductors to pass a large current. Constantan will give even better results in terms of stability, and the best will be manganin, this is an alloy that is used for the manufacture of exemplary precision resistances and shunts.
  2. Stepan
    #2 Stepan Guests November 9, 2021 08:29
    1
    A correctly executed shunt should not heat up noticeably, so it can be made of steel. The only question is the geometric dimensions of the shunt. 5-10 degrees of heating will give a tiny error, lower than that of the digital device itself (+/- 2 units of the last digit). Even some factory shunts are not made of the same metals recommended by the previous commentator.

A method for learning to weld without consuming electrodes with your own hands

Motion sensor installation and upgrade | Do it yourself

Painting from scrap materials | Do it yourself

Computer homemade products | Page 7 | Do it yourself

«Do it yourself - with your own hands» - a site of interesting homemade products made from scrap materials and items at home. Step-by-step master classes with photos and descriptions, technologies, life hacks - everything a real master or just a craftsman needs for needlework. Crafts of any complexity, a large selection of directions and ideas for creativity.

We recommend reading

Washing machine error codes