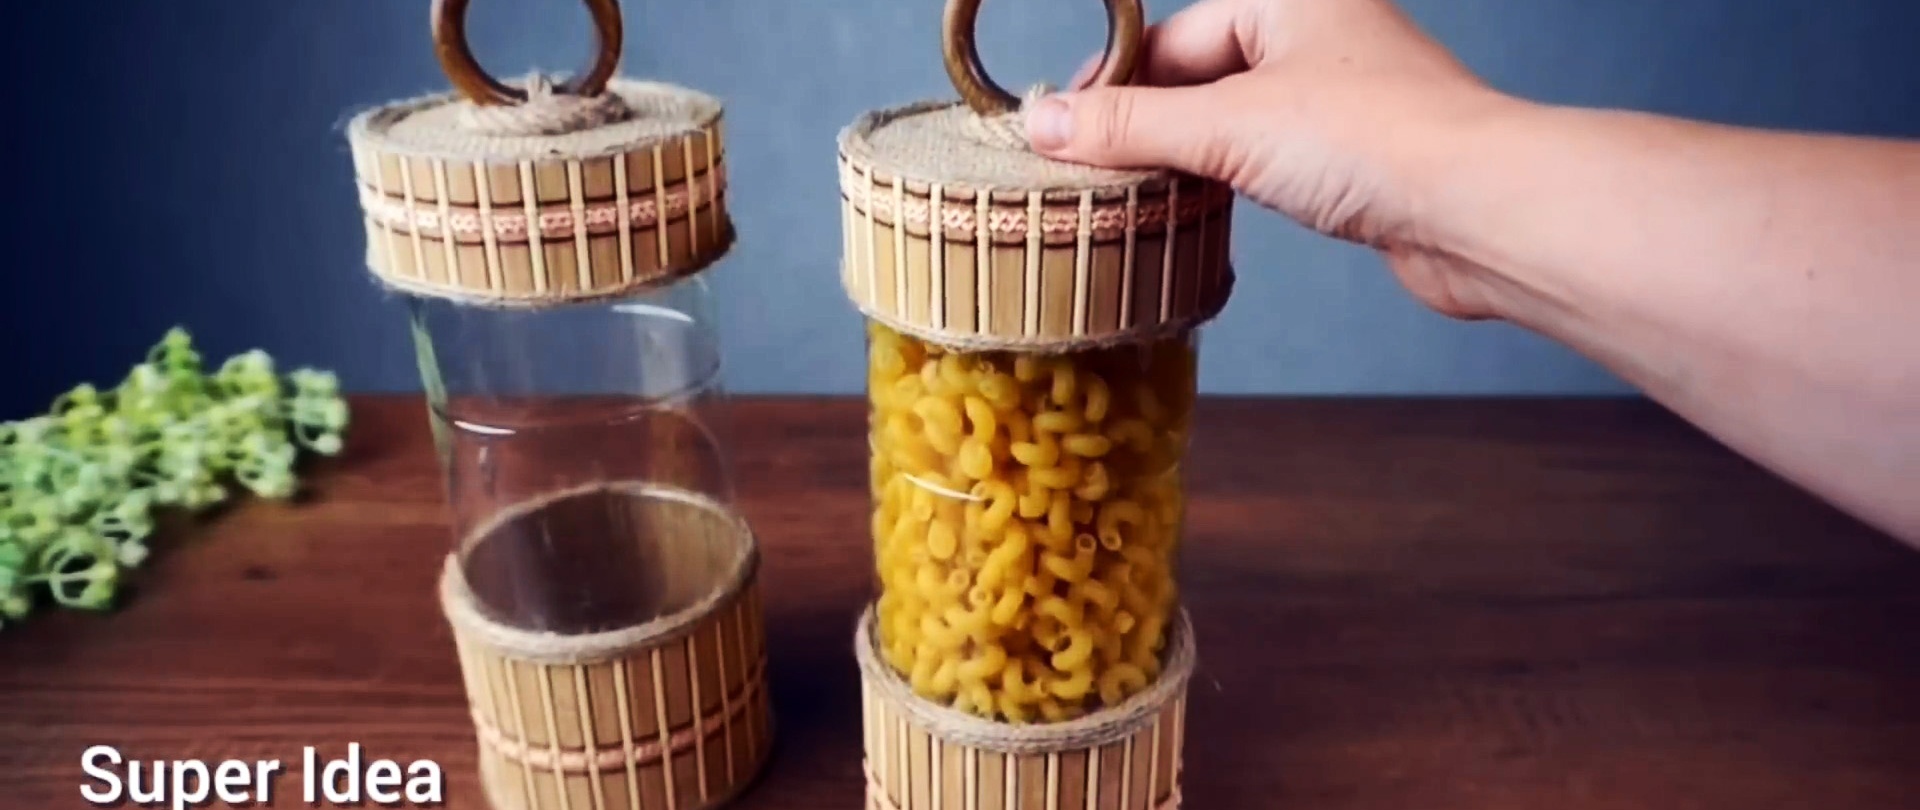
Crafts made from plastic bottles occupy a special place in Handmade. Why special? There are just so many options for using them that you could write a book comparable in volume to the Great Soviet Encyclopedia. You can also remember “Crazy Hands” from the program “While Everyone is Home.” So we propose to make a very beautiful and useful thing with your own hands from an ordinary plastic bottle of a carbonated drink. This will be a food container. Let's look further.

Making a container from a plastic bottle with your own hands
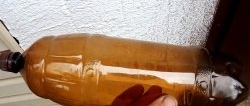
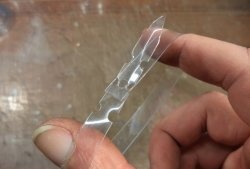
Let's take a bottle made of unpainted transparent plastic. However, it all depends on your preferences. You can also use colored plastic. Carefully cut off the neck.
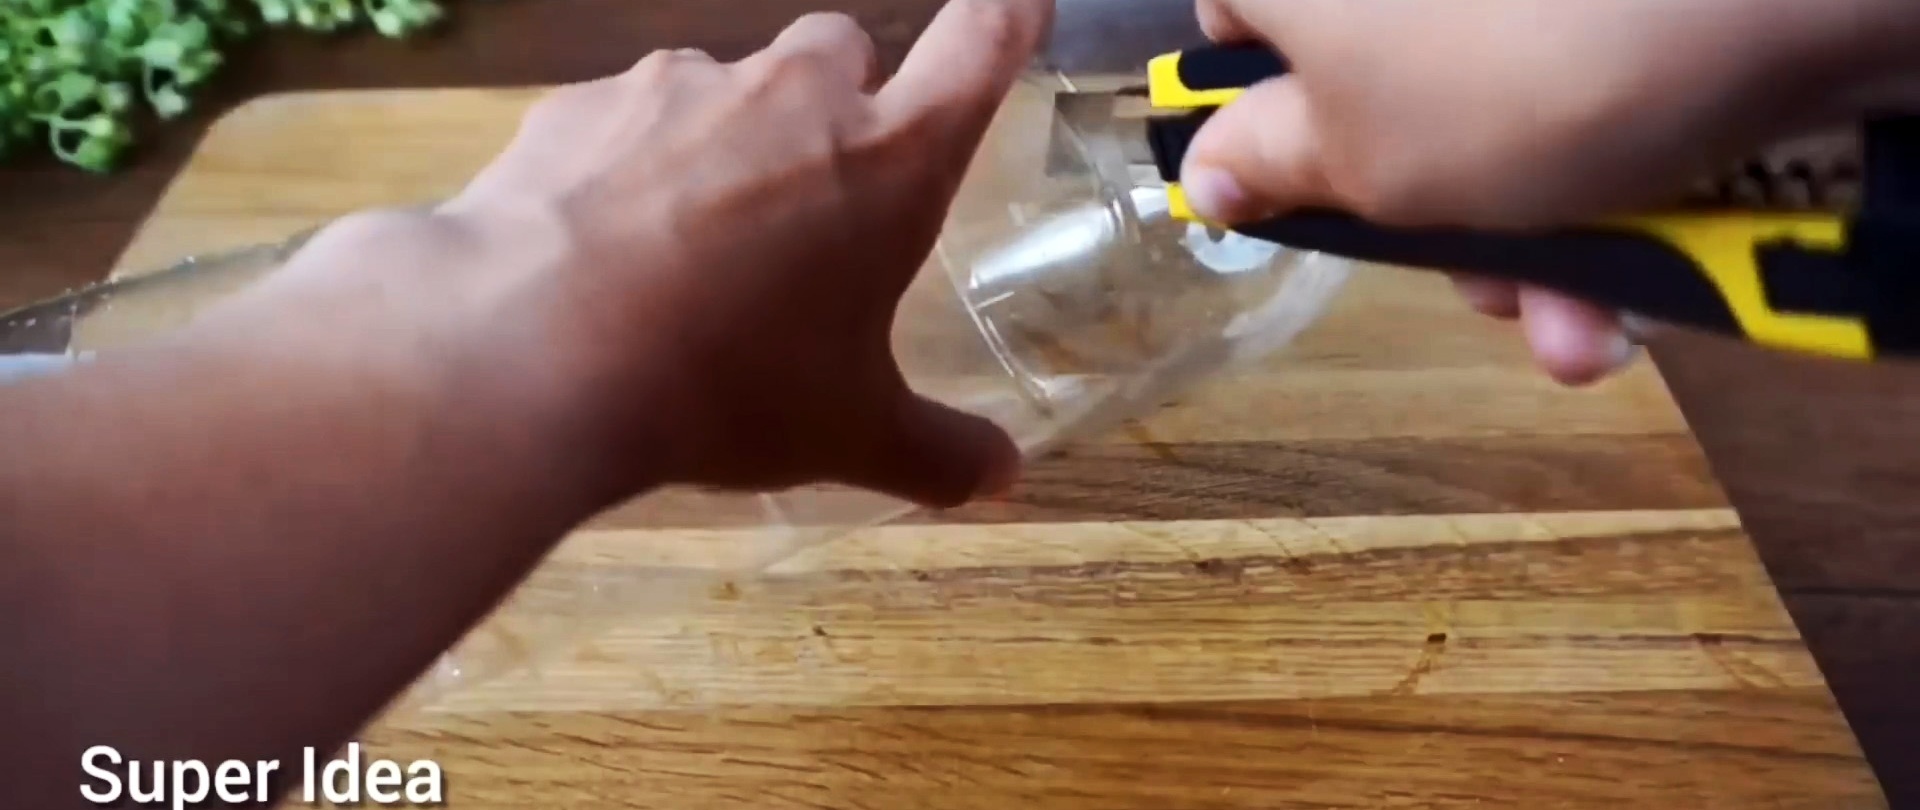
The cutting line depends on the volume of the container you want to make. If you need a large one, cut it as close to the neck as possible; if it’s small, cut it closer to the bottom. We process the cut line with a hot iron.

Preferably through a sheet of paper so that the plastic does not stick to the sole of the iron.When heated, the cut will be rounded, will look neat and minimize the risk of injury from it.
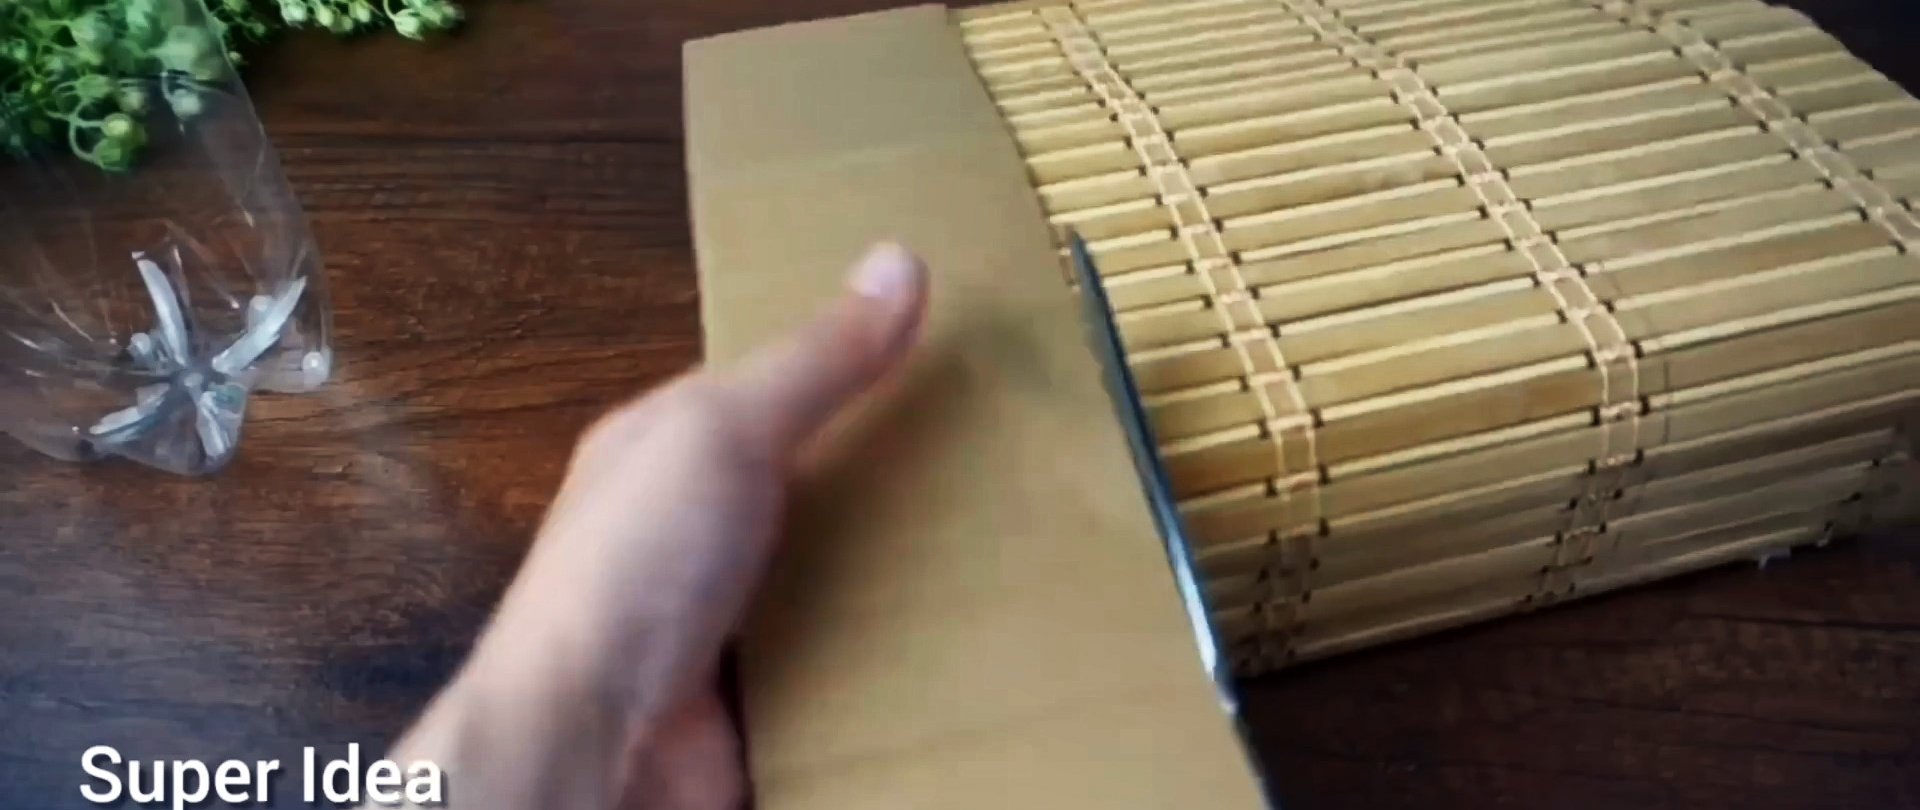
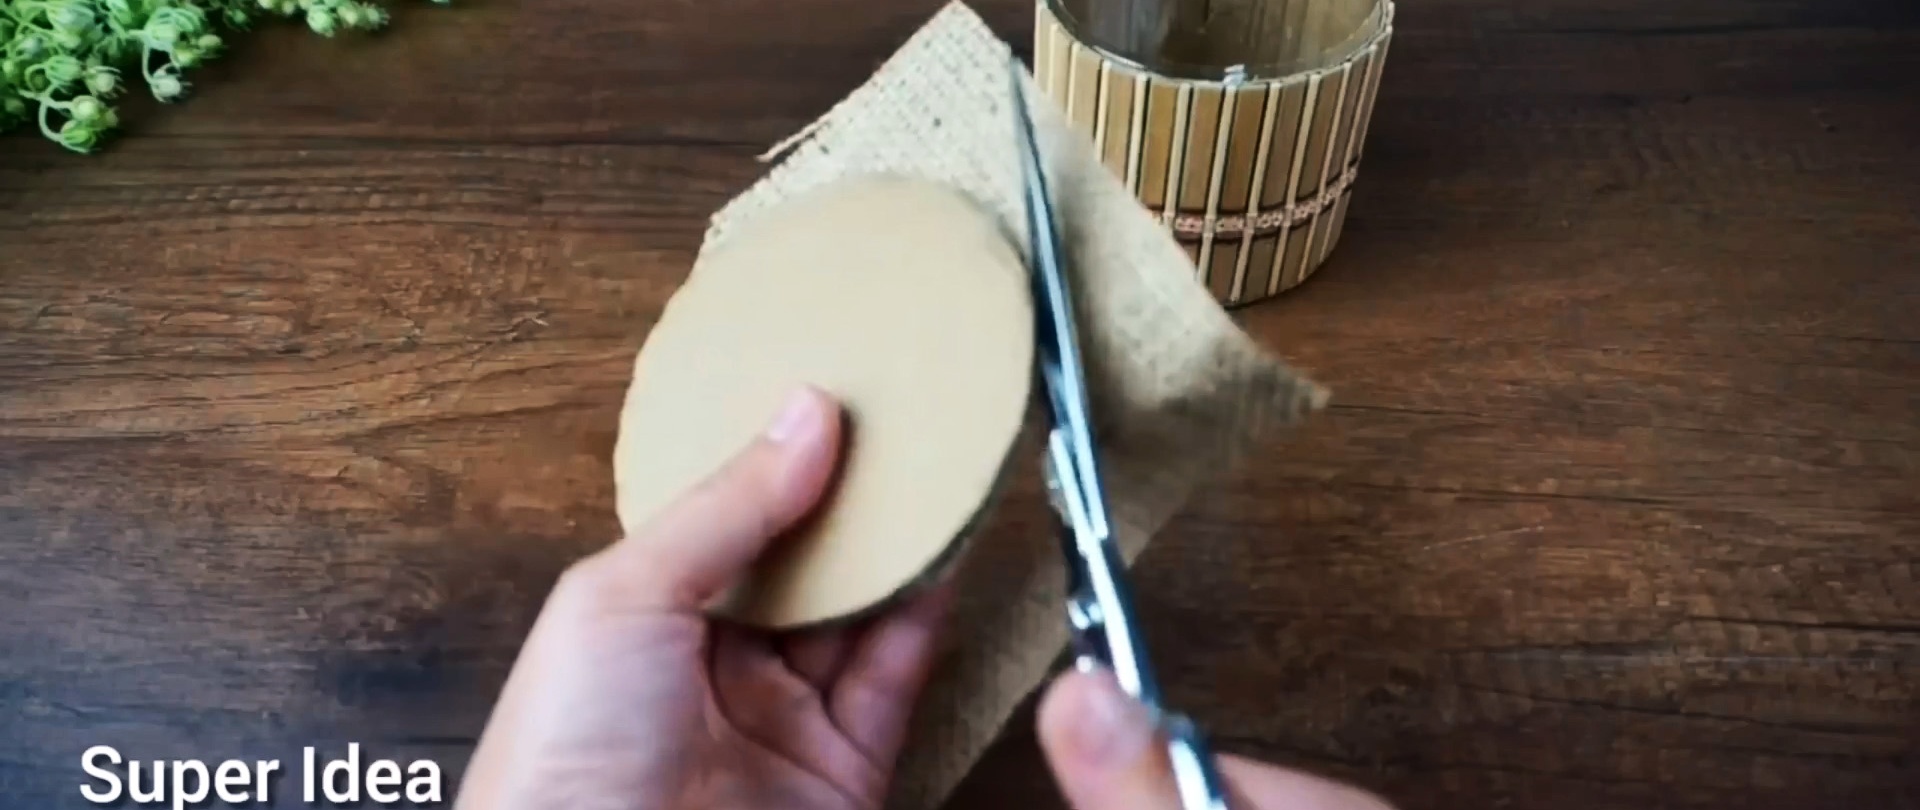
Next, cut out a rectangle from cardboard, equal in length to the perimeter of the bottom of the bottle.

As a decorative finish, we will take a mat made of straw. Glue it to the cardboard using hot glue. The excess part of the mat is cut off.

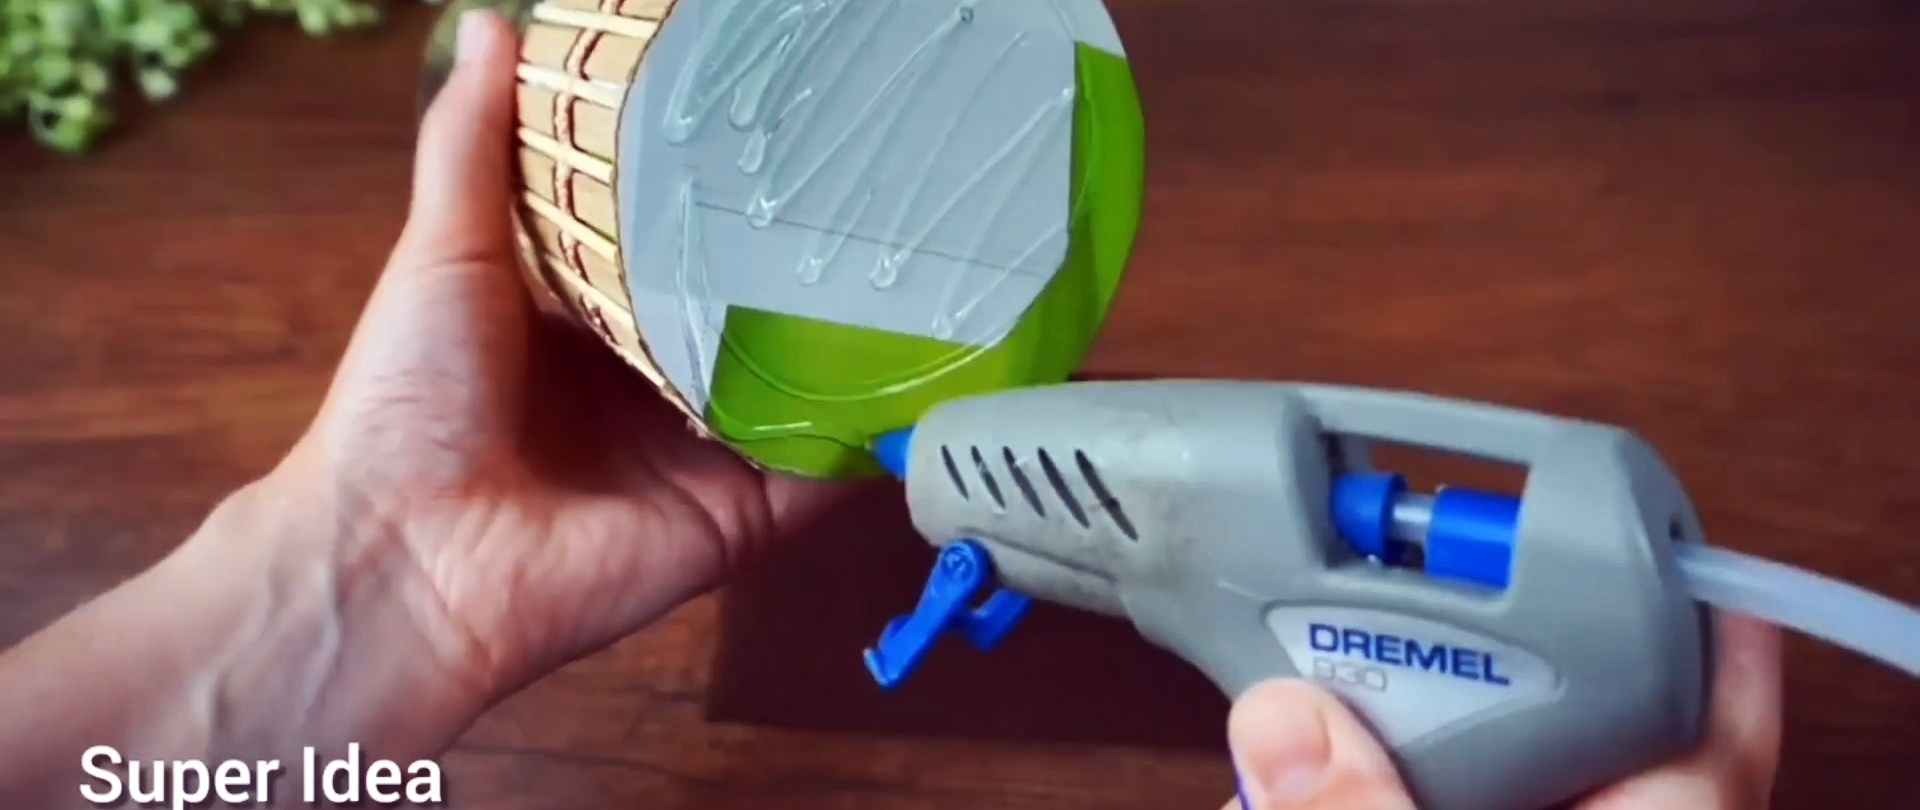
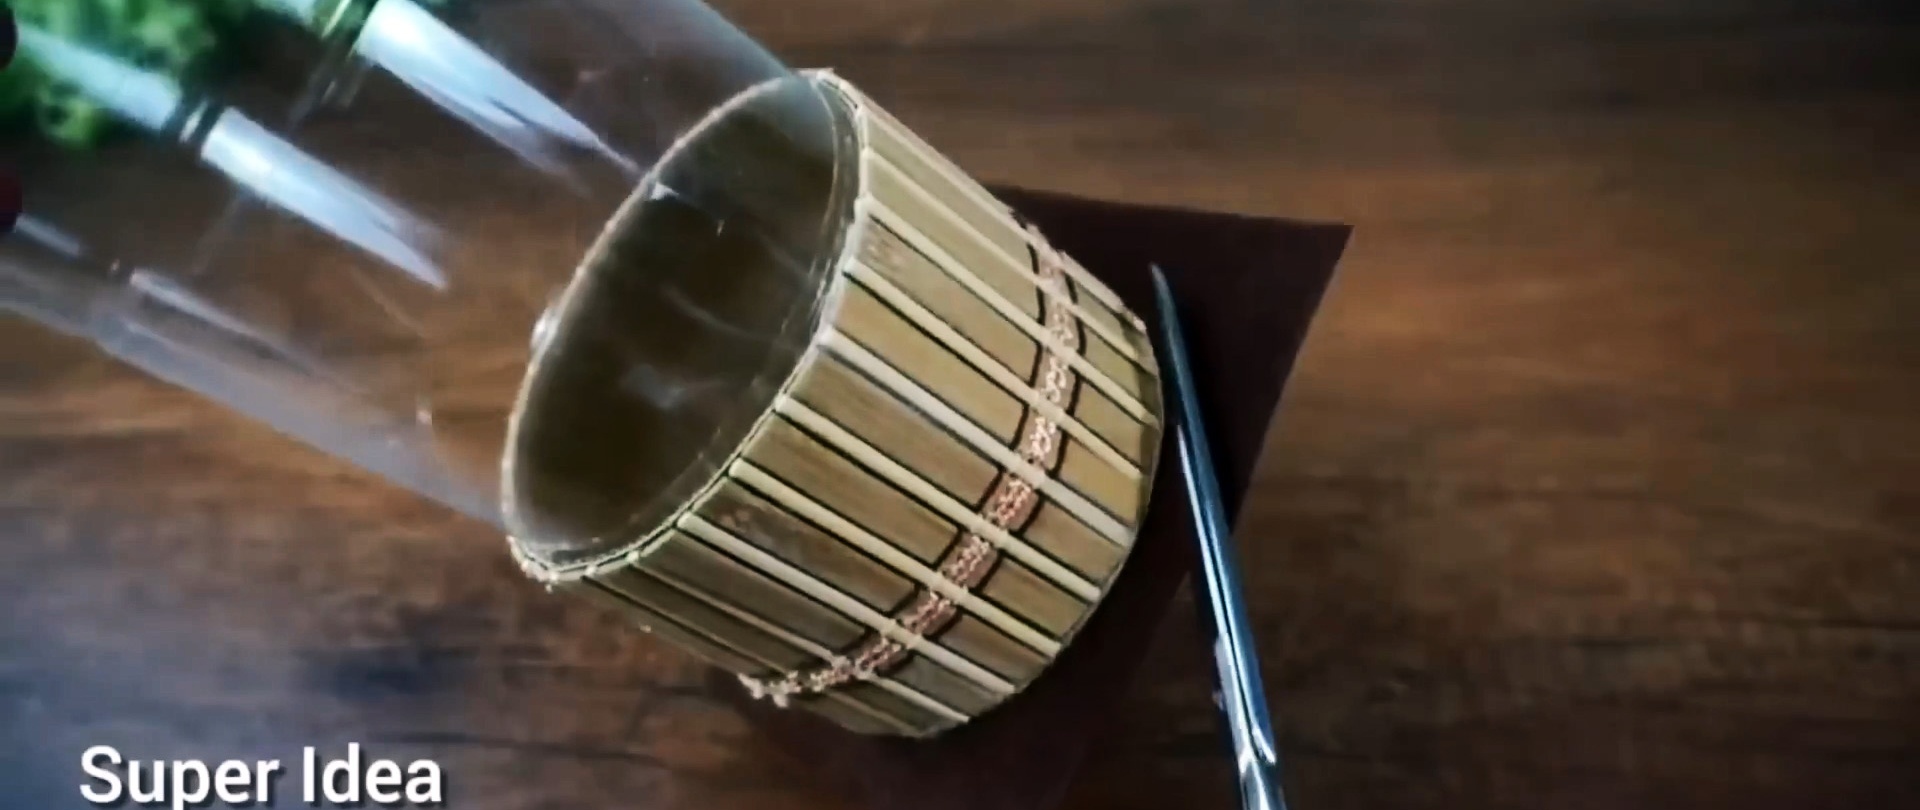
The resulting part is glued to the bottom of the bottle using double-sided tape. The joint is also treated with hot melt adhesive. Looks good already!


We make the bottom from cardboard. Glue the cut out circle. Additionally, a piece of felt is glued to the bottom. With it, the container will stand better on a flat surface.

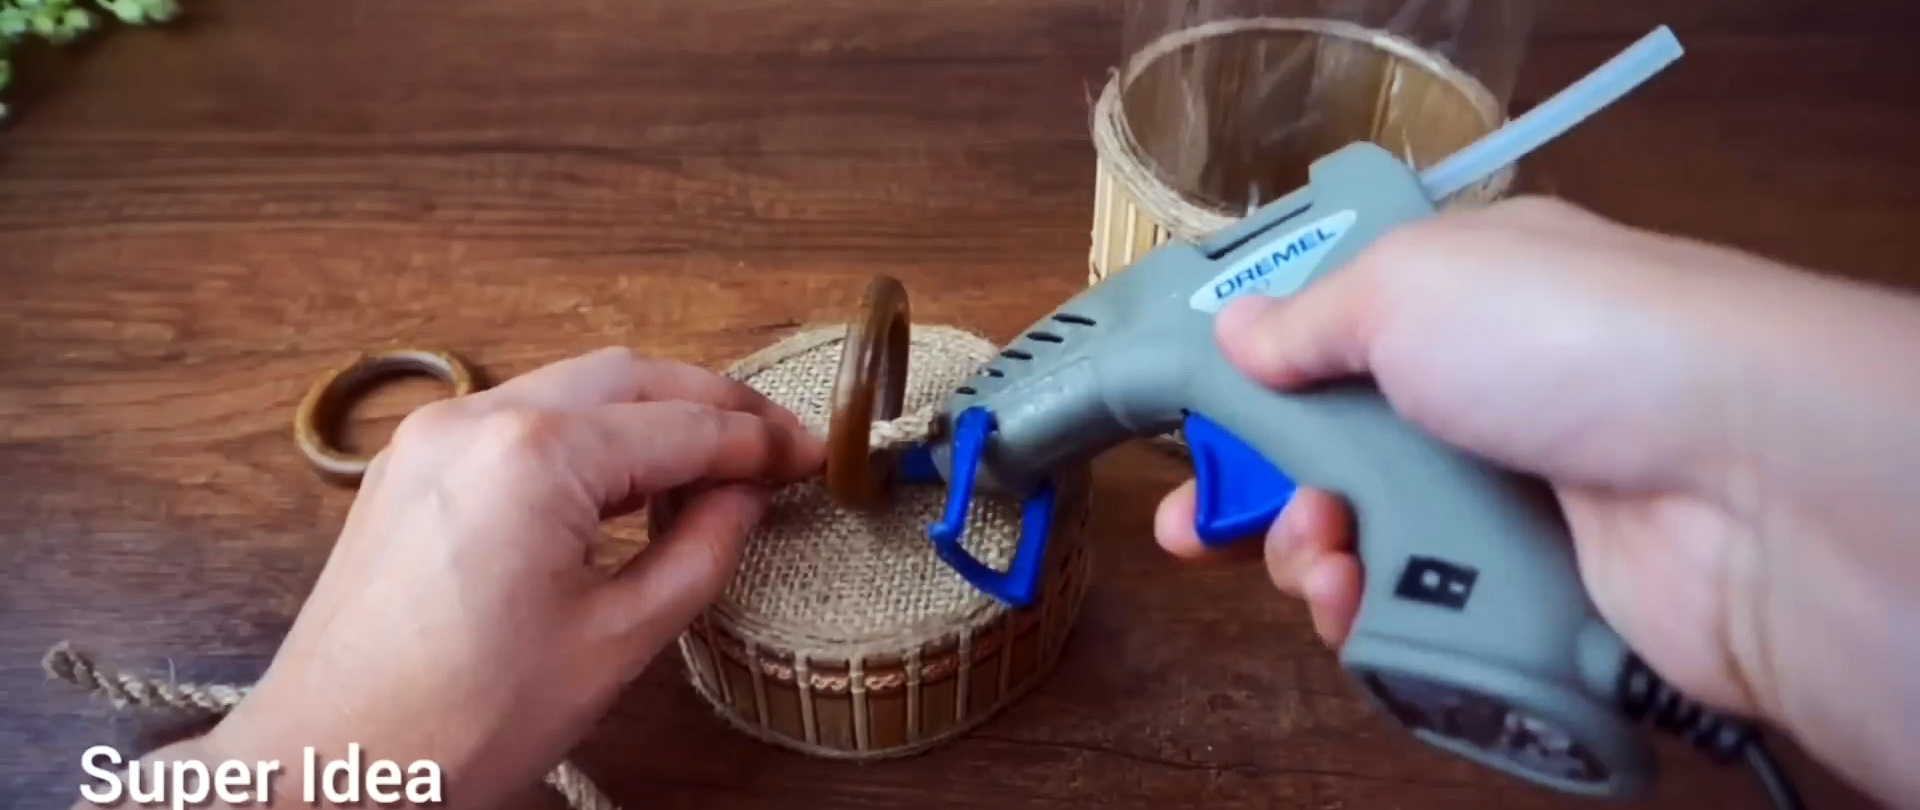
It's time for the top cover. We will also cut it out of cardboard. The decorative covering on top is burlap. Stylish! For the side of the cap we use the same technology as for the bottom of the bottle. A straw mat is glued onto the cardboard. We cut off the excess.


The difference is that it does not need to be glued to the bottle. We use hot glue to connect the side of the mat with the burlap lid.


Additionally, we decorate the container with natural linen or jute twine. It goes well with straw matting and burlap.


We install the pre-prepared ring on the top cover using the same hot glue. We finish with fiber rope made from natural material.

The container for bulk products is ready.