A construction float is not an absolutely necessary thing, but it is much more convenient and faster to work with. You can, of course, wrap sandpaper on a wooden block of a suitable size, but it will always slip and crumple. You can also buy such a thing in the hardware department of a store. It is inexpensive, ranging from 300 to 600 rubles. But there is a better option - make a grater yourself.

The work is interesting, short, and very simple. Anyone can do it! Even those whose hands do not grow from quite the right place! And with the money saved, it is better to purchase more sandpaper of the required grit.
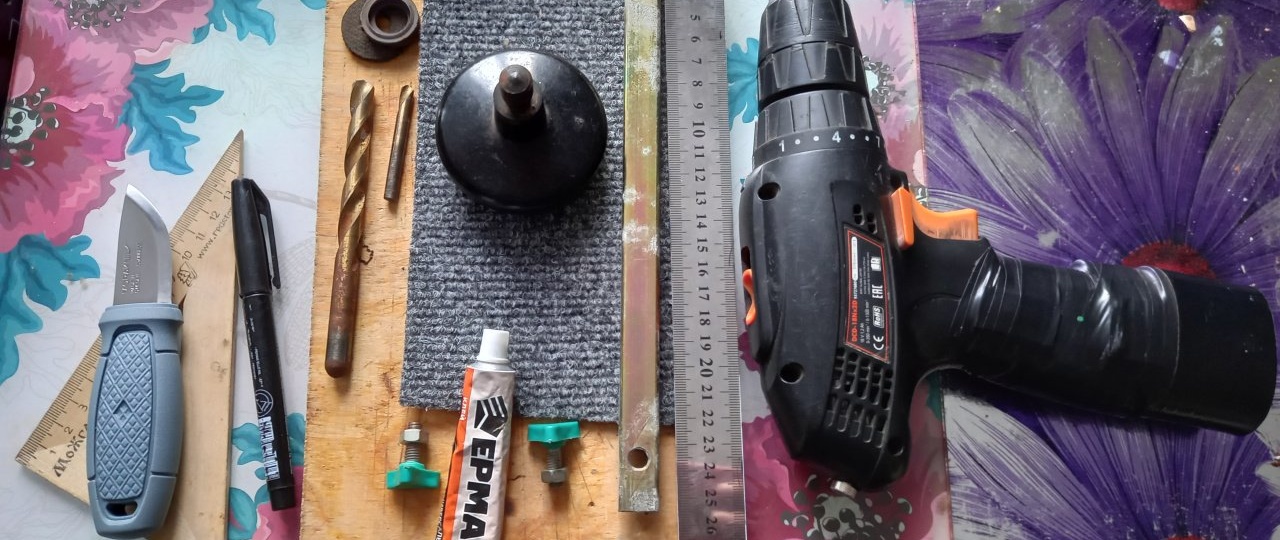
Will need
- Plywood, or plank, 10 mm thick.
- A piece of carpet or soft porous rubber, at least 3 mm thick.
- Wood saw.
- A hacksaw or grinder with a thin cutting disc.
- Knife.
- Marker.
- Ruler.
- Comfortable handle (can be used for a door).
- Two wings with nuts, 10.
- Drill.
- Drills, 5 mm and 10 mm.
- Glue for rubber, and second glue.
- The tube is 15 mm square.
Making a construction float
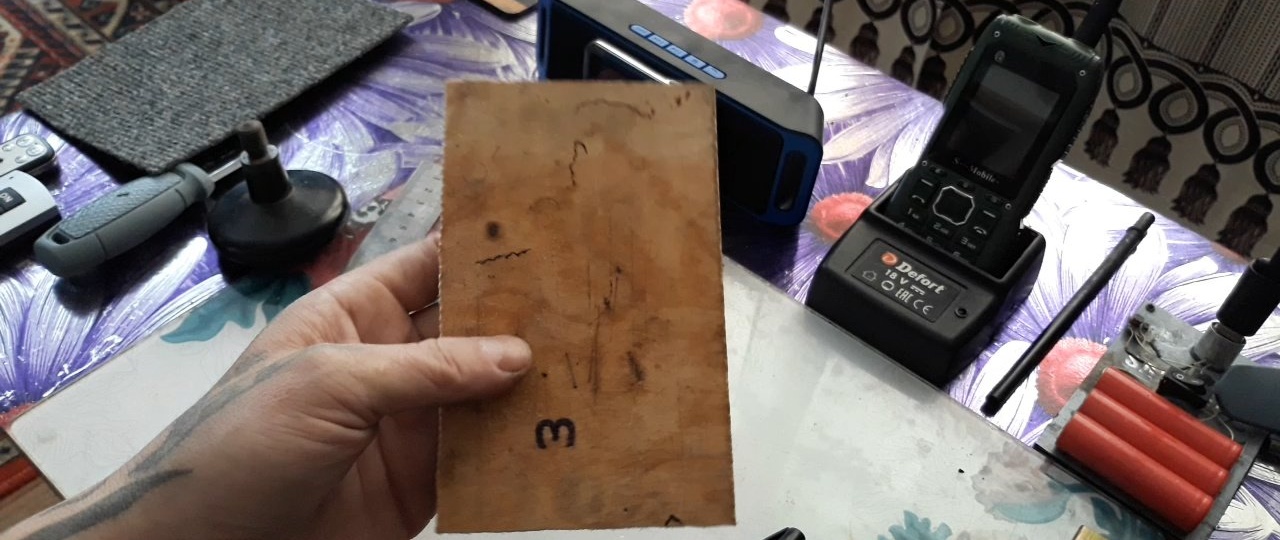
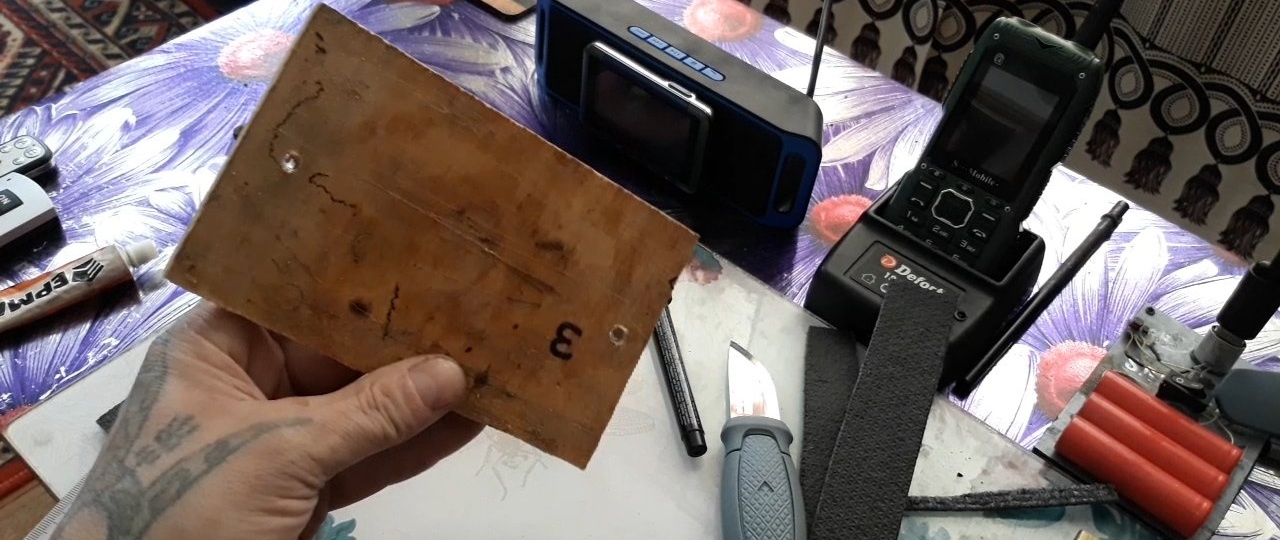
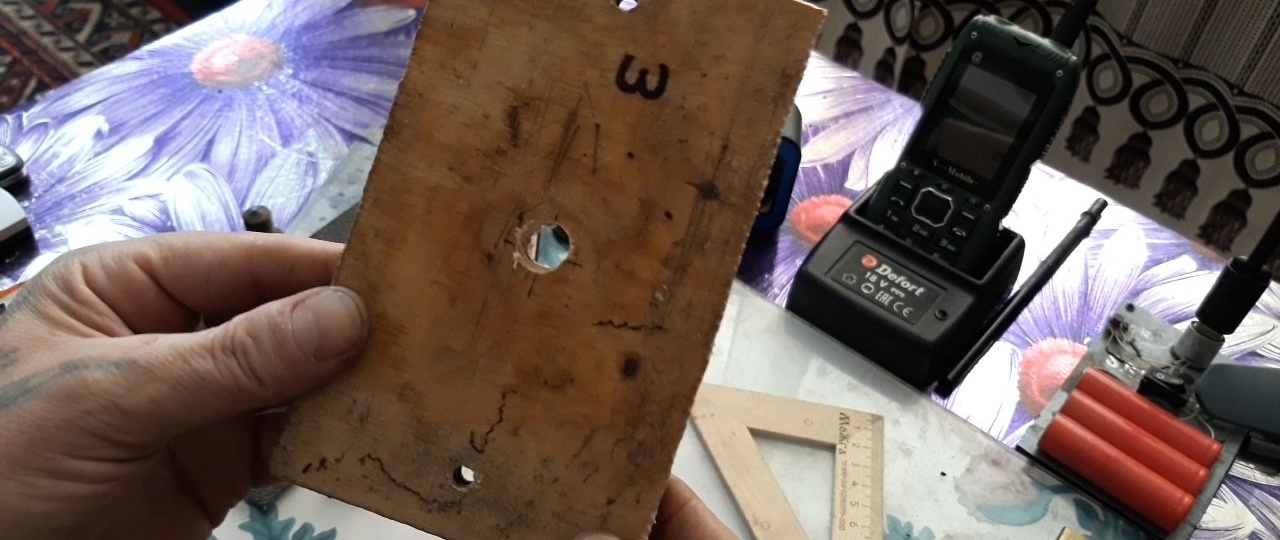
First, let's make the base.Plywood ten millimeters thick is ideal for it. If you don't have plywood, you can use any planed board. Cut out a 10 by 15 mm rectangle from plywood.

We cut out a rectangle from carpet or rubber of the same dimensions.

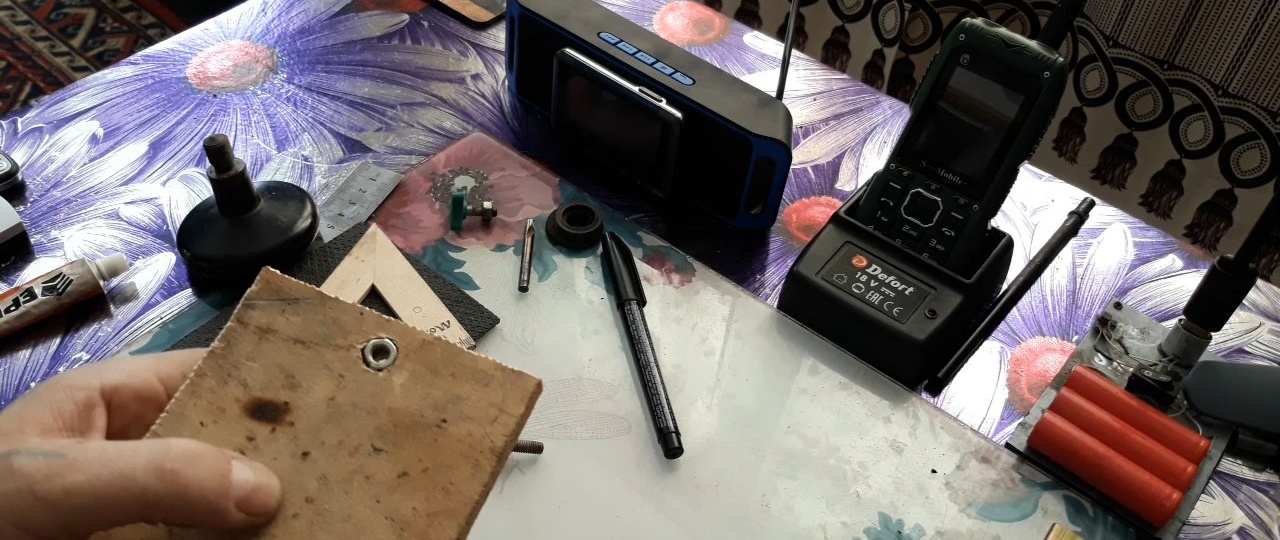
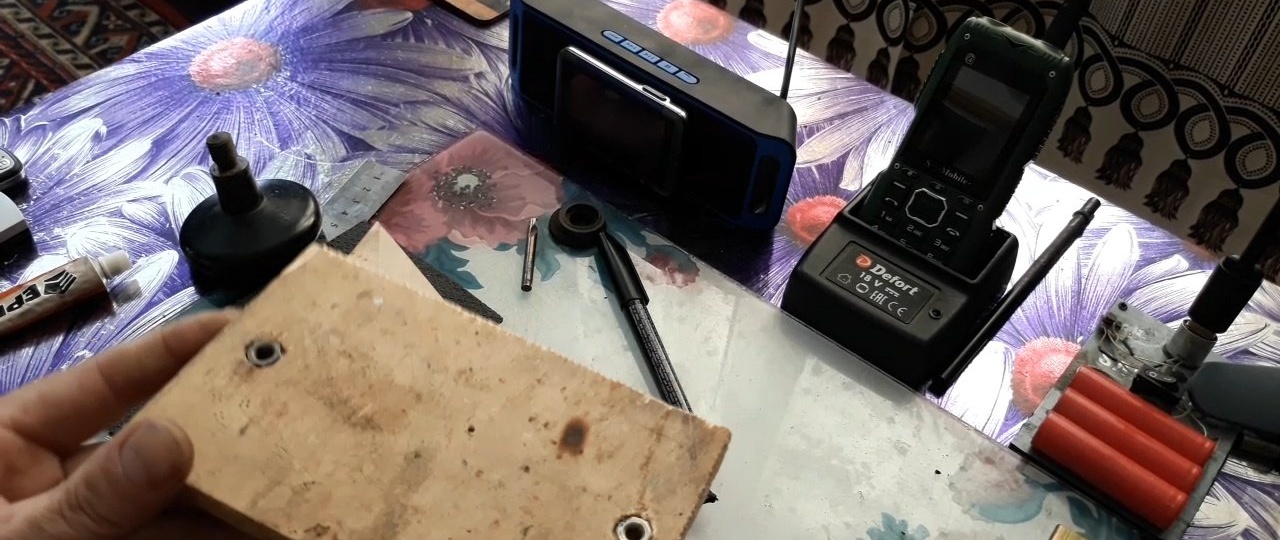
Next, you need to drill holes in the plywood and countersunk them. We find the middle along the width of the plywood, step back 15 mm from the edge, and drill a 5 mm hole for threading the lamb. We repeat the same procedure on the opposite side.

Next, use a 10 mm drill and drill holes for the nuts. The recesses should be no less deep than the thickness of the nut, so that nothing sticks out on the surface.

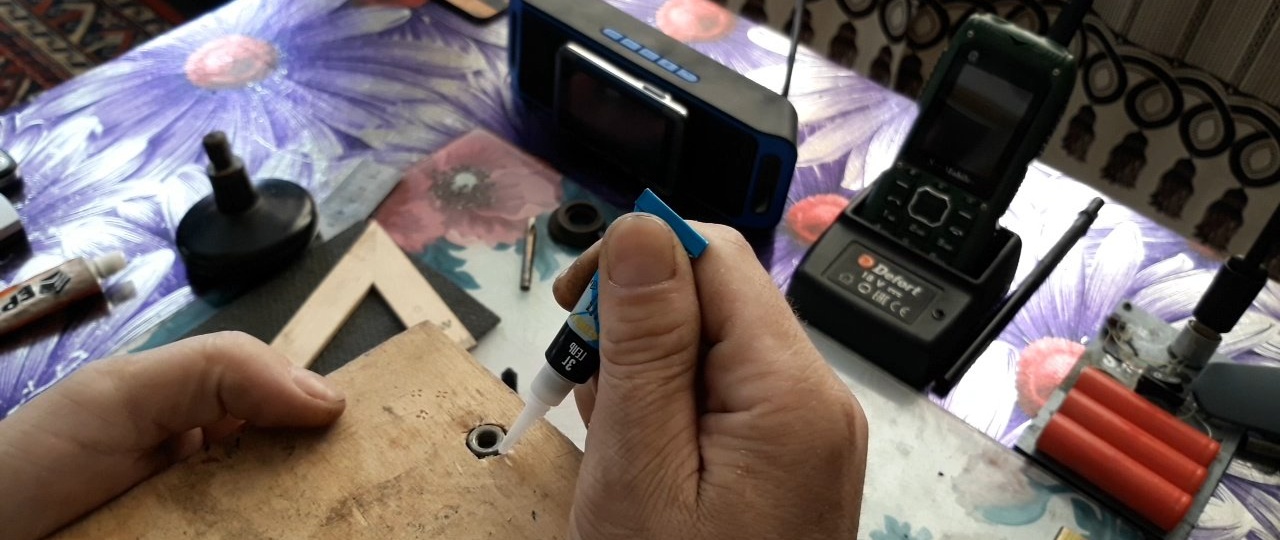
We install the nuts in the pocket and fix them with second glue.
This is what you should get:
Now you need to fit the handle. For this purpose, I took a textolite handle with a 10 mm screw thread. It seemed to me the most convenient for an instrument of this type. If you don’t have such a handle, you can take a regular door handle. So, using a ruler and a marker, we calculate the center on the workpiece and drill a hole in it for the thread of the handle.
Lubricate the threads of the handle with second glue and install it in the hole.

If the thread turns out to be a little longer, then add washers to the thread until the end of the thread no longer protrudes on the reverse side. We look carefully so as not to confuse and install the handle on the same side as the nuts. They should be on different sides. If you have a regular door handle, then simply attach it to the screws on the corresponding side. Now you need to glue the carpet onto the work surface, on the side where the pockets with nuts are located. Lubricate both surfaces with rubber glue and apply them to each other.


To make gluing more secure, you can press it down with something heavy on top.We set the workpiece aside to dry and begin making the holding brackets. To do this, using a hacksaw for metal, you need to cut a piece from a square pipe that is equal in length to the width of the workpiece. Mark the longitudinal center with a marker.


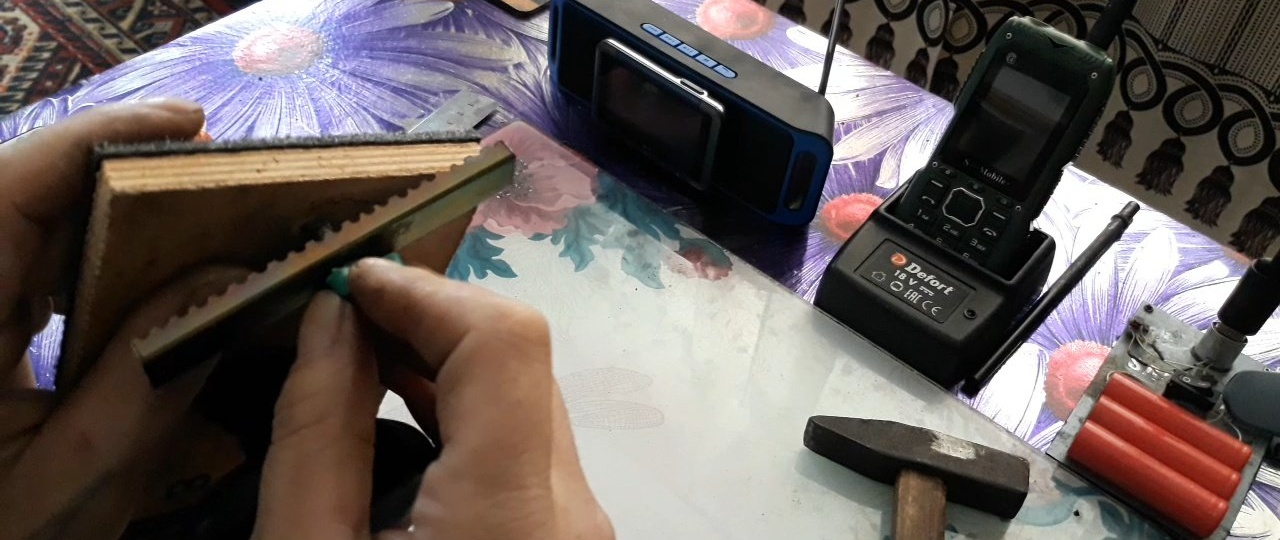
Next, you need to dissolve the segment into two equal longitudinal halves. You can cut teeth on one side of each half to better grip the sandpaper.
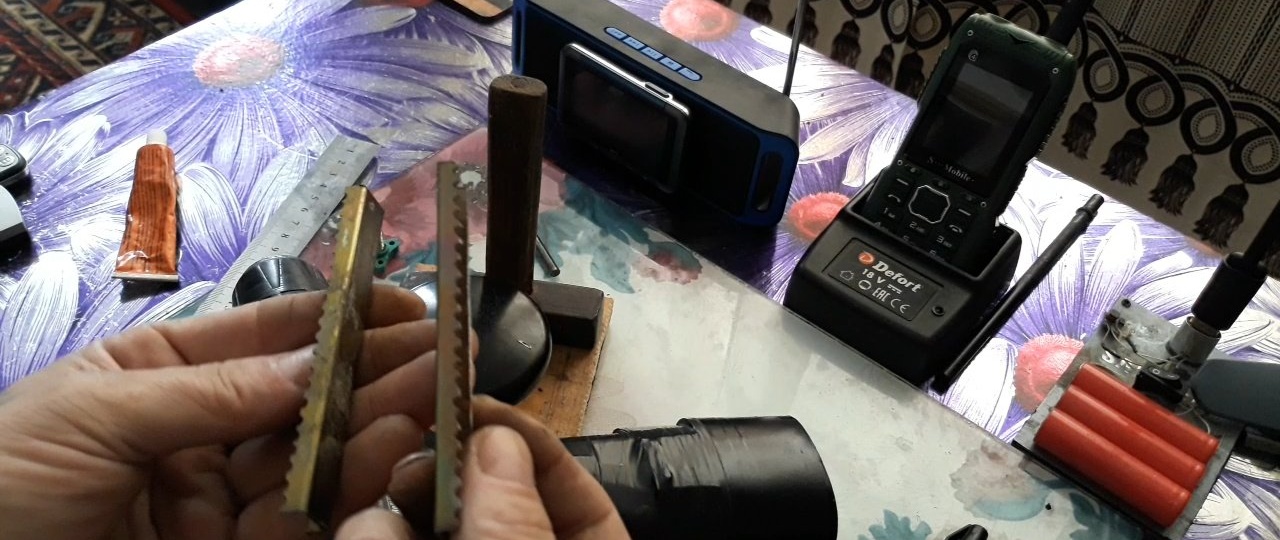
We determine the center on each half, and drill 5 mm holes there for threading the wings. It is better to drill holes as far from the toothed side as possible. Like this:

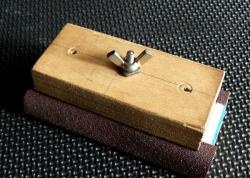
After half an hour, when the glue has set, we install the staples on a grater and secure them with lambs.
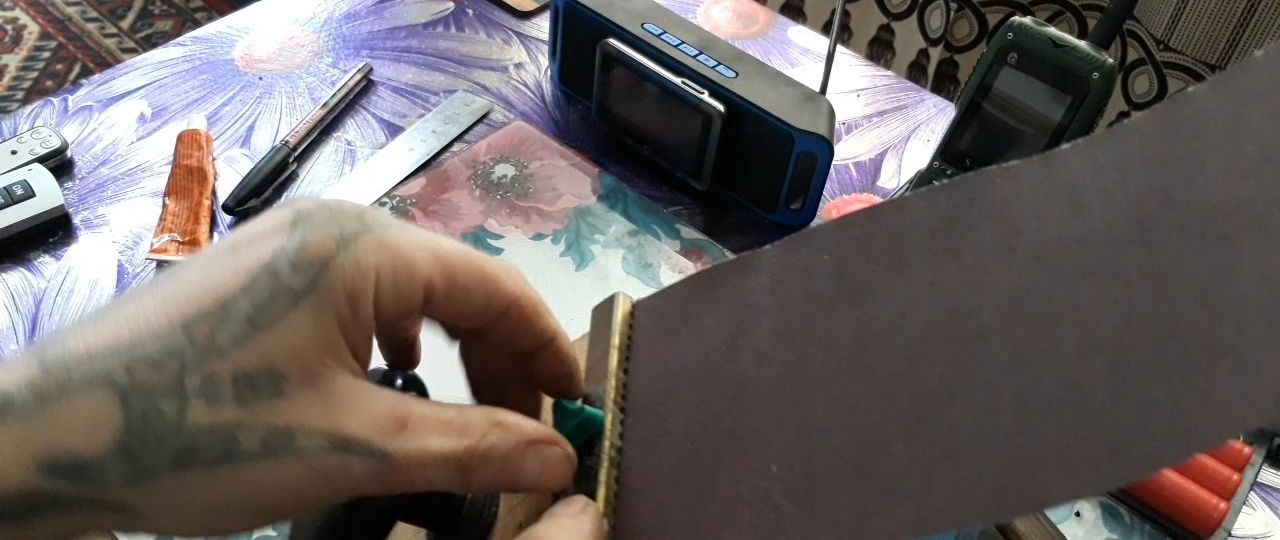
Well, the tool is ready. All that remains is to install sandpaper of the desired grain size. Cut a piece of sandpaper of the appropriate width.
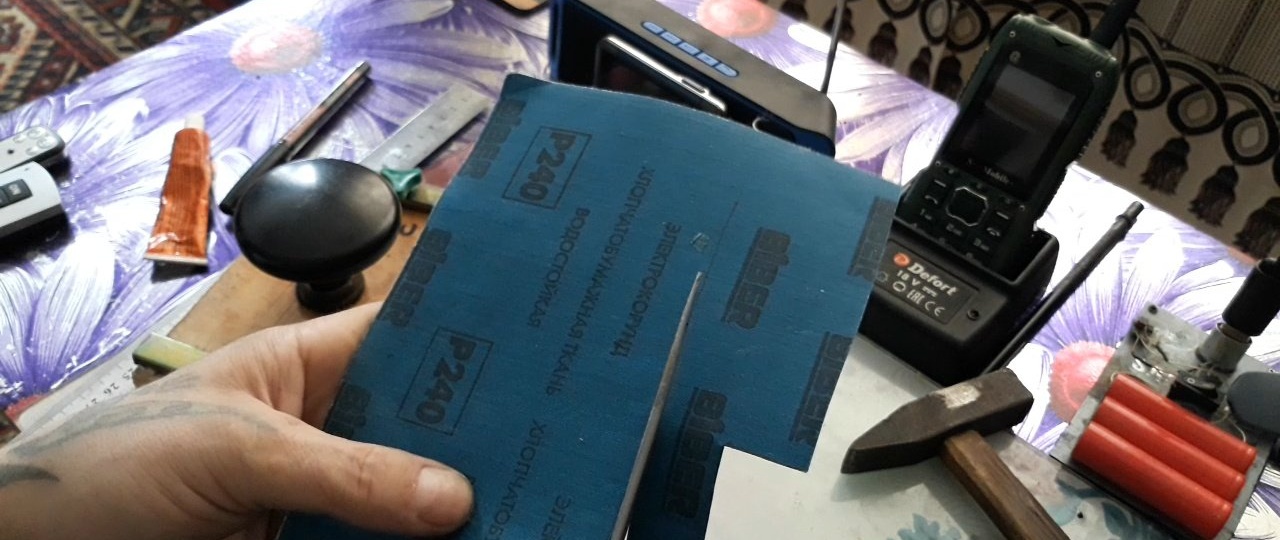
When calculating the length of the emery cloth, it is necessary to take into account the thickness of the plywood with carpet, the distance of the staple from the edge of the plywood, and the margin for fastening under the staple. We fix one end of the emery cloth into one bracket, then repeat the same on the other side.

Now you can try the tool in action.

Works great! And in order to spend less time in the future on changing worn-out emery cloth, you can pre-cut rectangles of appropriate sizes and different grain sizes.