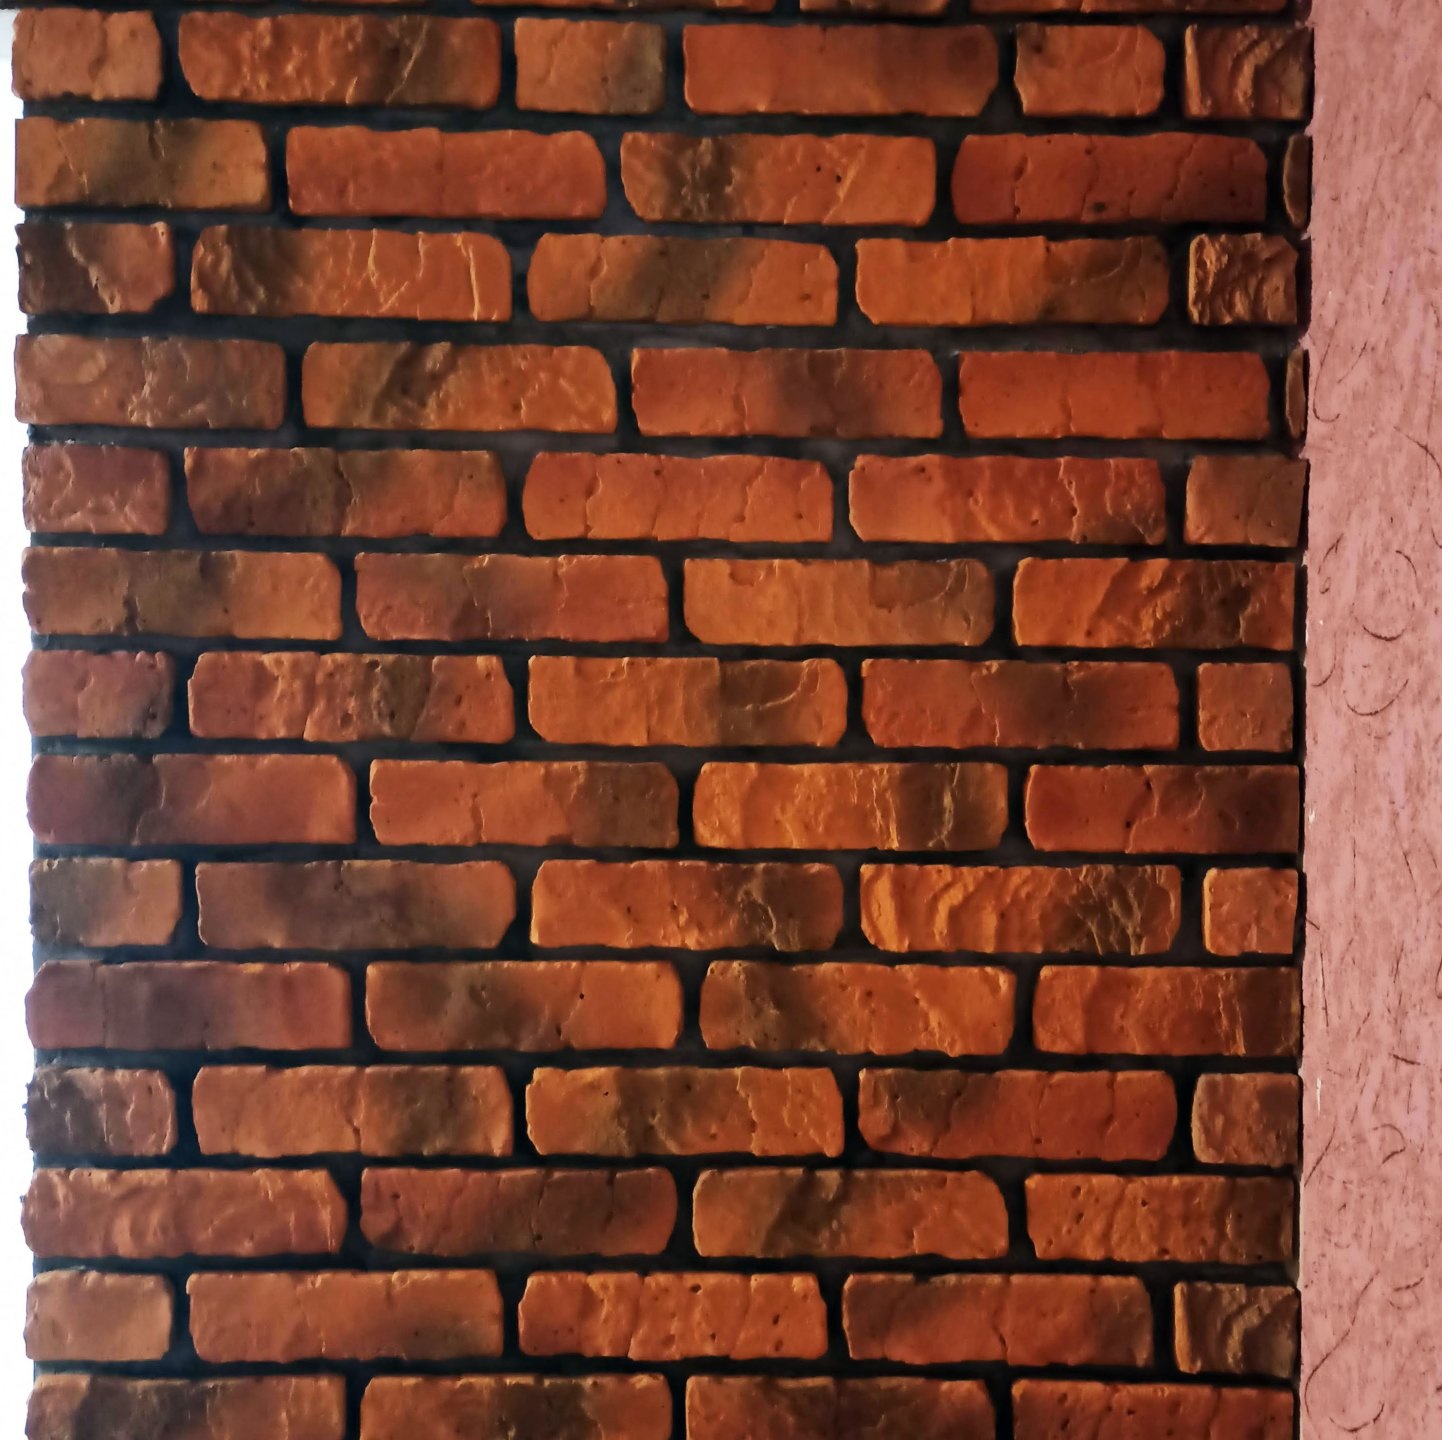
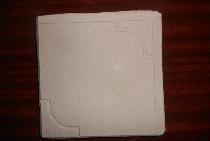
In modern interiors, walls are often decorated to look like old brick or wild stone. One of the means of implementing such design ideas is decorative gypsum tiles. Laying this tile is much simpler than, for example, tiles, and if you follow simple rules, it is within the power of anyone.

Preparatory work
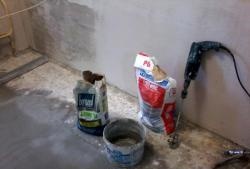
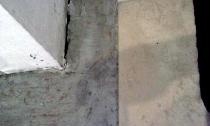
Before you start laying such tiles, you should prepare the wall. The surface must be plastered with a starting gypsum mixture, leveled if possible, but not perfected, and then treated with a deep penetration primer, for example Ceresit CT 17, to treat the wall surface.
Marking
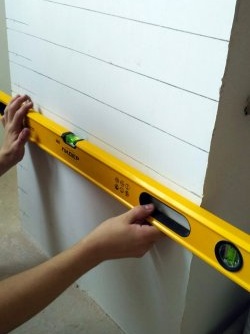
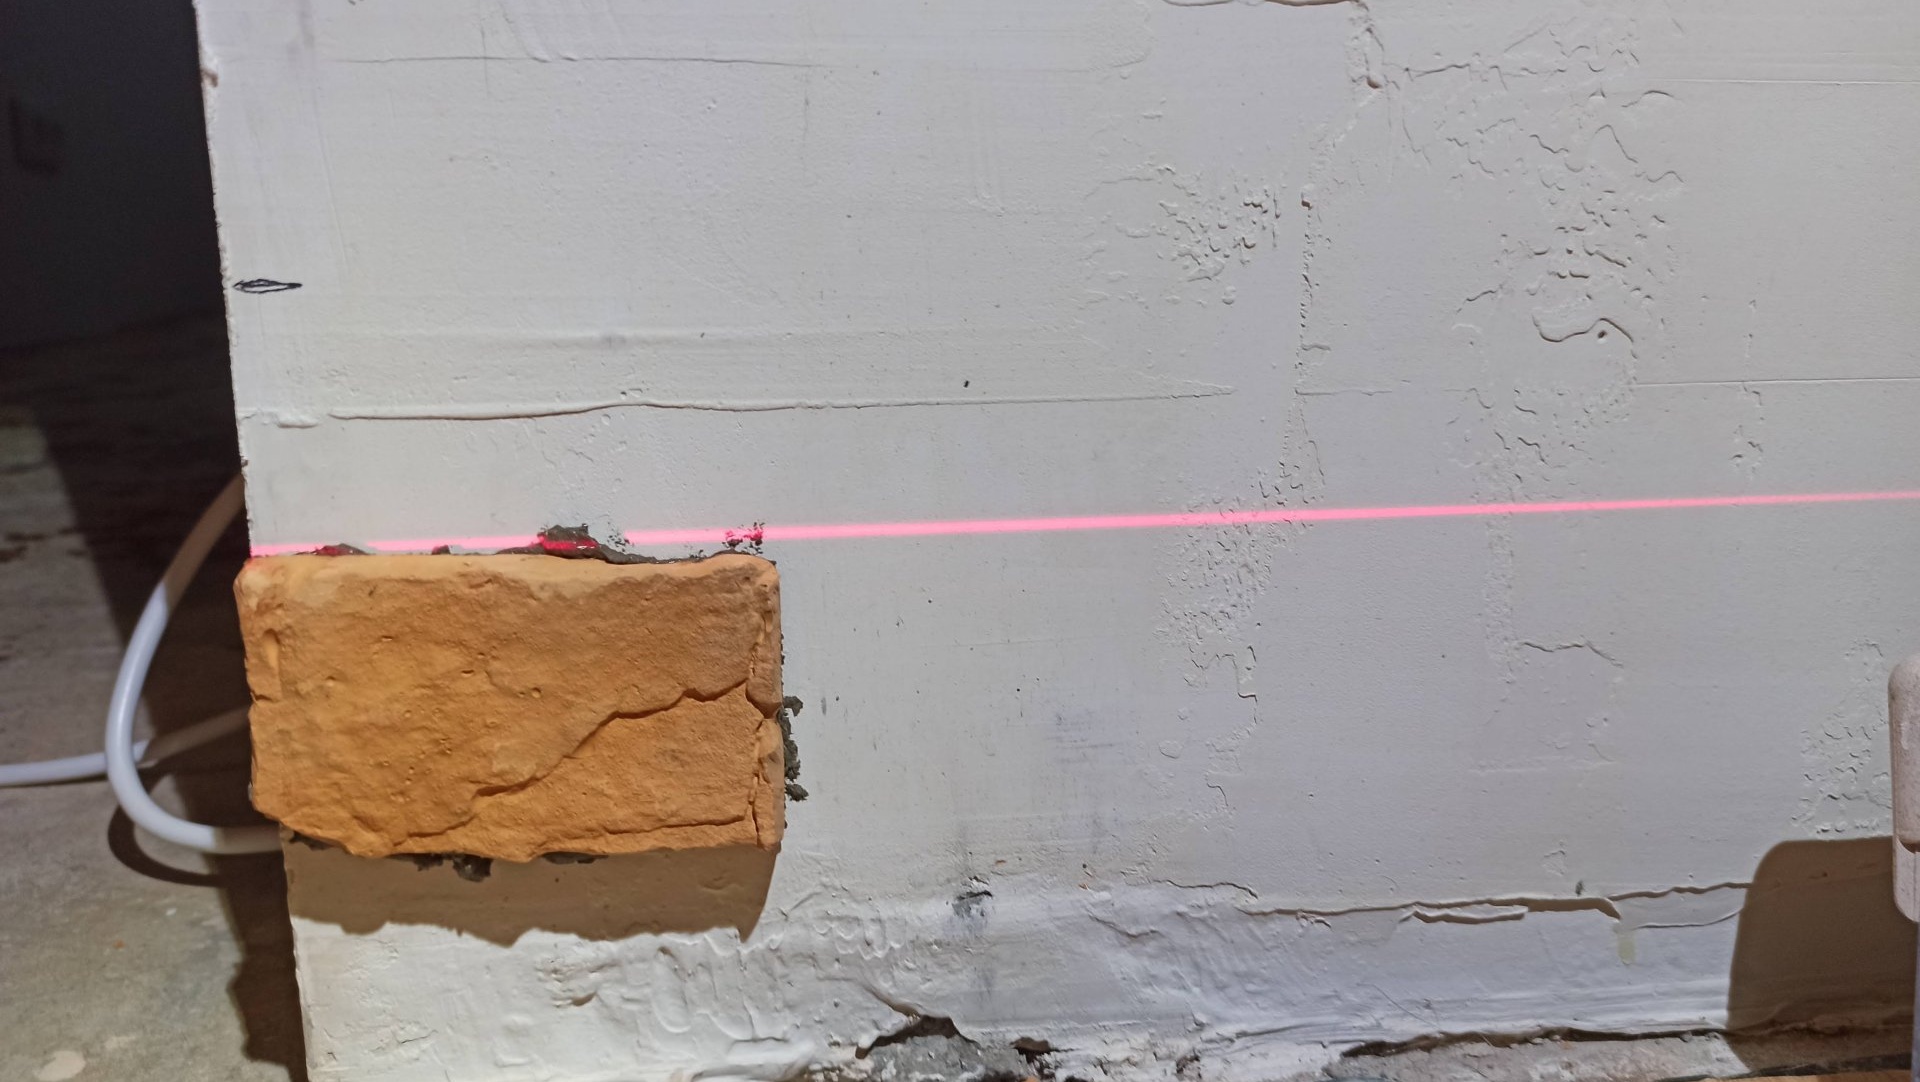
The most important point when laying gypsum tiles is maintaining the level of the horizon. The best way to ensure rows are level is to use a laser level.

Such a device is now not a luxury, but a necessary tool for repairs. A spirit level, of course, can also help, but working with a laser level is much more convenient and easier, and also does not require special skills. Fortunately, today you can rent any construction tool inexpensively. So, the marking is done along the second row of tiles.

It is the second row that is laid out first, since the floor level is often far from ideal and often requires trimming the tiles. It is also useful to mark the height of the wall to avoid laying cut tile elements in areas of openings or protrusions.
Laying tiles
To lay gypsum tiles, you can use adhesive mixtures designed for ceramic tiles, for example Ceresit CM 11, or you can use special mixtures that have gypsum as a binder. The adhesive mixture is mixed with water until the consistency of thick jelly.
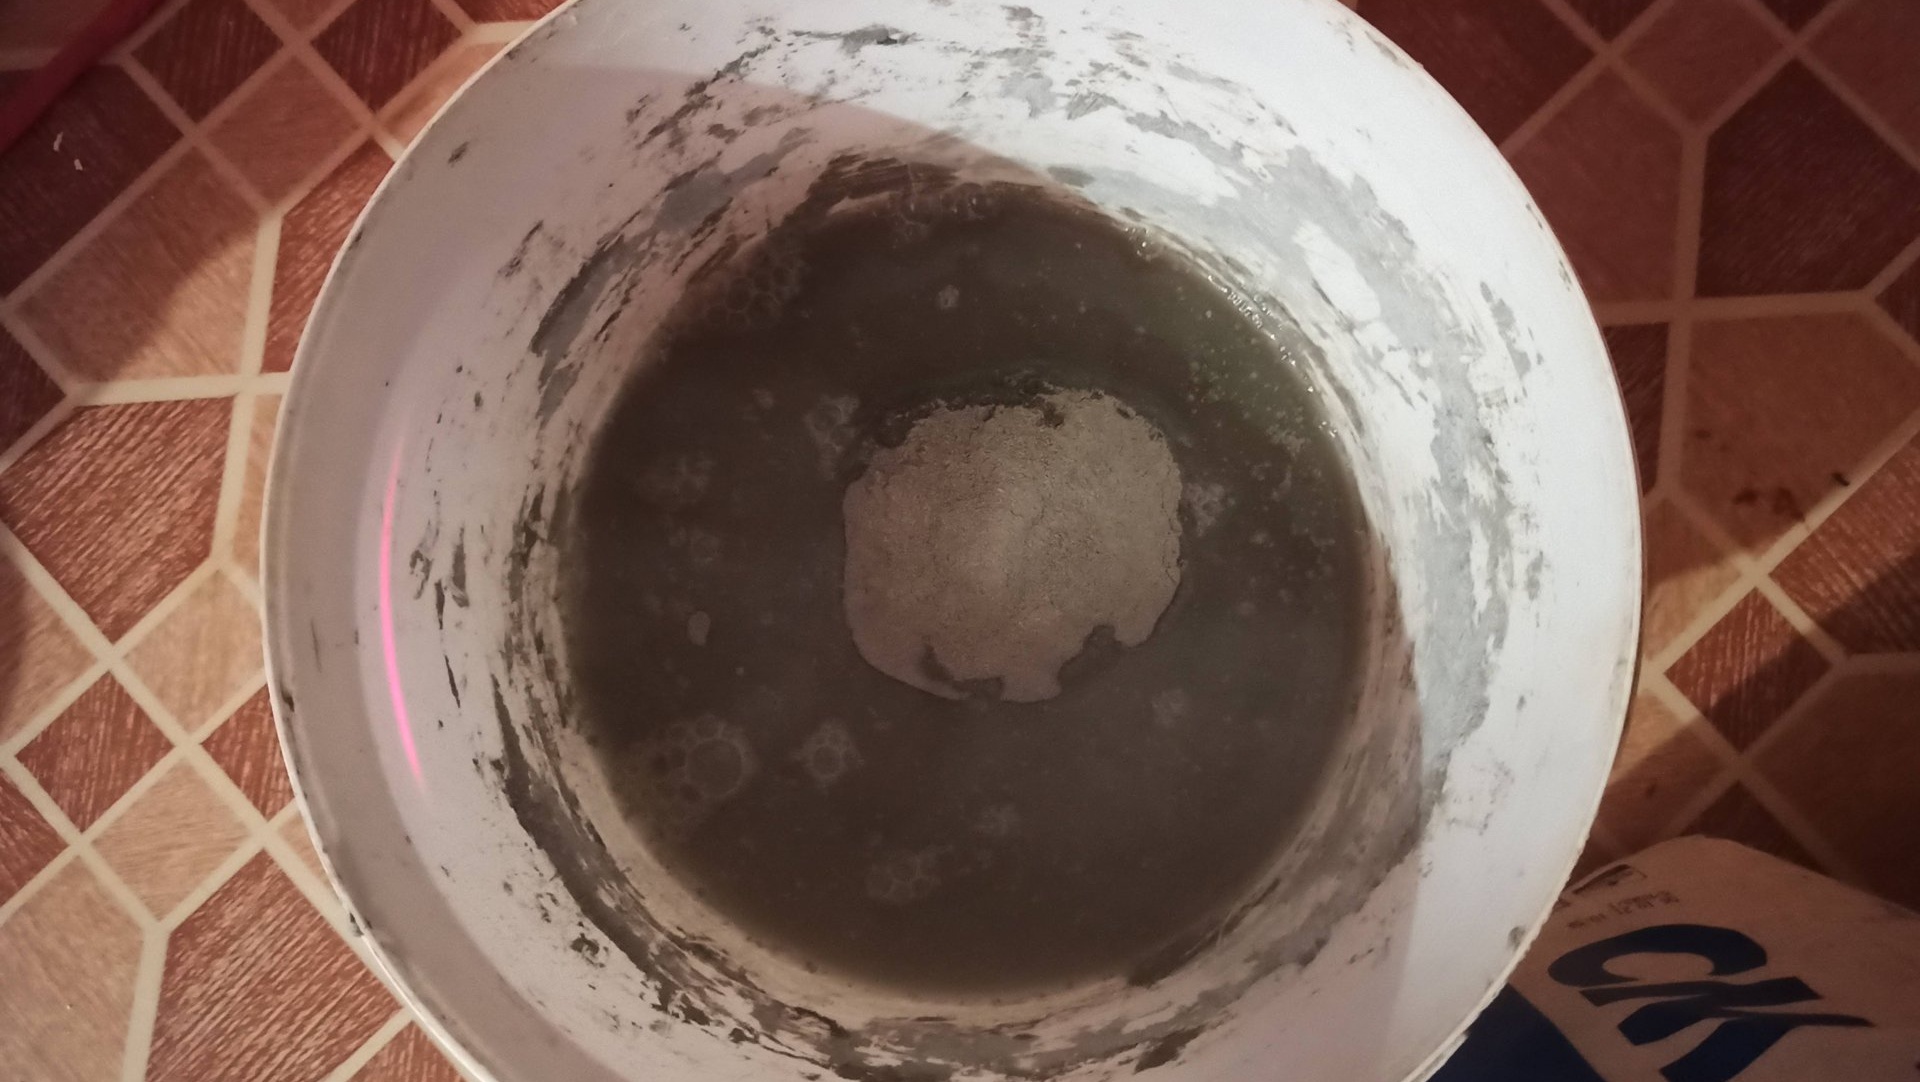
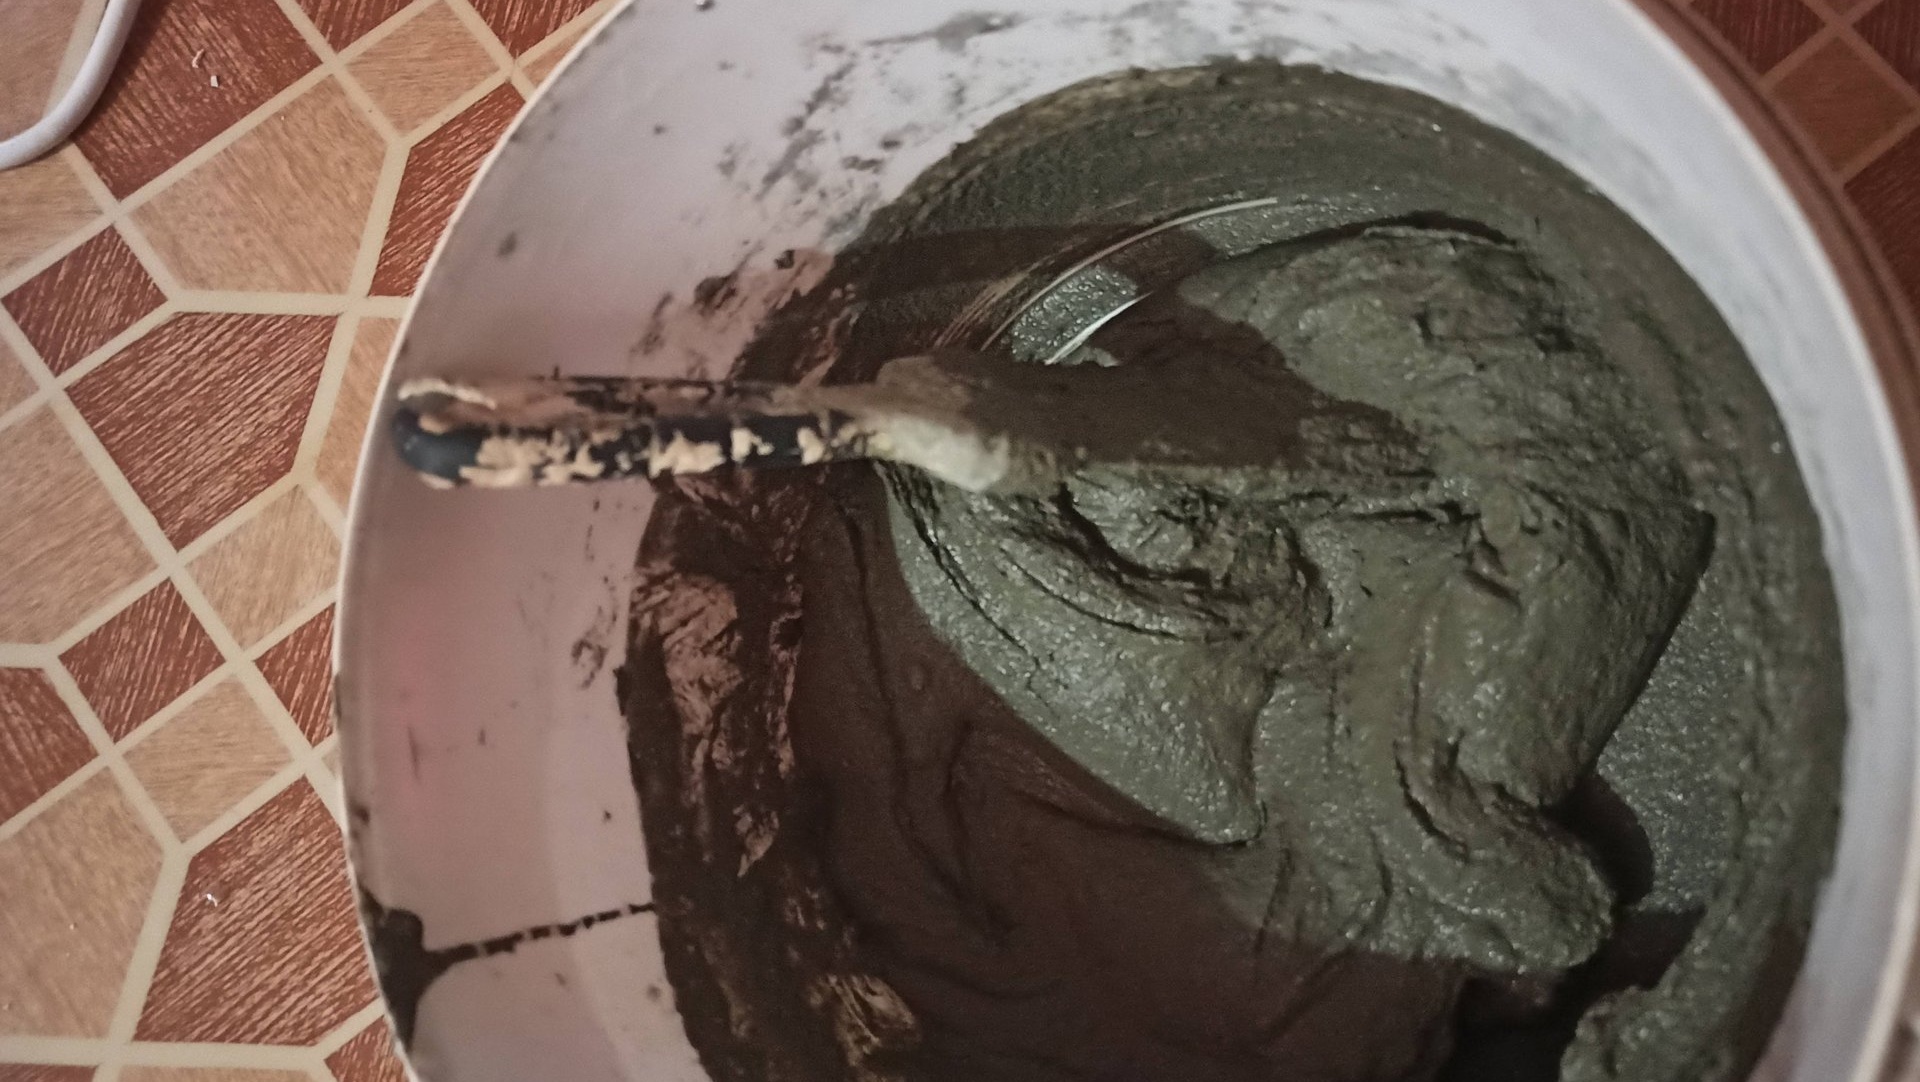
After a ten-minute pause, you can begin work.

Using a regular spatula, glue is applied to the edge of the tile, after which it is spread over the surface of the tile with a notched spatula.


The tiles are glued to the wall level.
Then the next decorative element is glued in the same way. Wedges are installed between the tiles in a row to maintain the thickness of the seam.

Wedges are also installed between the rows, after which the row is leveled using a level.

The adhesive mixture dries quickly, so you can lay out as many rows as you like at one time.