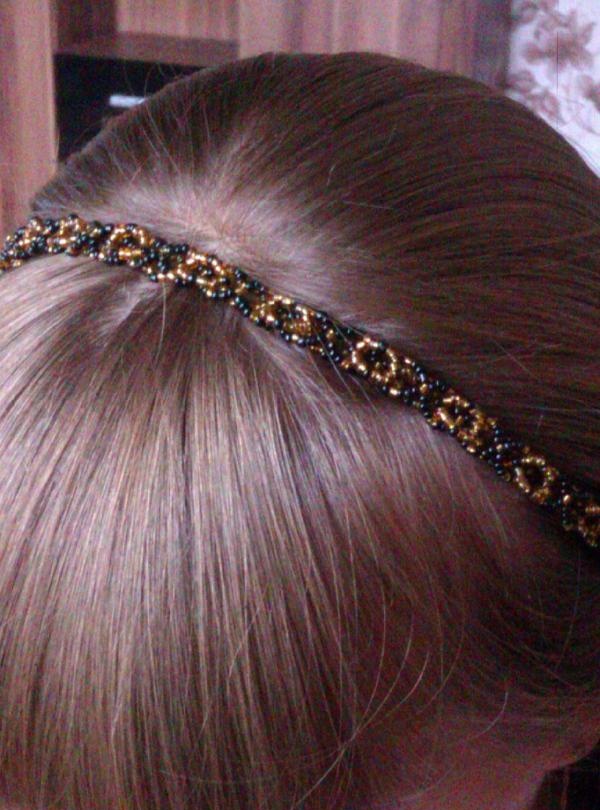
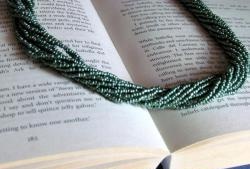
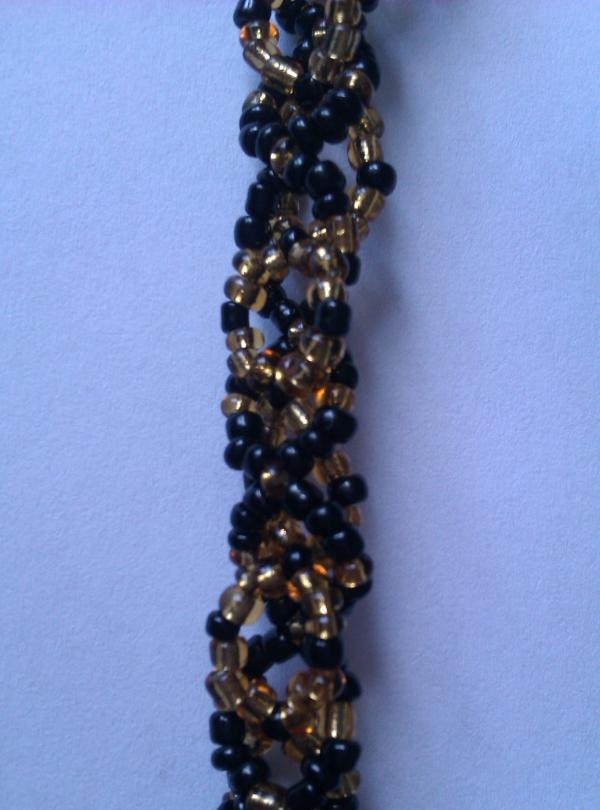
To make a beautiful hairband with your own hands, you will need the following materials: 2 bags of beads of different colors (in this case, black and gold are used), thin fishing line, black elastic band 3 centimeters wide, black threads, a needle.
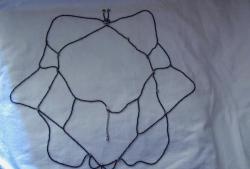
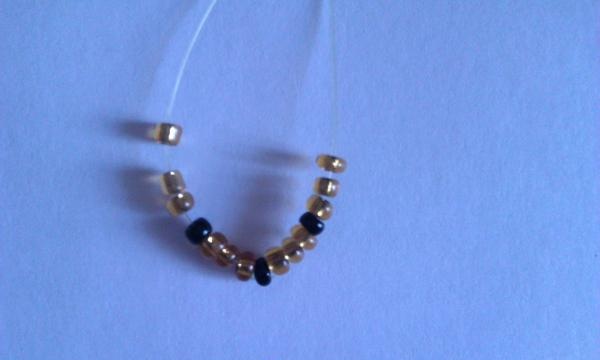
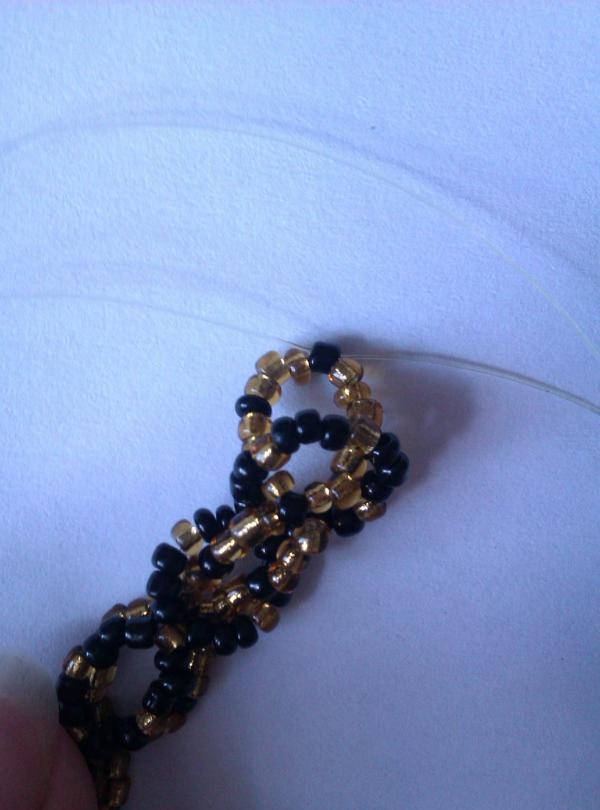
The headband consists of two parts woven from beads. First you need to determine the length of the product in order to correctly take the required length of fishing line. To do this, measure the length from one ear to the other along the top of the head. Multiply the resulting length by 4 - this will be the length of the fishing line that you will need for one strip. Fold the line in half to mark the middle. Take a black bead and place it exactly in the middle. Pull one end of the fishing line towards the opposite side of the bead and tighten.


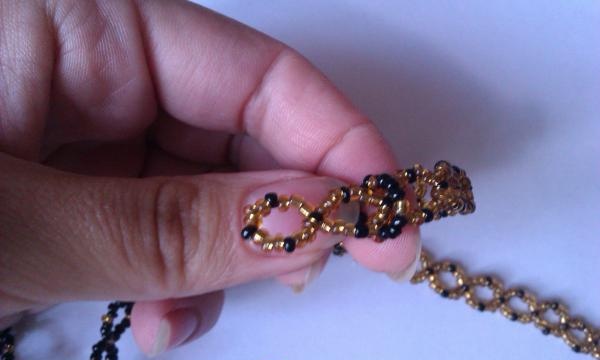
On each end of the fishing line you need to string 3 gold beads, 1 black and again 3 gold.
Then put a black bead on one end of the fishing line and pull the other end of the fishing line through the other side. You will get a ring.
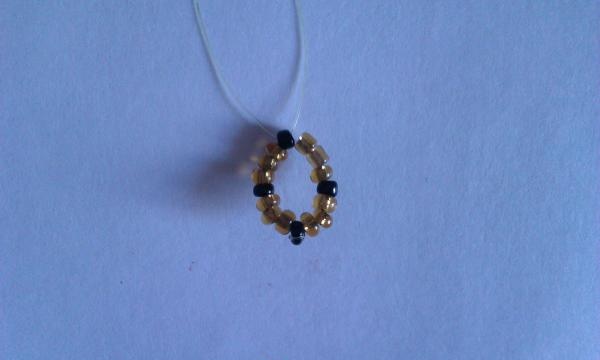
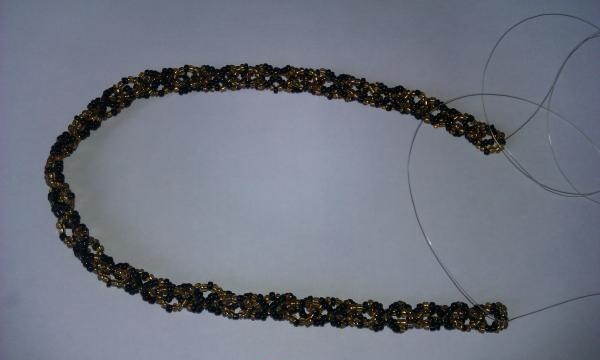
Weave similarly to the desired length of the product. This will be part 1.

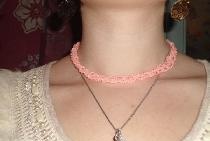
The second part (part 2) of the headband is woven similarly, only you need to change the colors the other way around - for one ring you need to string 3 black beads, 1 gold, 3 black, one gold. And so on until the end. To make equal stripes, count the rings in the first product and weave the same number in the second.
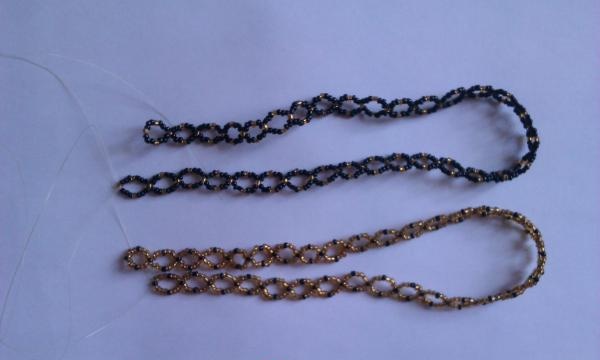
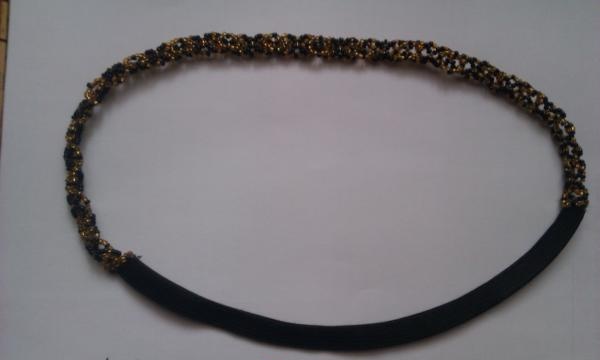
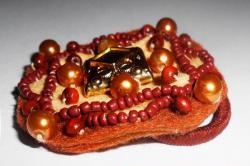
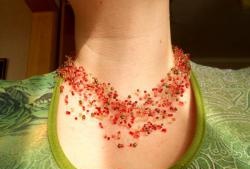
When the two parts are ready, you can connect them. Each part will have 2 free lines at the ends. Take the end with the line of part 1 and attach it to the beginning of part 2 (without lines). Into the very beginning bead of part 2, stretch two lines of part 1 from different sides and tie it in a knot to secure it. Next, pull the first link of part 1 without fishing lines up into the first link of part 2, then down into the second, etc. to end.
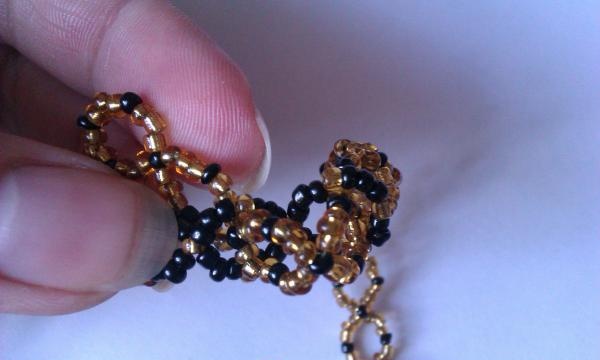
When the two beginnings of part 1 come together with the end of part 2, stretch two lines into the first bead of part 1 and tie them in a knot.
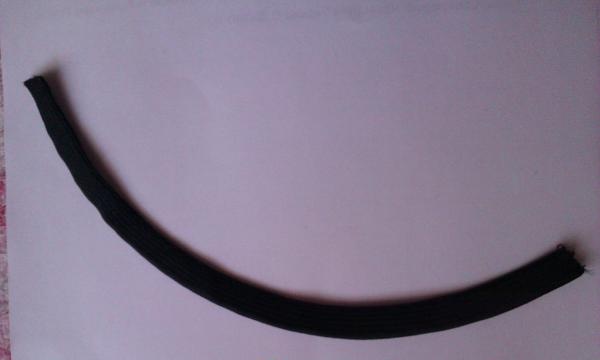
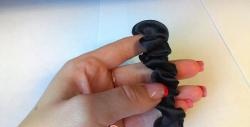
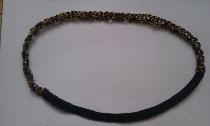
Fold the elastic in half and sew with black thread. This will make the elastic band tighter and will not stretch out soon.
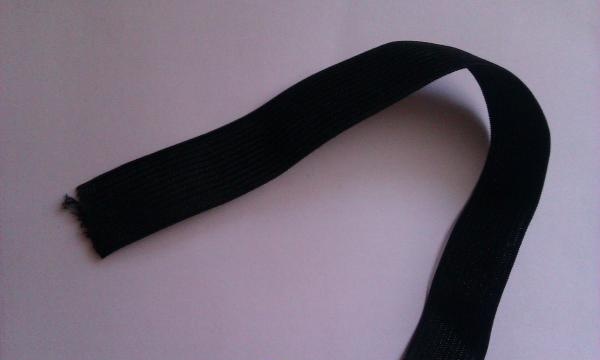
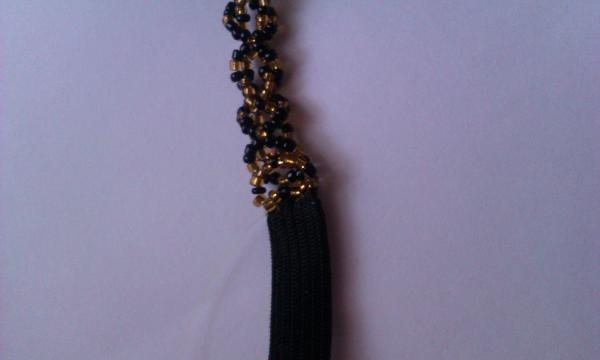
When the elastic is ready, thread one end of the fishing line of the first strip through a needle and sew on one side of the elastic. Do the same on the other side.