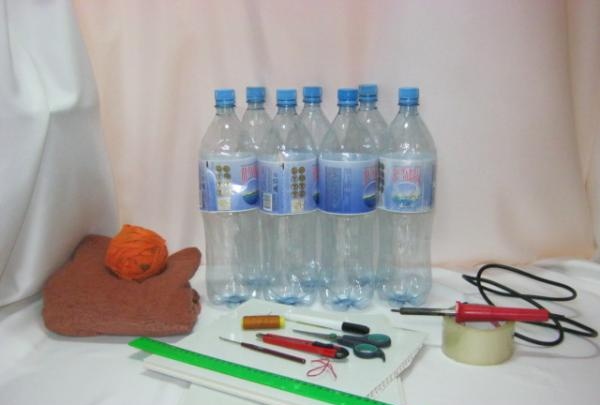
Materials and tools:
1. Plastic cylinders – 7 pieces
2. Wide tape
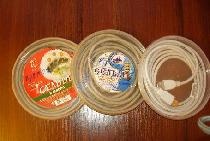
3. Small pieces of plastic panels (or thick cardboard) - 2 pieces
4. Fabric – about half a meter
5. Any yarn
6.Thread and needle
7. Scissors
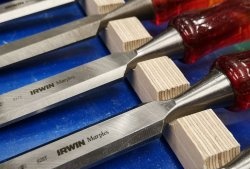
8. Cutter
9. Rubber band for money
10. Marker
11. Soldering iron
12. Hook
13. Ruler
14. Sintepon – 20 cm.
15. Glue (Moment, Titan)
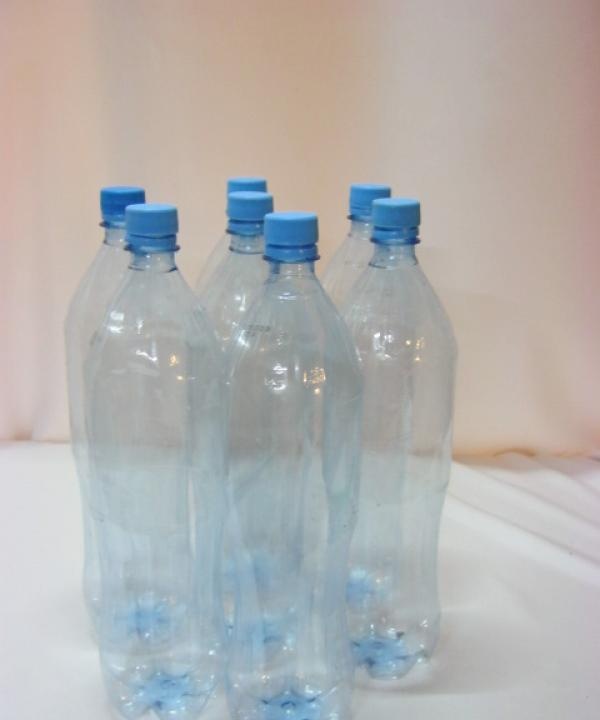
First, let's wash all the bottles from labels and glue residues. To do this, soak them for an hour in the bathroom, and then wash them with any cleaning powder. Wait for the bottles to dry and get to work.
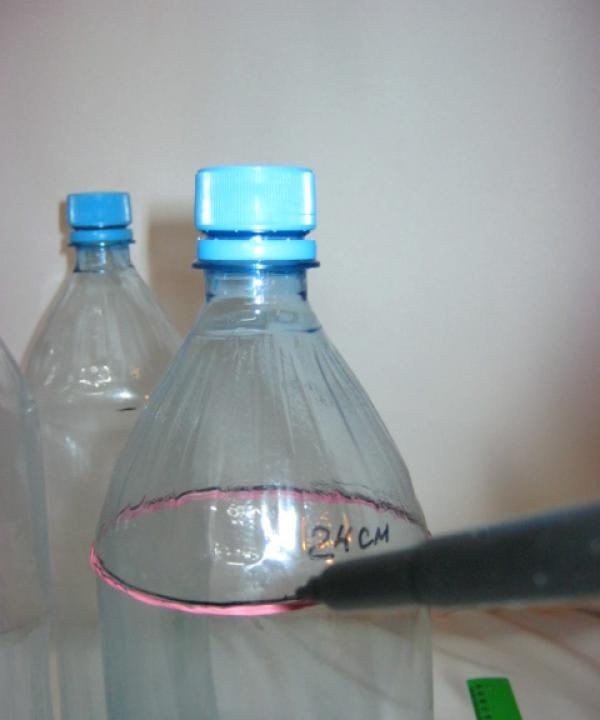
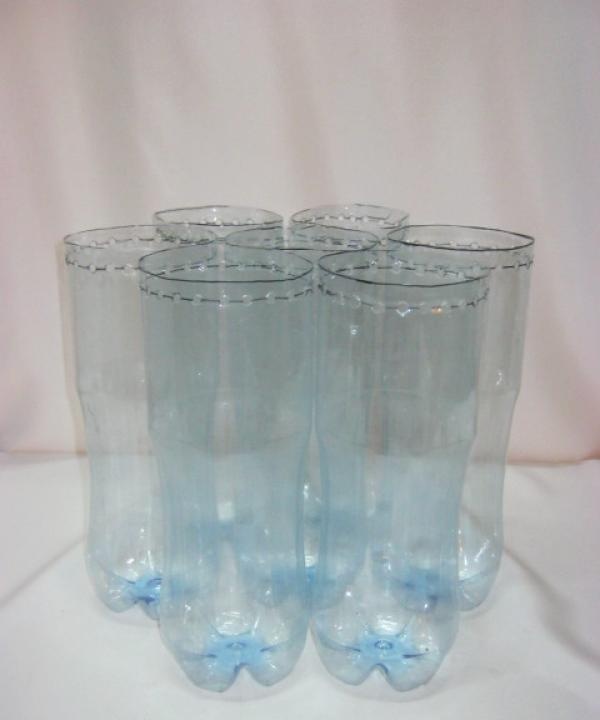
Using a ruler and marker, mark the desired height (mine is 24 centimeters). Place a money rubber band on the bottle and, once again checking the height around the entire circumference, carefully draw a line along the rubber band. Why is this necessary? The fact is that all PET bottles are different in shape and if you simply cut them along the top edge, the top will not be even. We need the same cut and height.
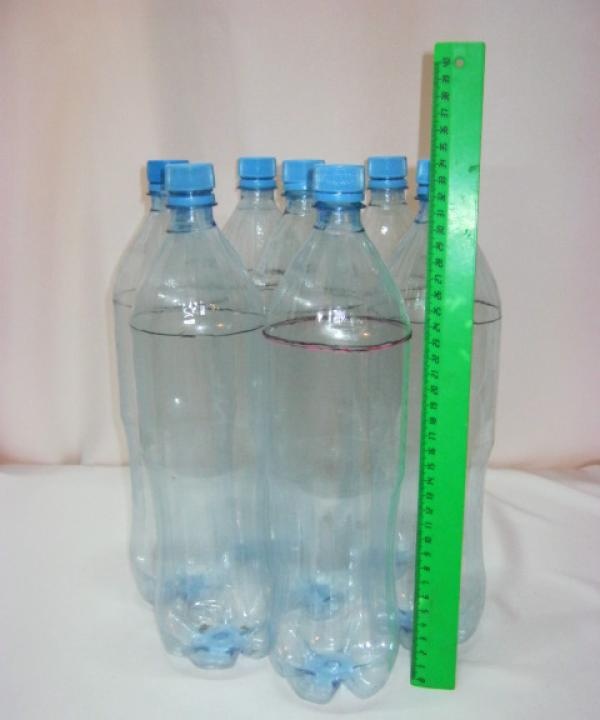
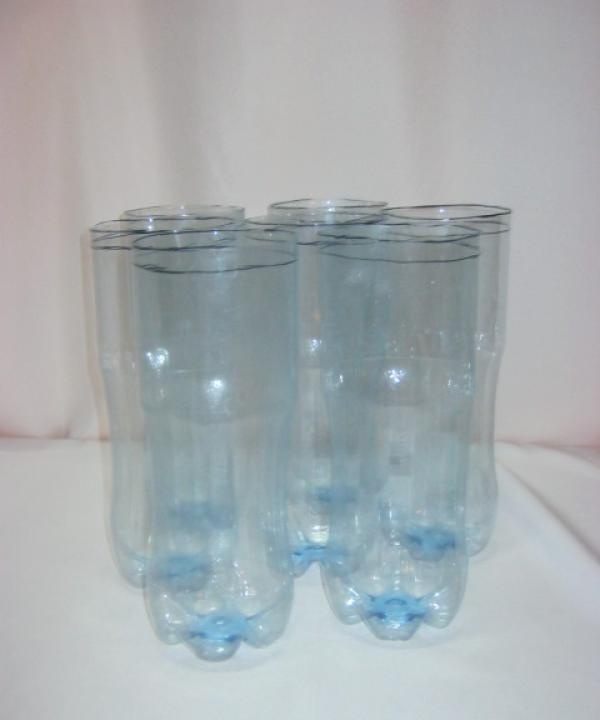
Now we take a cutter and first cut off the top of the bottle 0.5 cm above the line, and then carefully cut along the line with scissors.

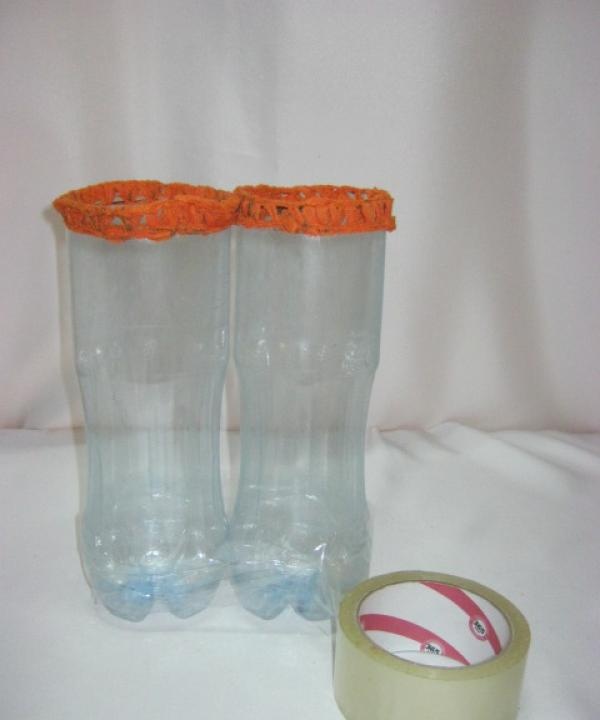
Arm yourself with an elastic band again and draw another line 1 cm below the cut. This will be the level for burning holes.
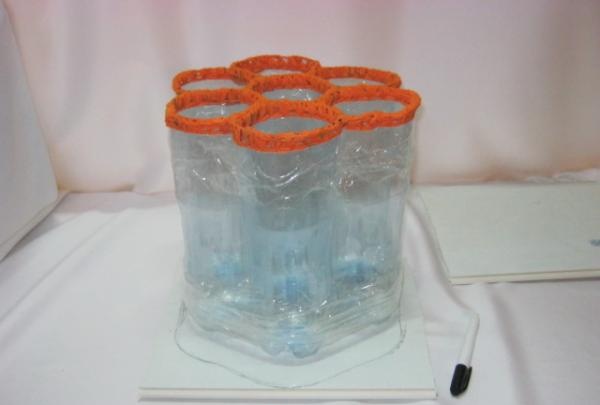
Using a soldering iron, or a knitting needle heated over a fire, or an awl, we make holes along the drawn line at a distance of half a centimeter from each other. Please note that the holes must be large enough to allow your chosen hook to fit through them freely.
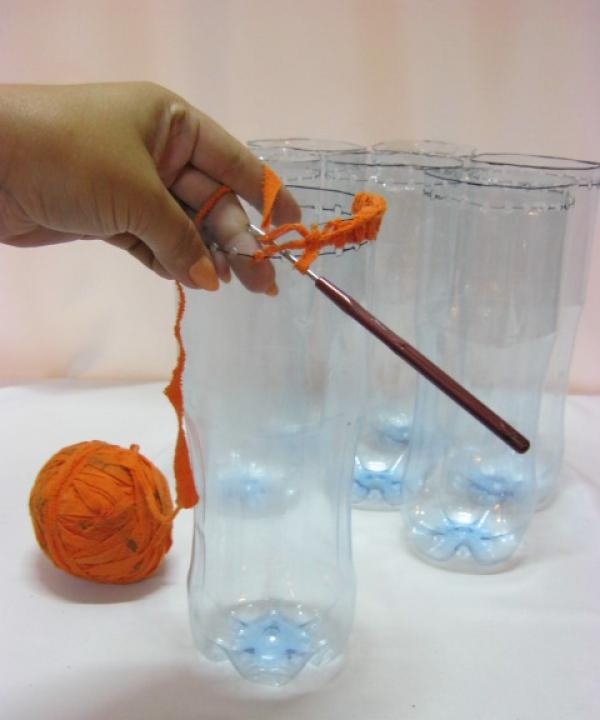
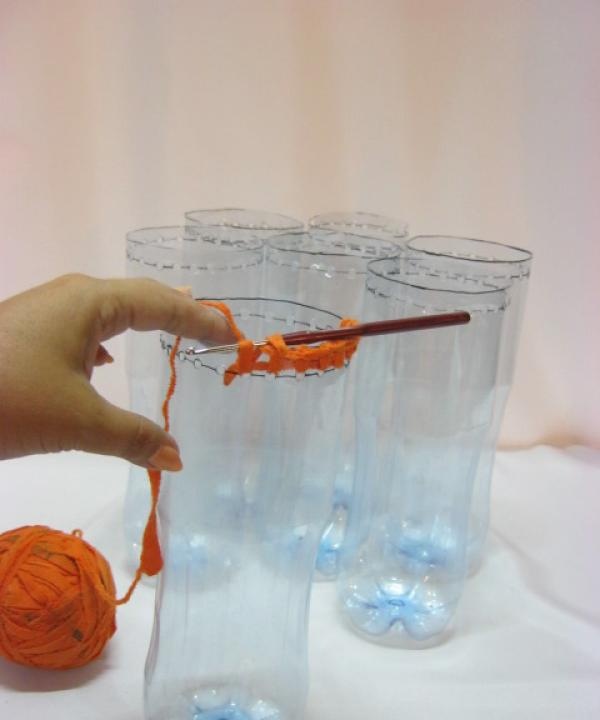
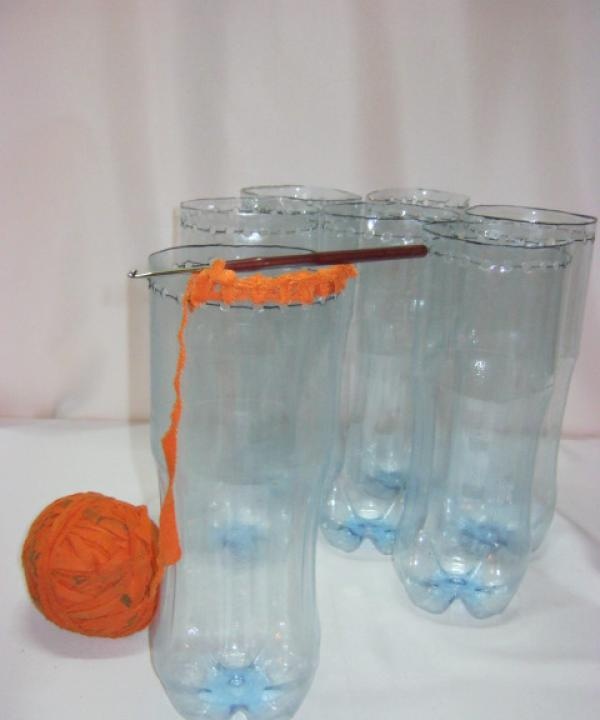
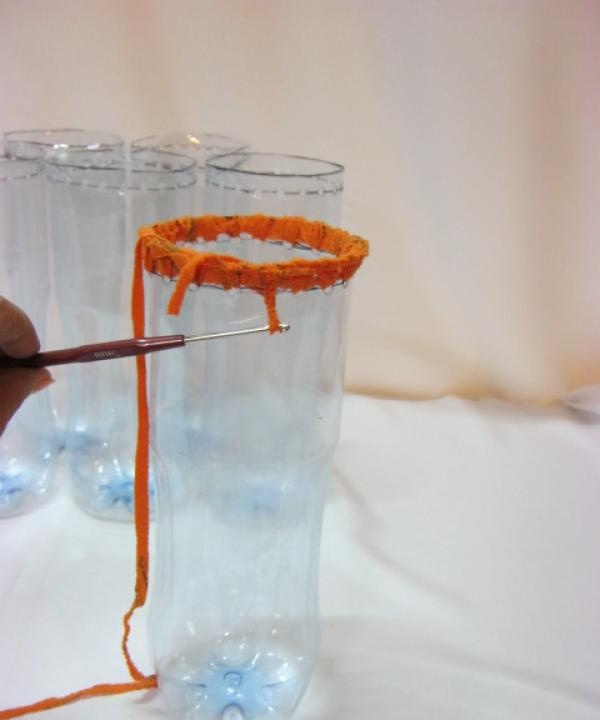
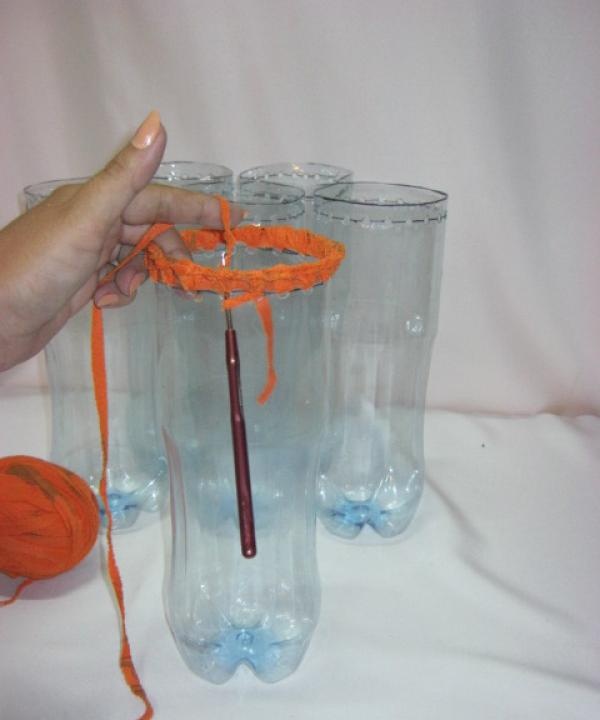
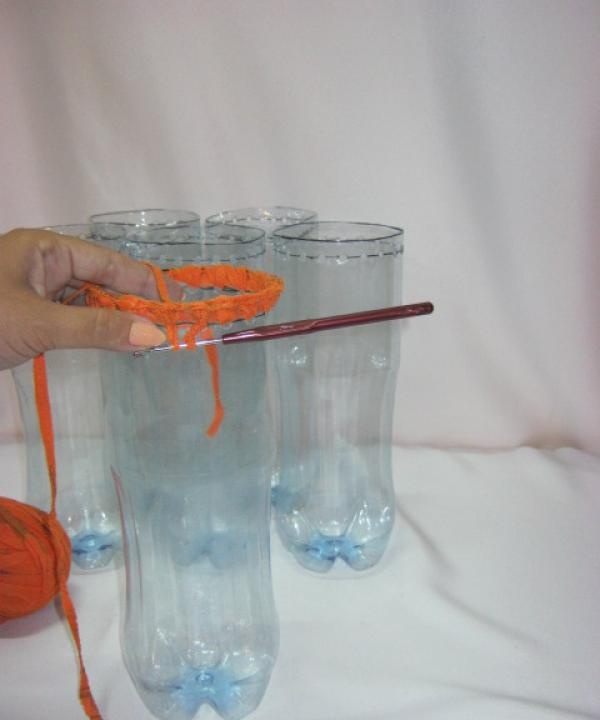
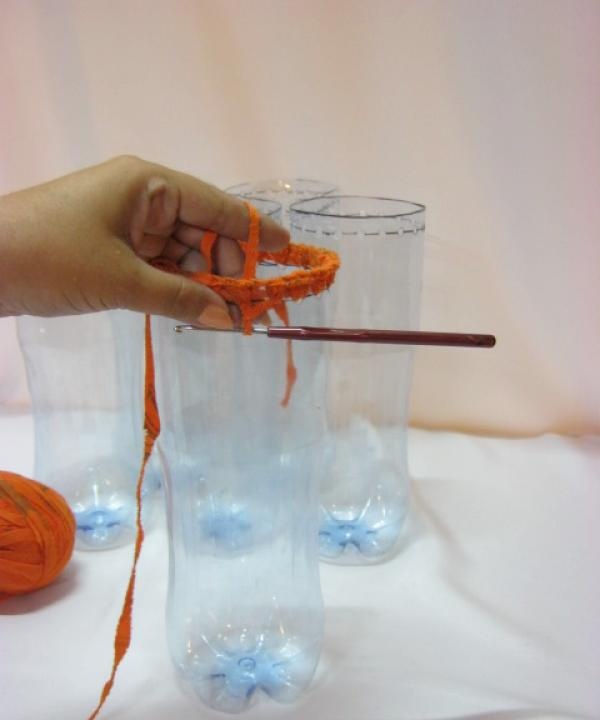
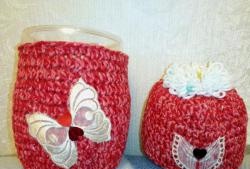
Let's start tying the top. You can use this option or cover the top with a strip of fabric. How will it be easier and more convenient for you.
Let's start fastening the bottles together. We wrap a couple of cylinders with tape, first from the bottom, then from the top. When winding, make sure that they are fastened tightly, but not deformed.
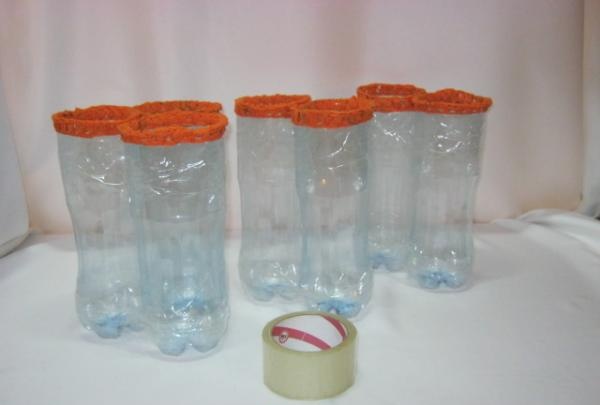
We got 2 pairs of bottles and 1 triple. We fasten them together. One at a time.
Using a needle and thread, we sew the top part of the bottles together, thereby removing gaps and holes.
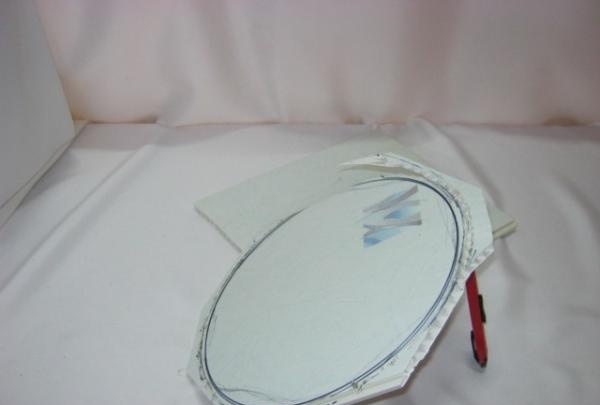
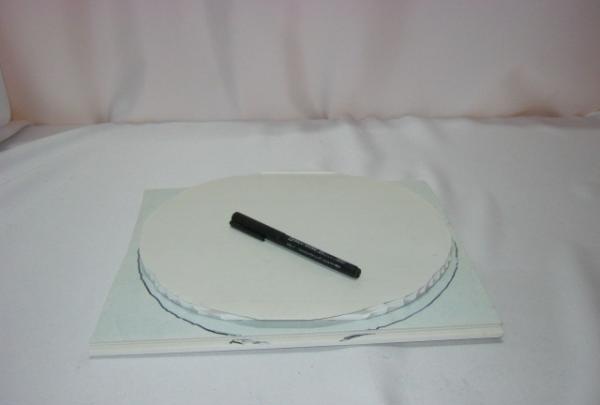
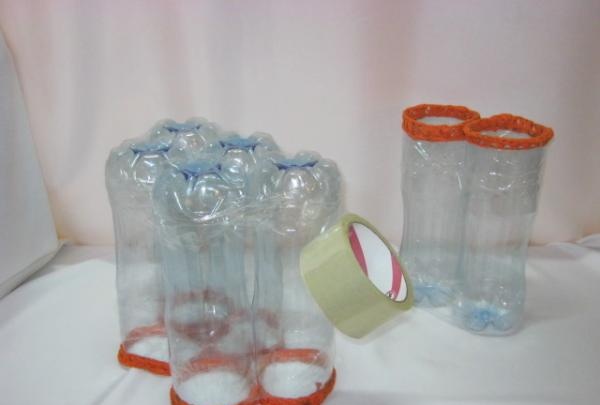
We take scraps of plastic panels (or cardboard) and trace the bottom of our box. Don't forget to allow a little allowance. We bring the resulting outline to the shape of a circle. Using a cutter, carefully cut it out.
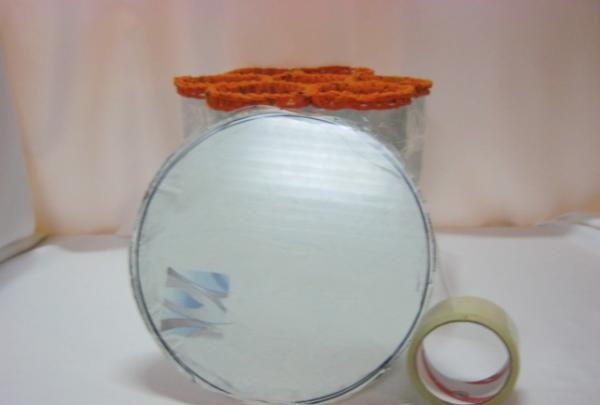
The cut on the bottom and lid must also be secured with tape.
We glue the bottles to the bottom with glue.
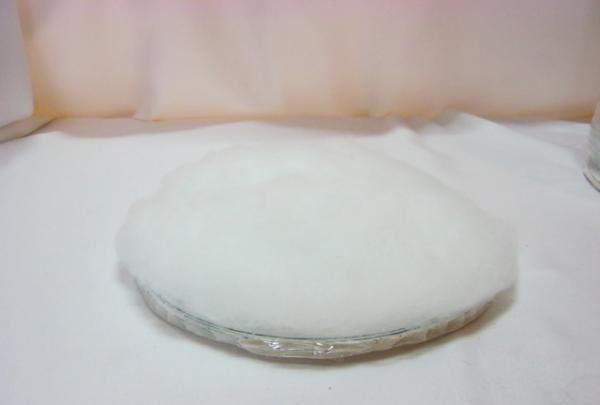
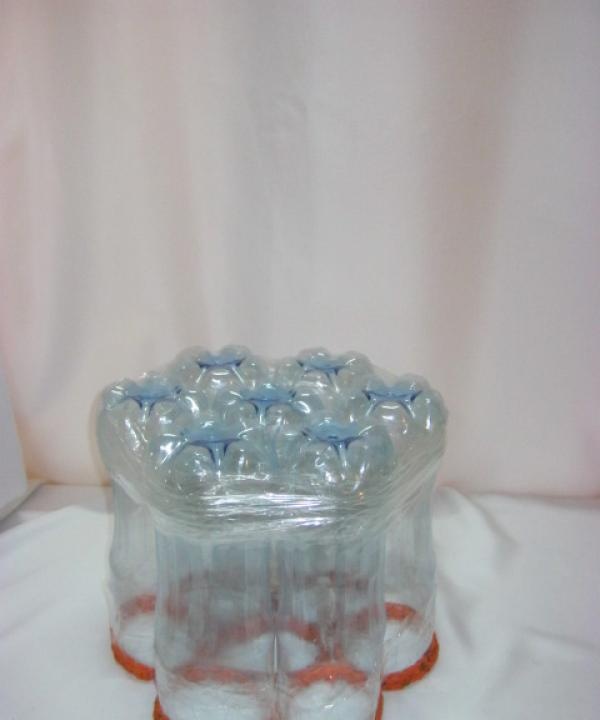
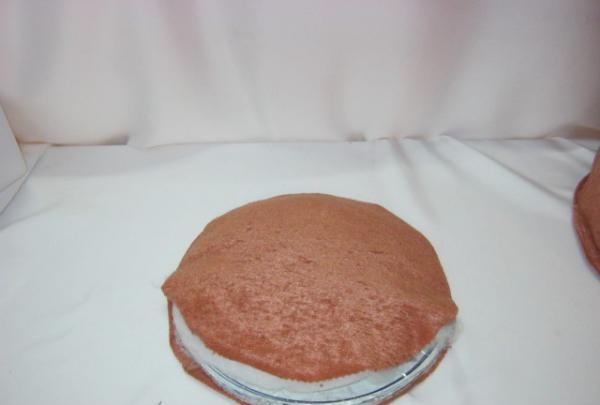
We lay out a small piece of padding polyester on the lid and, without pressing too hard, glue it.
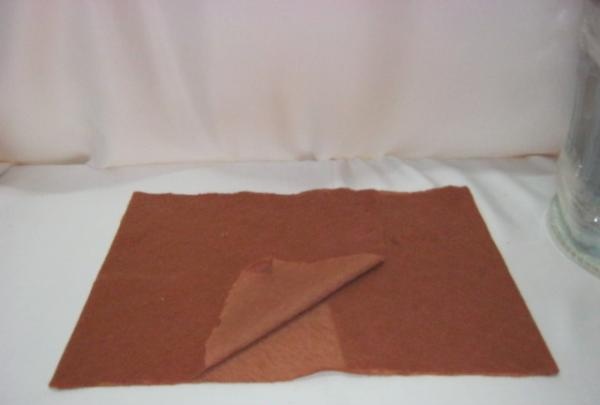
While the glue dries, we sew the upholstery of the ottoman. To do this, cut out a strip from any fabric equal to the volume of the ottoman and 3 circles along the diameter of the bottom and lid. Don't forget about seam allowances and panel height. We sew by machine or by hand, first closing the strip into a circle, and then stitching the resulting part to the circle. We turn it inside out, put it on our bottles and carefully sew the resulting cover to the top trim.
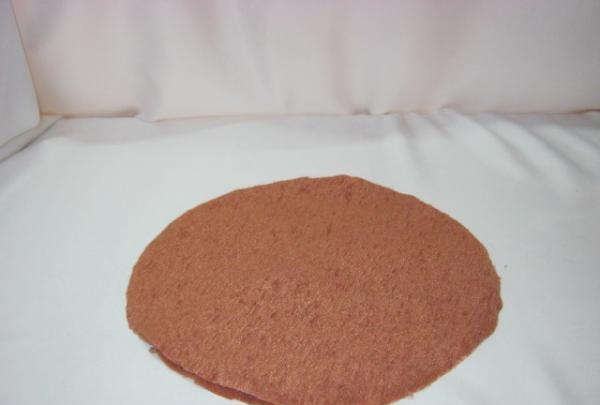
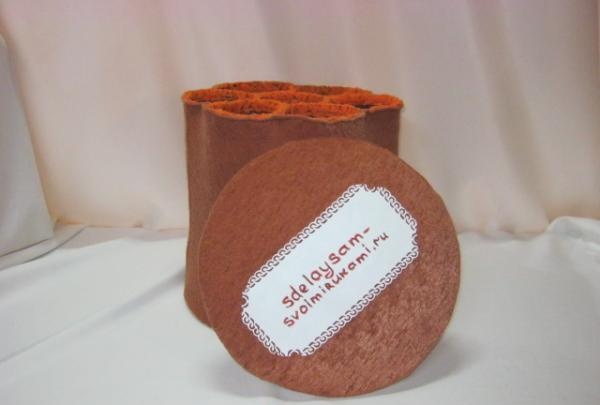
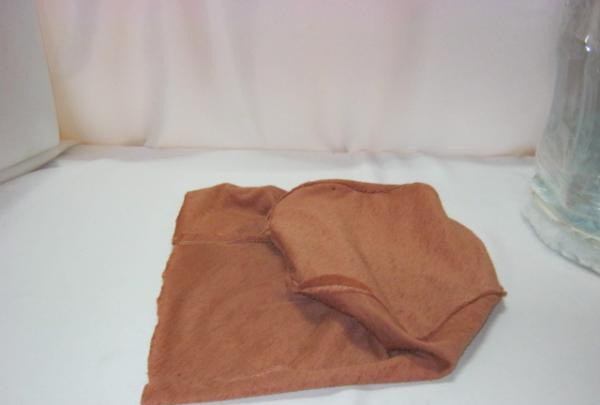
For the lid, we sew the parts only halfway, turn them inside out, put them on a base with padding polyester, and manually sew them up to the end.
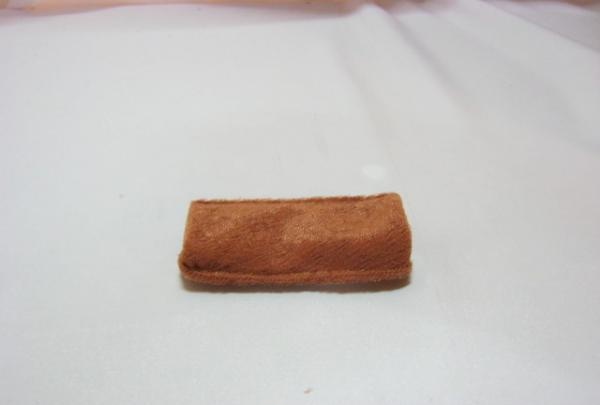

From a small rectangle of fabric we sew fasteners for the lid and use it to connect the lower part and the upper.

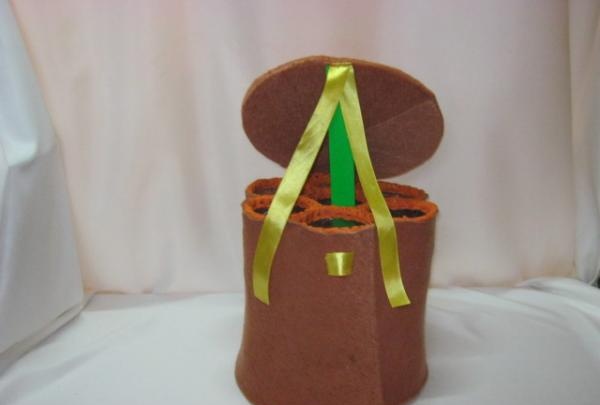
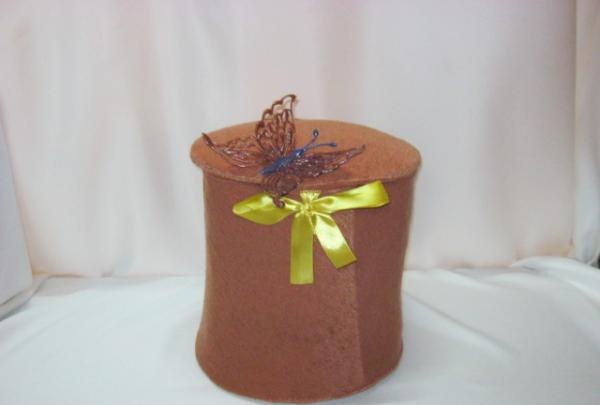
We cut off about half a meter of satin ribbon and, folding it in half, sew it to the lid - these will be ties so that the lid is closed and does not open when it wants. Another piece of tape (5 - 7 cm) is sewn with a ring to the bottom of the product. We thread the ribbon through the ring, tie a bow and... voila.
You can decorate it to your liking, or you can leave it as is. It can withstand the weight of an adult, and if you attach handles to it, it becomes portable and simply irreplaceable in the household.
The banquette is ready.