Do it yourself
Life hacks, master classes, useful tips, recipes.
home » Handicraft techniques » Decoupage » From leftover drywall: a box for storing any accessories
Drywall is a universal material that can be used not only for leveling walls and ceilings, but also in handicrafts. You can make a box of any size from drywall to store various small items.
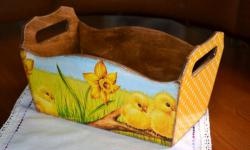
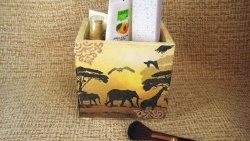
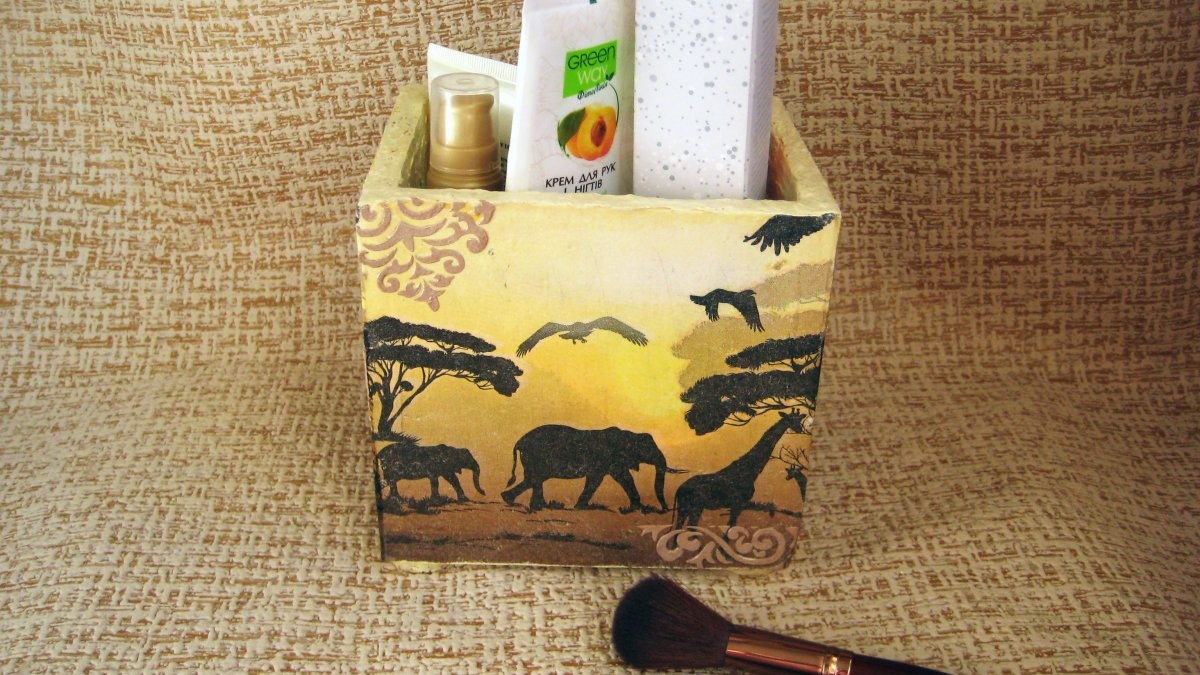
Let's try to make a box from plasterboard for storing women's cosmetics.
How to make a drywall box for storing any supplies

Will need


To make the box you will need the following materials:
  • 1. Drywall (offcuts).
  • 2. Universal putty.
  • 3. Sandpaper.
  • 4. Palette knife.
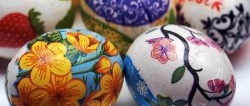
  • 5. Napkin for decoupage.
  • 6. File.
  • 7. Acrylic paints.
  • 8. Acrylic varnish.
  • 9. Stencil.
  • 10. Wine cork.
  • 11. Stationery knife.
  • 12. Ruler.
  • 13. Pencil.
  • 14. Glue gun.

Box manufacturing process


1. First of all, you need to decide on the size of the future box. Then we mark the 4 sides of the box and the bottom on the drywall. Under the ruler, draw a sharp knife along the drawn line. Then we place the resulting cut on the edge of the table and break off the remaining part of the drywall. So cut out all 5 parts.
How to make a drywall box for storing any supplies

2. Next we glue together all the sides of the box.
How to make a drywall box for storing any supplies

3. Then we glue the bottom to the frame.
How to make a drywall box for storing any supplies

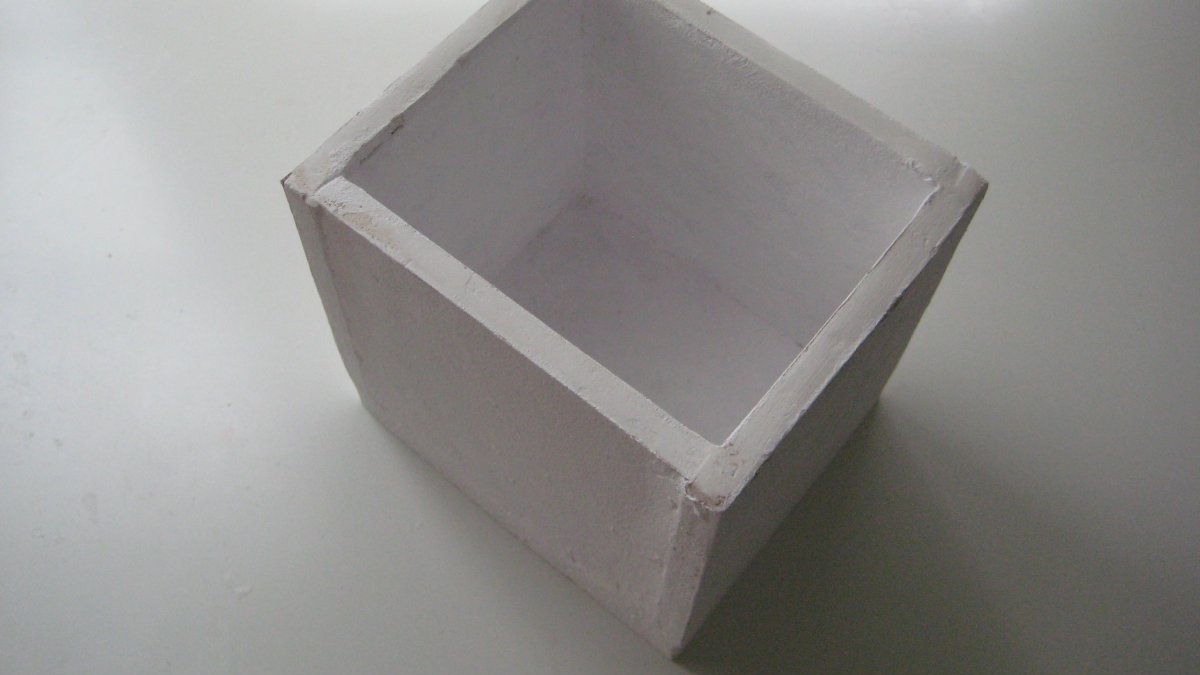
4.The next step is to smooth out all the unevenness on the drywall. To do this, use putty to smooth out the recesses, cover the seams and sand the entire treated surface with sandpaper. Next, prime the box with white acrylic paint.
How to make a drywall box for storing any supplies

How to make a drywall box for storing any supplies

5. Let's start decorating the box. To do this, take a decoupage napkin and cut it into 4 parts.
How to make a drywall box for storing any supplies

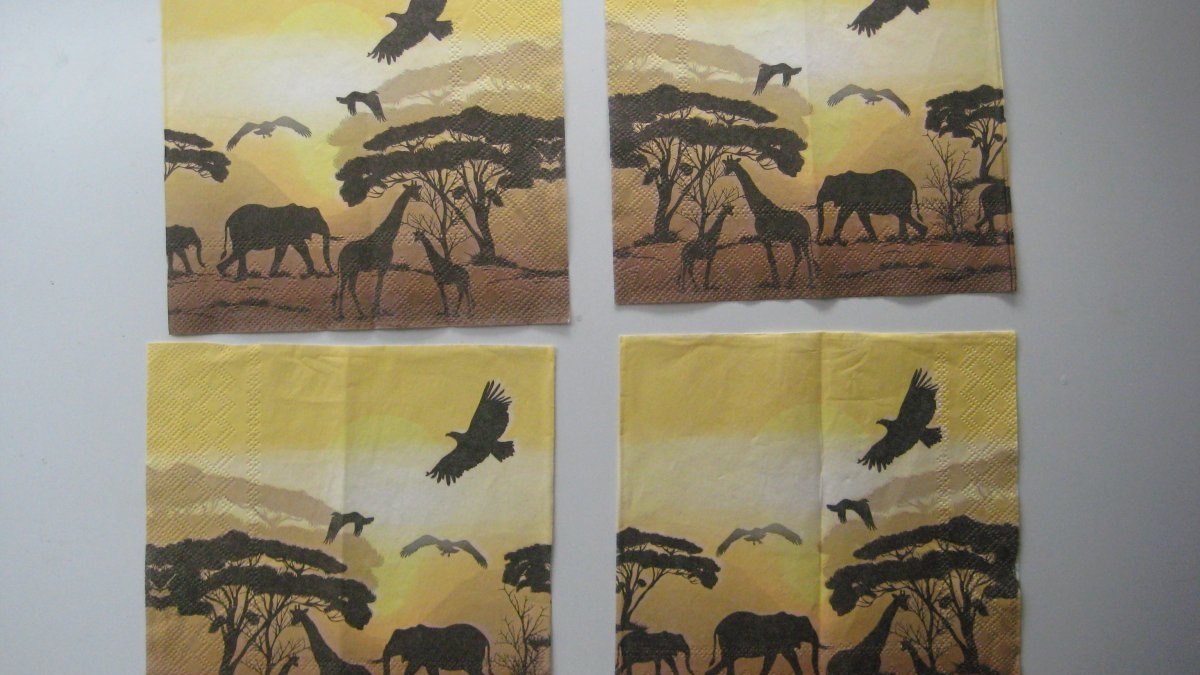
6. Take 1 part of the napkin motif and place it face down on the file.
How to make a drywall box for storing any supplies

7. Then moisten the napkin with water and smooth out the folds.
How to make a drywall box for storing any supplies

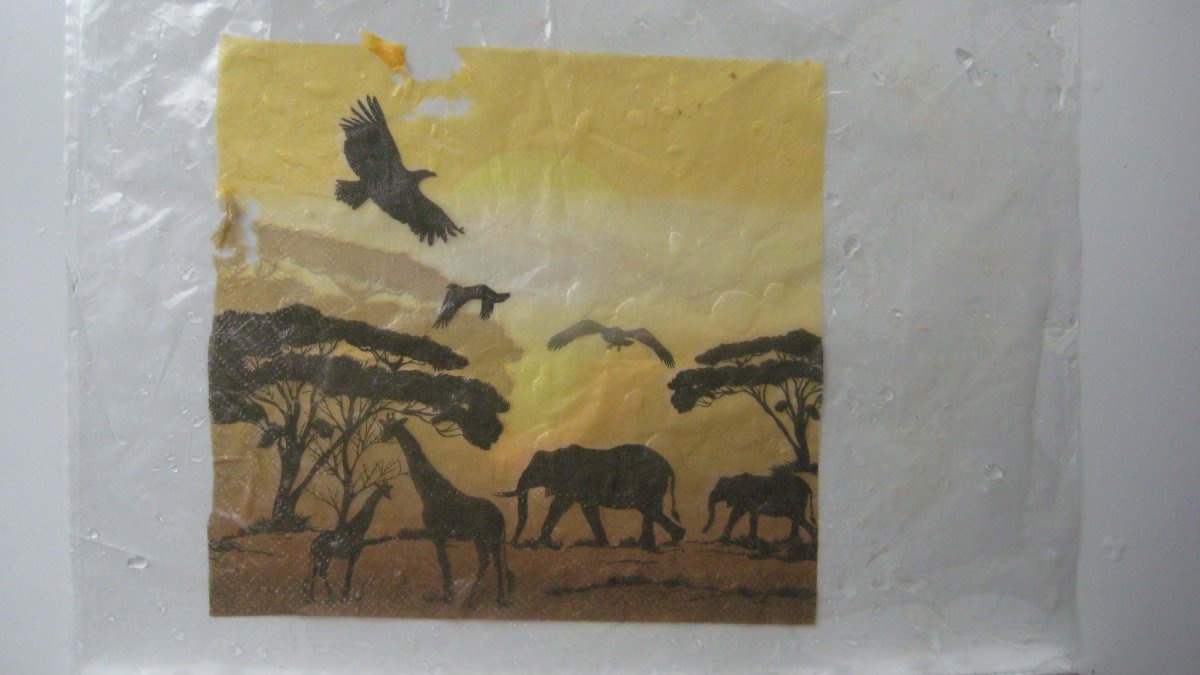
8. Attach the file with the motif to one of the sides of the box.
How to make a drywall box for storing any supplies

9. Smooth the napkin and remove the file. We remove the excess napkin with sandpaper. So we cover all the remaining sides of the box, except the bottom. Cover the napkin with acrylic varnish and let it dry.
How to make a drywall box for storing any supplies

10. Paint the bottom with light beige paint.
How to make a drywall box for storing any supplies

11. Next we make the legs for the box. To do this, cut the wine cork into 4 parts.
How to make a drywall box for storing any supplies

12. Glue the legs at the corners of the bottom.
How to make a drywall box for storing any supplies

13. Paint the cork the same color as the bottom.
How to make a drywall box for storing any supplies

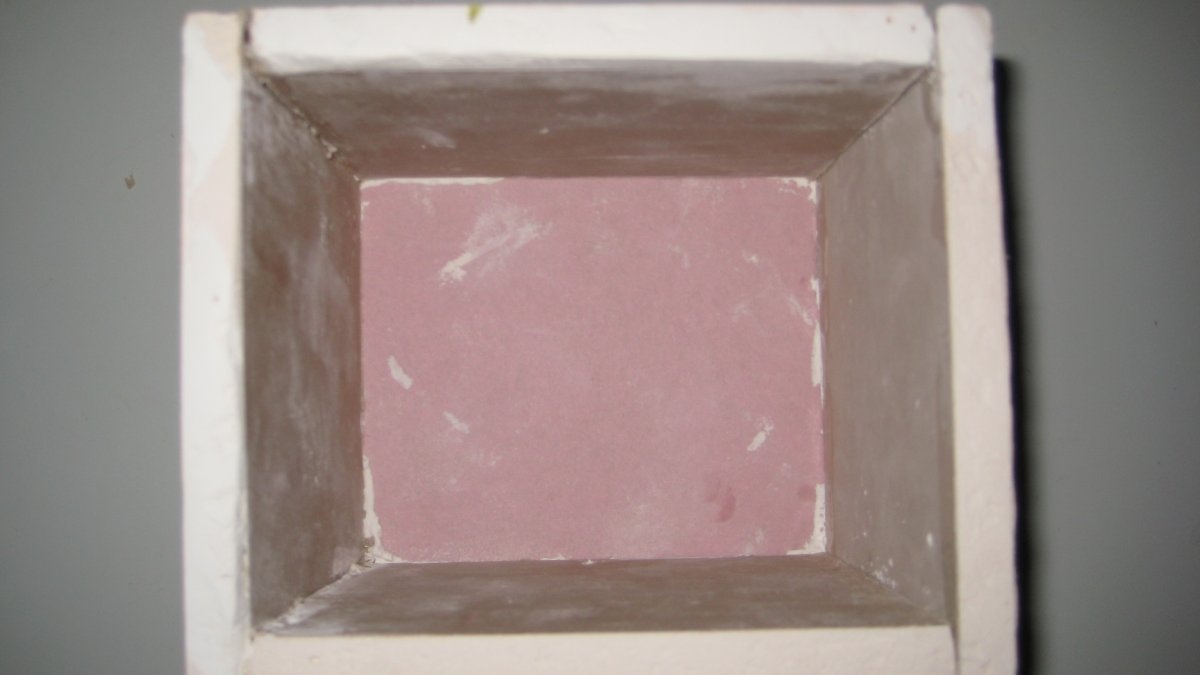
14. Decorate the central part of the bottom with a three-dimensional pattern. To do this, place the stencil in the center of the object and apply colored putty using a palette knife.
How to make a drywall box for storing any supplies

15. Remove the stencil and let the pattern dry.
How to make a drywall box for storing any supplies

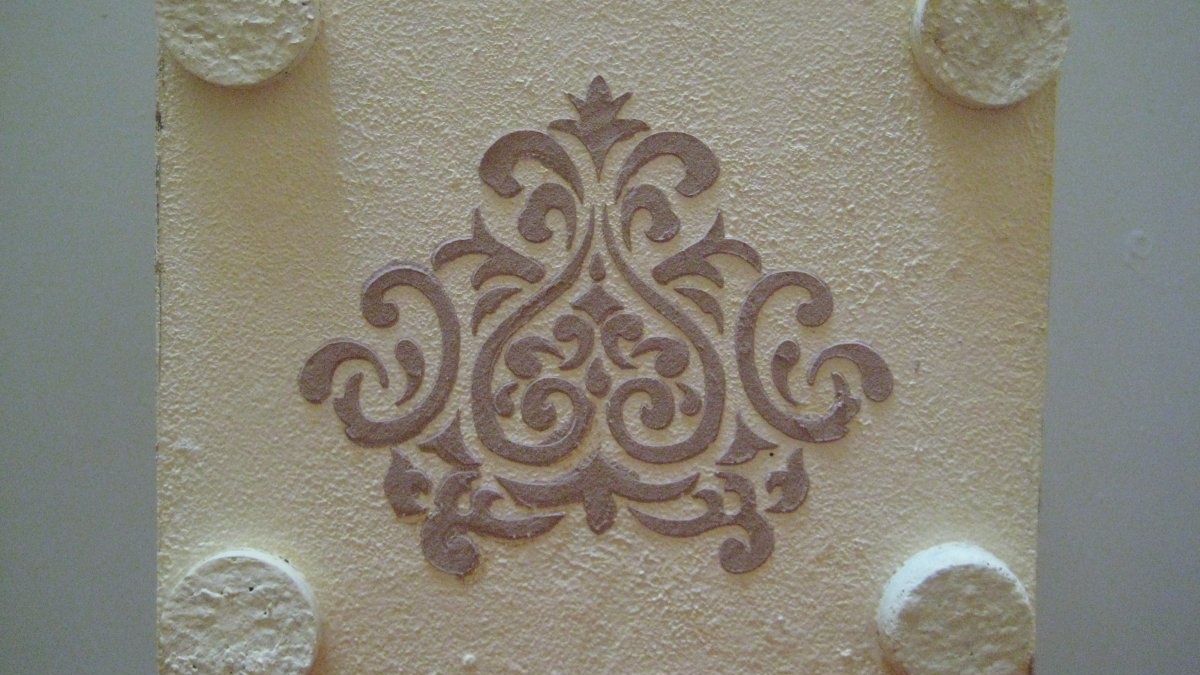
16. Then we start decorating the sides of the box. We apply putty through a stencil in the form of small patterns.
How to make a drywall box for storing any supplies

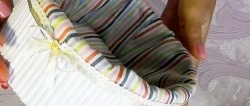
17. Cover the inside of the box with a crumpled white napkin.
How to make a drywall box for storing any supplies

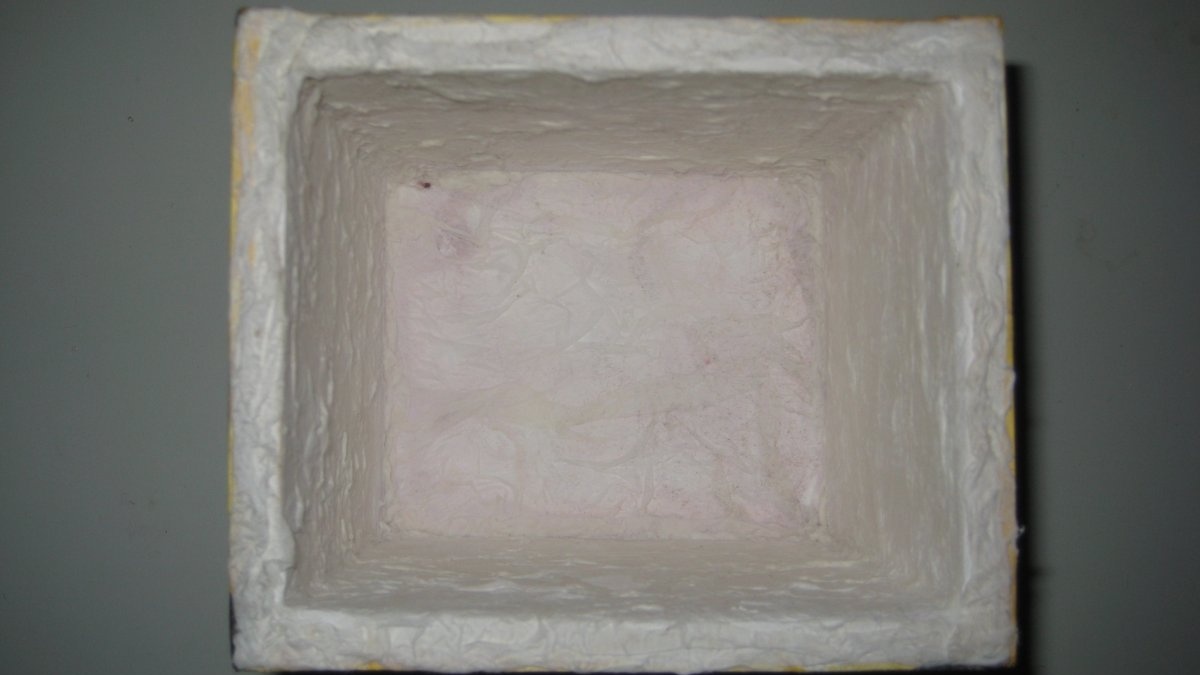
18. Paint the inside of the box with yellow paint.
How to make a drywall box for storing any supplies

19. We highlight the relief inside the box using gold acrylic paint.
How to make a drywall box for storing any supplies

17. Finally, cover the entire box with several layers of varnish. Dry each layer for at least 40 minutes.
How to make a drywall box for storing any supplies

How to make a drywall box for storing any supplies

18. The box for storing cosmetics is ready.
How to make a drywall box for storing any supplies
come back
Comment
  • bowtiesmilelaughingblushsmileyrelaxed relaxedsmirk
    heart_eyeskissing_heartkissing_closed_eyesflushedrelievedsatisfiedgrin
    winkstuck_out_tongue_winking_eyestuck_out_tongue_closed_eyesgrinningkissingstuck_out_tonguesleeping
    worriedfrowninganguishedopen_mouthgrimacingconfusedhushed
    expressionlessunamusedsweat_smilesweatdisappointed_relievedwearypassive
    disappointedconfoundedfearfulcold_sweatperseverecrysob
    joyastonishedscreamtired_faceangryragetriumph
    sleepyyummasksunglassesdizzy_faceimpsmiling_imp
    neutral_faceno_mouthinnocent
5+two=
Comments (2)
  1. Anna
    #1 Anna Guests 17 January 2020 20:38
    2
    Very fragile.
  2. Sergey K
    #2 Sergey K Visitors 10 March 2020 15:57
    1
    I agree with the previous comment, at least they glued the joints with cardboard or something! Plaster is fragile and if you glue it end to end, sooner or later everything will crumble and fall apart, a little will certainly help decoupage as a reinforcement on the outside, but a napkin and varnish will not improve the picture much...

Metal crafts | Do it yourself

How to fix swollen chipboard with your own hands

Pillow "Cat" | Do it yourself

Sweet heart box | Do it yourself

«Do it yourself - with your own hands» - a site of interesting homemade products made from scrap materials and items at home. Step-by-step master classes with photos and descriptions, technologies, life hacks - everything a real master or just a craftsman needs for needlework. Crafts of any complexity, a large selection of directions and ideas for creativity.

We recommend reading

Washing machine error codes