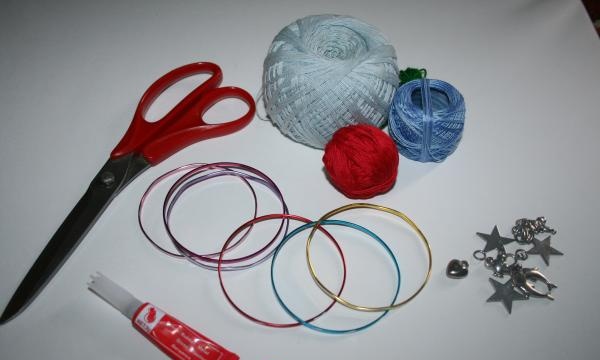
What you need to buy:
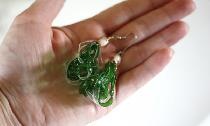
- Accessories: rings, pendants;
- Threads. You can use floss or iris. It will not fray when worn and will not change color much from the glue;
- Old bracelets. Ordinary thin “tins”, which are cheap and sold in any jewelry store;
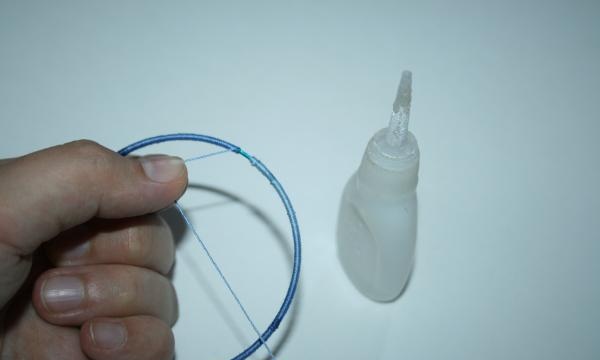
- Glue;
- Scissors.
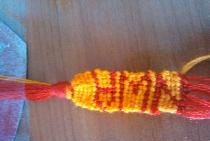
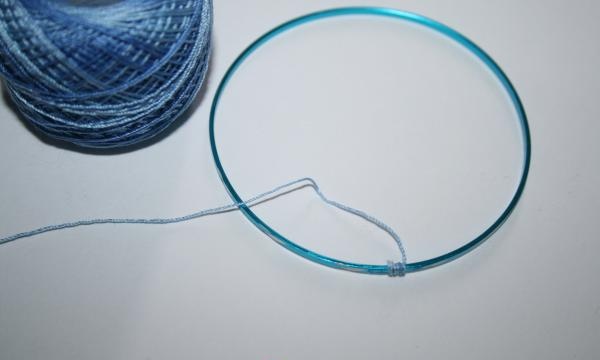
Let's start manufacturing. Take the bracelet and add glue to the side. Don't overdo it, we just need to fix the beginning of the thread.
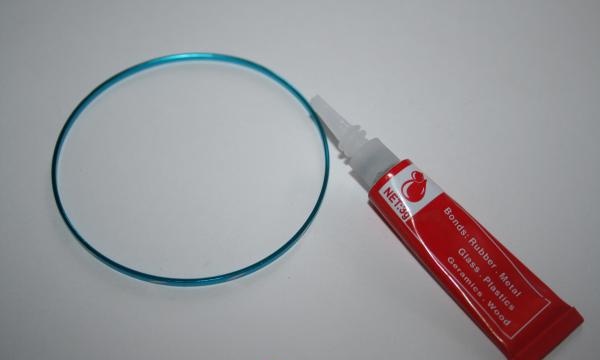
We begin to wind the thread until the glue is high. Just wrap a few wraps around the bracelet, in the area where you just dropped the glue.
Continue winding the thread around the base of the bracelet. This activity is a little tedious, but still interesting. After all, at the end you will receive a beautiful decoration that you just made yourself.To prevent the thread from unraveling when worn, if it suddenly frays in some place, as you wind it, drip glue into some places to fix the thread on the bracelet in several places.
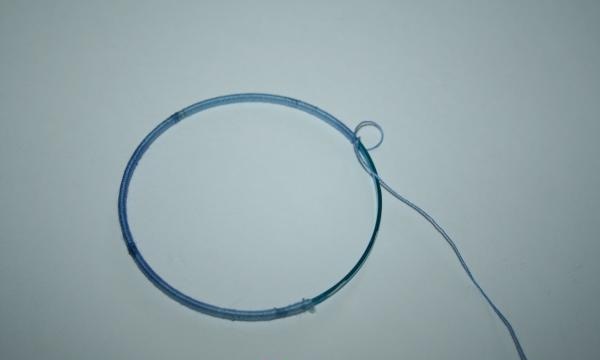
When you reach almost the end - the beginning of the wound thread on the bracelet, drop a final drop of glue onto the bracelet and wind the thread on top. Carefully cut the end of the thread and, while the glue is still wet, press it to the base of the bracelet.
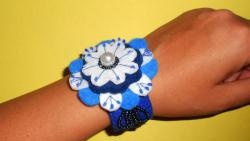
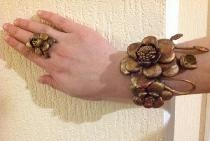
Let's start decorating the bracelet. This part is the most interesting. We begin to attach rings and pendants to the bracelet.
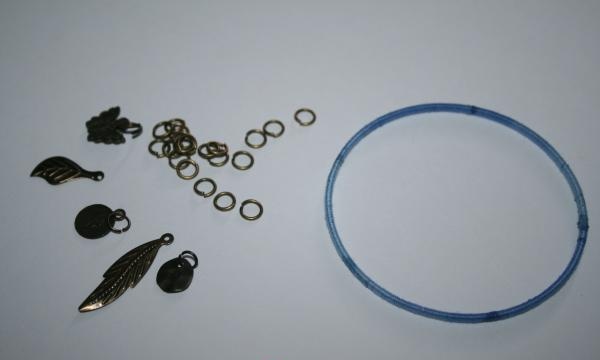
You can choose the most varied location. If you wish, you can hang all the pendants side by side or just at the ends of the bracelet, as you want and like best. Experiment and choose your option. I decided to separate the pendants with 4-5 rings.
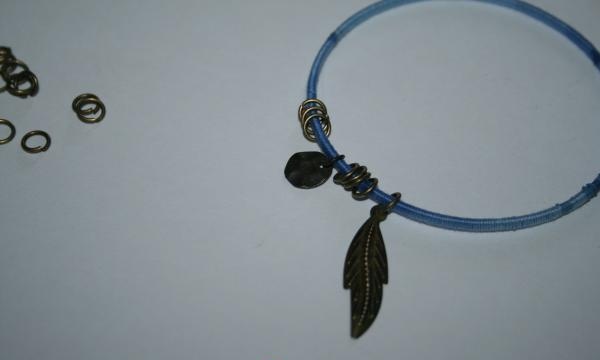
There can be a great variety of pendants or, conversely, just 2-3 modest pieces. I have 5 of them, one large, two medium and two small.
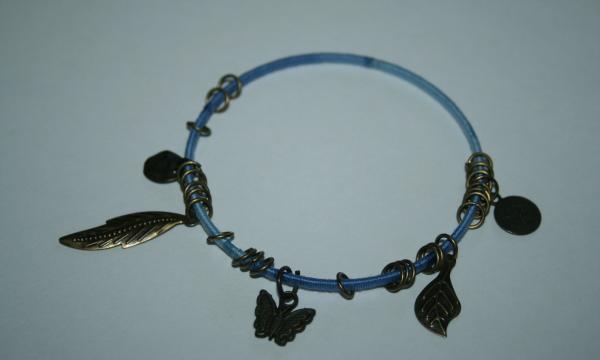
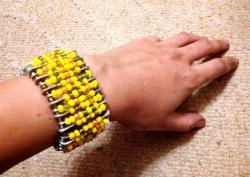
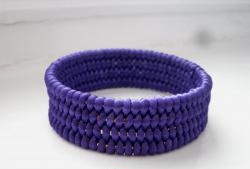
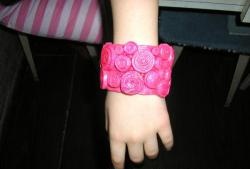
This is the bracelet we got. If you wind several pieces of different colors, you can wear a new one every day. And if you want, you can wear it all at once, creating a whimsical rainbow of bracelets on your arm. It looks quite original, but is done easily and quickly enough.