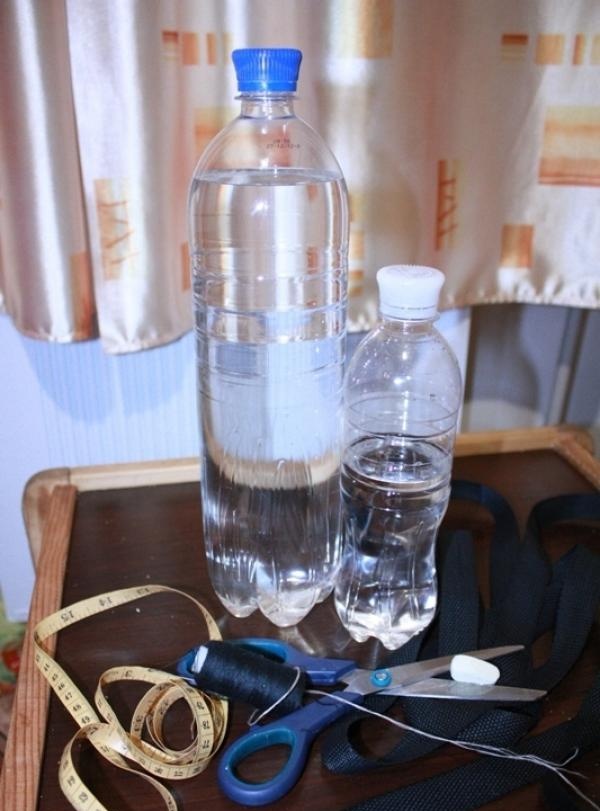
You will need:
• tape (about 2 m) made of dense synthetic fabric, no more than 3 cm wide (like those used to fasten backpacks);
• 0.5 liter plastic water bottle (or liter, it’s simply inconvenient to carry a large container on your belt);
• scissors;
• thread and needle;
• chalk or piece of soap;
• meter;
• lighter (matches).
We measure the circumference of the bottle at the widest point at the neck and at the bottom.
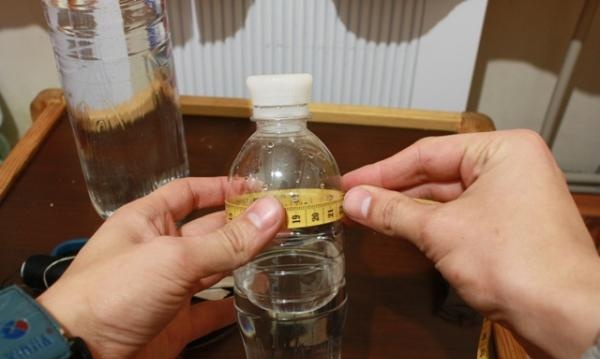
We transfer our measurement to the tape (and add approximately 1cm).
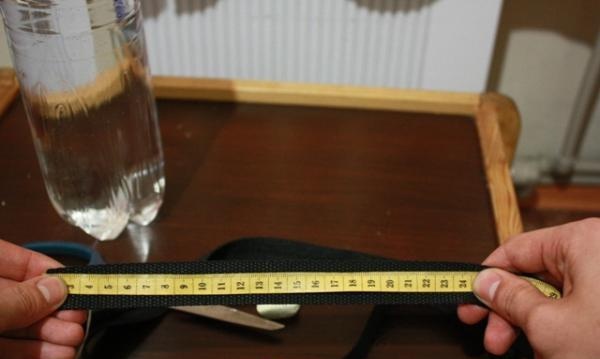
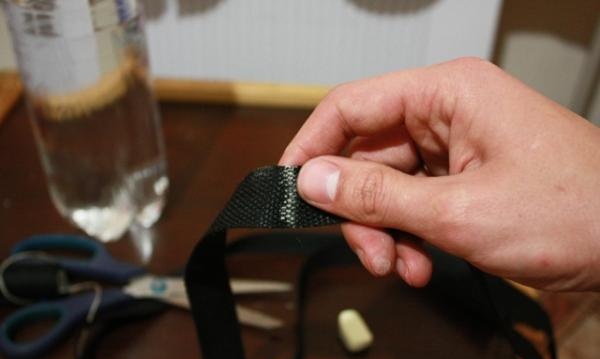
We mark the measurement location with chalk and cut off a piece of tape.
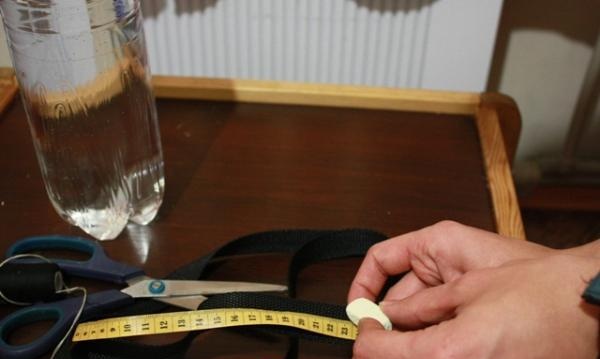
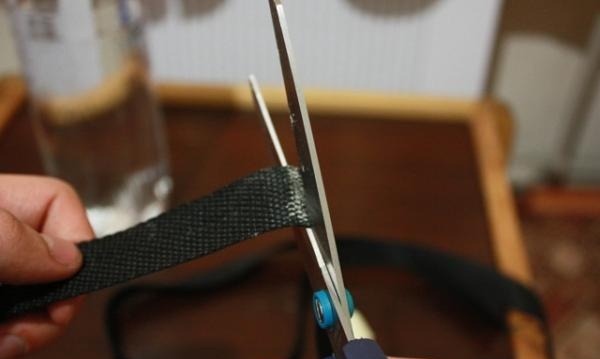
In this case, you can attach it to the tape, using it as a template and cut off another piece of tape. You will get two ribbons of the same length.
But not all plastic bottles will do this. Some manufacturers make the base of the bottle wider. In this case, you should be guided by the base, otherwise you will not be able to fit the entire bottle into the finished case.
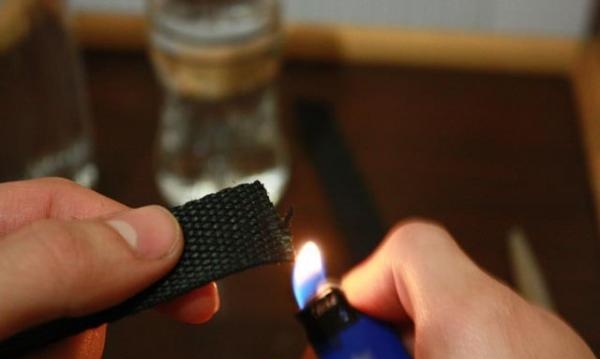
The edges of the ribbon should be melted with a lighter to prevent fraying. The main thing is not to get carried away so as not to start a fire in the room. It is advisable that the room is well ventilated.
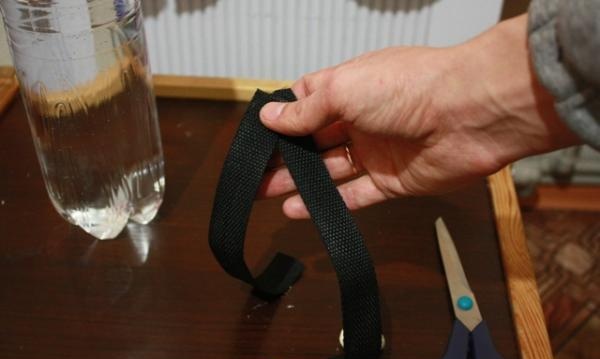
Now we take our blanks and try them on a bottle. That is, we overlap the bottle with our piece of ribbon and mark the edge with chalk, so that later we can sew a ring of the correct diameter from the ribbon.
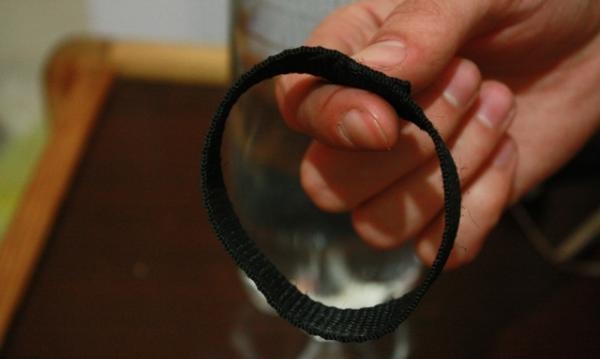
It's time to grab a needle and thread. We sew the “ring” according to our mark.
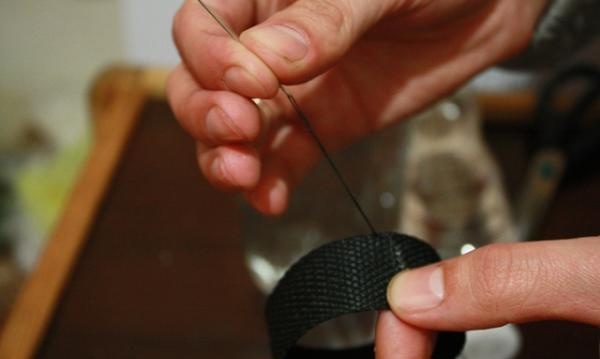
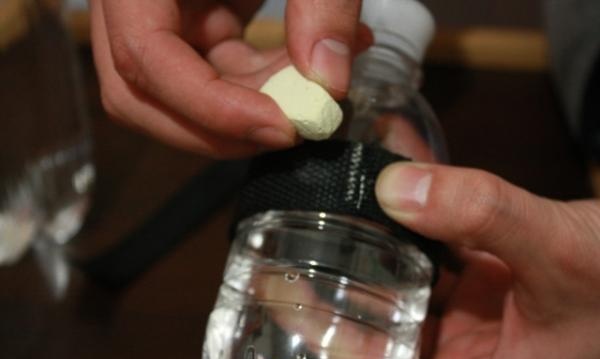
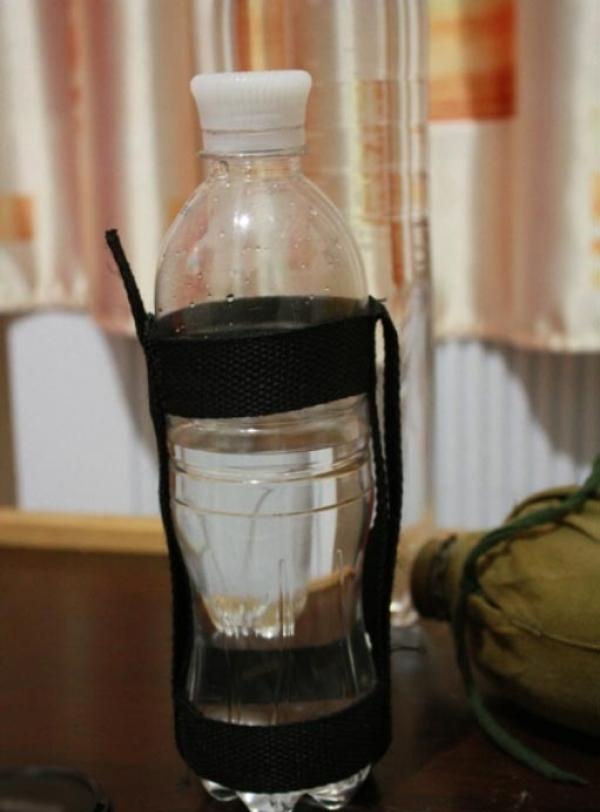
That's why, when we transferred the diameter of the bottle to the tape, we added another centimeter to it. When you connect the ribbon into a ring, its edges, overlapping each other, form a kind of square. All four sides should be stitched, and also crosswise. We repeat the same procedure with the twin of our workpiece. We put them on the bottle. One at the bottom, no more than a centimeter away from the bottom, the other at the top - along the “shoulders” of the bottle.
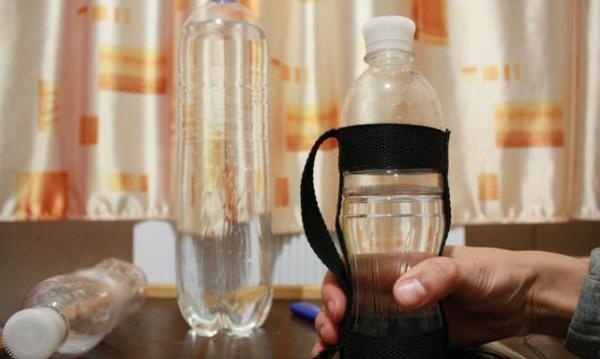
We take the bottle in our right hand (if you are left-handed, in your left hand), and with your left hand we lay the remaining “large” ribbon along the bottle: we press one end at the upper “ring” with our thumb and stretch it to the lower one. Then we stretch along the bottom and again to the upper “ring”, and press the other end to the bottle with the index finger from the opposite side. Let's draw a ribbon around the letter U.
Pressing the tape to the bottle in this way, we mark the joints (peculiar intersections) with chalk. This is necessary so that later, when you remove the “rings,” you can sew them on correctly.
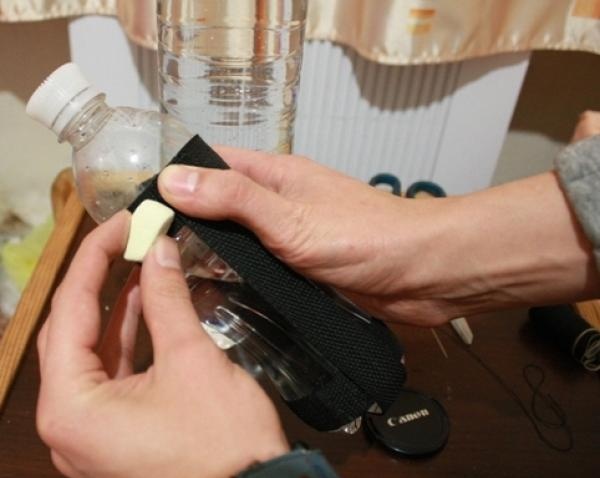
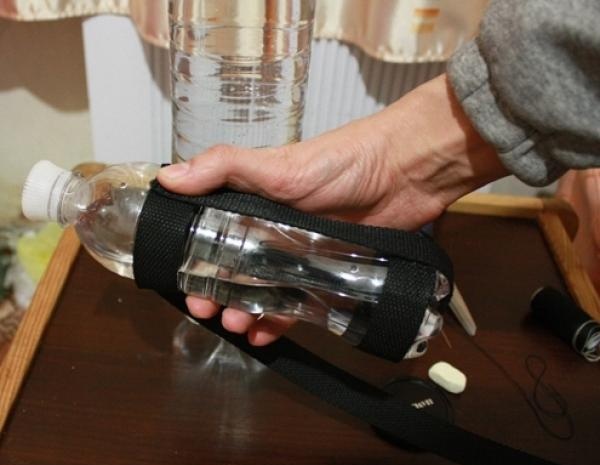
Sew it on. The result will be something similar to a fire extinguisher mount. While we are not cutting anything, let the free end of the tape dangle quietly. We thread the bottle into the resulting structure. Okay, the case is half ready.
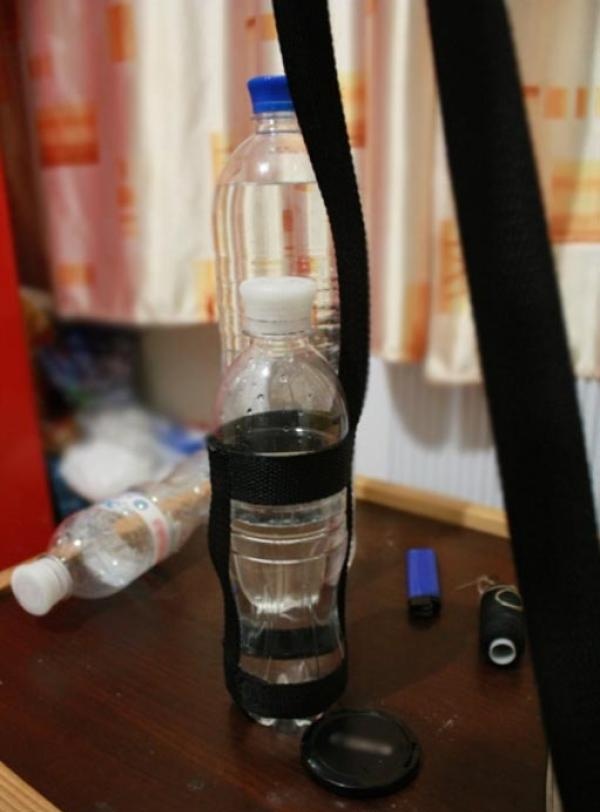
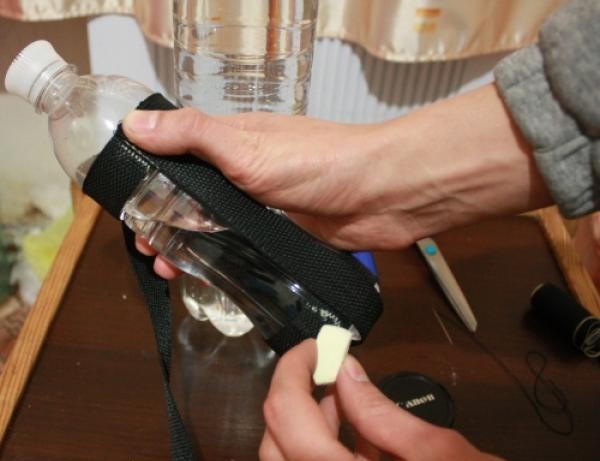
But now we run the free end along the bottle in the opposite direction: again from the upper “ring” to the lower one and back along the opposite side. You will get a loop that will help keep the case on your belt.
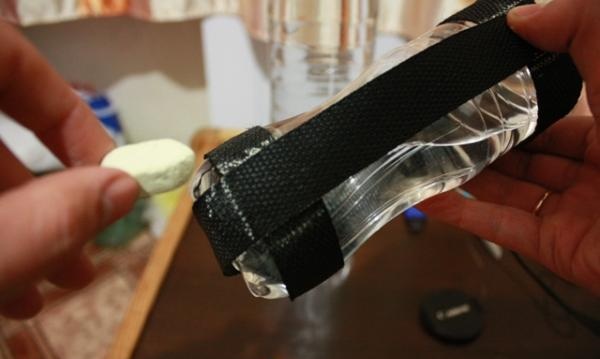
Press it firmly against the bottle with your fingers and repeat the procedure with chalk - mark the joints. We take out the bottle. It won't be easy at first, but the fabric tends to stretch a little over time. Now we sew along the marks. Cut off the excess end. Great!
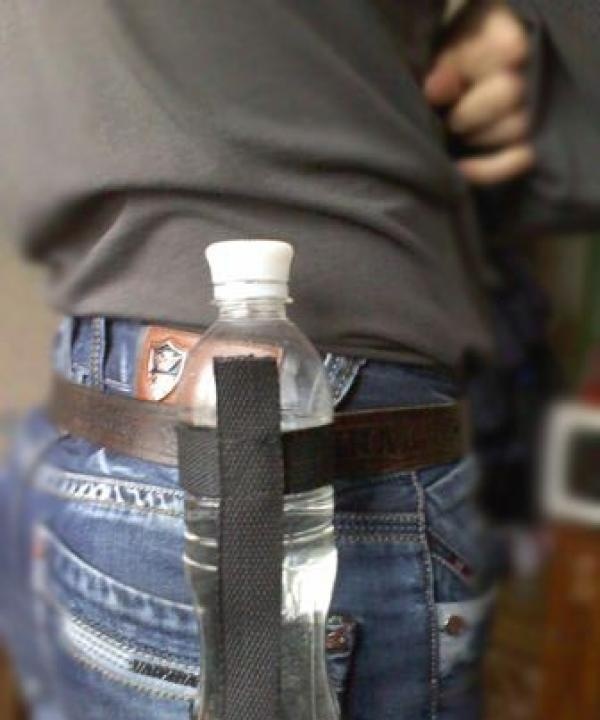
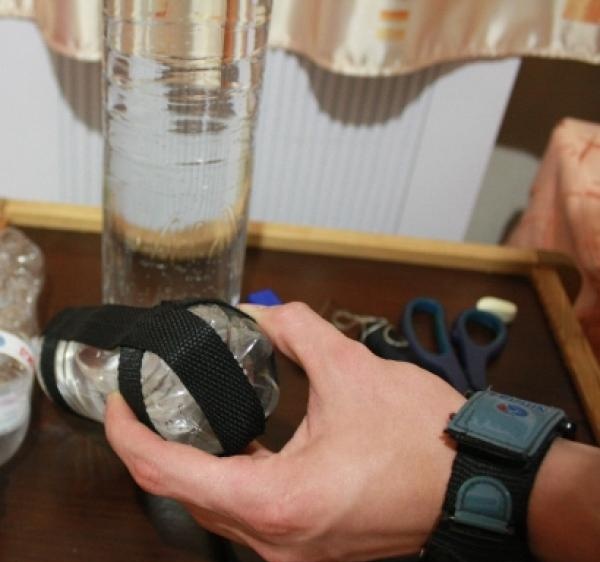
Agree, it was not difficult. The case is so simple that even if something happens to it, it can be easily repaired. It can be built even in camping conditions (if you have a thread and a needle), but the water is always in a convenient place, whether you are hiking or just decide to rollerblade in the park.