Do it yourself
Life hacks, master classes, useful tips, recipes.
home » Games and toys » Yarn spider
The Spider toy is made from yarn very quickly and does not require complex materials. For crafts you will need: yarn, scissors, glue stick, markers, white paper, a small piece of cardboard, wire.

yarn markers wire


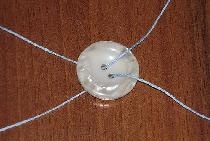
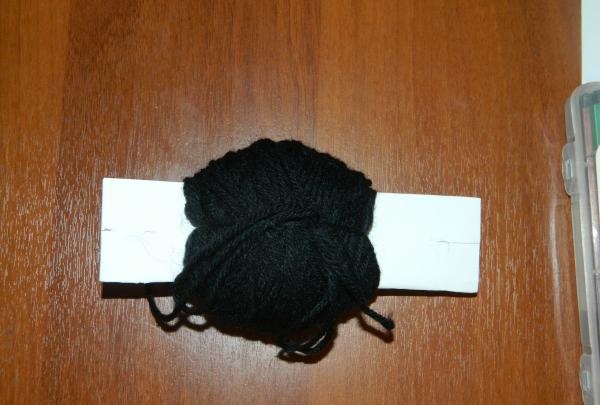
First you need to make the body of the spider: to do this, take a small rectangular piece of cardboard (you can fold the paper sheet several times) and make cuts on the sides, insert wool thread into the cuts, and wind the yarn on top. Then remove the thread from the cardboard and tie the skein tightly.

spider body

wrap the yarn over it


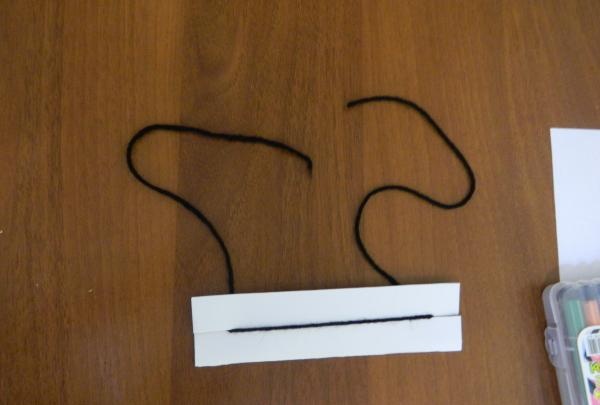
Now you can carefully remove the cardboard. Turn the skein over and tie it with thread on the other side.

pull out the cardboard


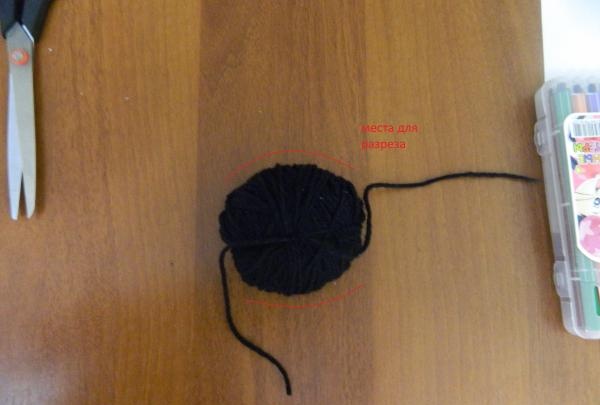
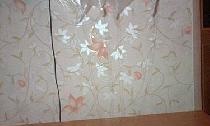
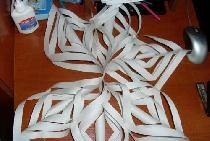
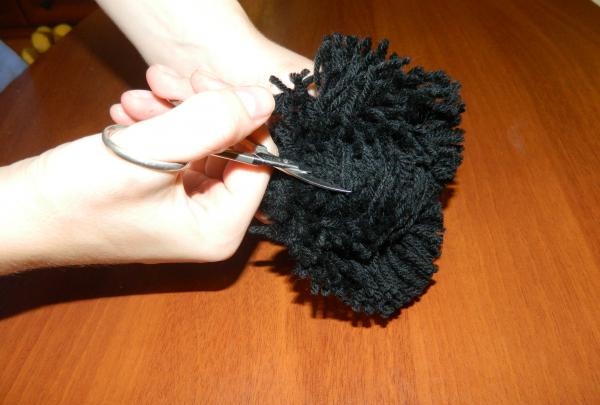
Now gradually cut the threads from the sides indicated in photo 4, just be careful not to cut the fastening thread.

cut the threads


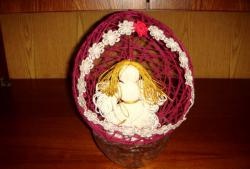
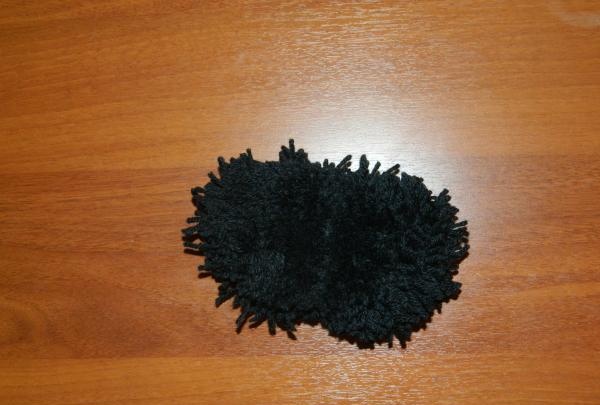
This is what should happen.

what should happen


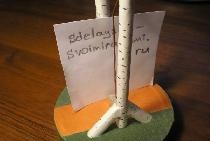
The next step is to create the spider legs. To do this, cut 4 pieces of wire; they can be either the same length or different. It is better to round the ends, this will not only be safer, but it will also be easier to secure the wound thread.

creating spider legs

wrap the wire

paws are ready


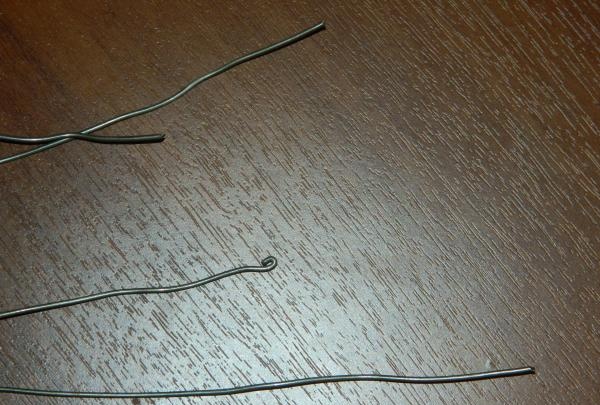
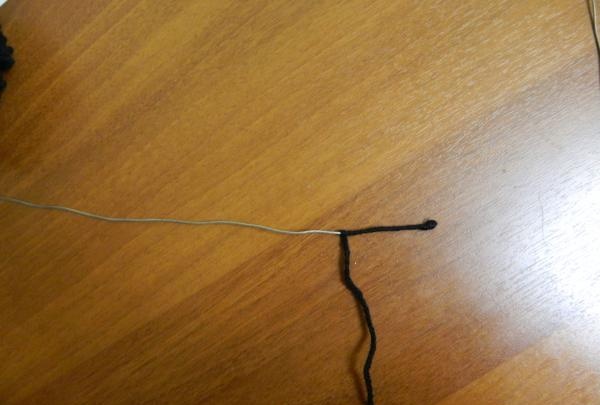
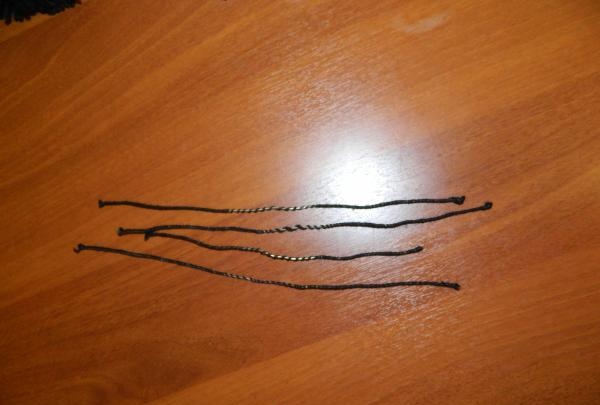
In order for the yarn to stick better to the wire, the thread must be lubricated with a glue stick and wound in a circular motion. You don’t need to wrap the middle of the foot tightly: this will save your time and yarn.
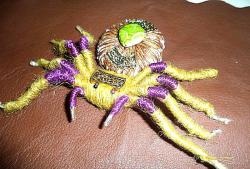
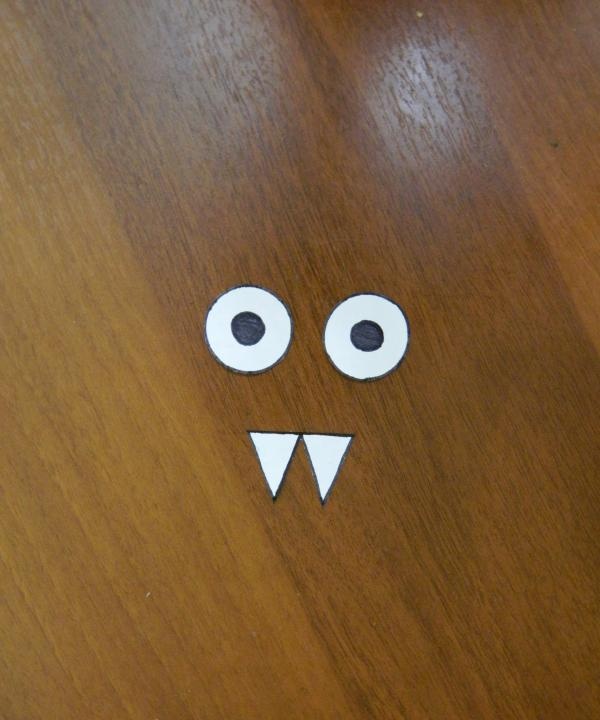
After the paws are ready, we proceed to the penultimate stage. I decided that my spider would have big eyes and teeth, you can do it as you want - squint, stick out tongue, smile or something else. So, on white paper we draw two eyes and two fangs, then cut them out.

Eyes and teeth


The final stage will be assembling a funny spider. We put the paws through, bend them so that they look like real ones, then glue on the eyes and teeth. Now the spider is ready, you can attach a rope to it and hang it in a corner.

yarn spider


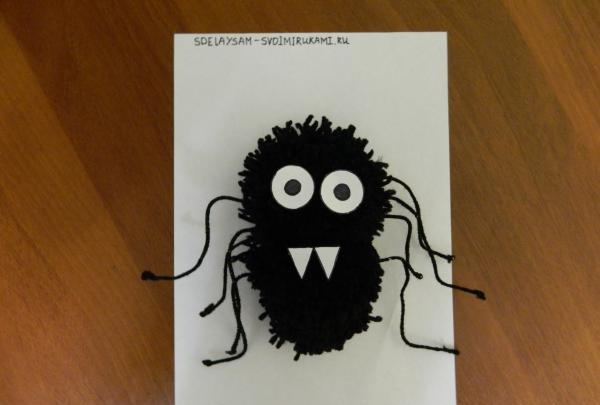
This craft can be done with children; they will enjoy participating in the process, coming up with new colors or funny spider faces.
come back
Comment
  • bowtiesmilelaughingblushsmileyrelaxed relaxedsmirk
    heart_eyeskissing_heartkissing_closed_eyesflushedrelievedsatisfiedgrin
    winkstuck_out_tongue_winking_eyestuck_out_tongue_closed_eyesgrinningkissingstuck_out_tonguesleeping
    worriedfrowninganguishedopen_mouthgrimacingconfusedhushed
    expressionlessunamusedsweat_smilesweatdisappointed_relievedwearypassive
    disappointedconfoundedfearfulcold_sweatperseverecrysob
    joyastonishedscreamtired_faceangryragetriumph
    sleepyyummasksunglassesdizzy_faceimpsmiling_imp
    neutral_faceno_mouthinnocent
3+three=
Comments (0)

New life for an old vase | Do it yourself

How to narrow the neckline of a sweater or T-shirt with your own hands

DIY crafts and gifts for March 8

Sewing | Page 6 | Do it yourself

«Do it yourself - with your own hands» - a site of interesting homemade products made from scrap materials and items at home. Step-by-step master classes with photos and descriptions, technologies, life hacks - everything a real master or just a craftsman needs for needlework. Crafts of any complexity, a large selection of directions and ideas for creativity.

We recommend reading

Washing machine error codes