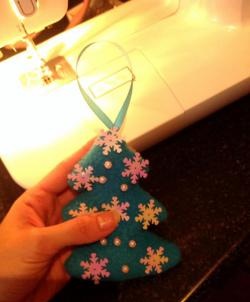
The year of the Black Water Dragon will come very soon. Both adults and children expect miracles. Let's create a festive mood ourselves! We begin to prepare for the most magical and most long-awaited holiday.
I hasten to share with you the idea of making luxurious airy snowflakes. Such wonderful New Year's decorations appear in many homes and offices, schools and shops on the eve of the main holiday.
The materials needed to create New Year's decorations are available in absolutely every home. So go for it!
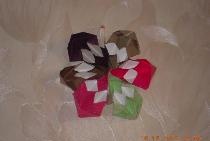
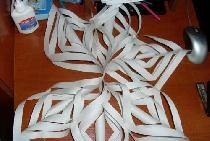
To make a snowflake, take six paper squares of the same size, stationery scissors, a ruler (once you learn, you can easily do without it), a pencil, a stapler, and PVA glue.
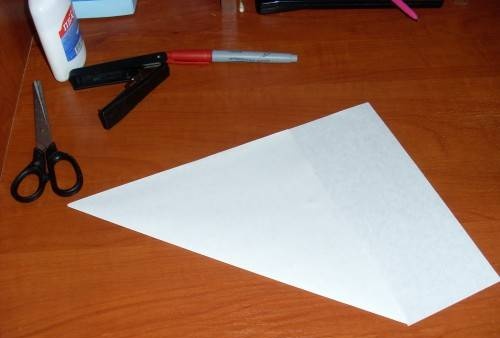
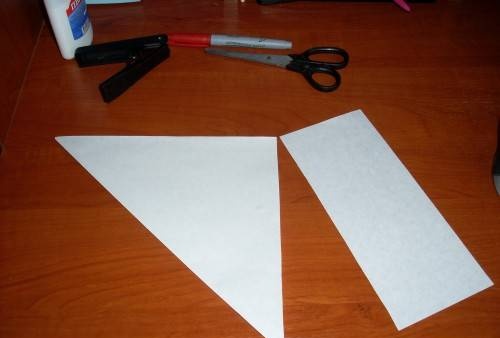
1. I took A4 sheets, folded them diagonally, and cut off the excess. We do this with all six leaves.
2. Fold the squares diagonally.

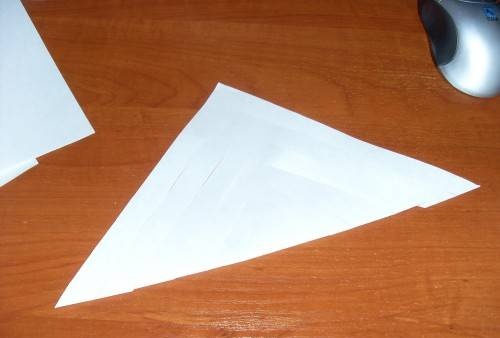
3. We outline four future slots (parallel to the outer lines of the triangle) with a pencil using a ruler. You can skip this step once you've made a few snowflakes.
4. Before reaching the corner, cut along the marked lines.
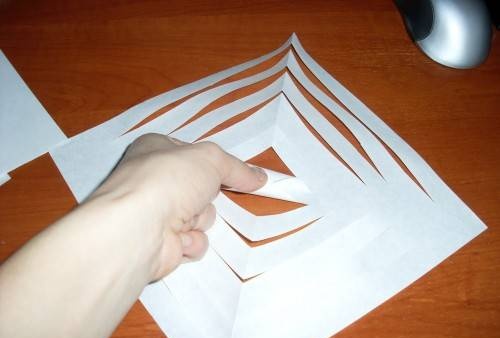
5. Expand the triangles.
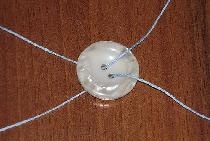
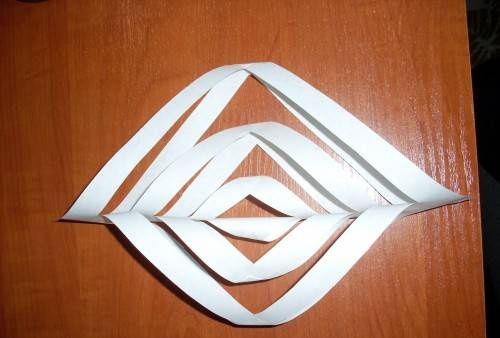
6.We fold the central square and glue the corners. You can use tape for these purposes, but I find it more convenient to coat it with PVA glue.
7. Turn the future petal over and glue the next corners.
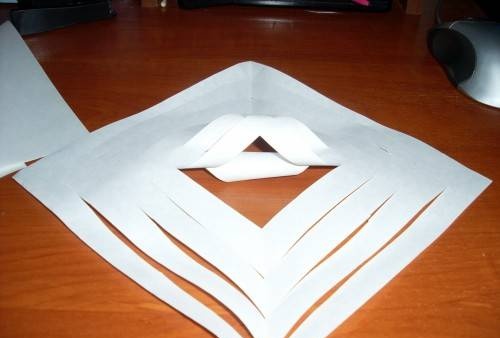
8. Alternate sides and glue all other corners.
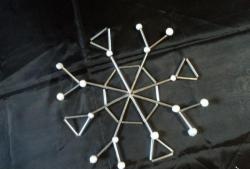
9. When the three blanks are ready, we connect them together with a stapler. First we connect every two in the center, then at the bottom.
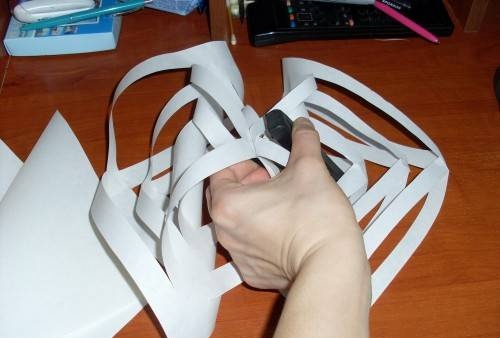
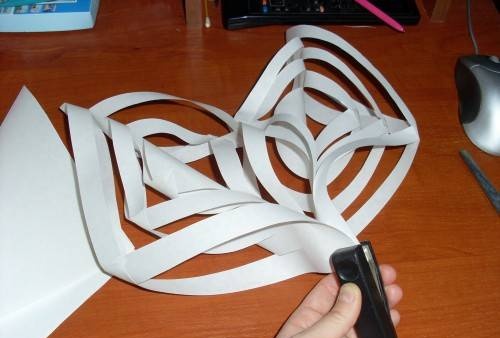
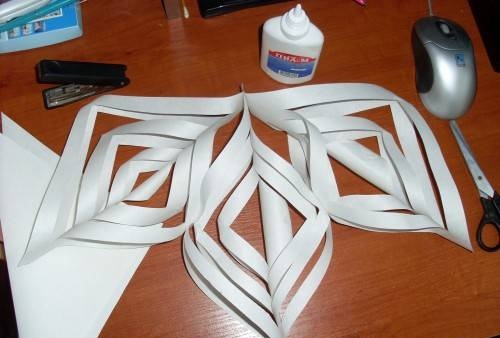
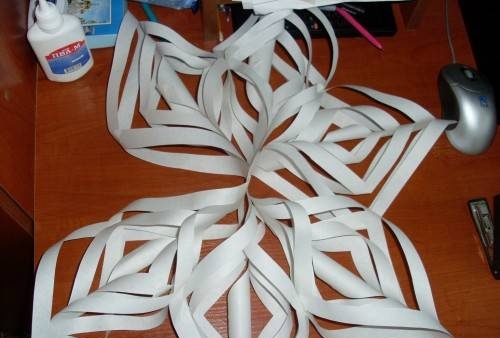
10. We do the same with the remaining petals. We connect two blocks of three petals to each other. The snowflake is ready.
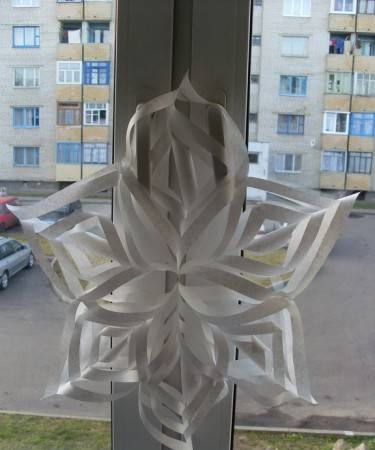
11. If you want to hang a snowflake, for example, on a chandelier, then you should insert a thread when you connect two petals together in the center.
This snowflake can really be made in just 10 minutes. By the way, the material for making this crafts you can choose a wide variety: corrugated paper, foil, and colored office paper.