To create a toy we will need various pieces of fabric, buttons for eyes and wings. You can use bows, braid or beads as additional decoration. Any dense fabric is well suited for making the body of a toy: calico, teak, denim, corduroy, etc. Sewing a toy will take no more than three hours.
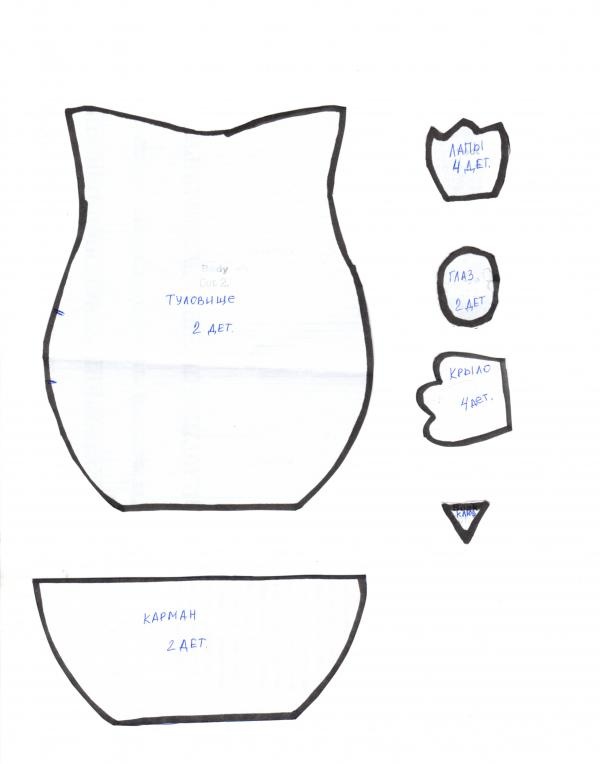
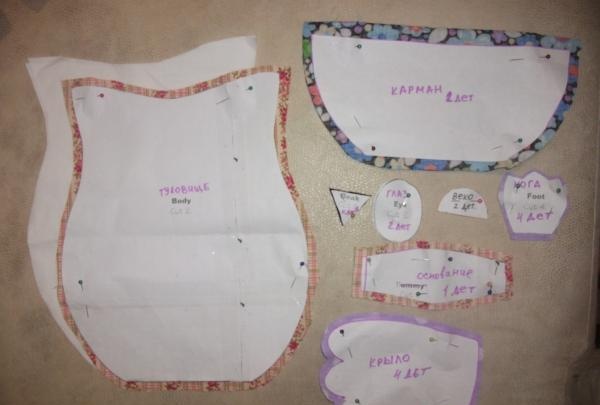
The first step is to cut out the part templates on the fabric according to the specified quantity, not forgetting to leave seam allowances.
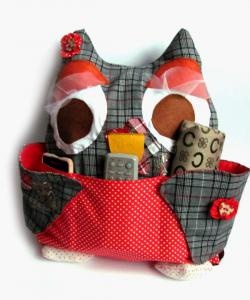
After this, we cut out the parts and sew them together. On the front half of the body we sew a pocket, eyes, button pupils and a beak. I stitched the pocket with a decorative stitch, thus dividing it into two parts.The pupils can be made not only from buttons, but also from fabric, running blanks for the eyes, or painted with permanent paint.
After securing all the small parts to the body, we attach them with a curly seam on a machine.
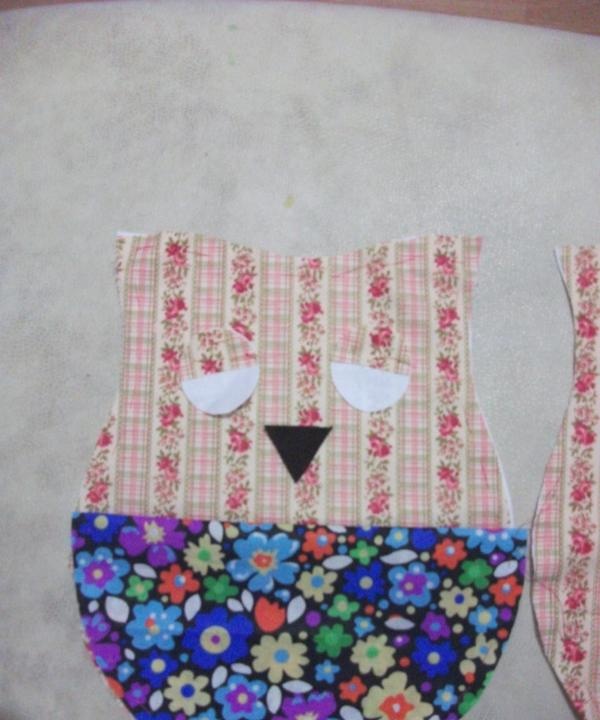
This will allow you to overcast the edges of the workpieces and allow them to crumble over time.
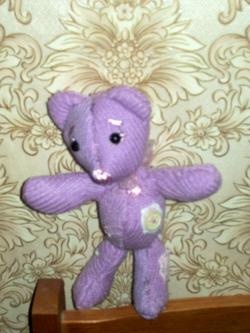
The next step is to fasten both parts of the body by inserting wings on the sides. The original owl pattern did not take into account the bottom, but experience has shown that with it the toy will be much more stable. In photo 2, the detail of the base of the bottom is applied to the fabric. We sew it to the body, but do not sew it on one side and leave a hole.
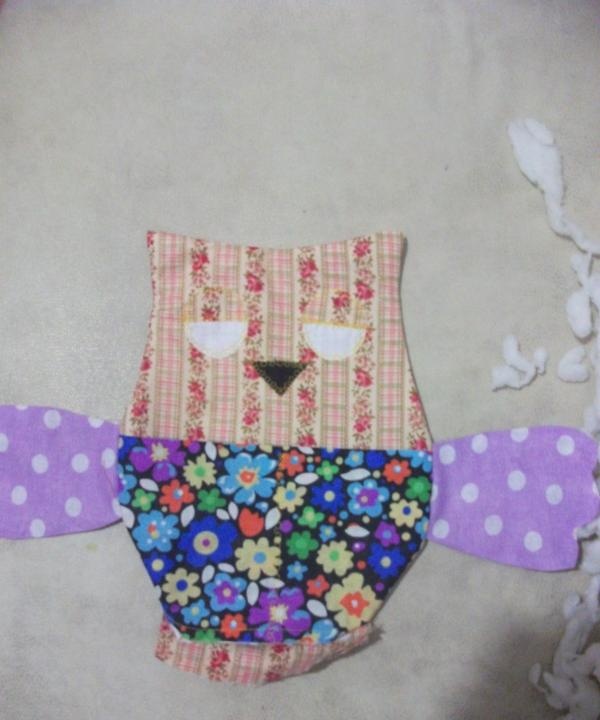
Through it the toy will be filled with filler. You can use cotton wool or whatever you have on hand as a filler. I used holofiber from a used pillow. The owl should be stuffed evenly, filling the space of the ears.
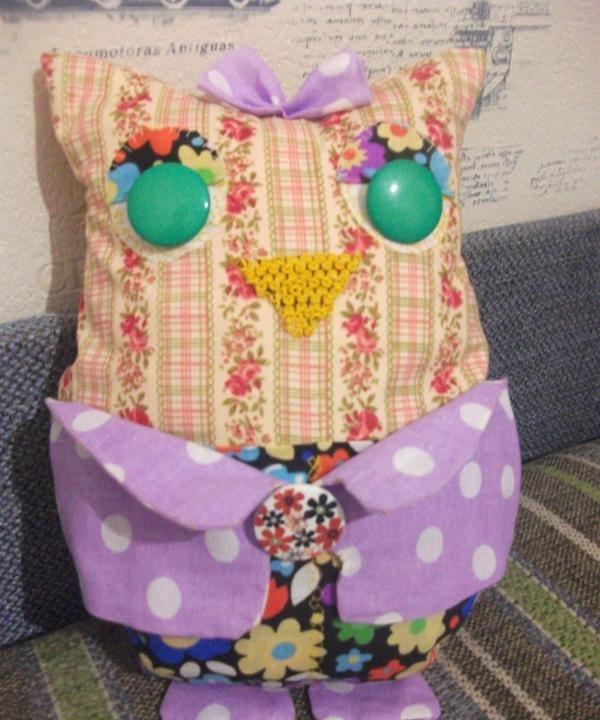
We can say that the bulk of the work has already been completed. We sew the legs to the base of the toy and move on to decorating the owl. We decorate the beak with braid and attach a bow to the ear.
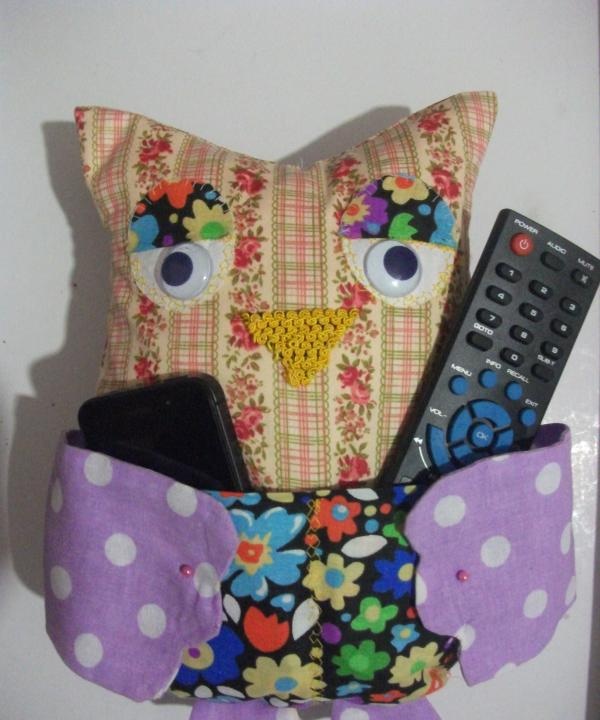
My daughter, when testing the toy, noted that the large buttons bothered her. Therefore, changes had to be made to the eyes. We glued the running blanks for the eyes, which made the expression on the owl's face look somehow mischievous.
The wings can be sewn to the body with different buttons or secured with one, at your discretion. You can store phones or remote controls for household appliances in the pockets of the finished owl.
We store flash drives and other small things in this owl that we always need at hand on the computer.
There are many options for using the owl toy. It can be used as an interior detail, a pillow or a toy for children, or, as in our case, as a keeper of small items.And depending on its purpose, you can use different fabrics - from silk to plush.