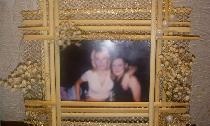
This photo frame can be placed on the table or attached to the wall. The highlight of your interior will be a wall decorated with photographs in photo frames of different colors and sizes.
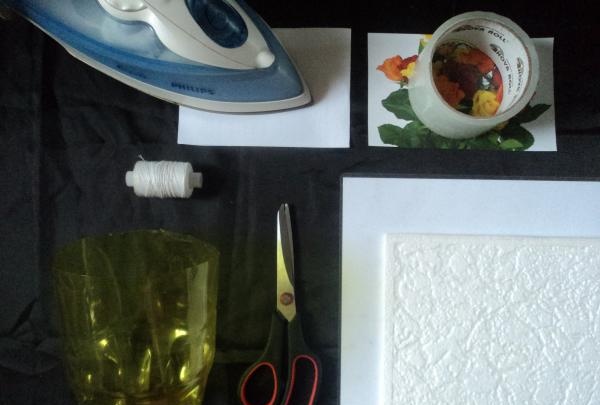
For the master class we will need:
1) Colored plastic bottle.
2) White ceiling tiles or white foam.
3) Laminated white paper or white cardboard.
4) Scissors.
5) Transparent tape.
6) Iron or electric stove with a flat surface.
7) A white sheet of paper.
8) Photography.
9) White threads.
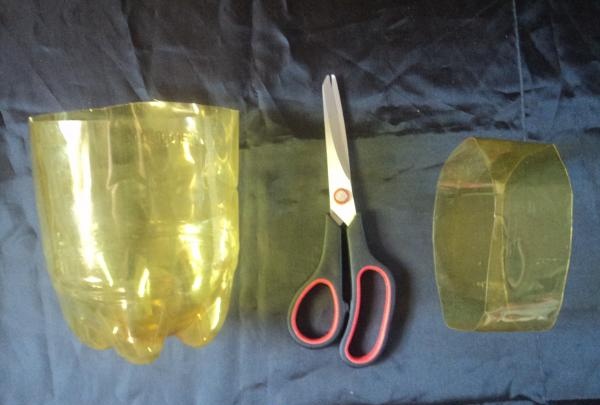
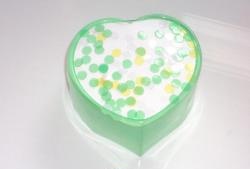
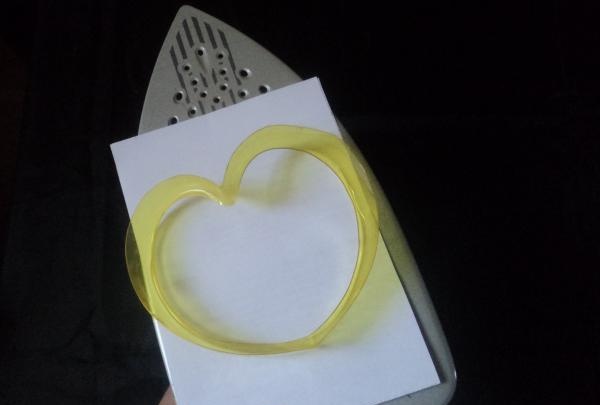
Cut out a base for a photo frame from a colored plastic bottle. We took a bottle with a diameter of eleven centimeters.
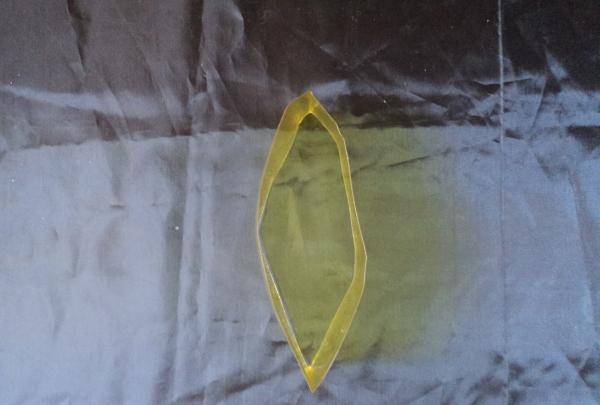
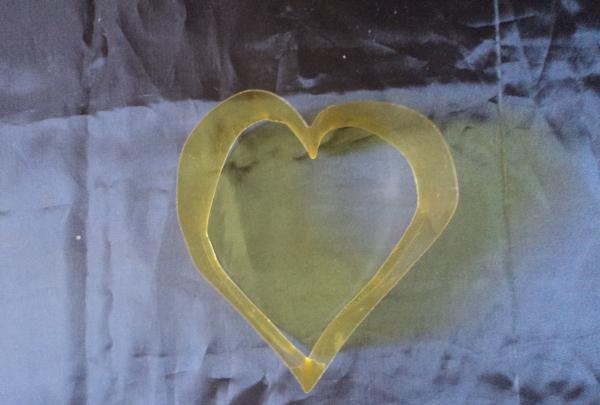
We make a heart from the base for the photo frame. We bend the base on both sides. We bend one side in the opposite direction. Forming a heart.
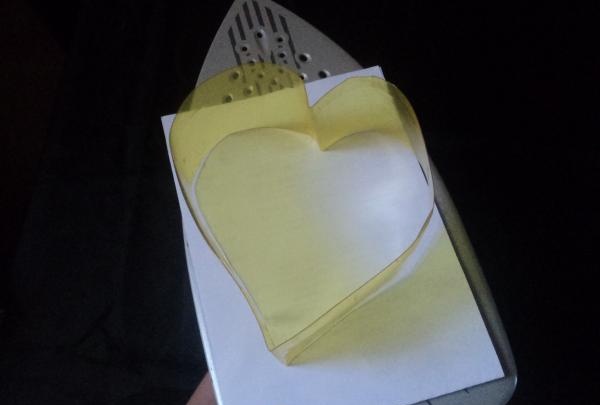
Round the edges of the photo frame. Heat an iron or electric stove with a flat surface, heat it slightly, and set it to “low heat.” Place a white sheet of paper on top and a photo frame on top. Press down and wait a few seconds until the edges are rounded.
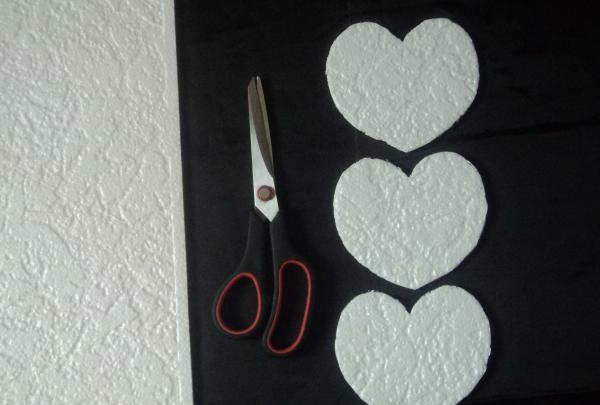
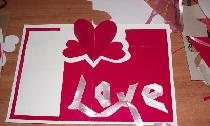
Place the photo frame on a sheet of paper, trace it with a pencil, and cut it out.Using the resulting base, we cut out three hearts from foam ceiling tiles or polystyrene foam.
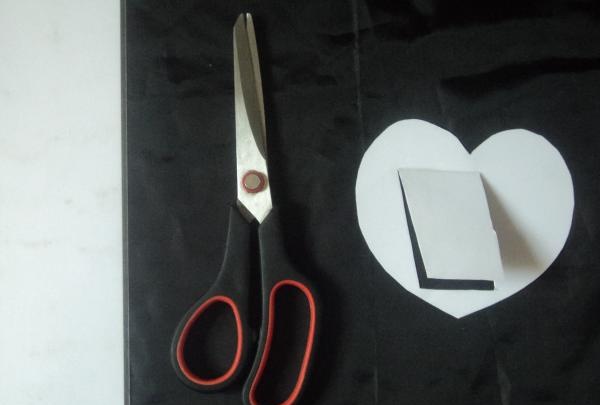
Making a leg for a photo frame. Cut out the heart from laminated paper or white cardboard. Draw a leg on it. Cut out the leg and bend it.
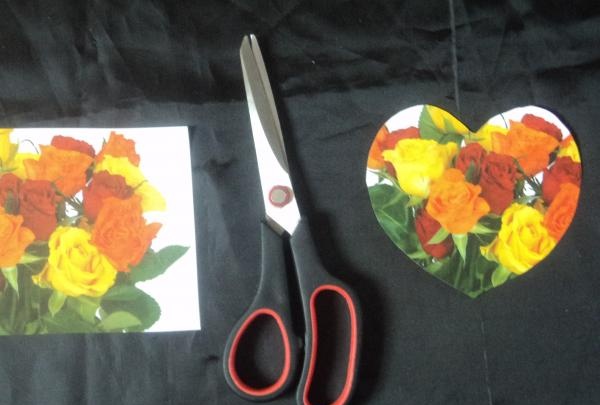
Cut out a heart from the photo so that it fits into the photo frame.
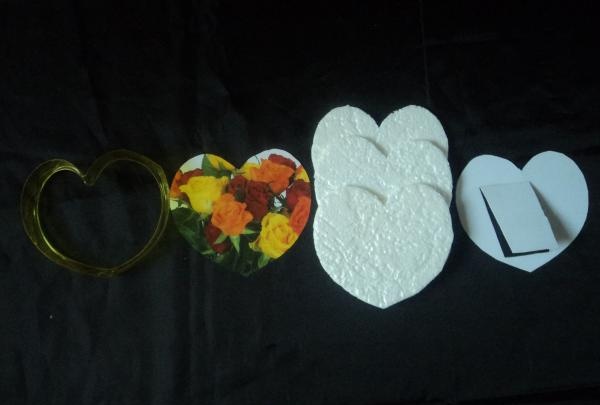
We insert into the base one by one: a photograph, cut-out hearts from ceiling tiles or foam plastic, laminated paper with a cut-out leg.
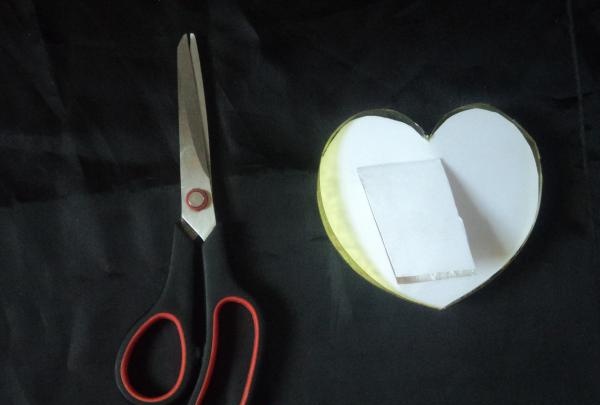
We trim off the excess with scissors and make the edges of the photo frame even.

We secure everything with pieces of transparent tape.

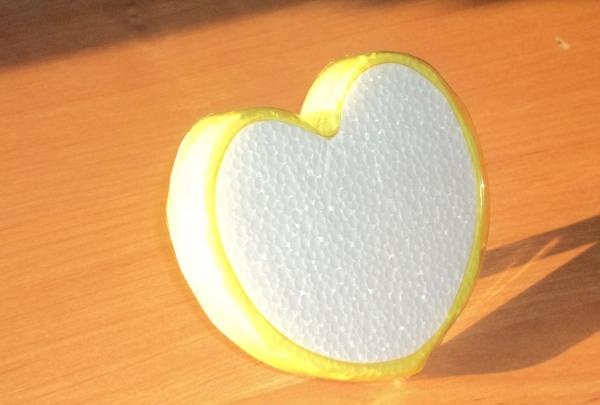
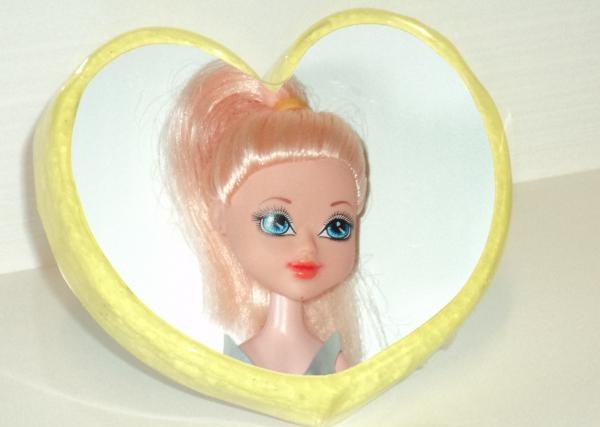
The photo frame is ready.
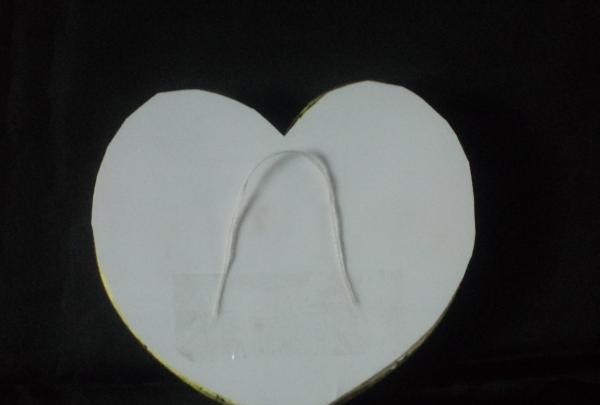
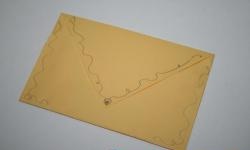
The photo frame can be hung on the wall by attaching not a leg to it, but a “loop” of white thread. We tape a thread to the back wall of the photo frame, using which we will hang it on the wall. Or you can attach a loop on top of the heart.
A piece of transparent plastic inserted into the photo frame (a piece from a transparent plastic bottle) will help protect the photograph from dust. Or the photo can be laminated.
Let's modify the photo frame.
Color.
1) You can use colored construction foam insulation. This insulation comes in pink, orange, blue, etc.
2) We use a bottle of different colors. It comes in: transparent, green, blue, brown, yellow, pink, etc.
3) You can insert colored paper, fabric, etc. into the sides of the photo frame.
Size.
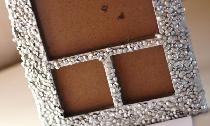
1) We can change the thickness of the photo frame by using polystyrene foam of different widths.
2) We will change the size of the photo frame using a bottle of different sizes.
The photo frame can be made in a different shape: in the shape of a circle, square, triangle, rhombus. If desired, the photo frame can be decorated with beads, rhinestones, painted with paints or spray cans, etc.